
Using the LCC Scan App
This chapter covers using the LCC Scan App, including connecting to and activating the device, scan mode descriptions, model viewing, device information and settings, app settings, project file transfer, and utilities.
Connect the App and Activate the Device
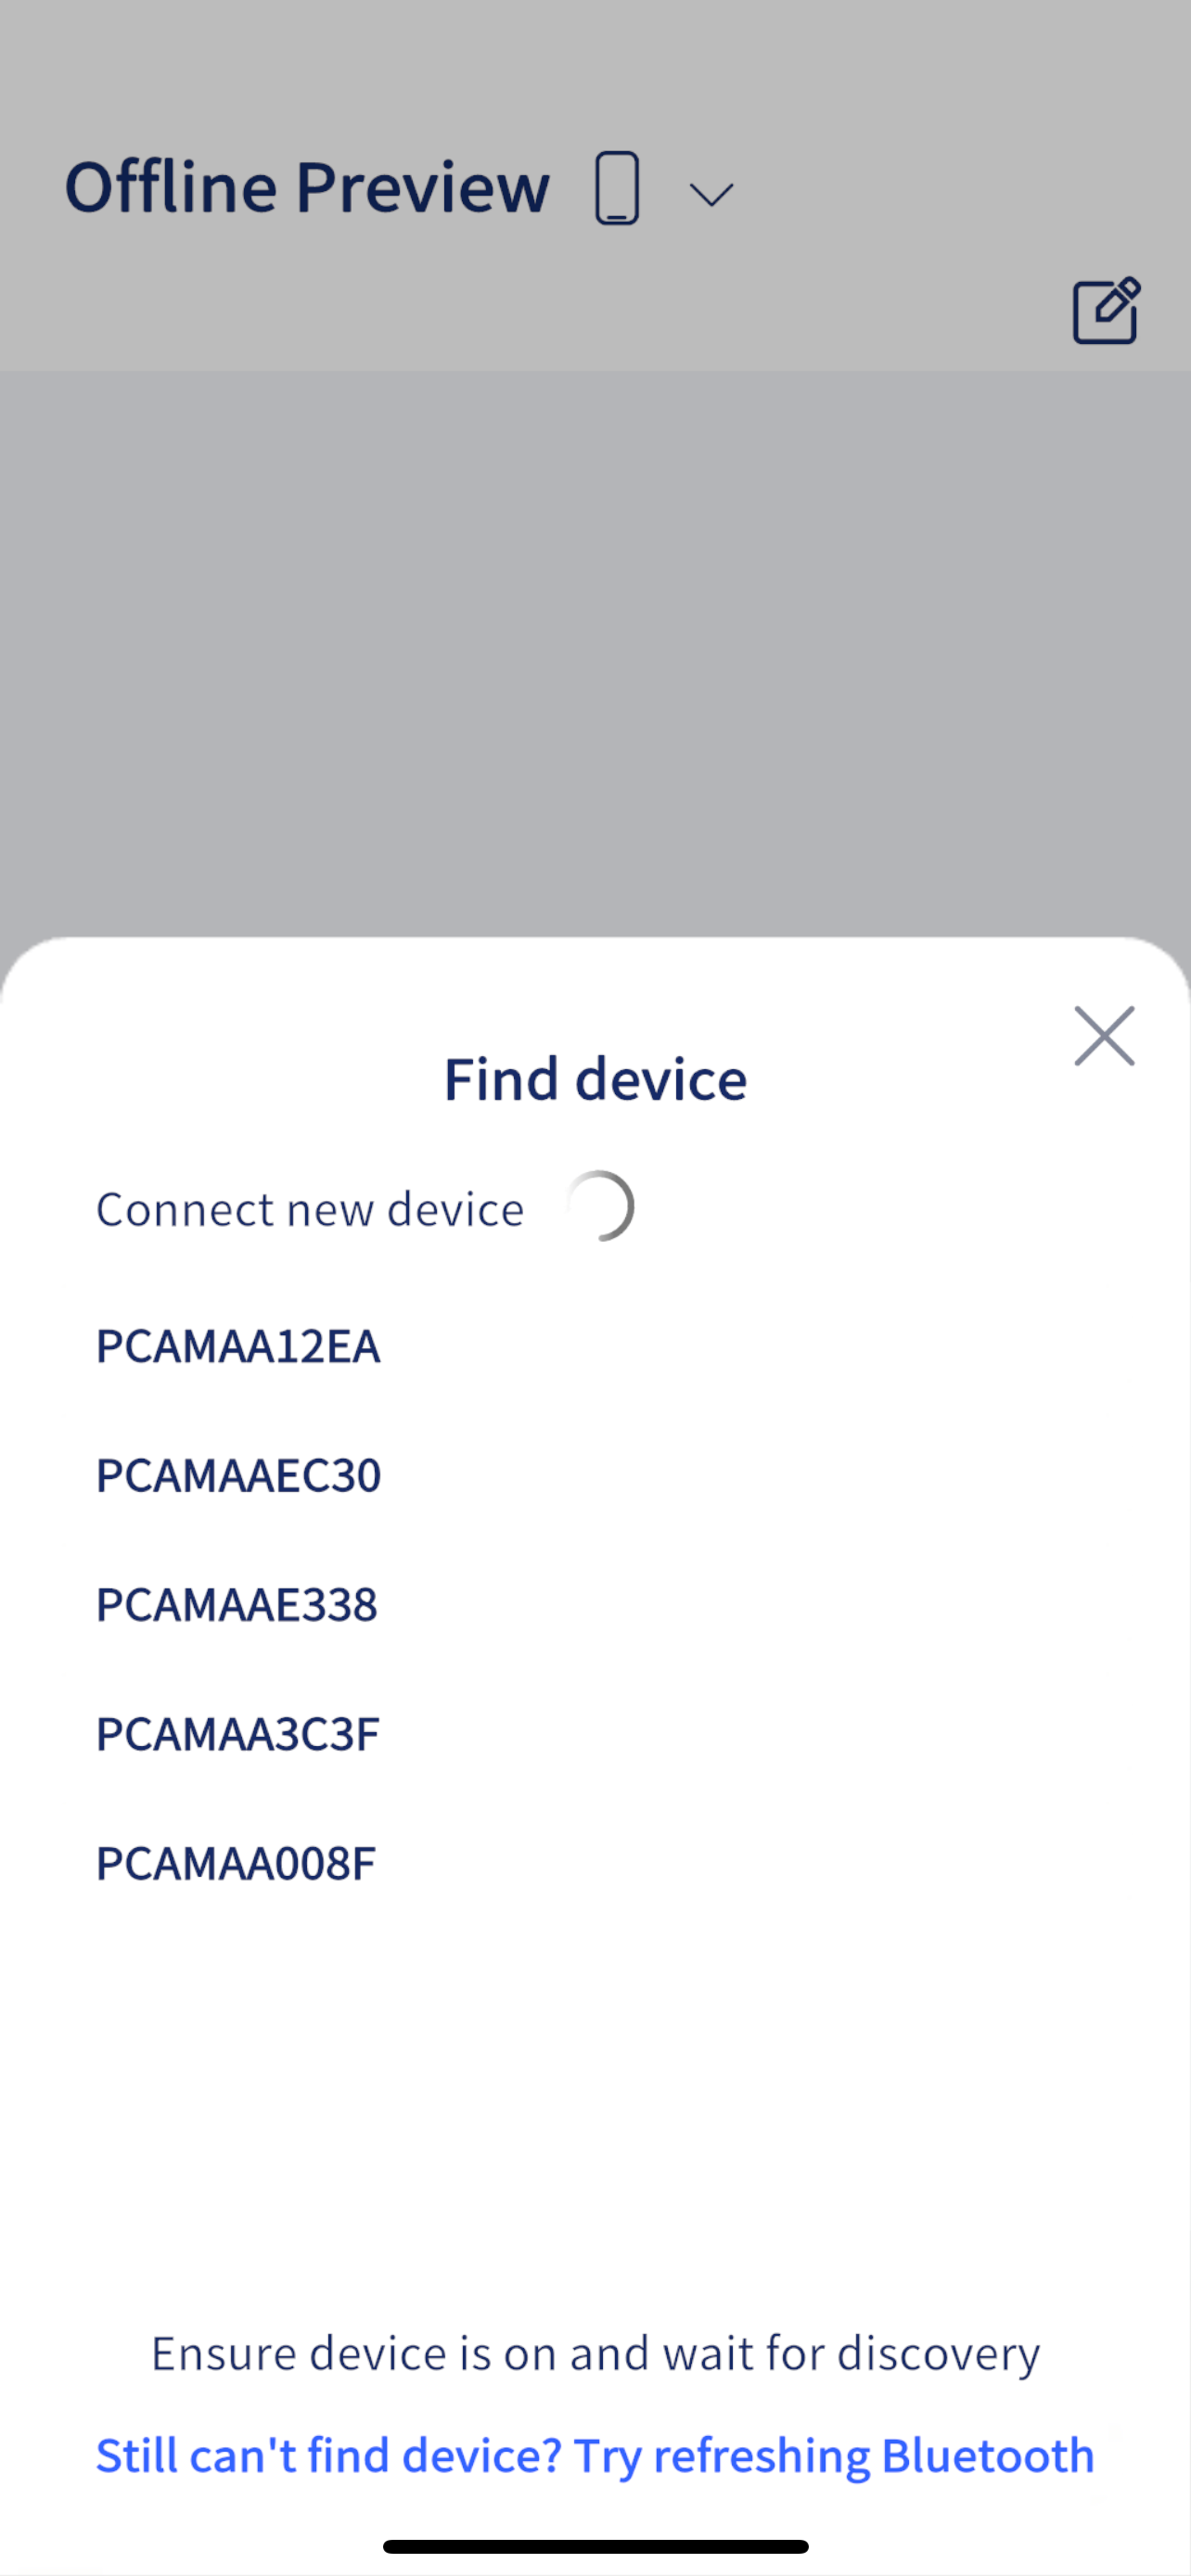
Power on the PortalCam.
Turn on Wi-Fi and Bluetooth on your phone.
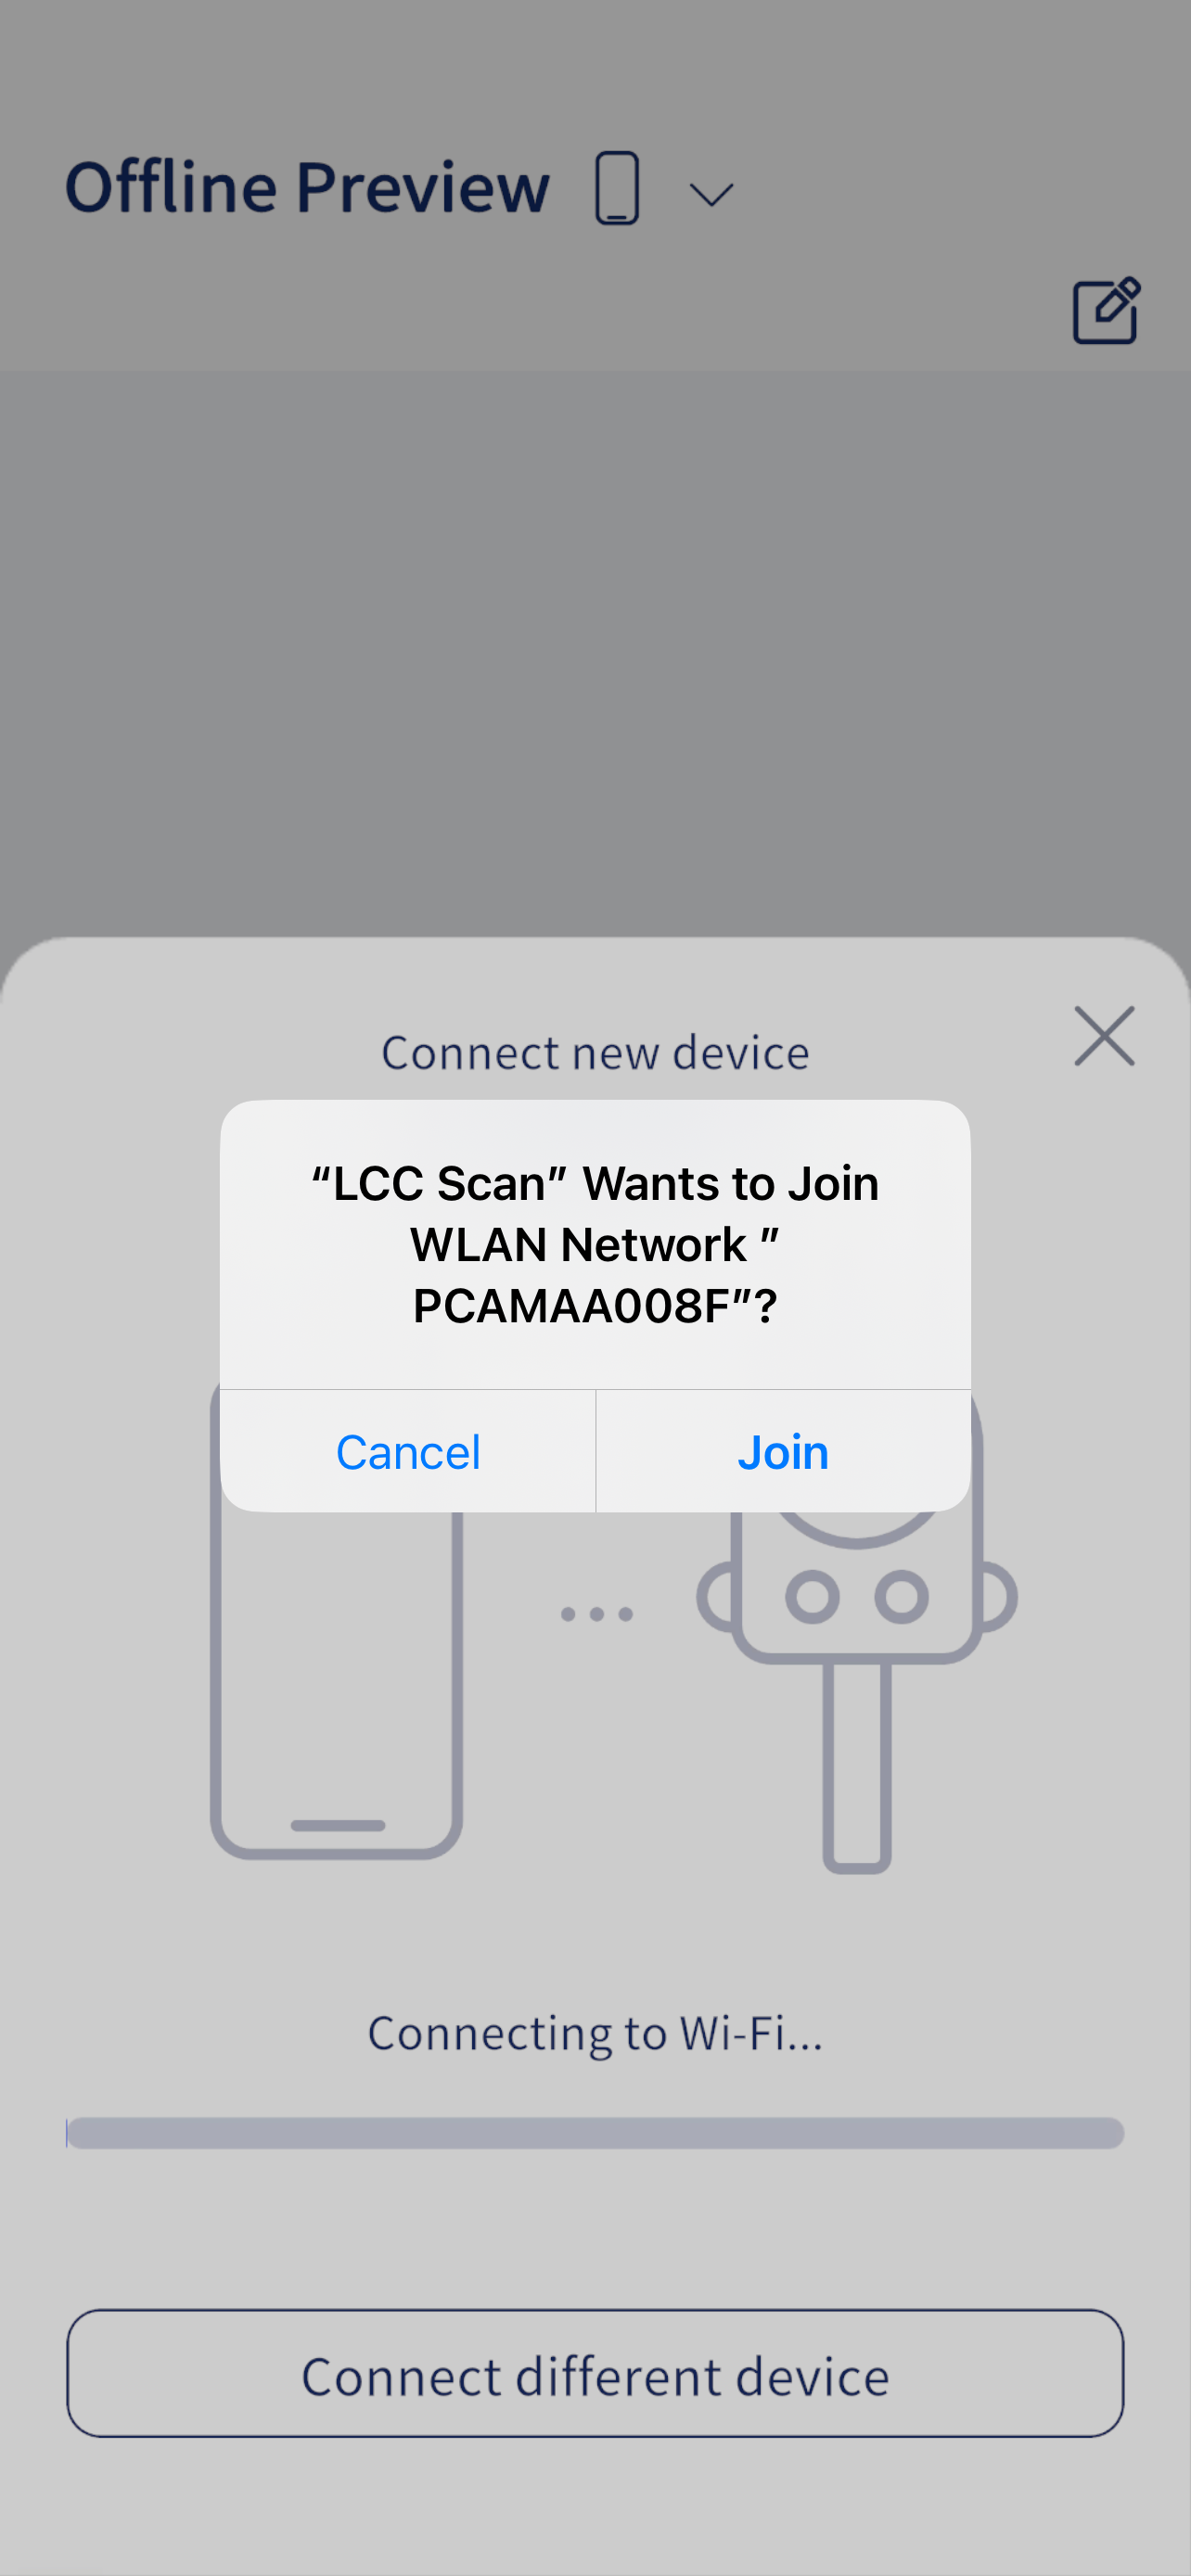
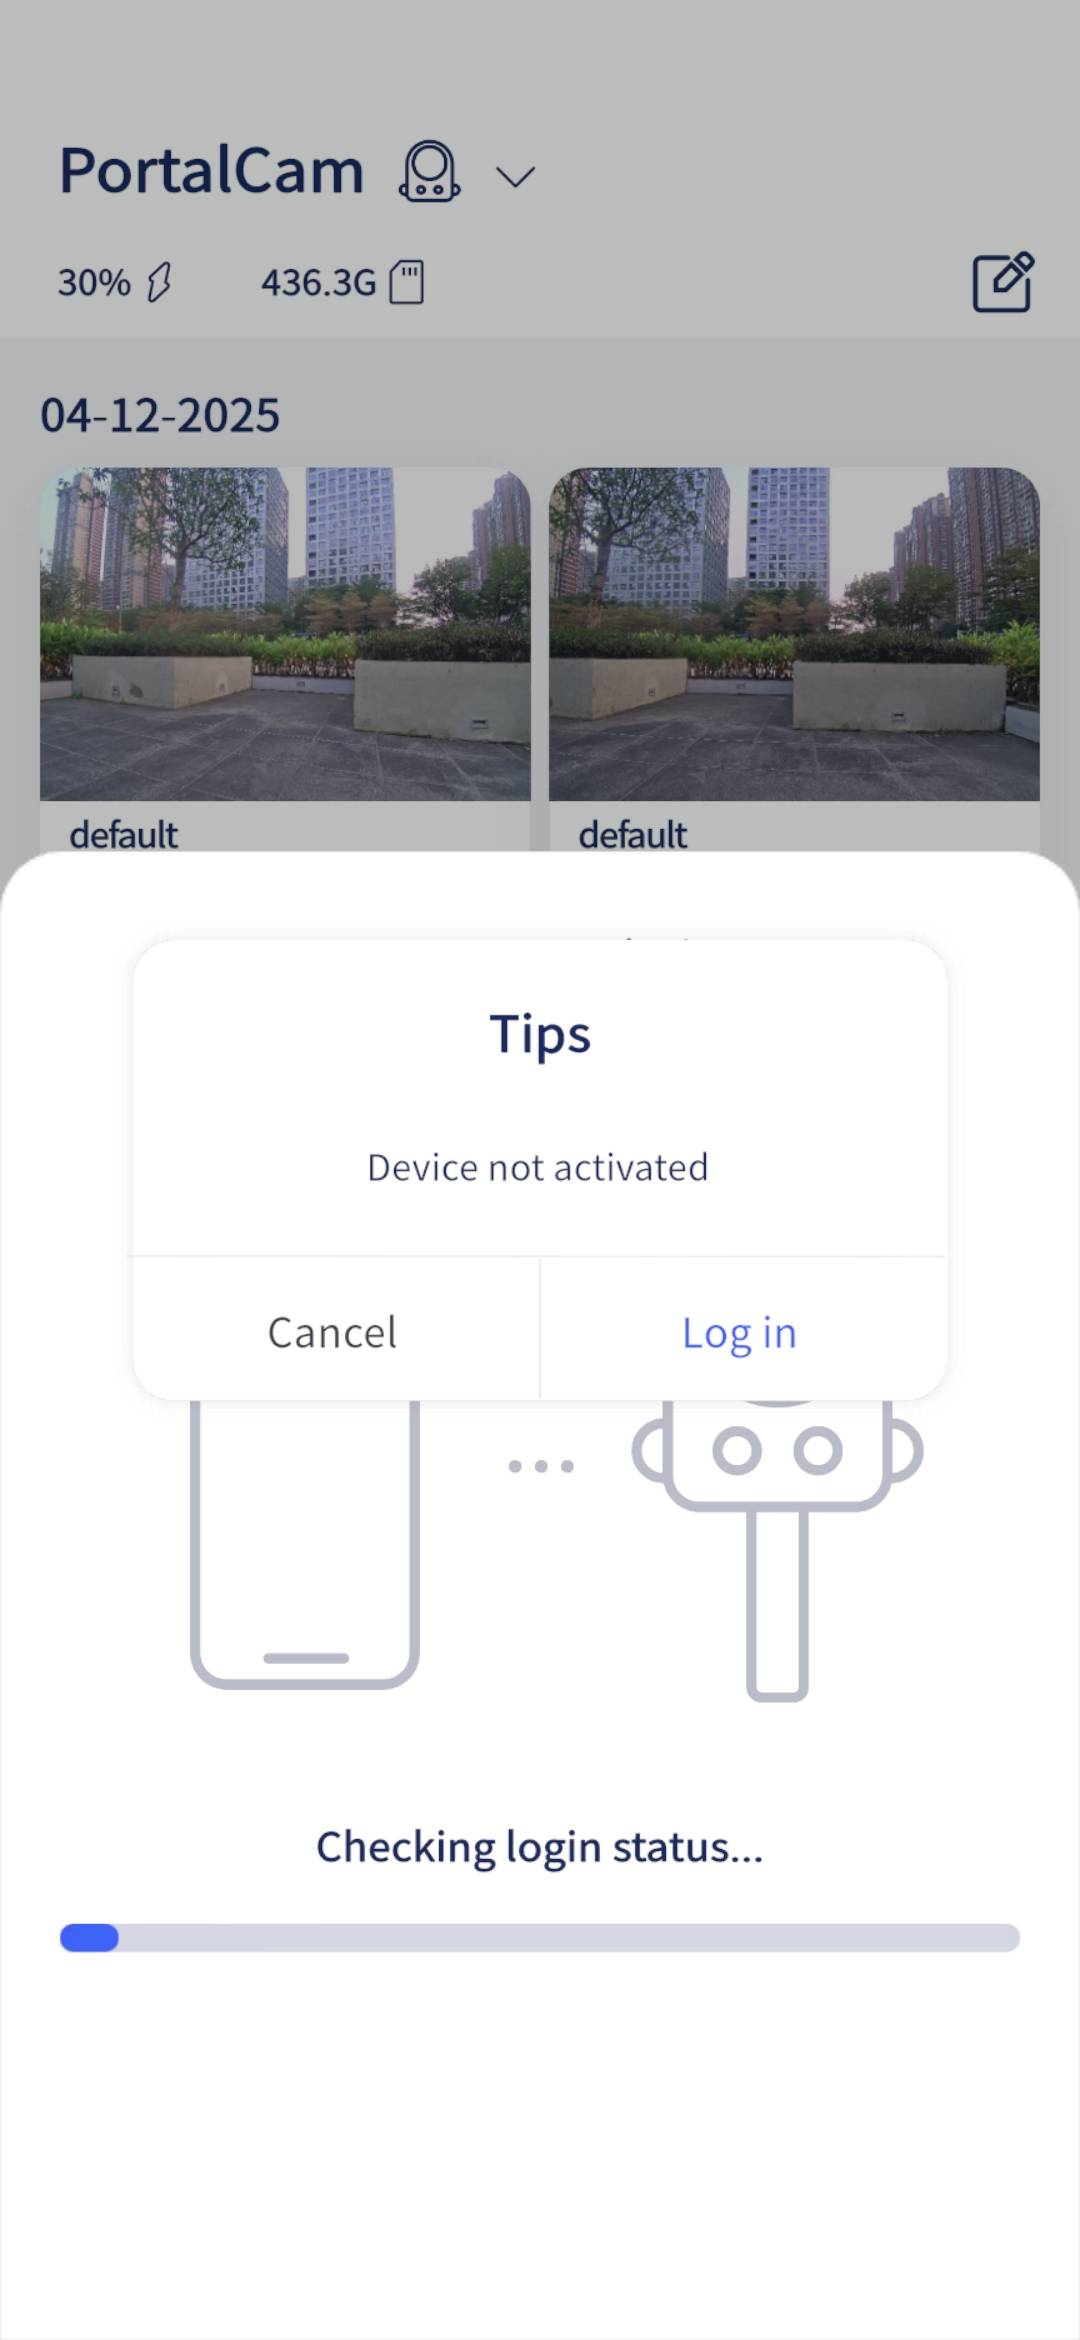
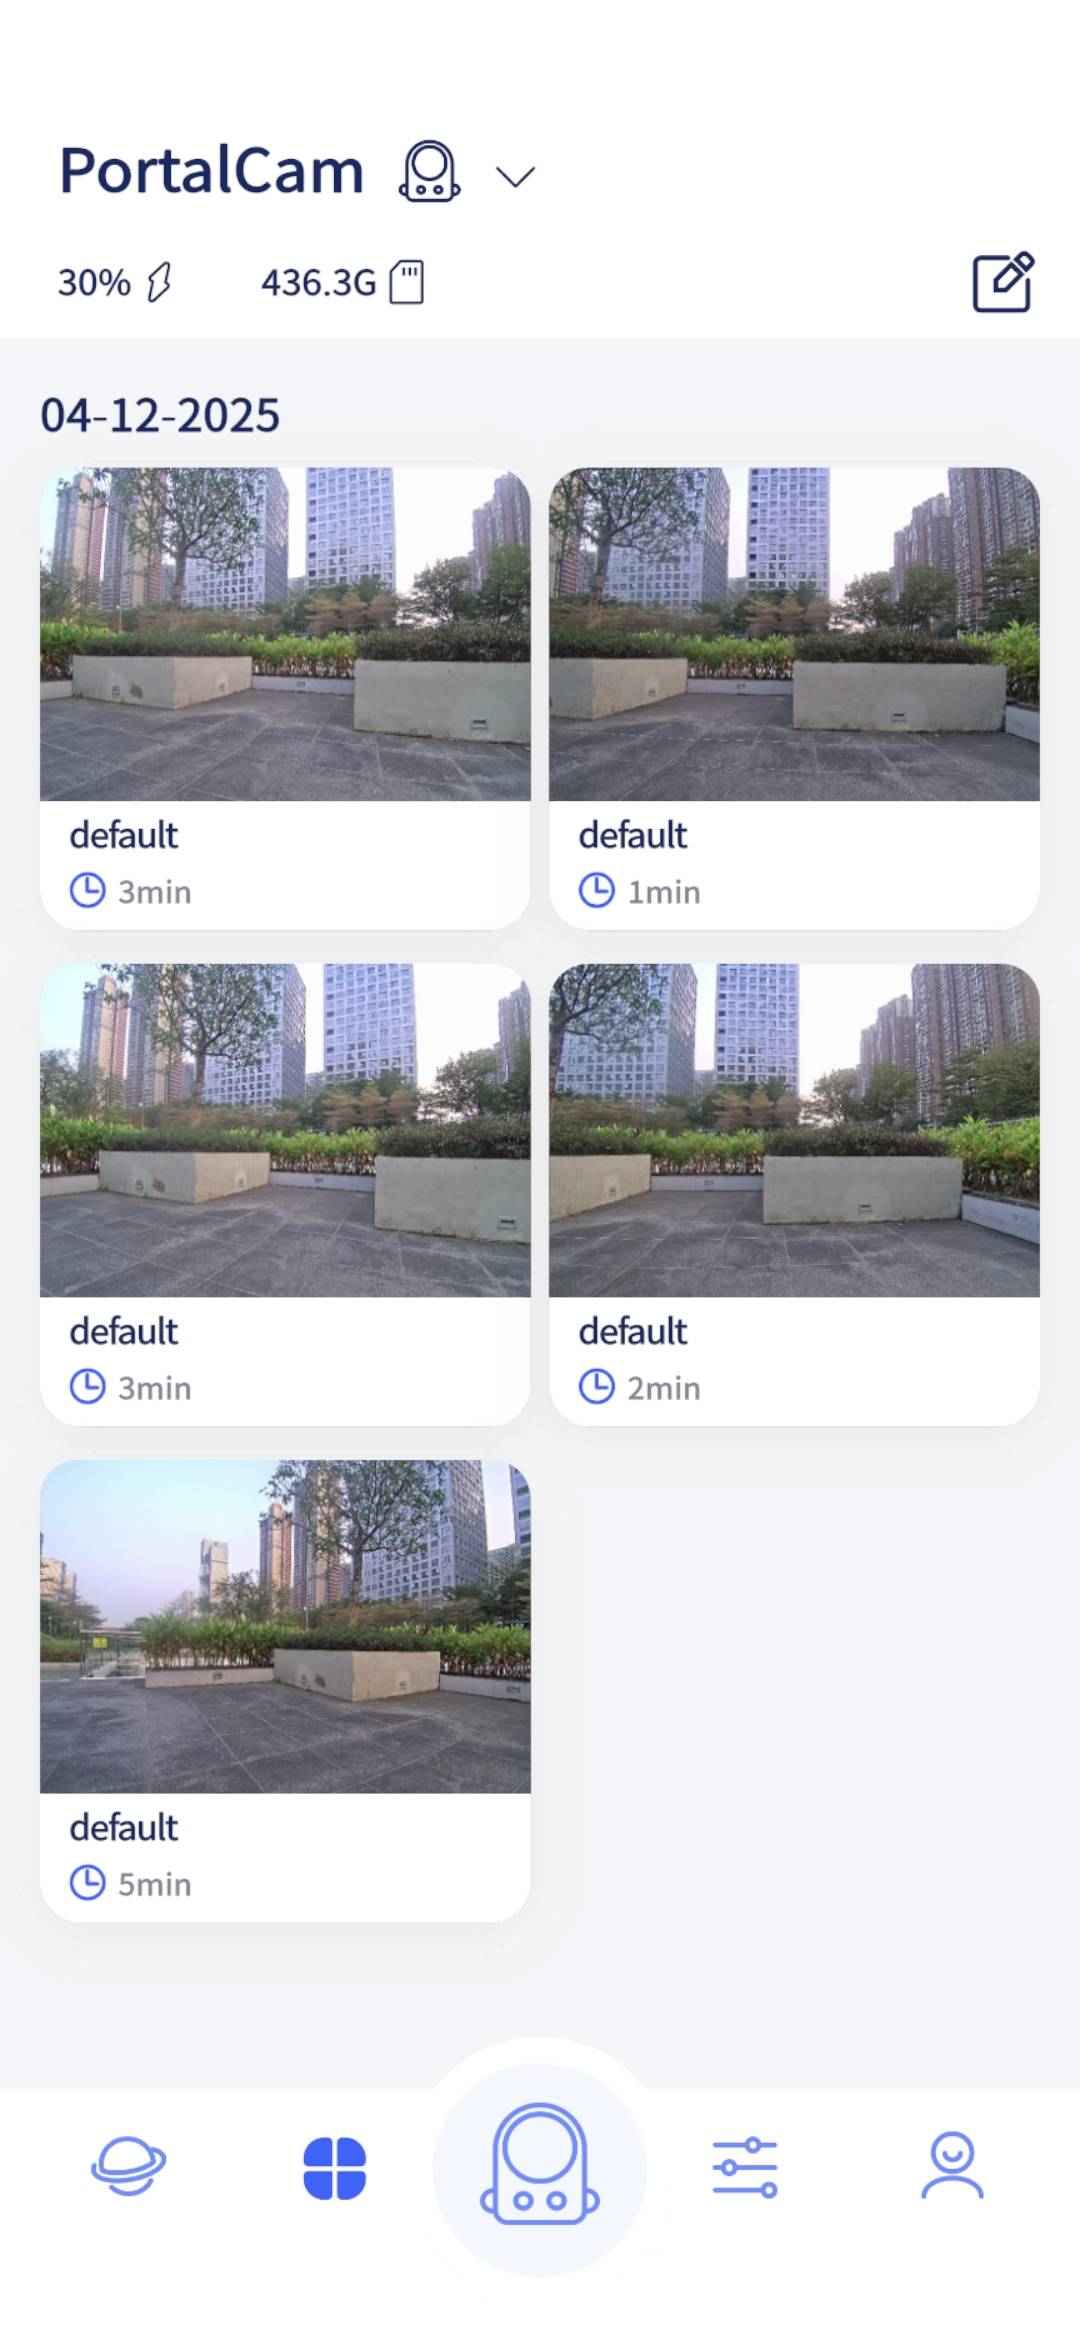
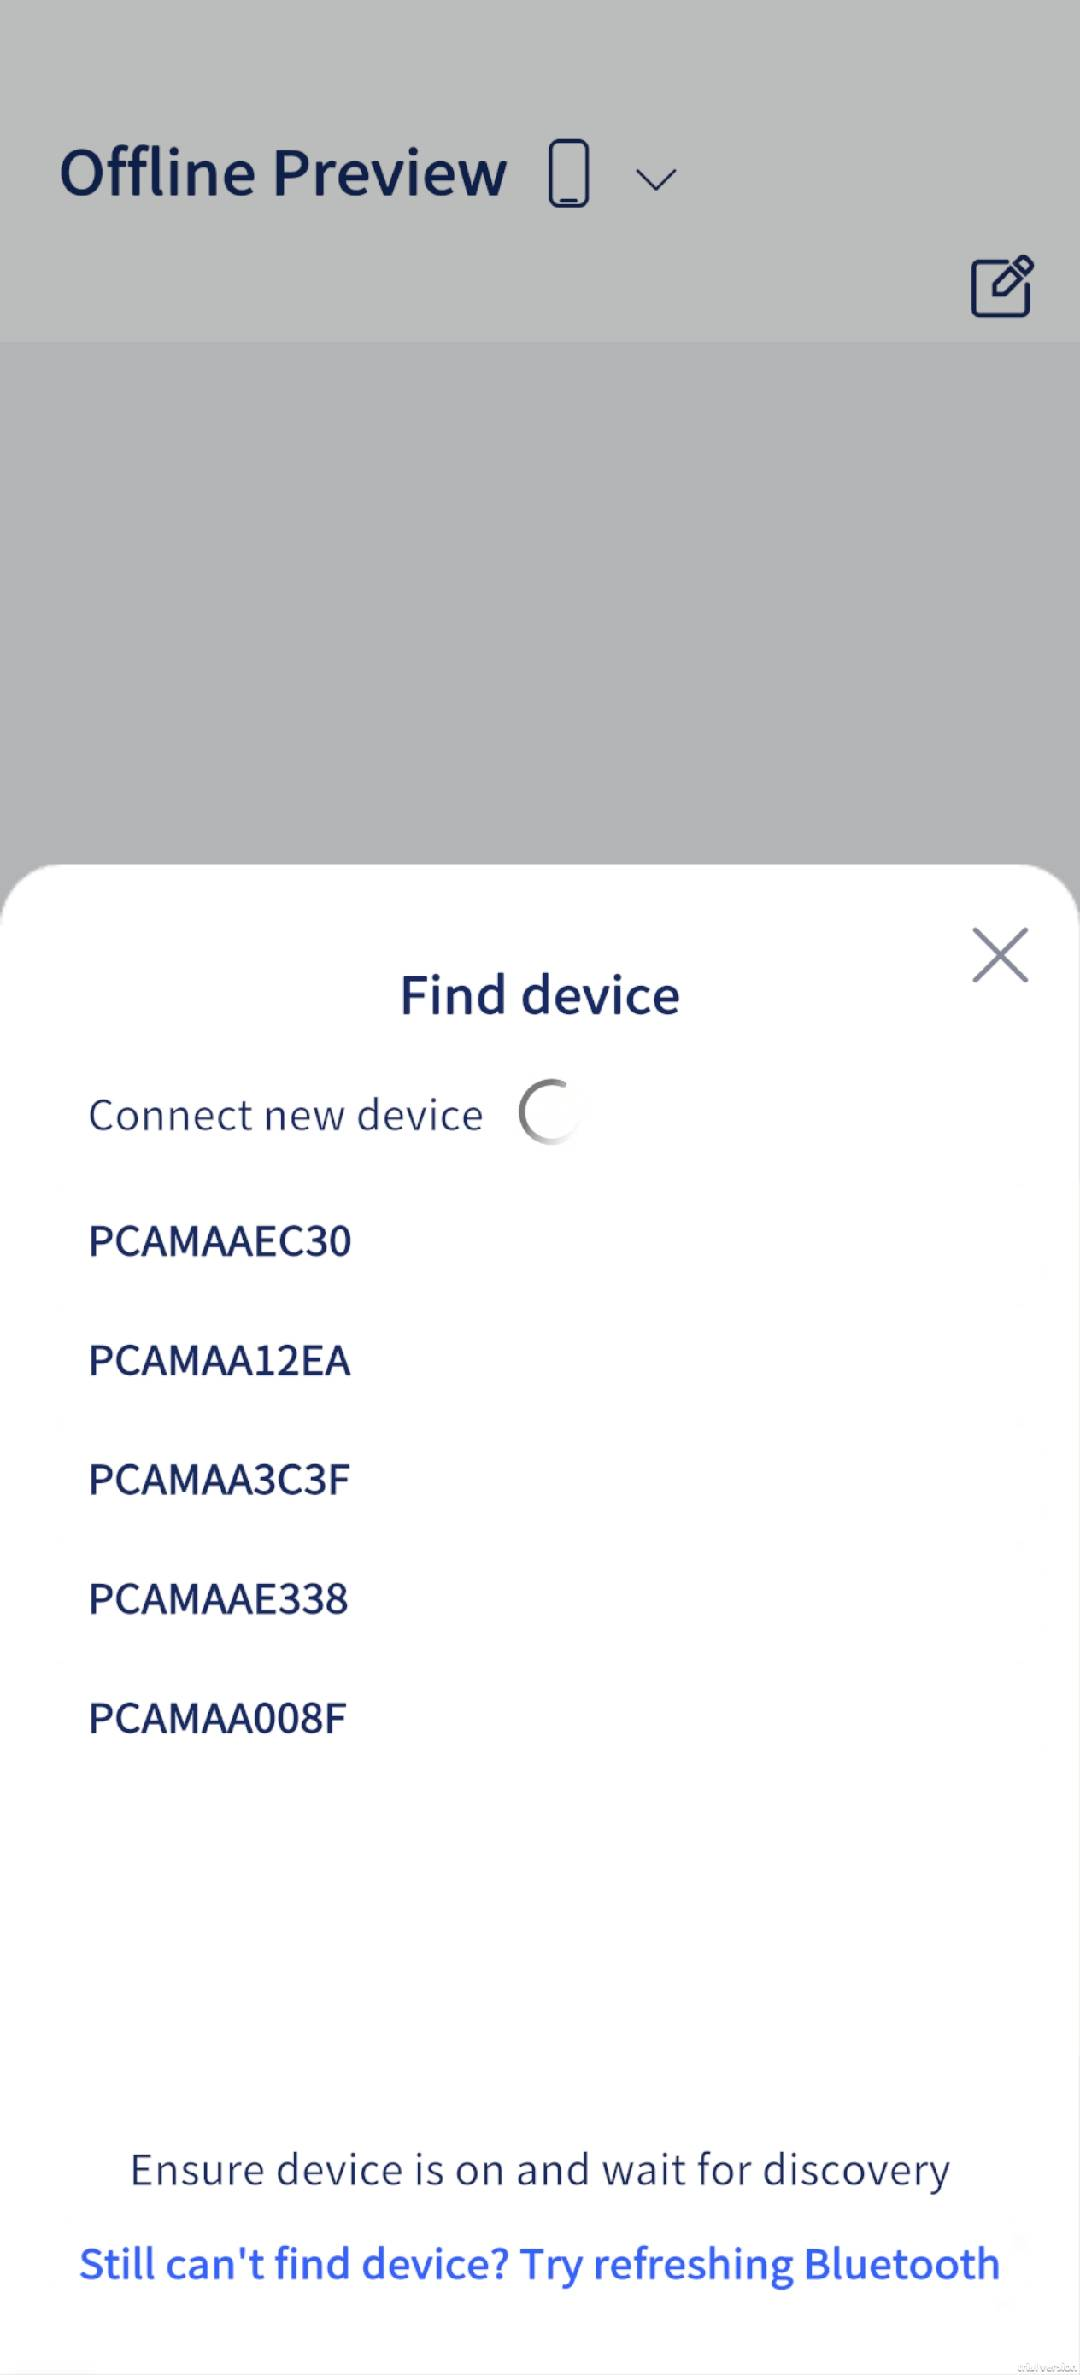
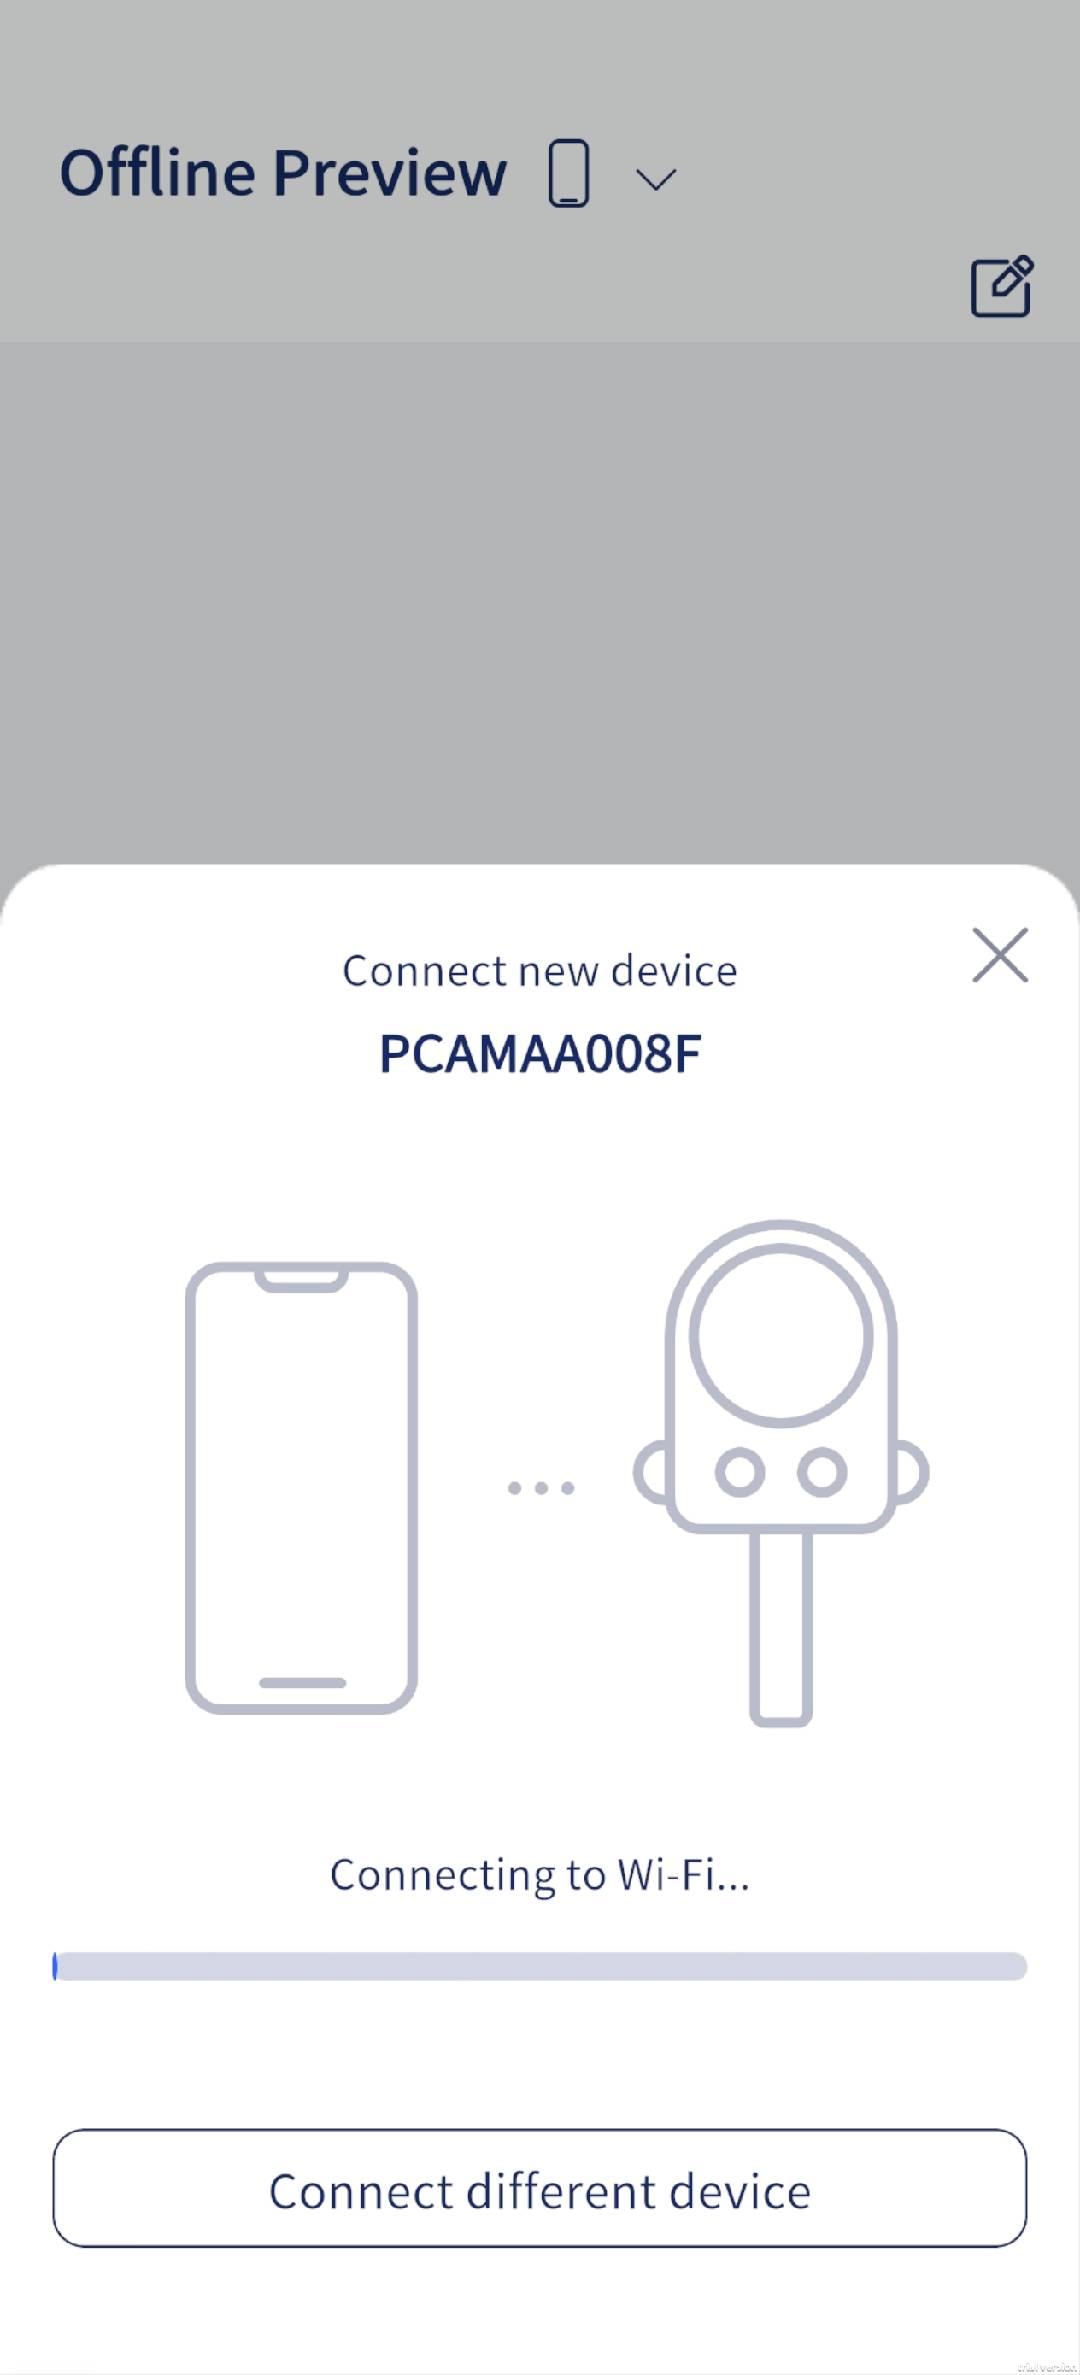
Open the LCC Scan App, tap the camera icon on the home page to connect to the PortalCam, and follow the on-screen prompts.
After the device is activated, the device light changes from yellow to green.
iOS
Android
Troubleshooting
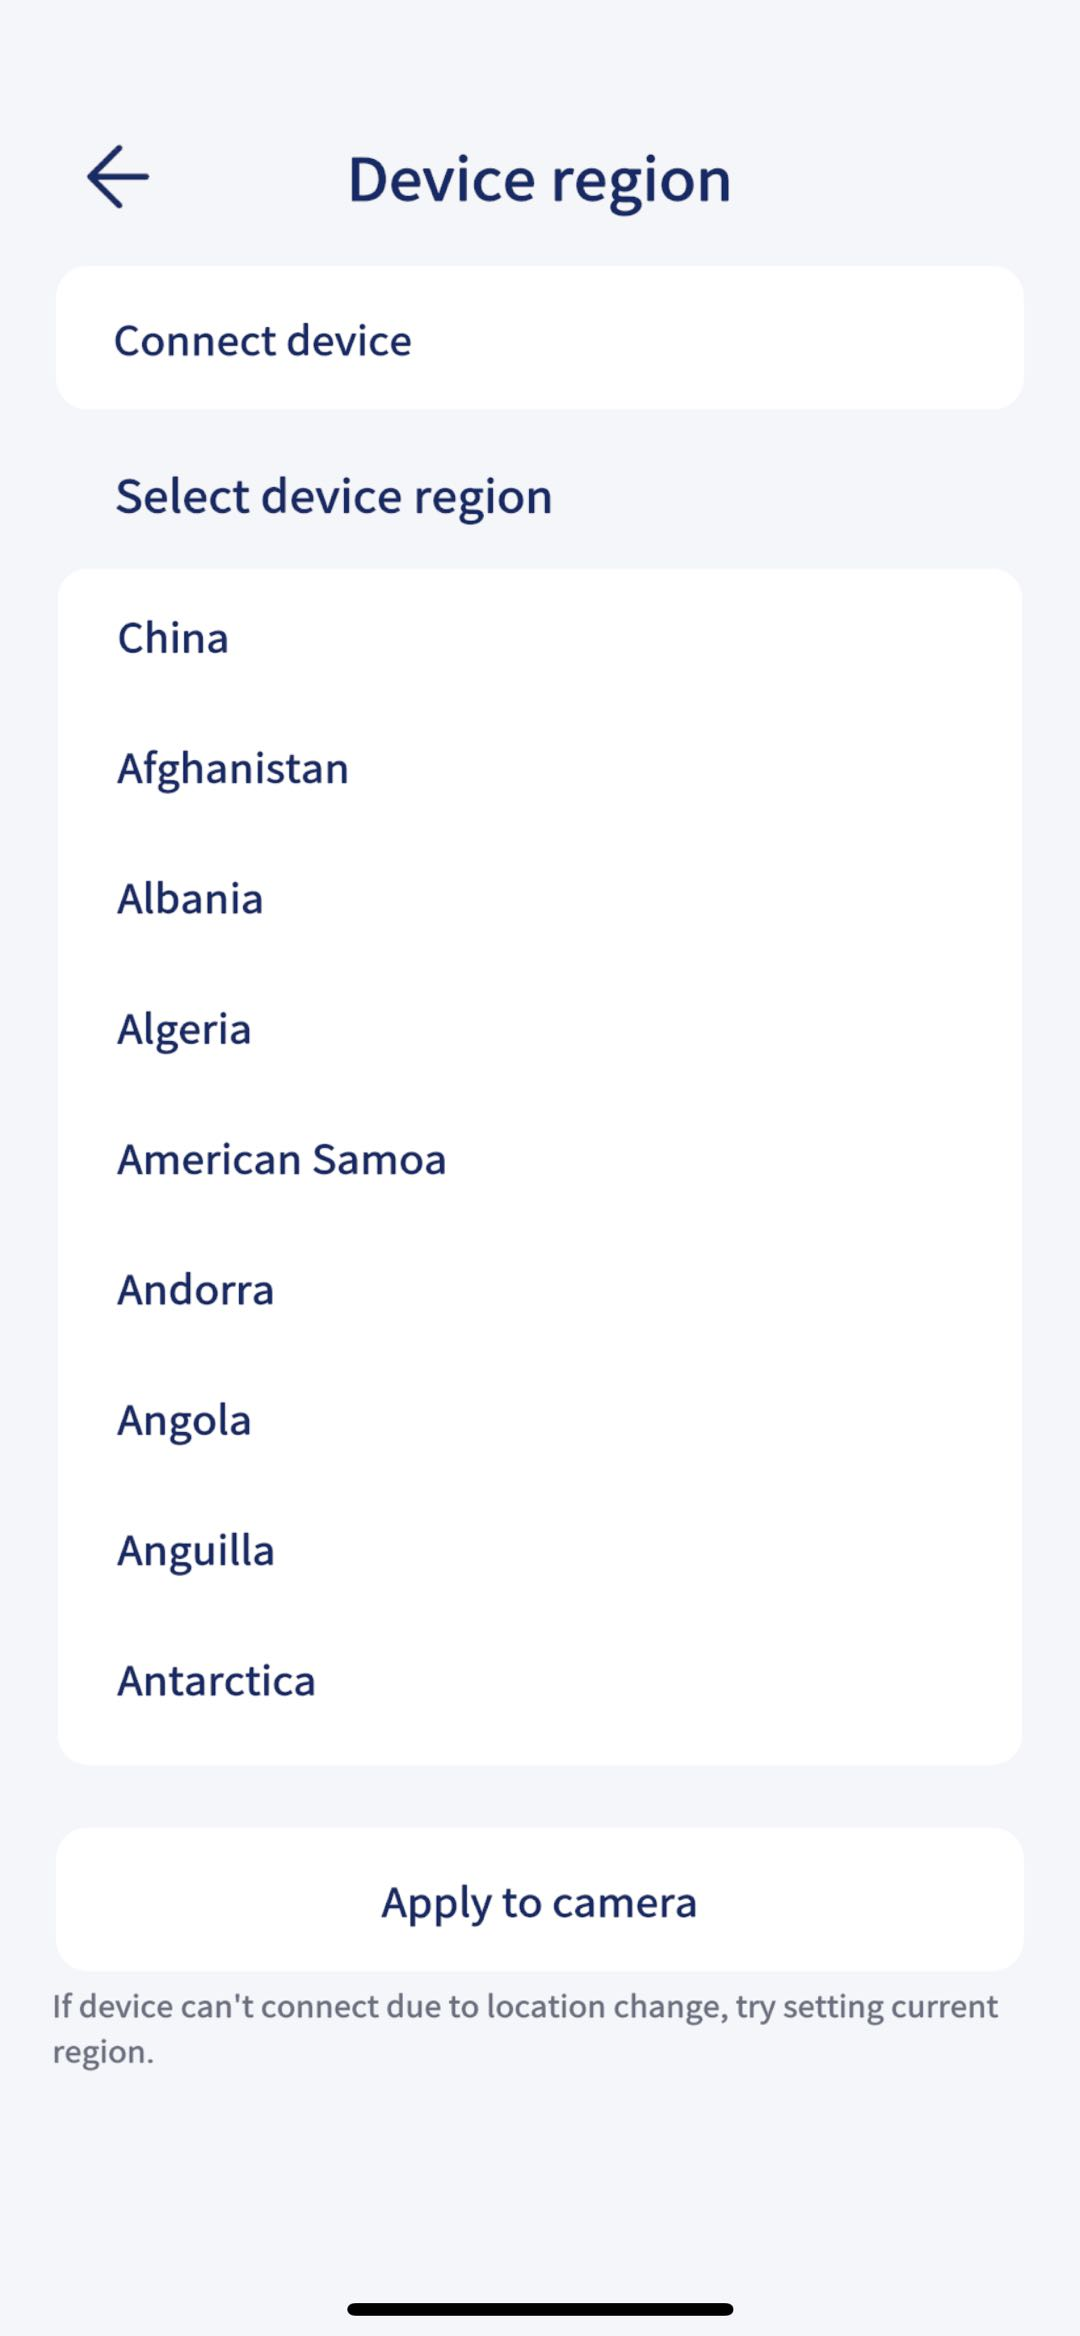
- If the steps above do not work, open your phone's Wi-Fi and check whether you can find the device Wi-Fi named PCAMAAxxxx. If it cannot be found, try changing the device region using the Device Region option in App Settings.
- Make sure the app is the latest version and that LCC Scan has the following permissions enabled: network, Bluetooth, and local network.
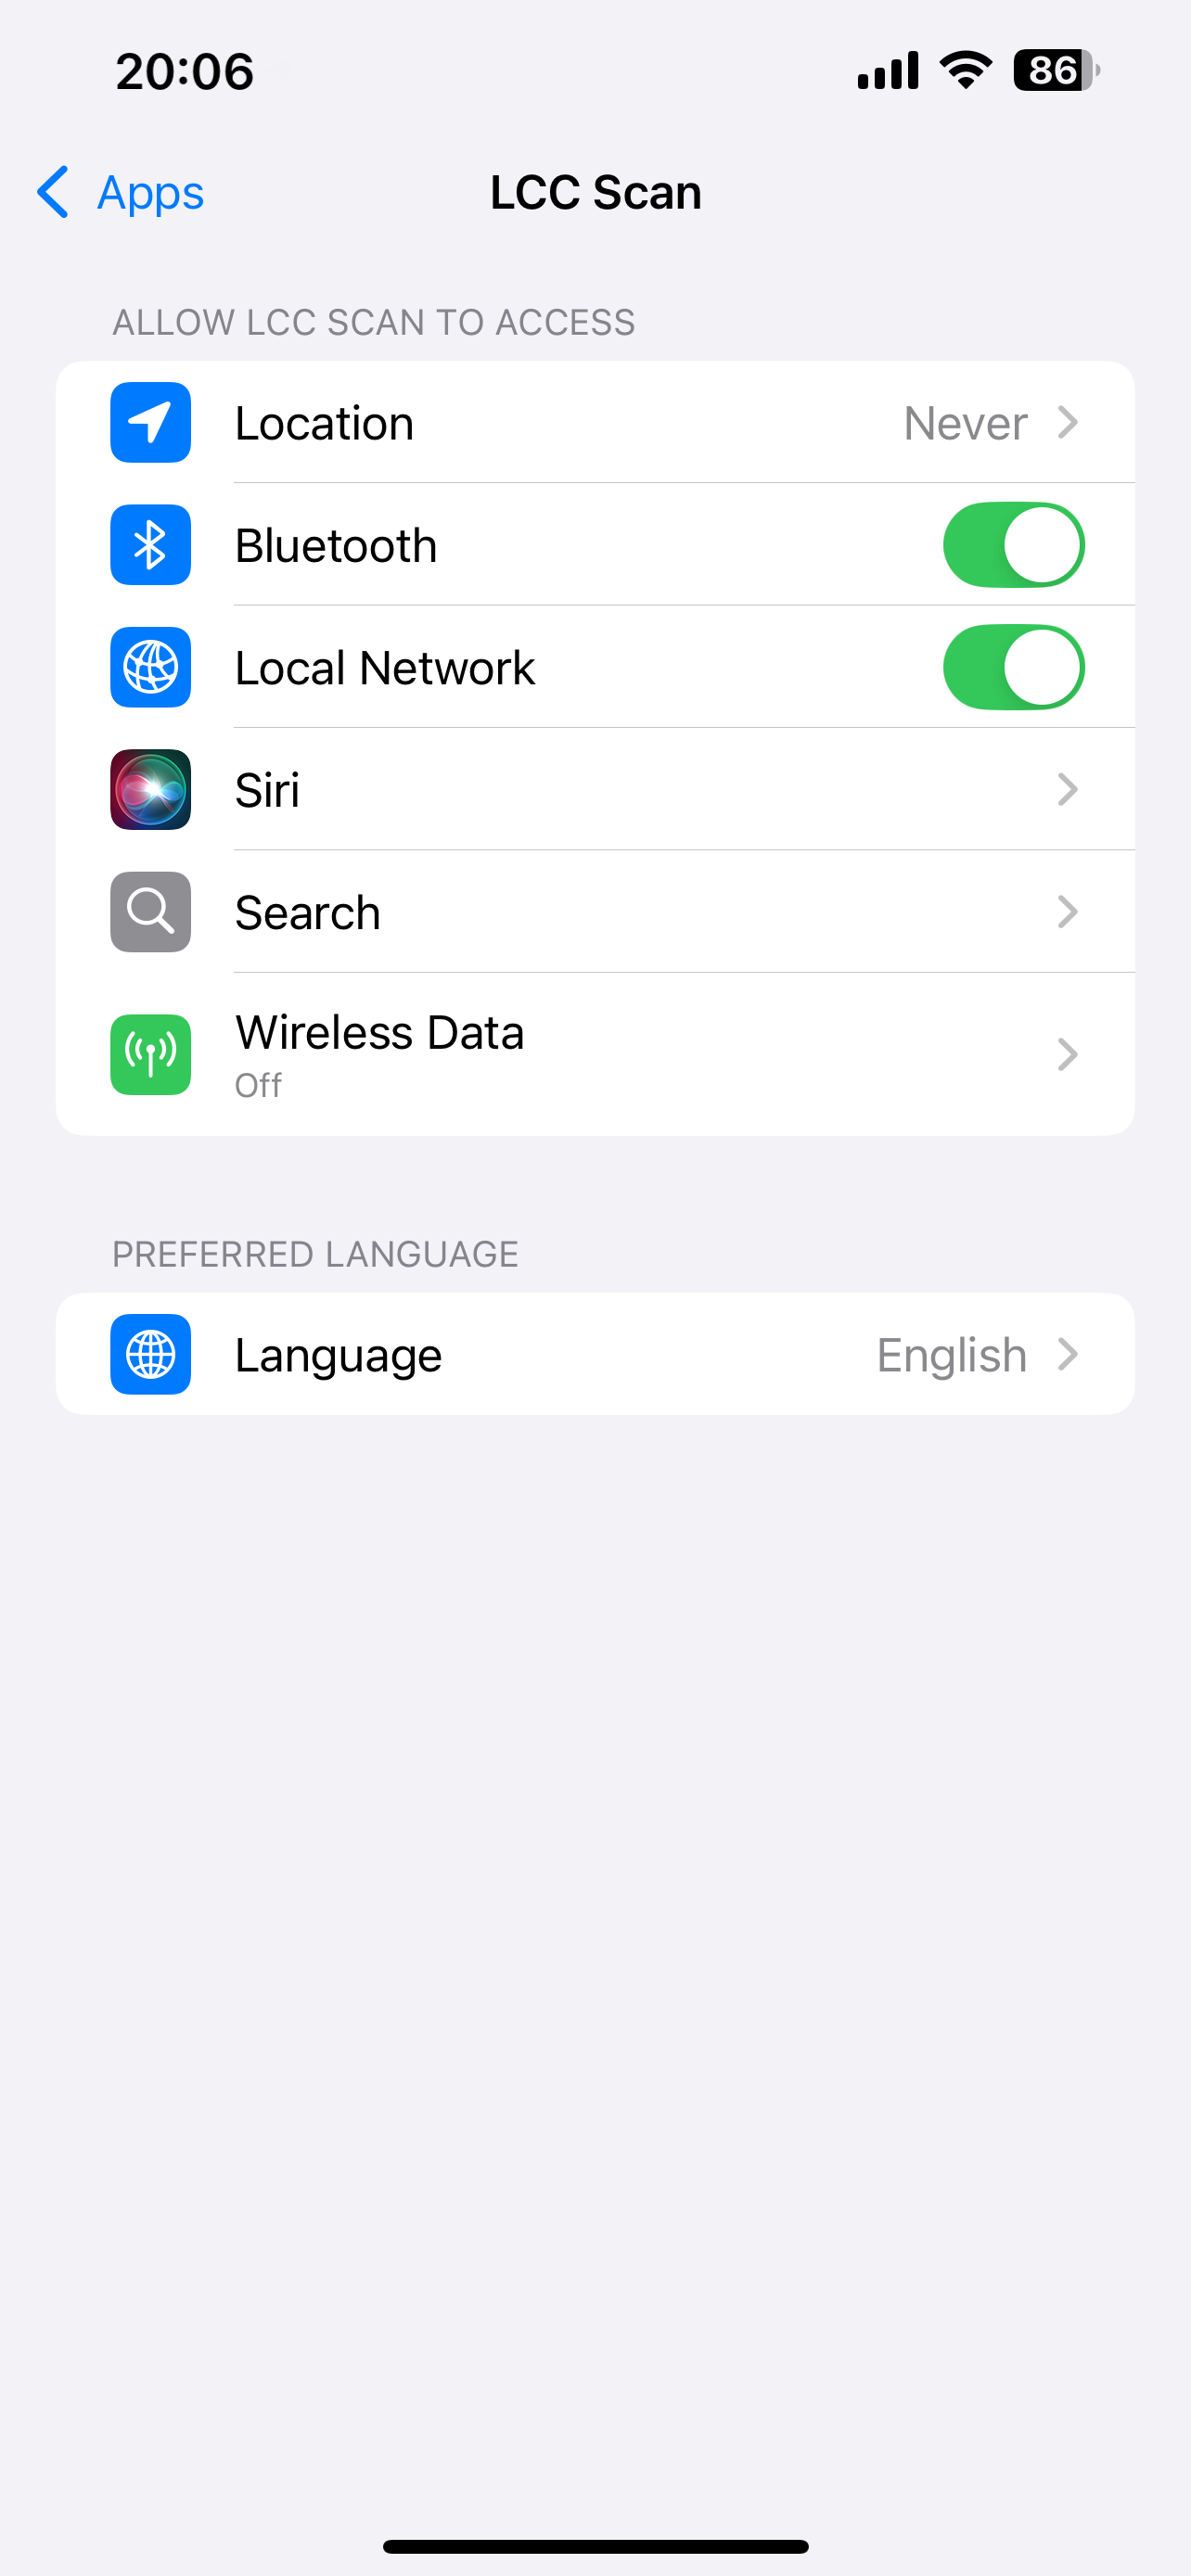
Confirm that the phone has granted GPS and Bluetooth permissions to the LCC Scan App.
Place the PortalCam close to the phone.
Scan Modes
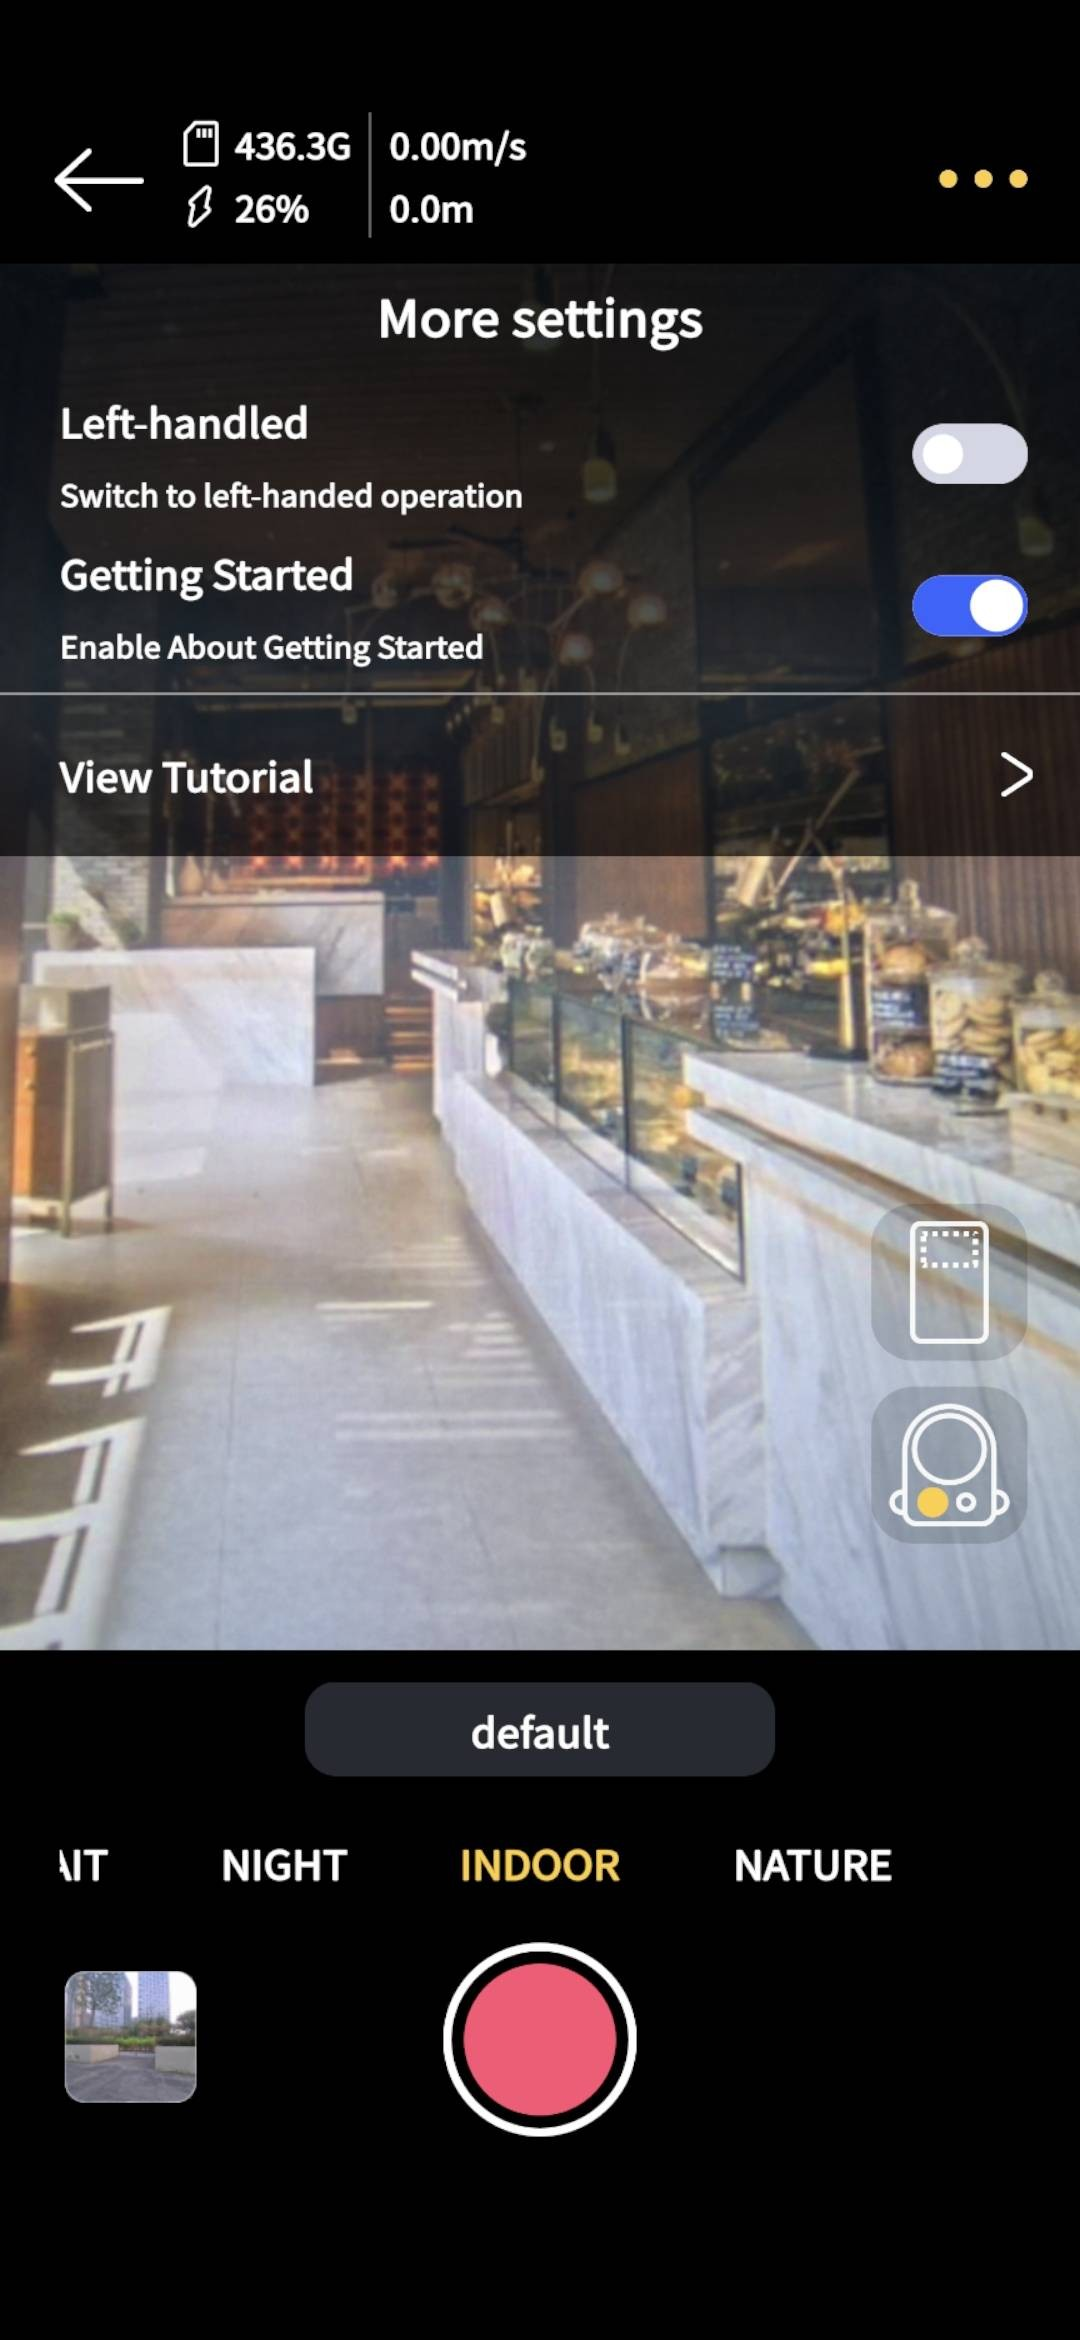
Swipe the mode display area to select a different mode.
| Mode | Use case |
|---|---|
| NIGHT | Use in scenes with dim ambient light. |
| INDOOR | Common indoor lighting, such as apartments and offices. |
| NATURE | Common outdoor natural light, such as sunny periods. |
| PORTRAIT | Use when reconstructing a person with the PortalCam. |
Tip
Q1: When should I choose NIGHT mode?
A: Outdoors: early morning or dusk, when sunlight is weak and ambient brightness is low. Indoors: weak light sources and dim ambient light.
Q2: If I need to move from a well-lit area into a dim corridor and then back into a well-lit area, which mode should I choose?
A: Choose NIGHT mode to keep good LCC quality even in dim environments.
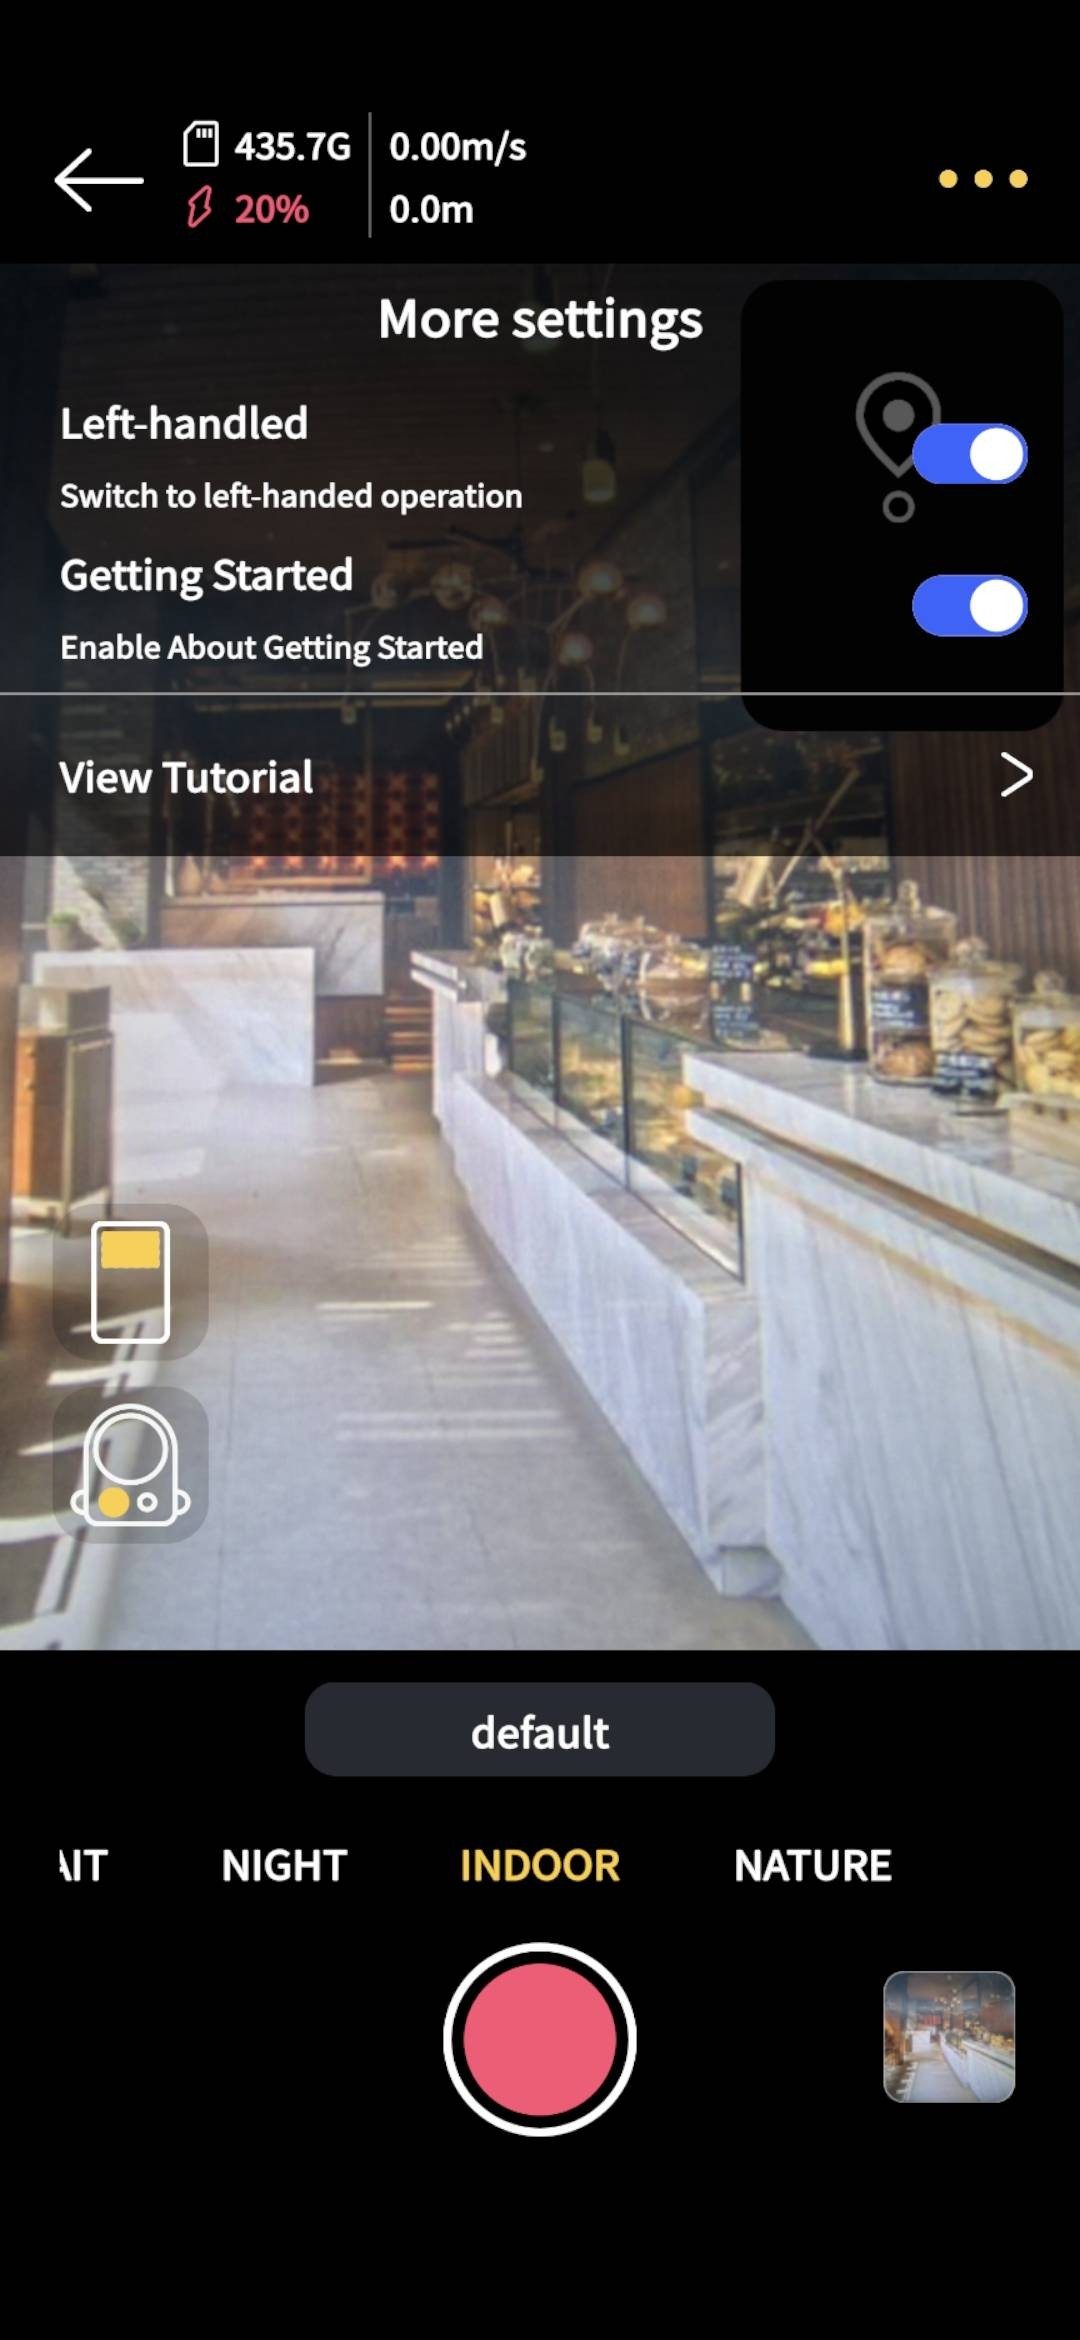
- Tap the icon to enter the scan page, then press and hold to start scanning.
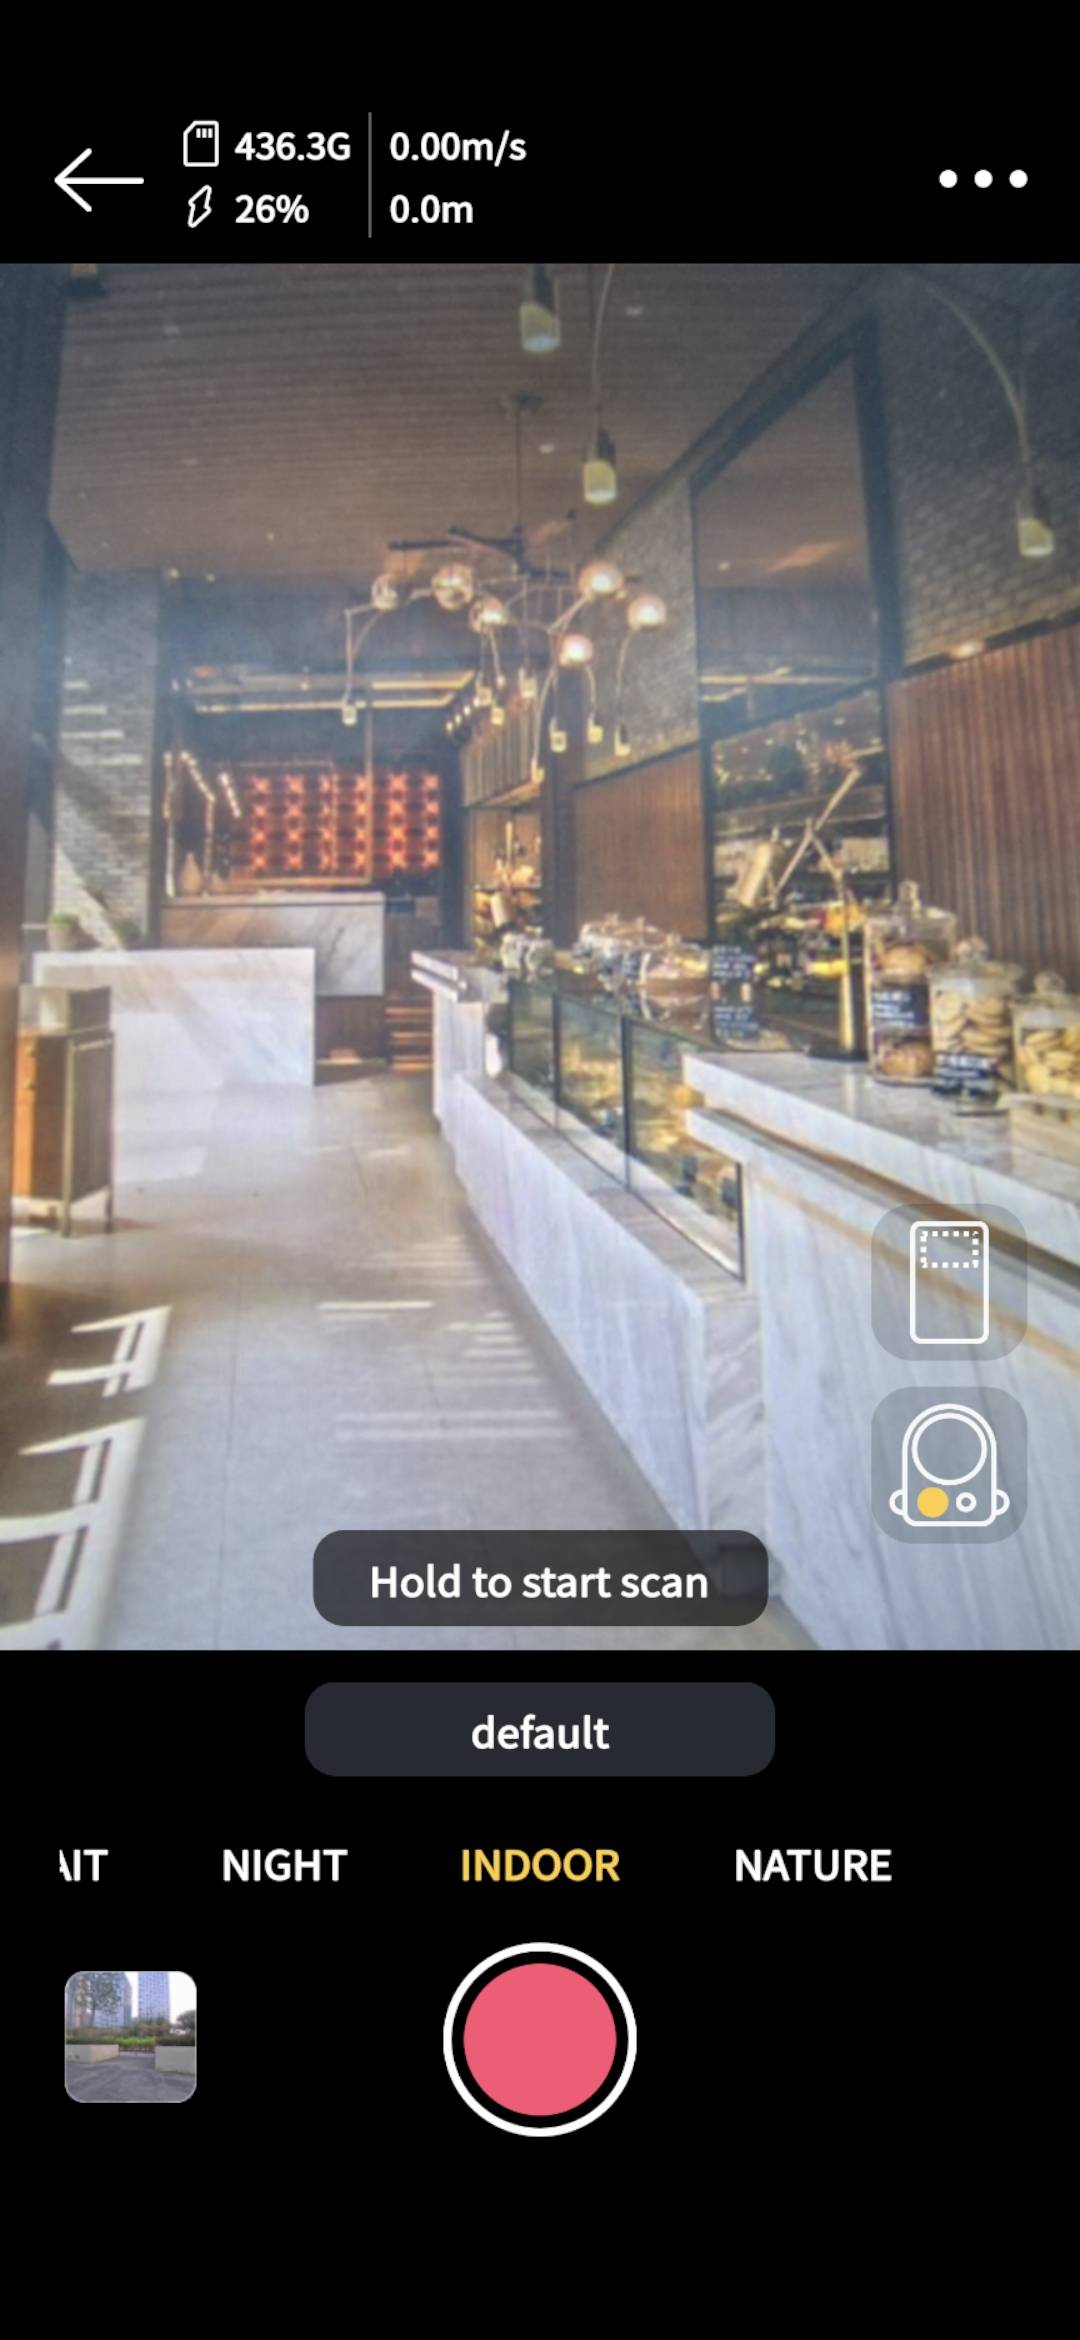
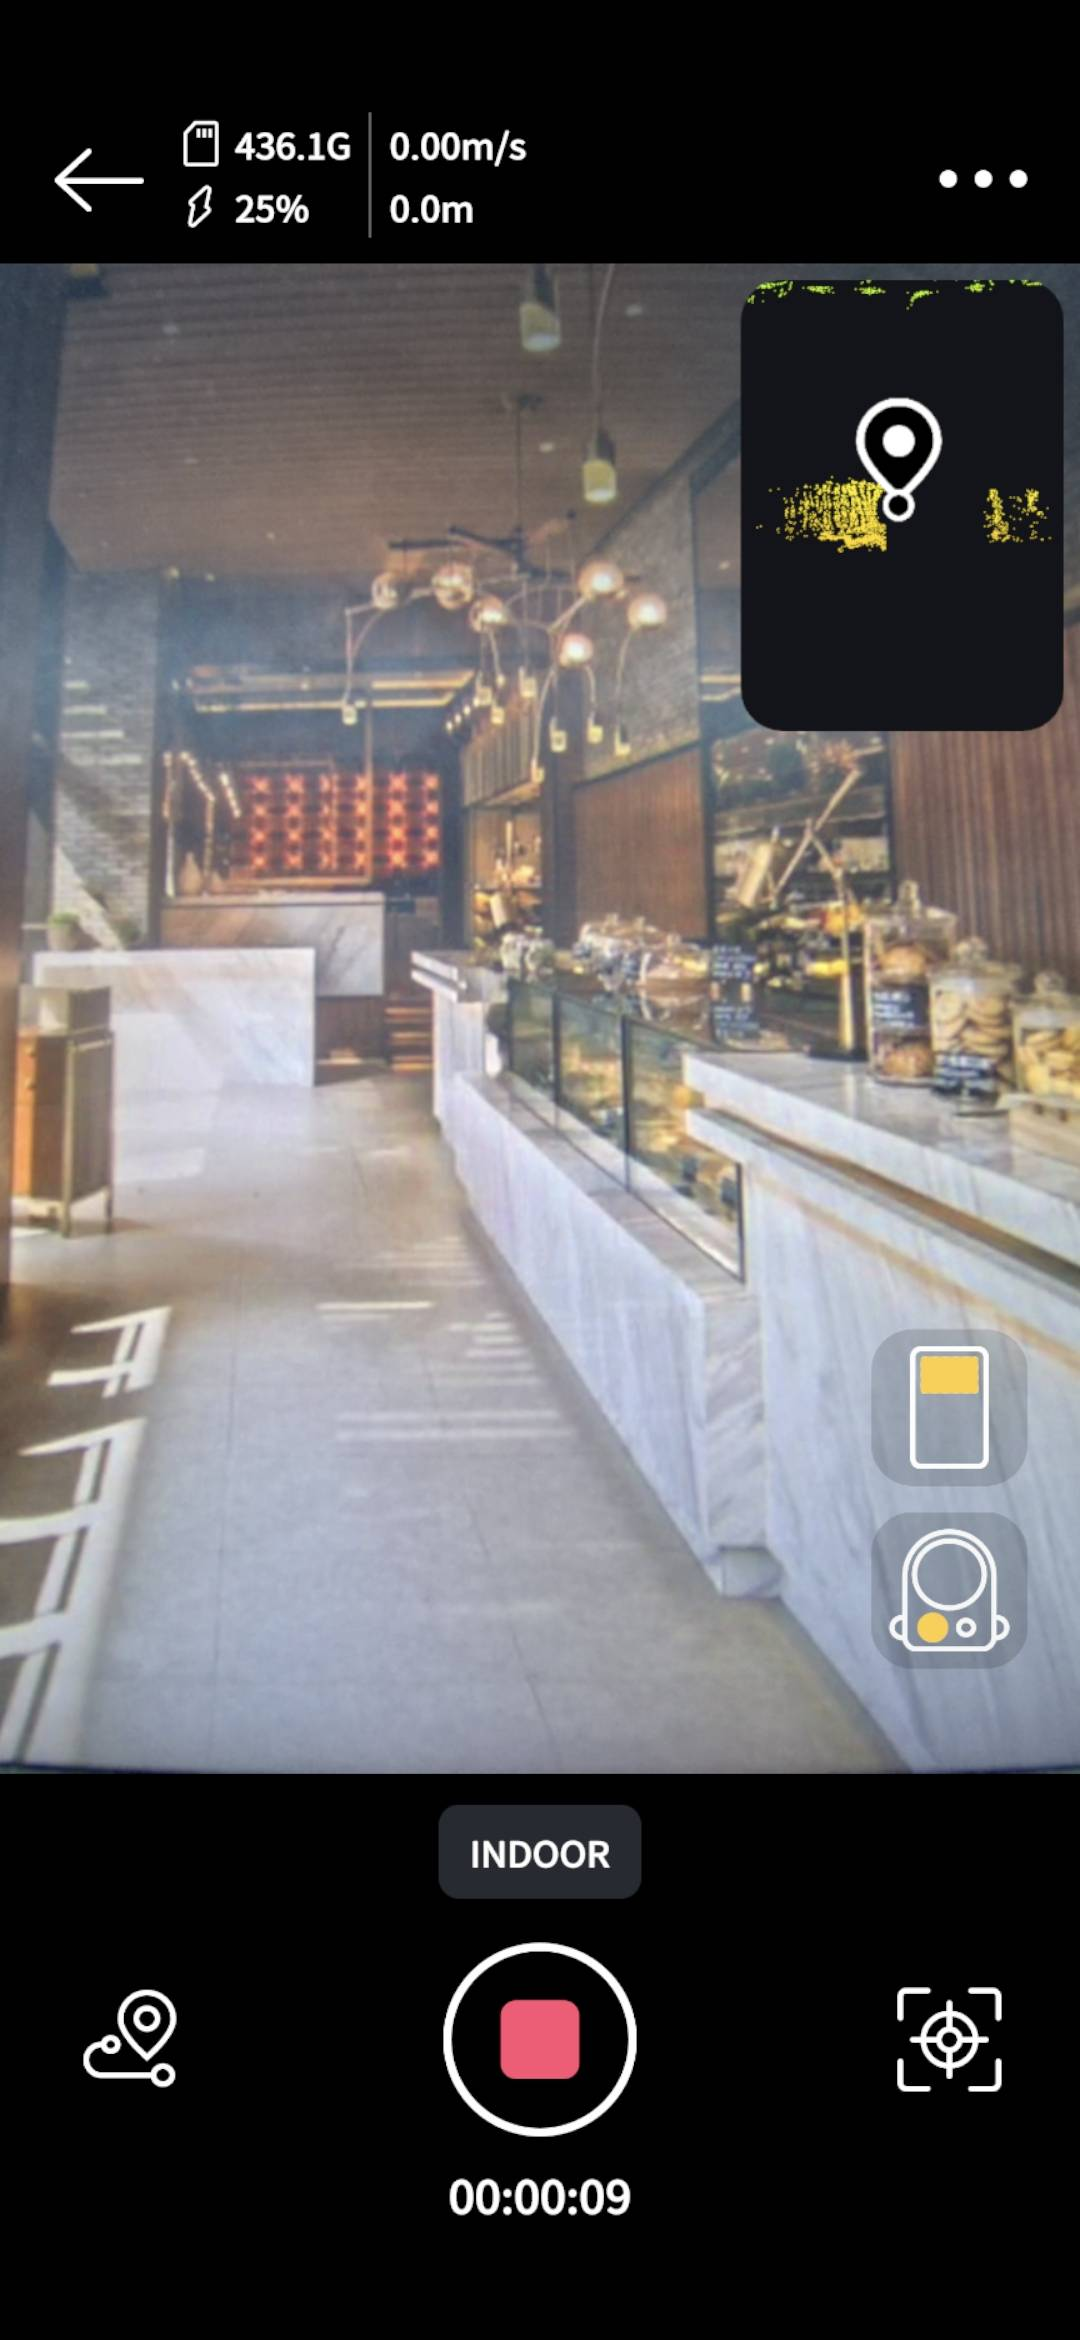
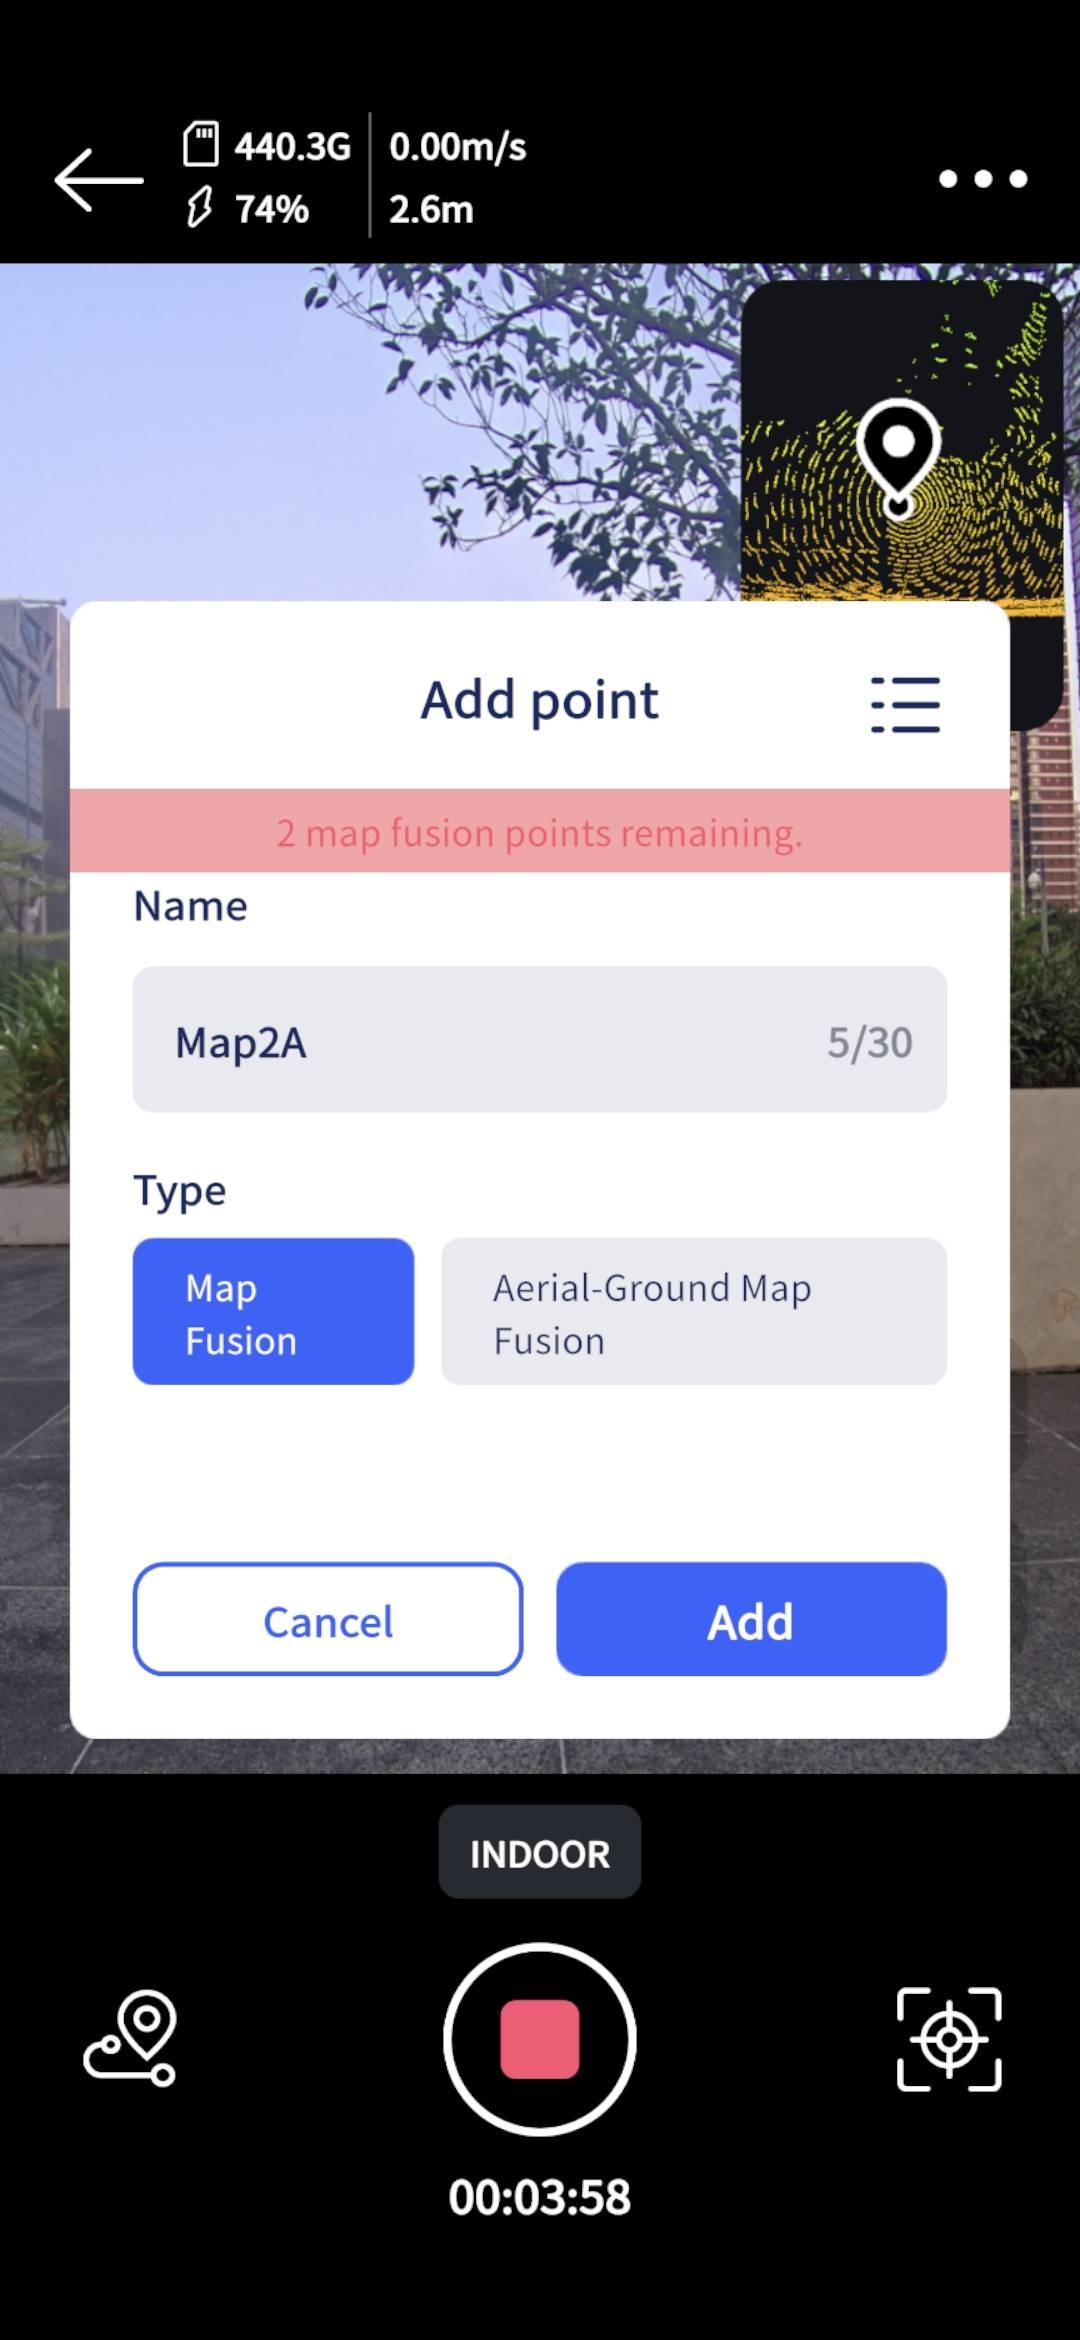
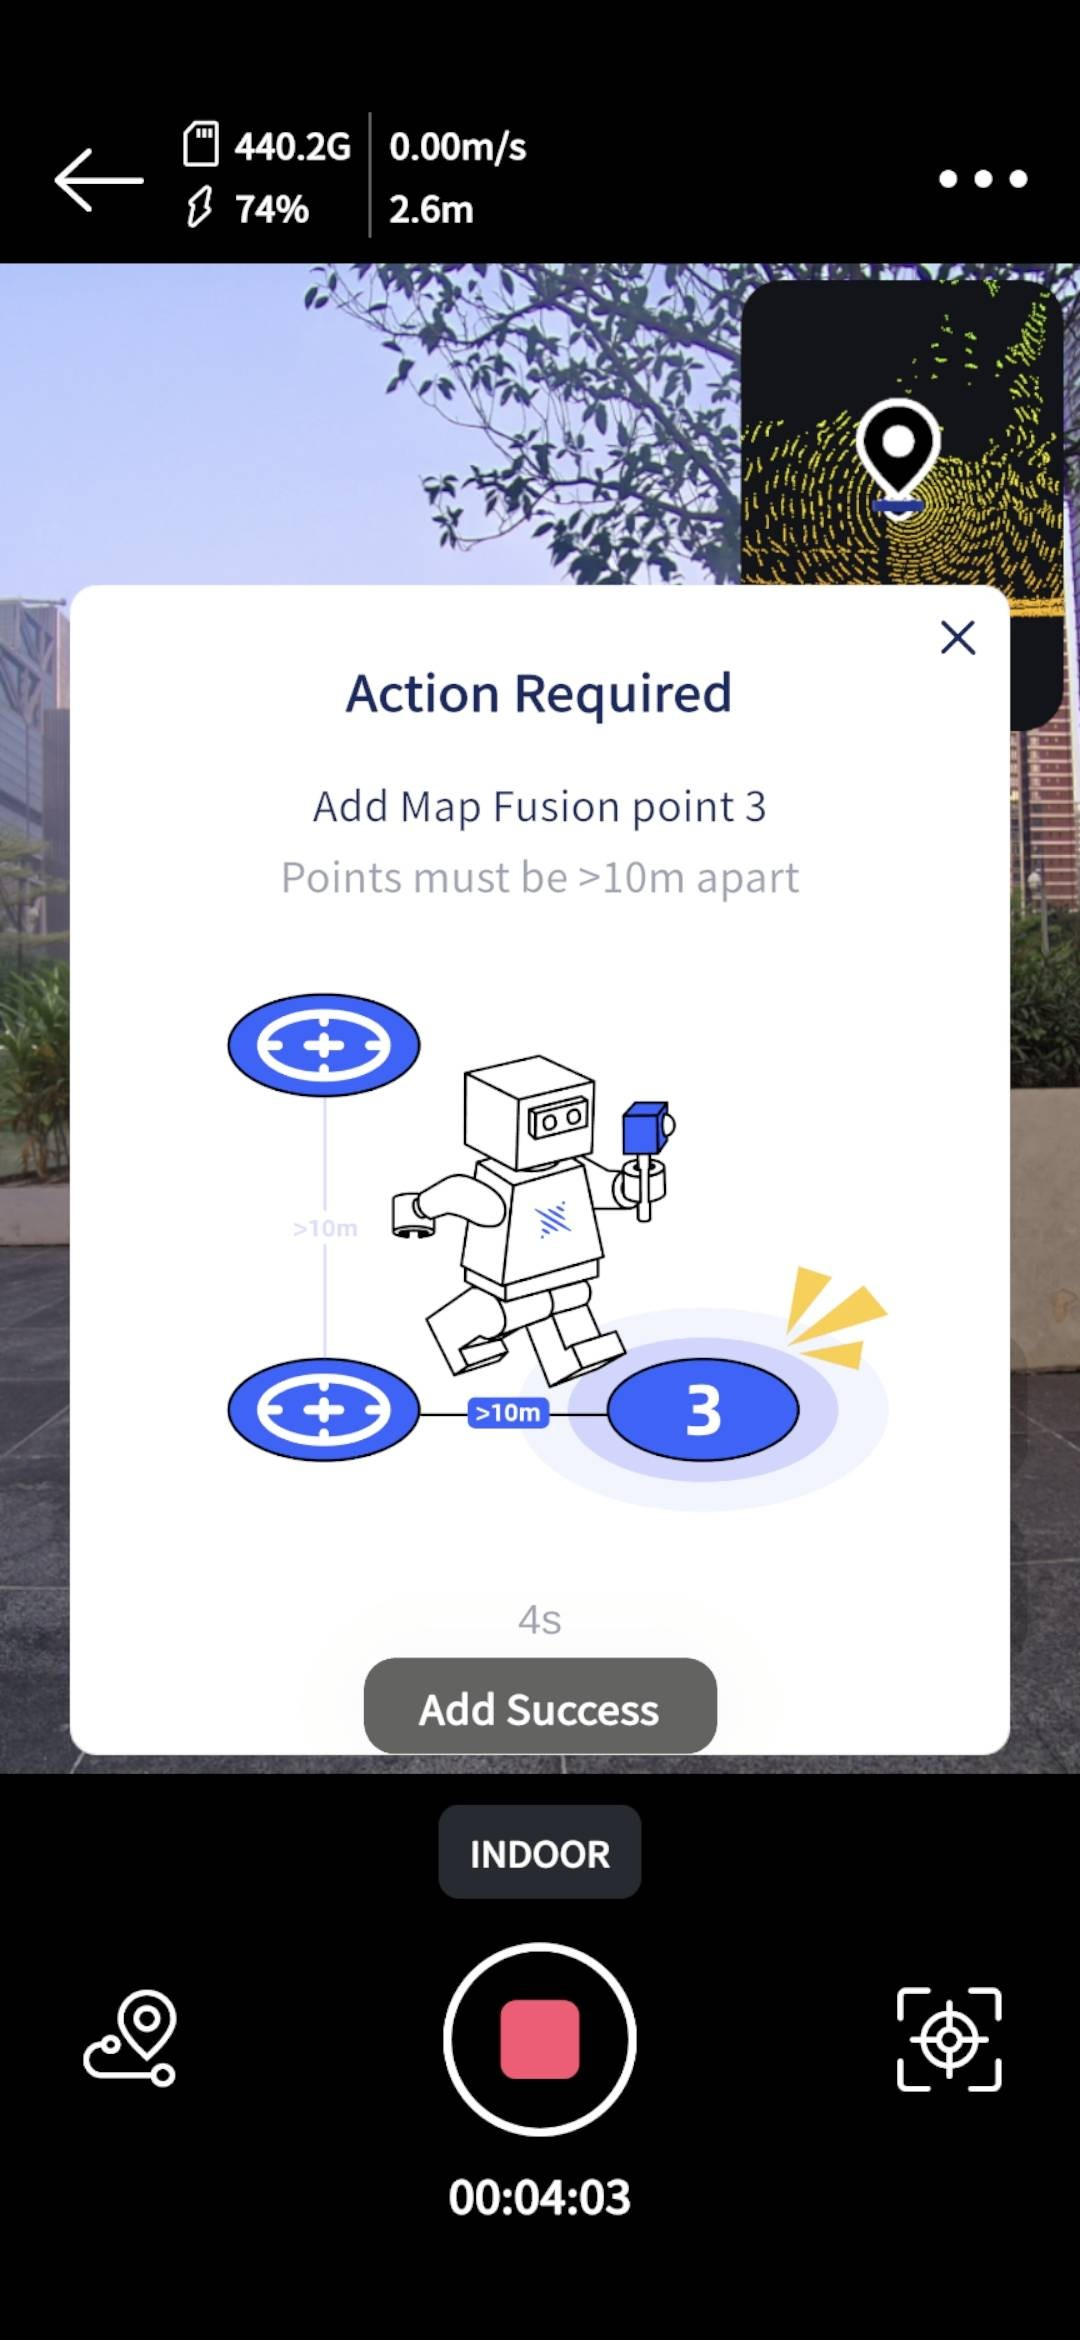
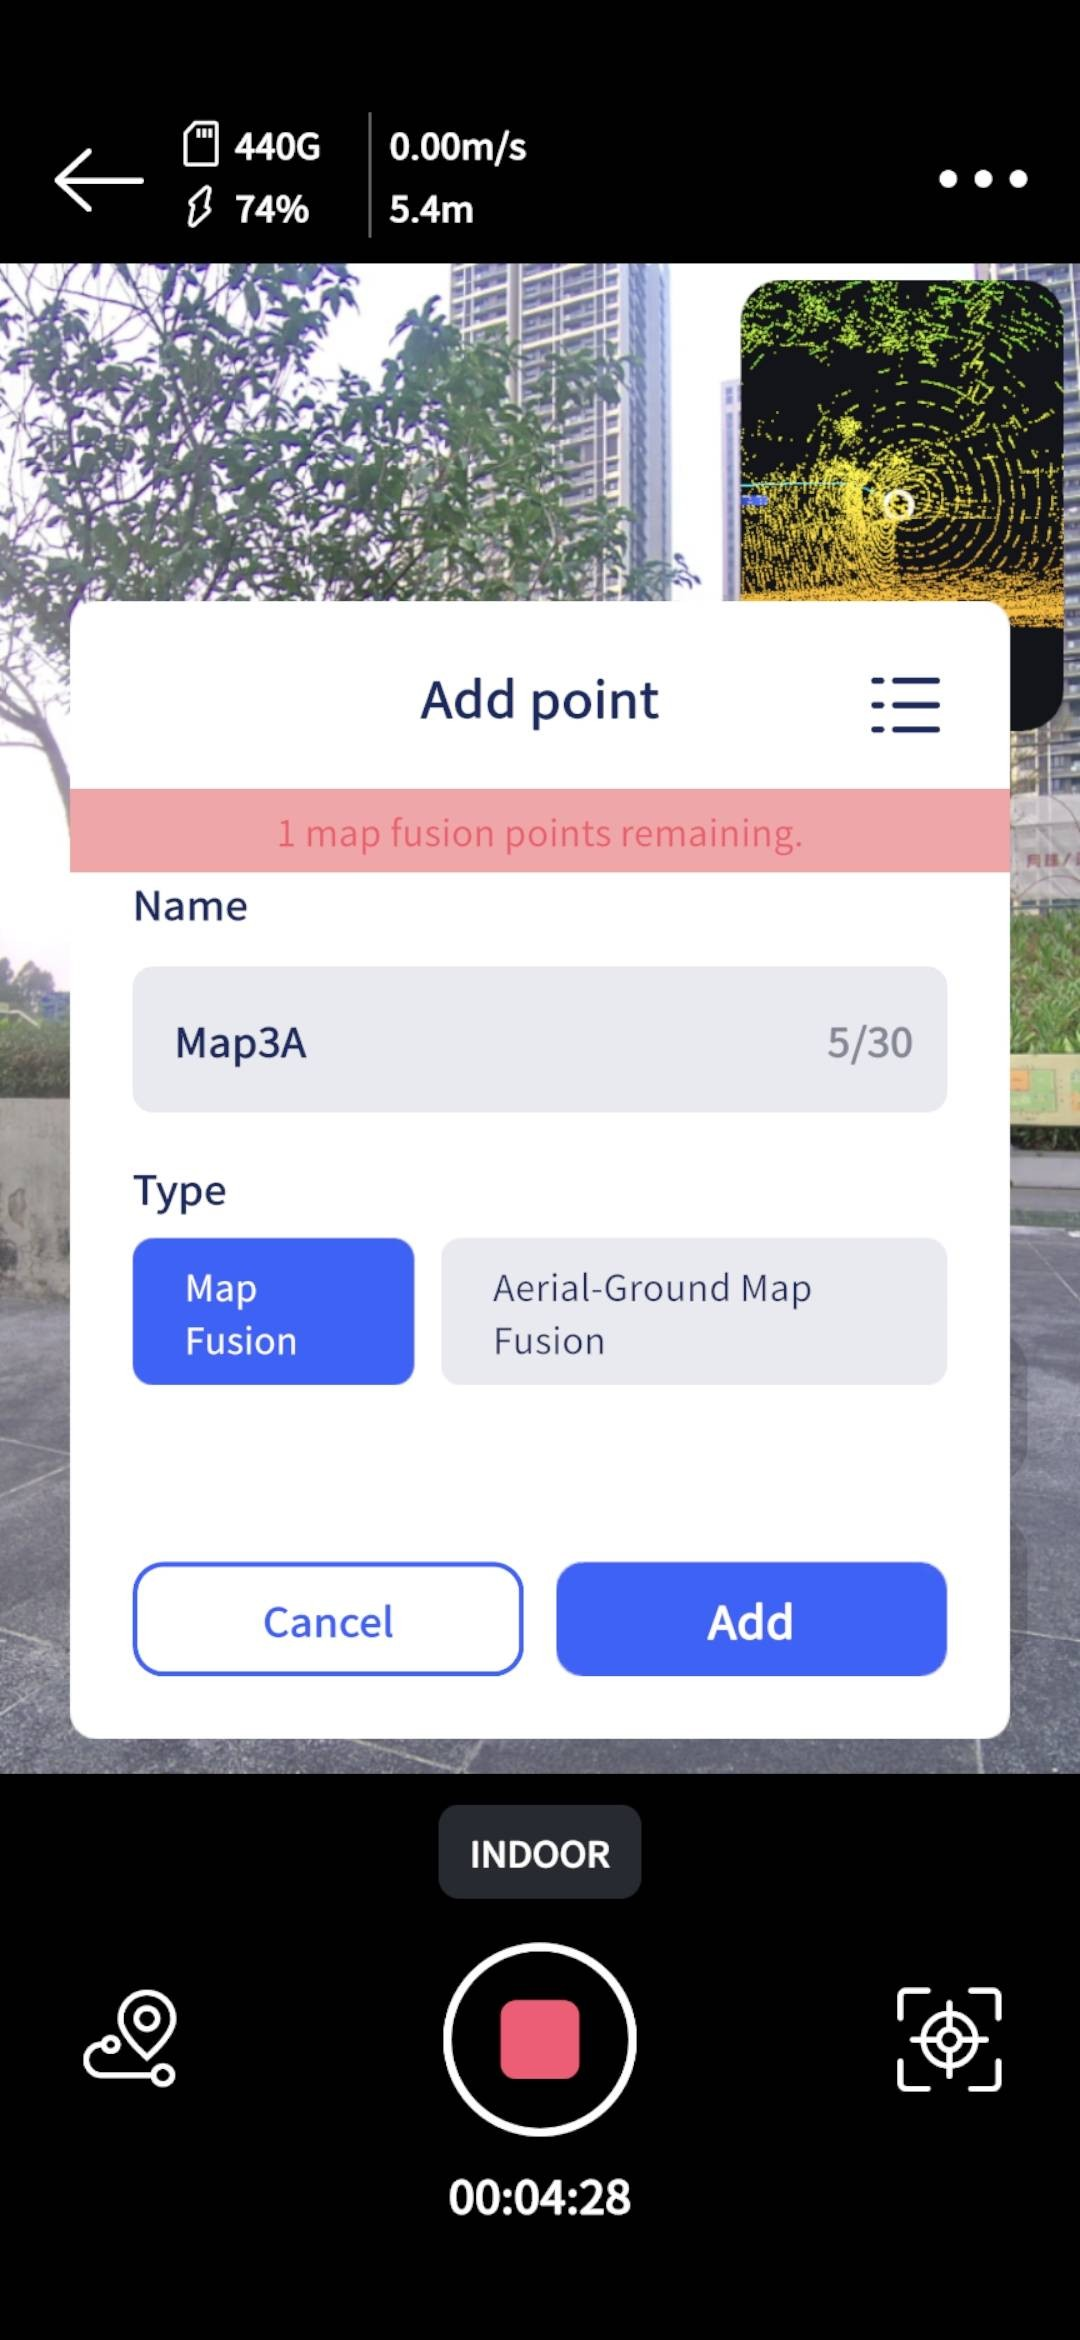
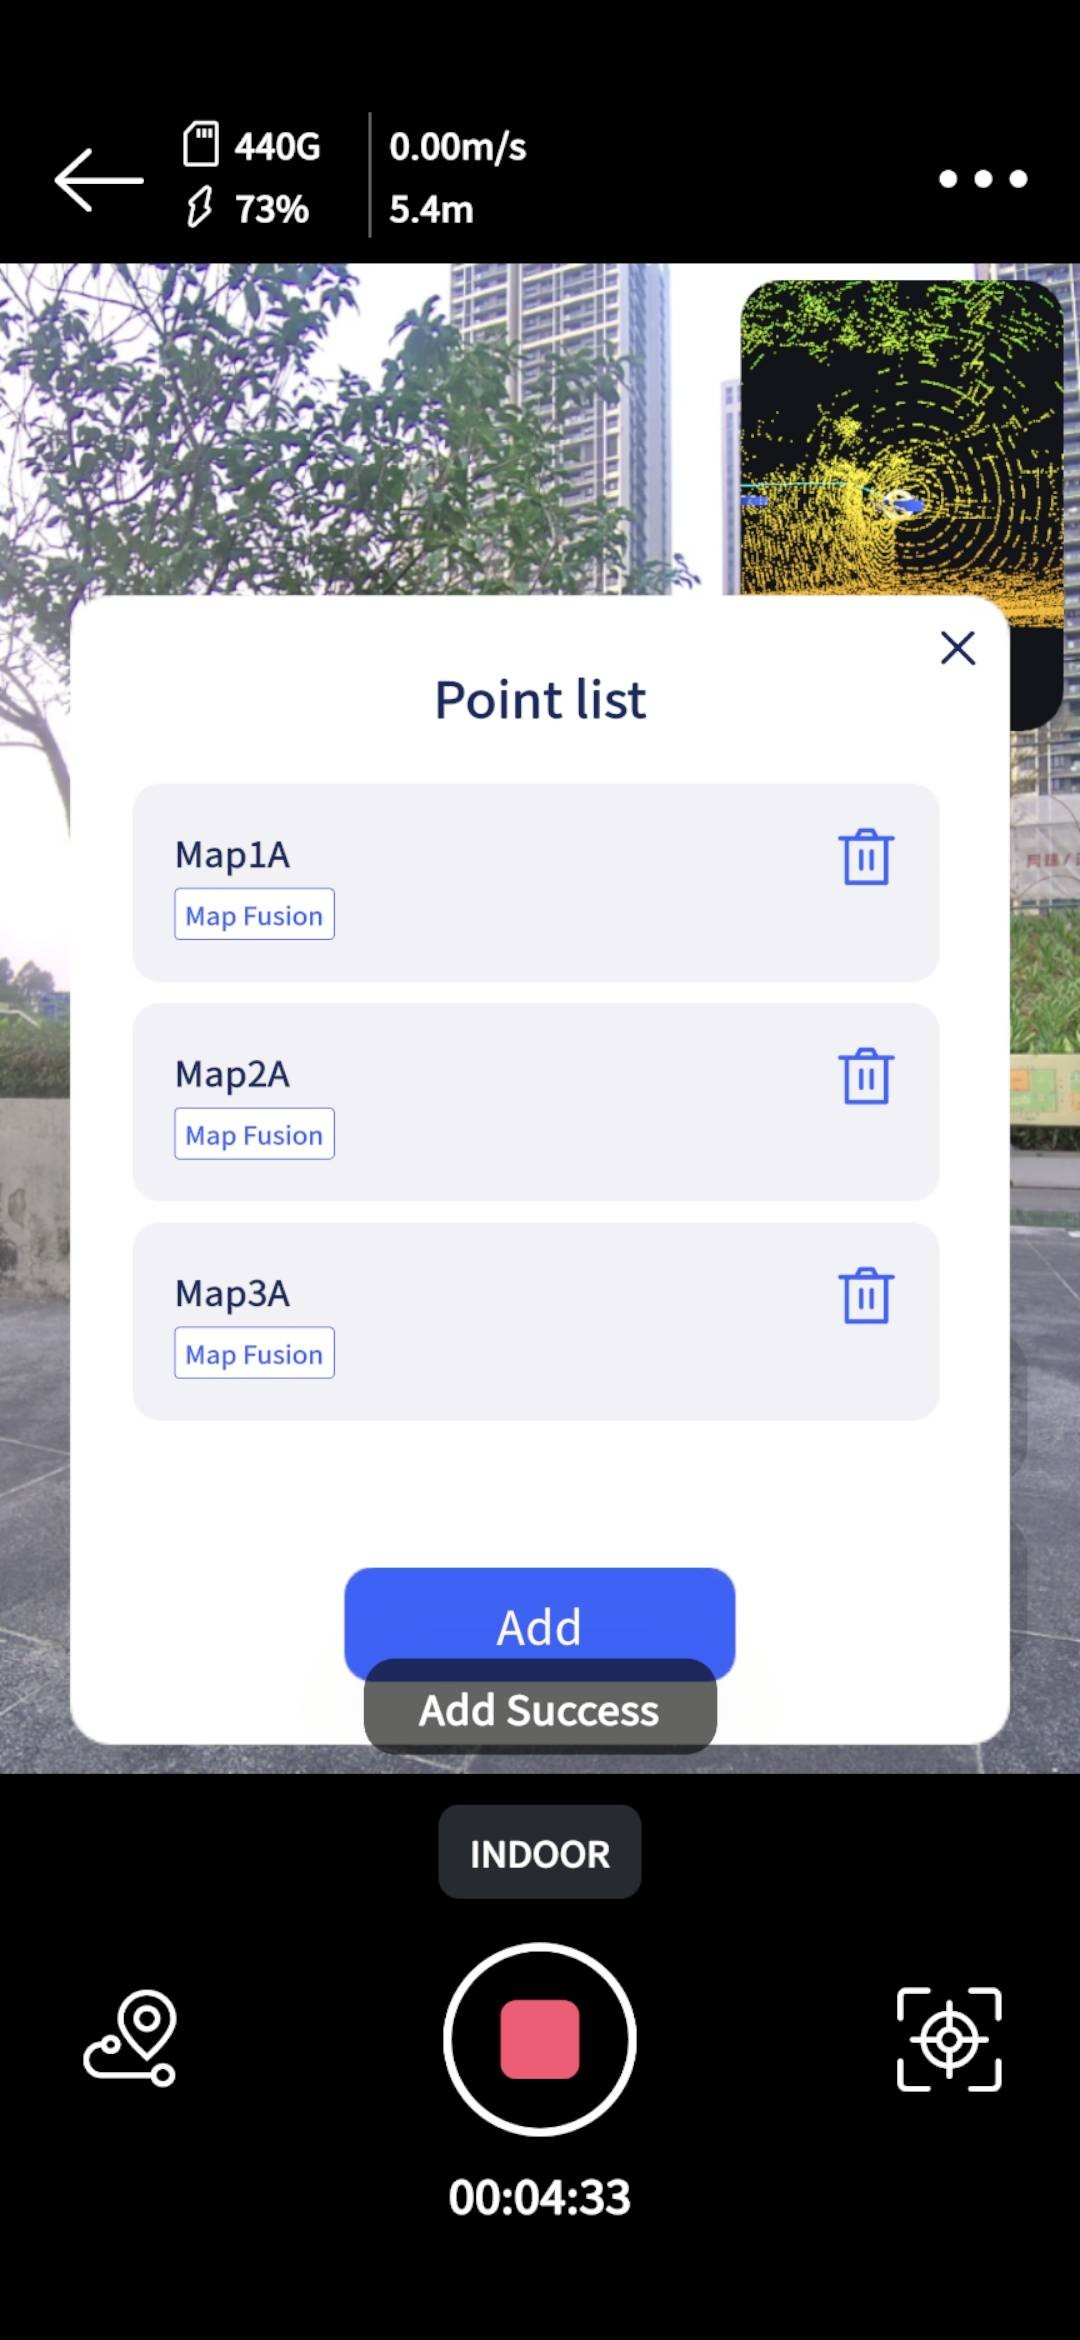
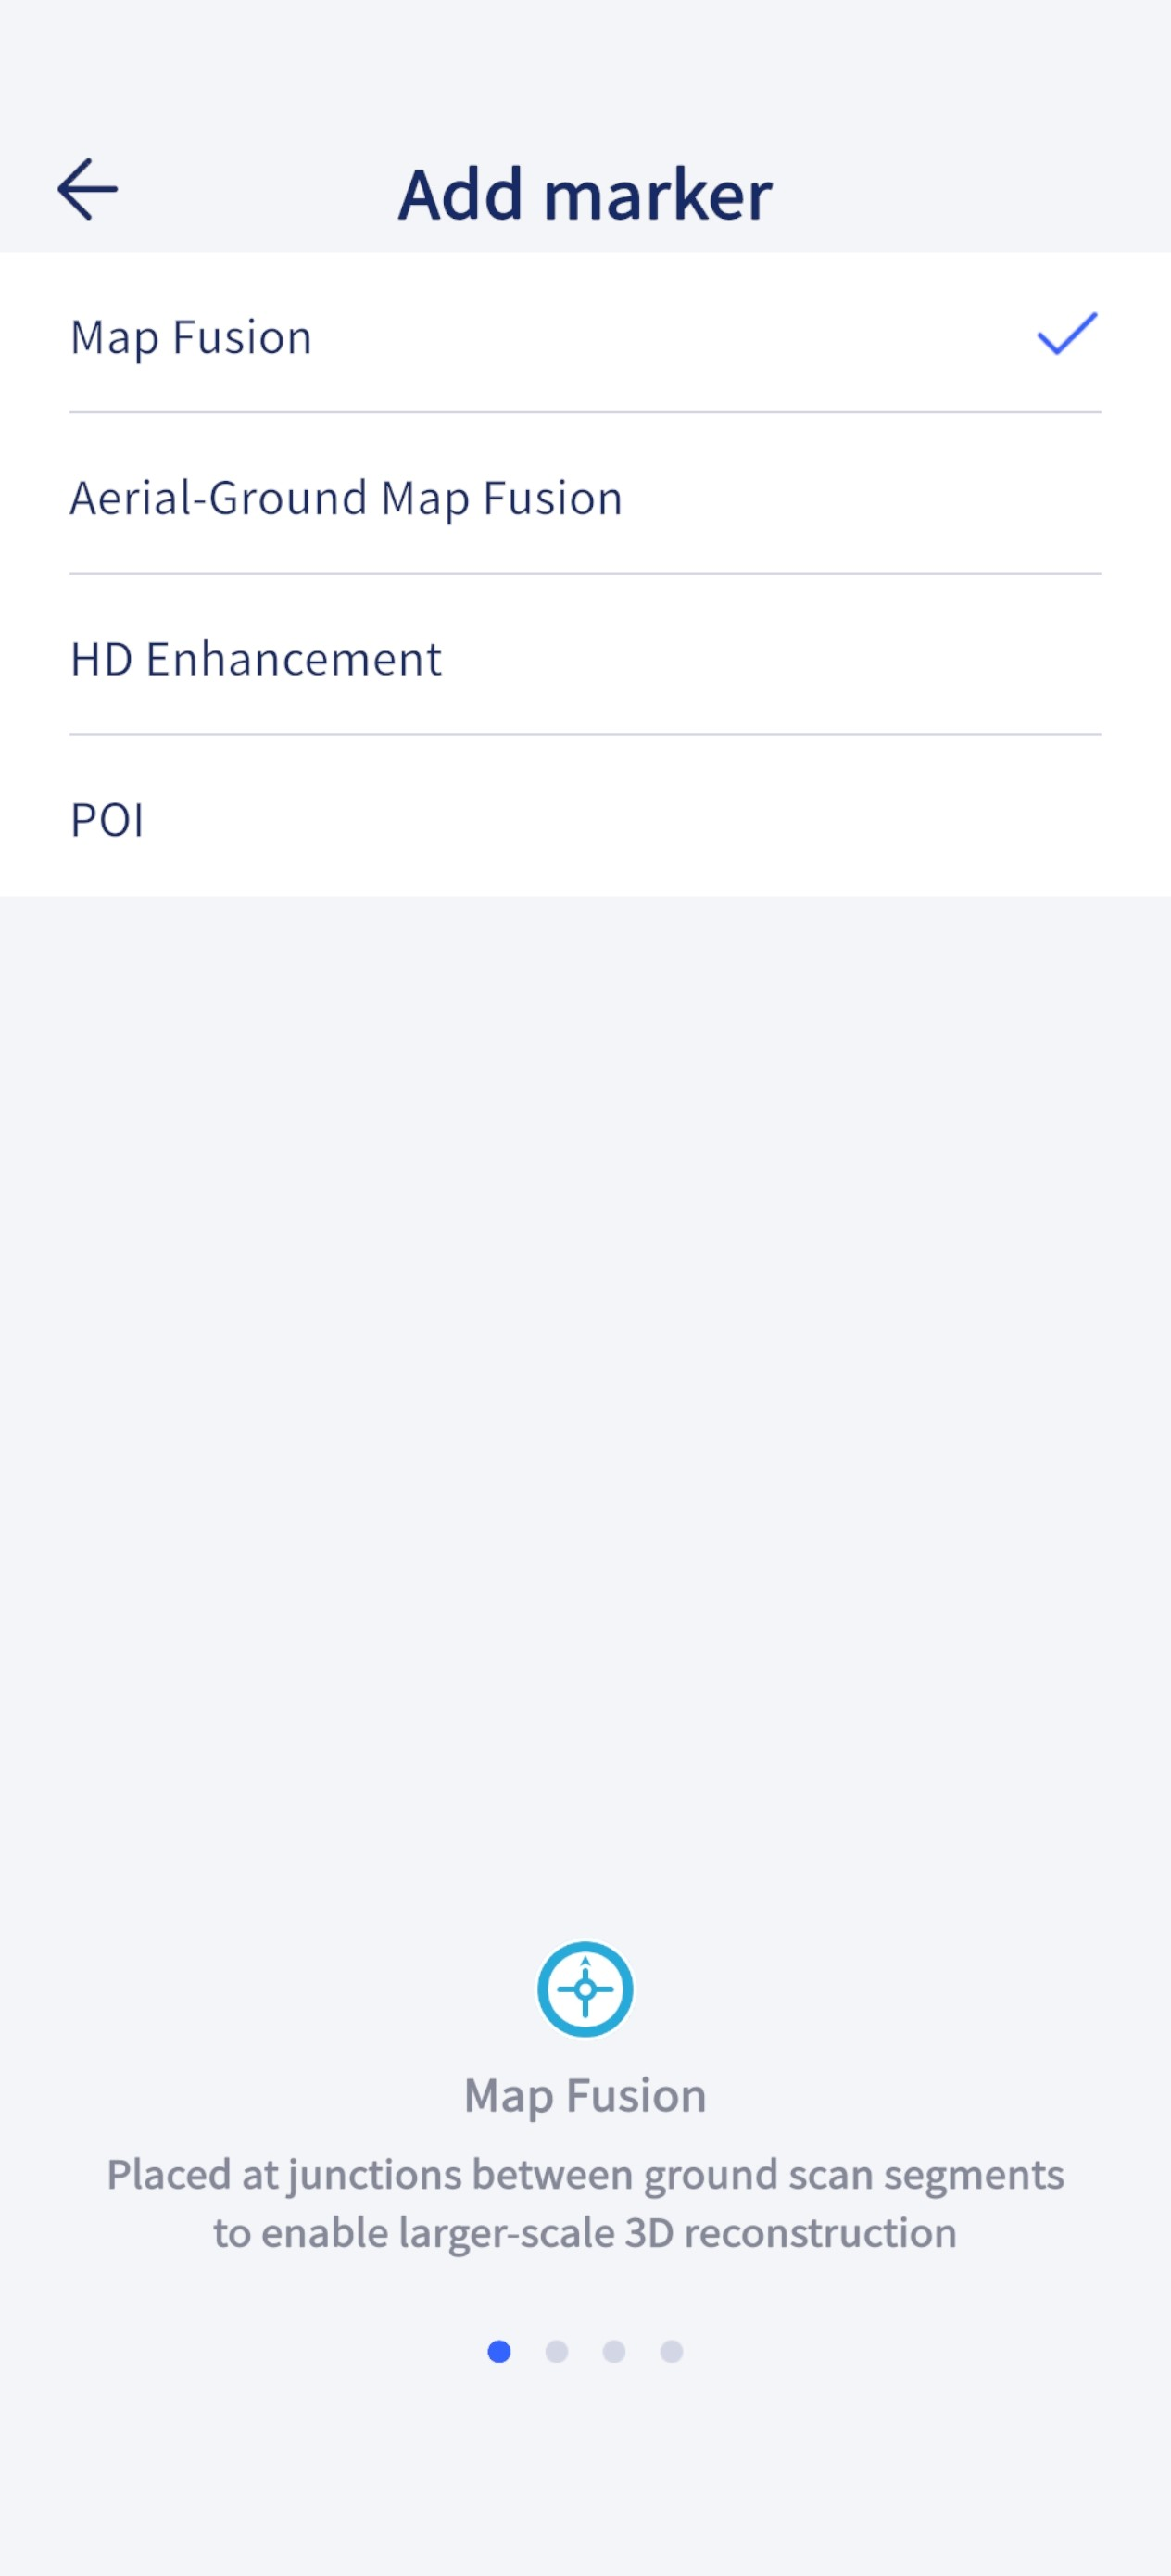
- Add points
- Add a Map Fusion point
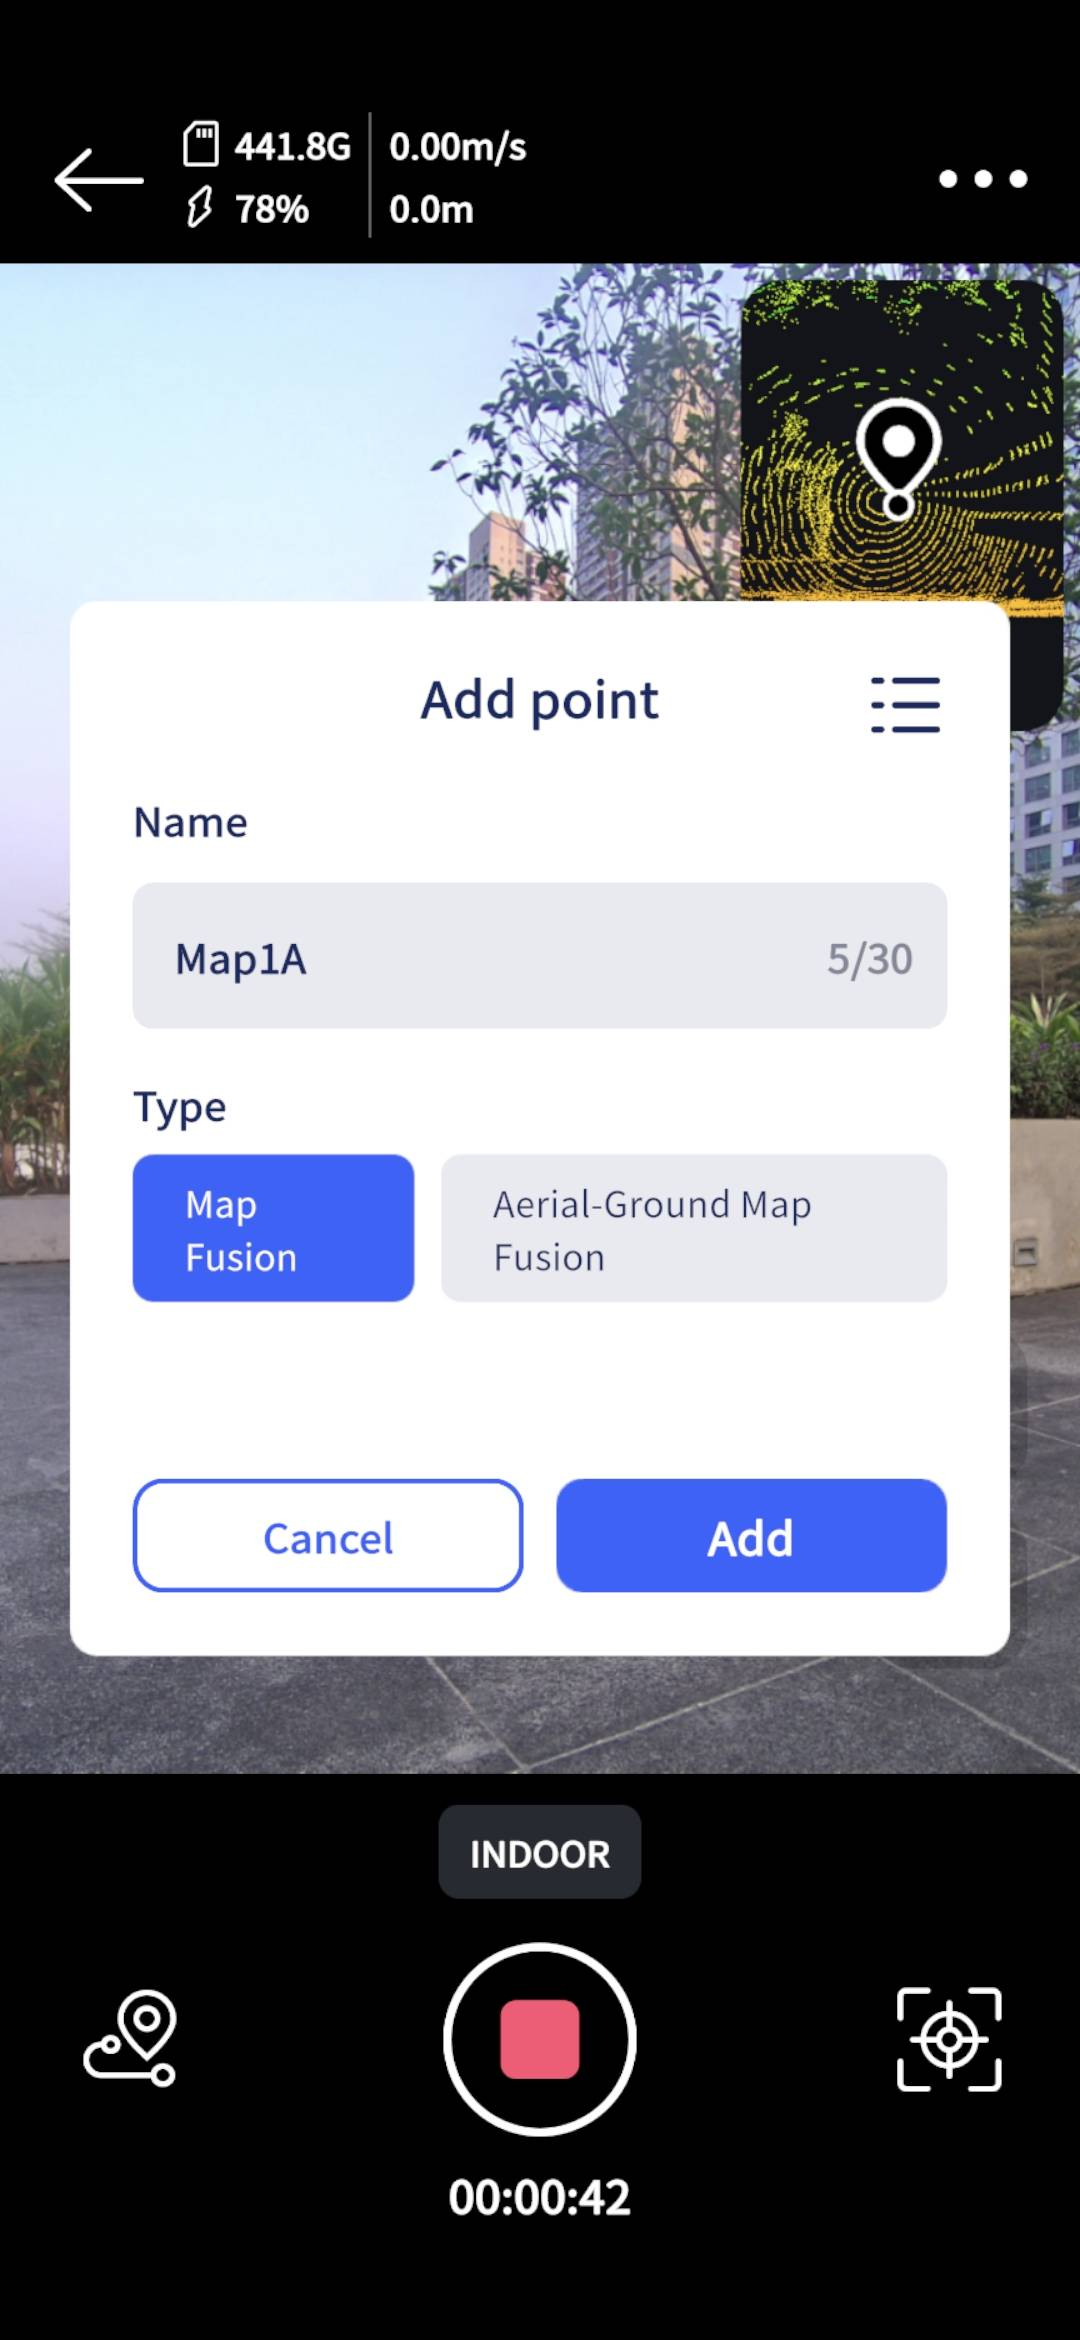
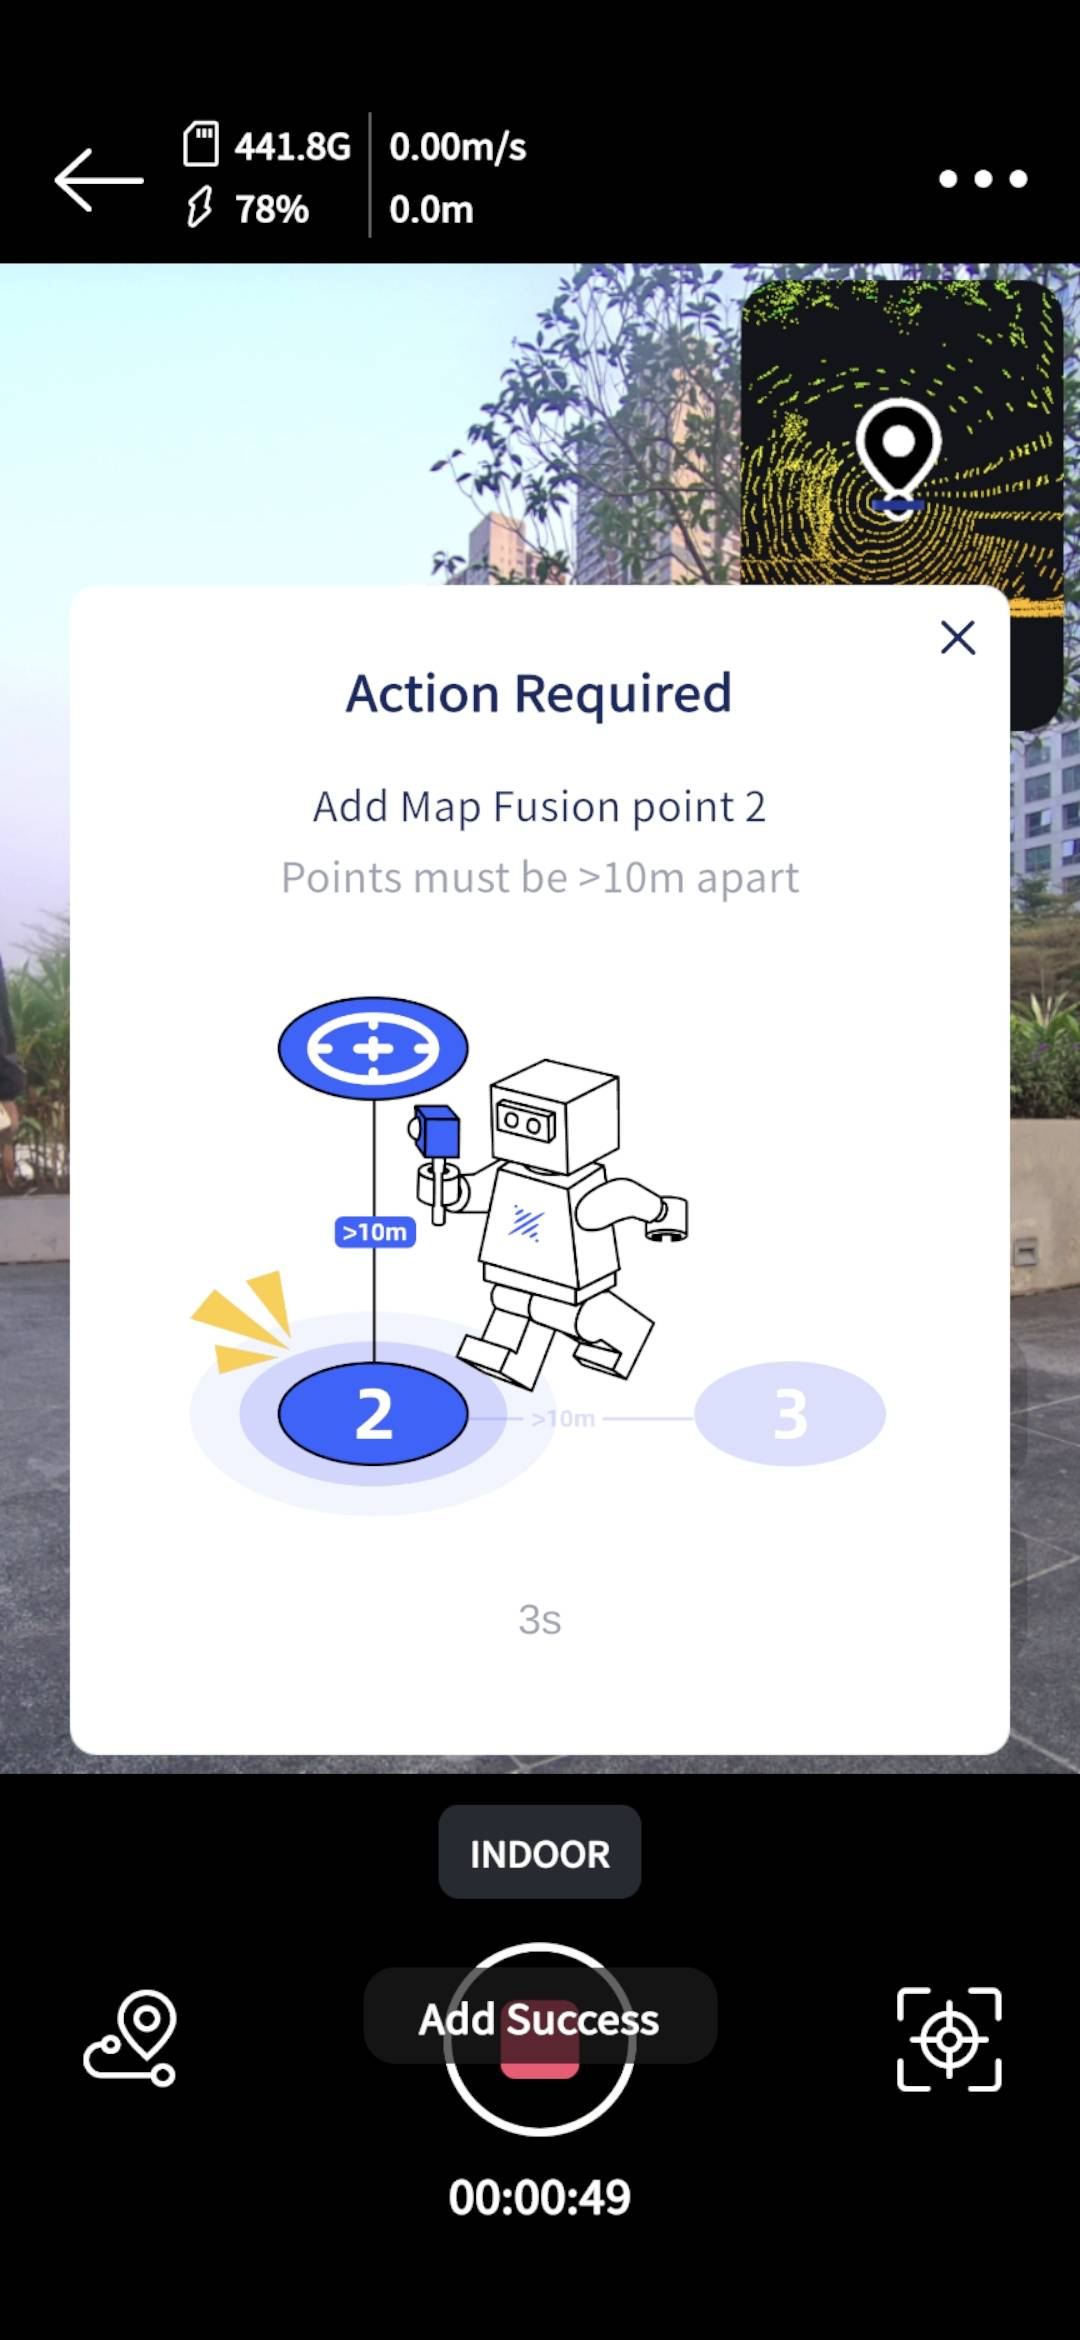
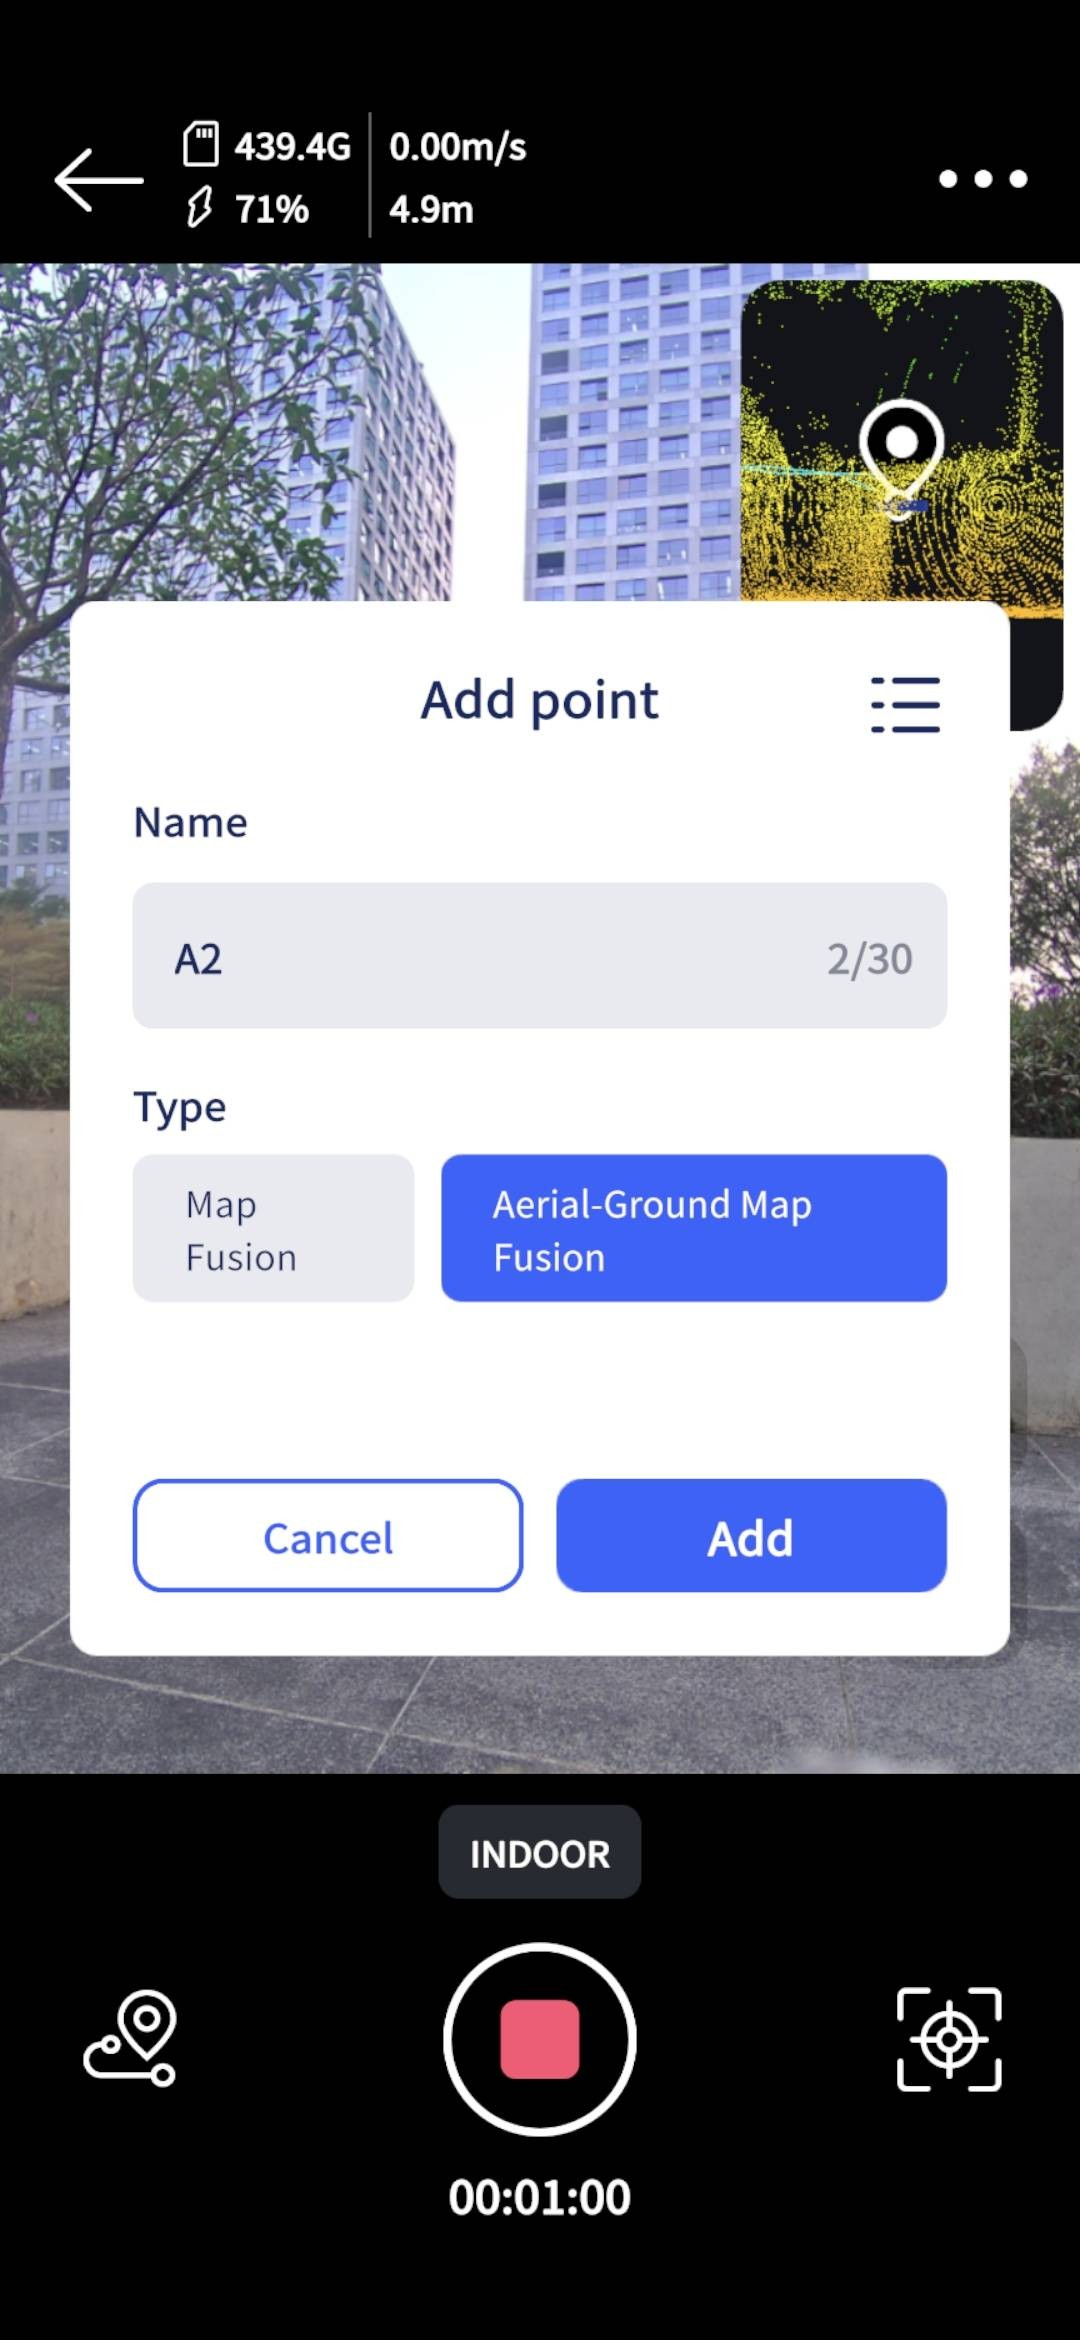
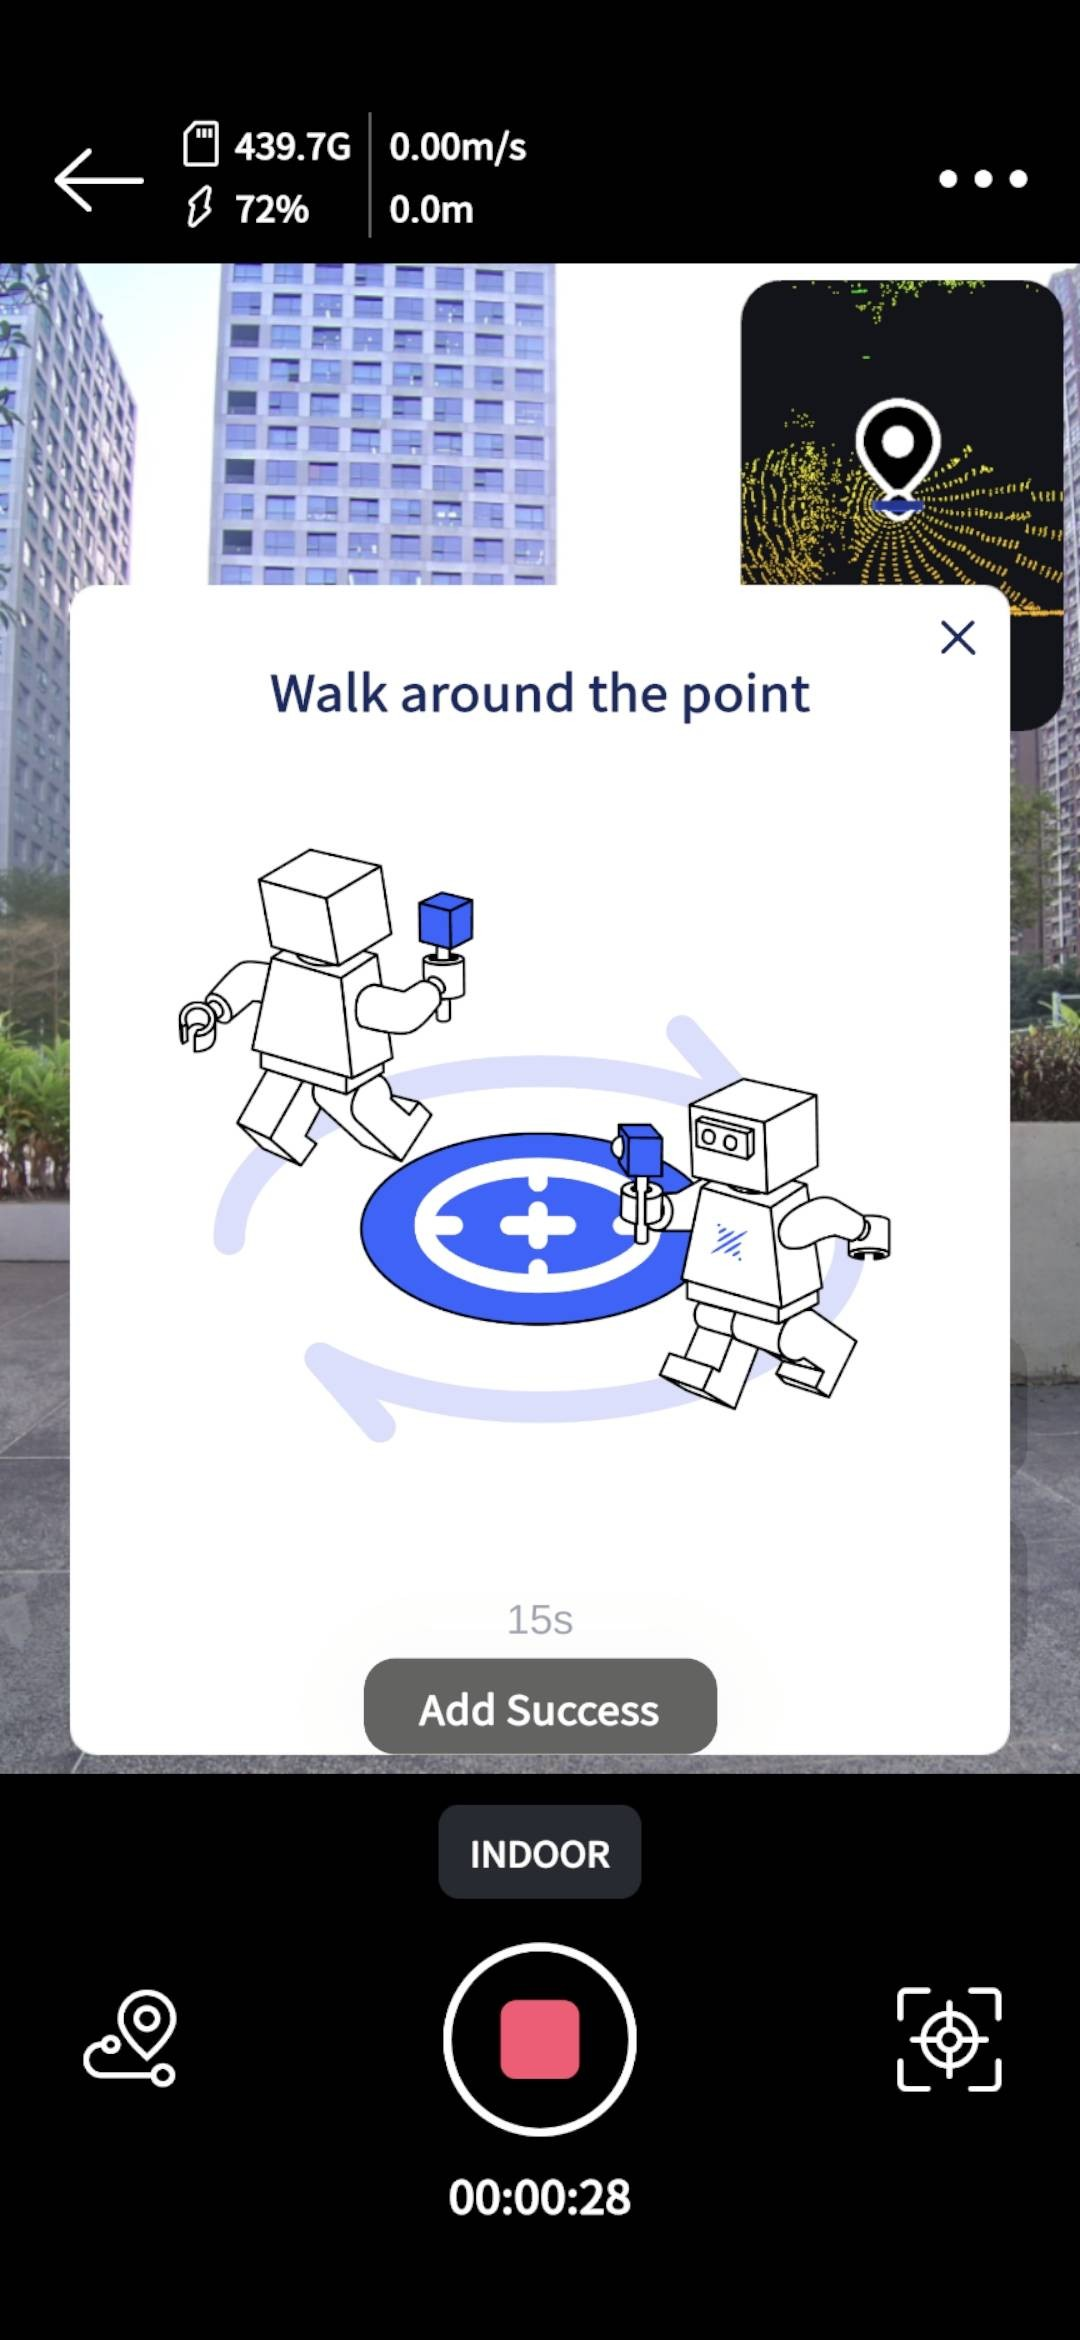
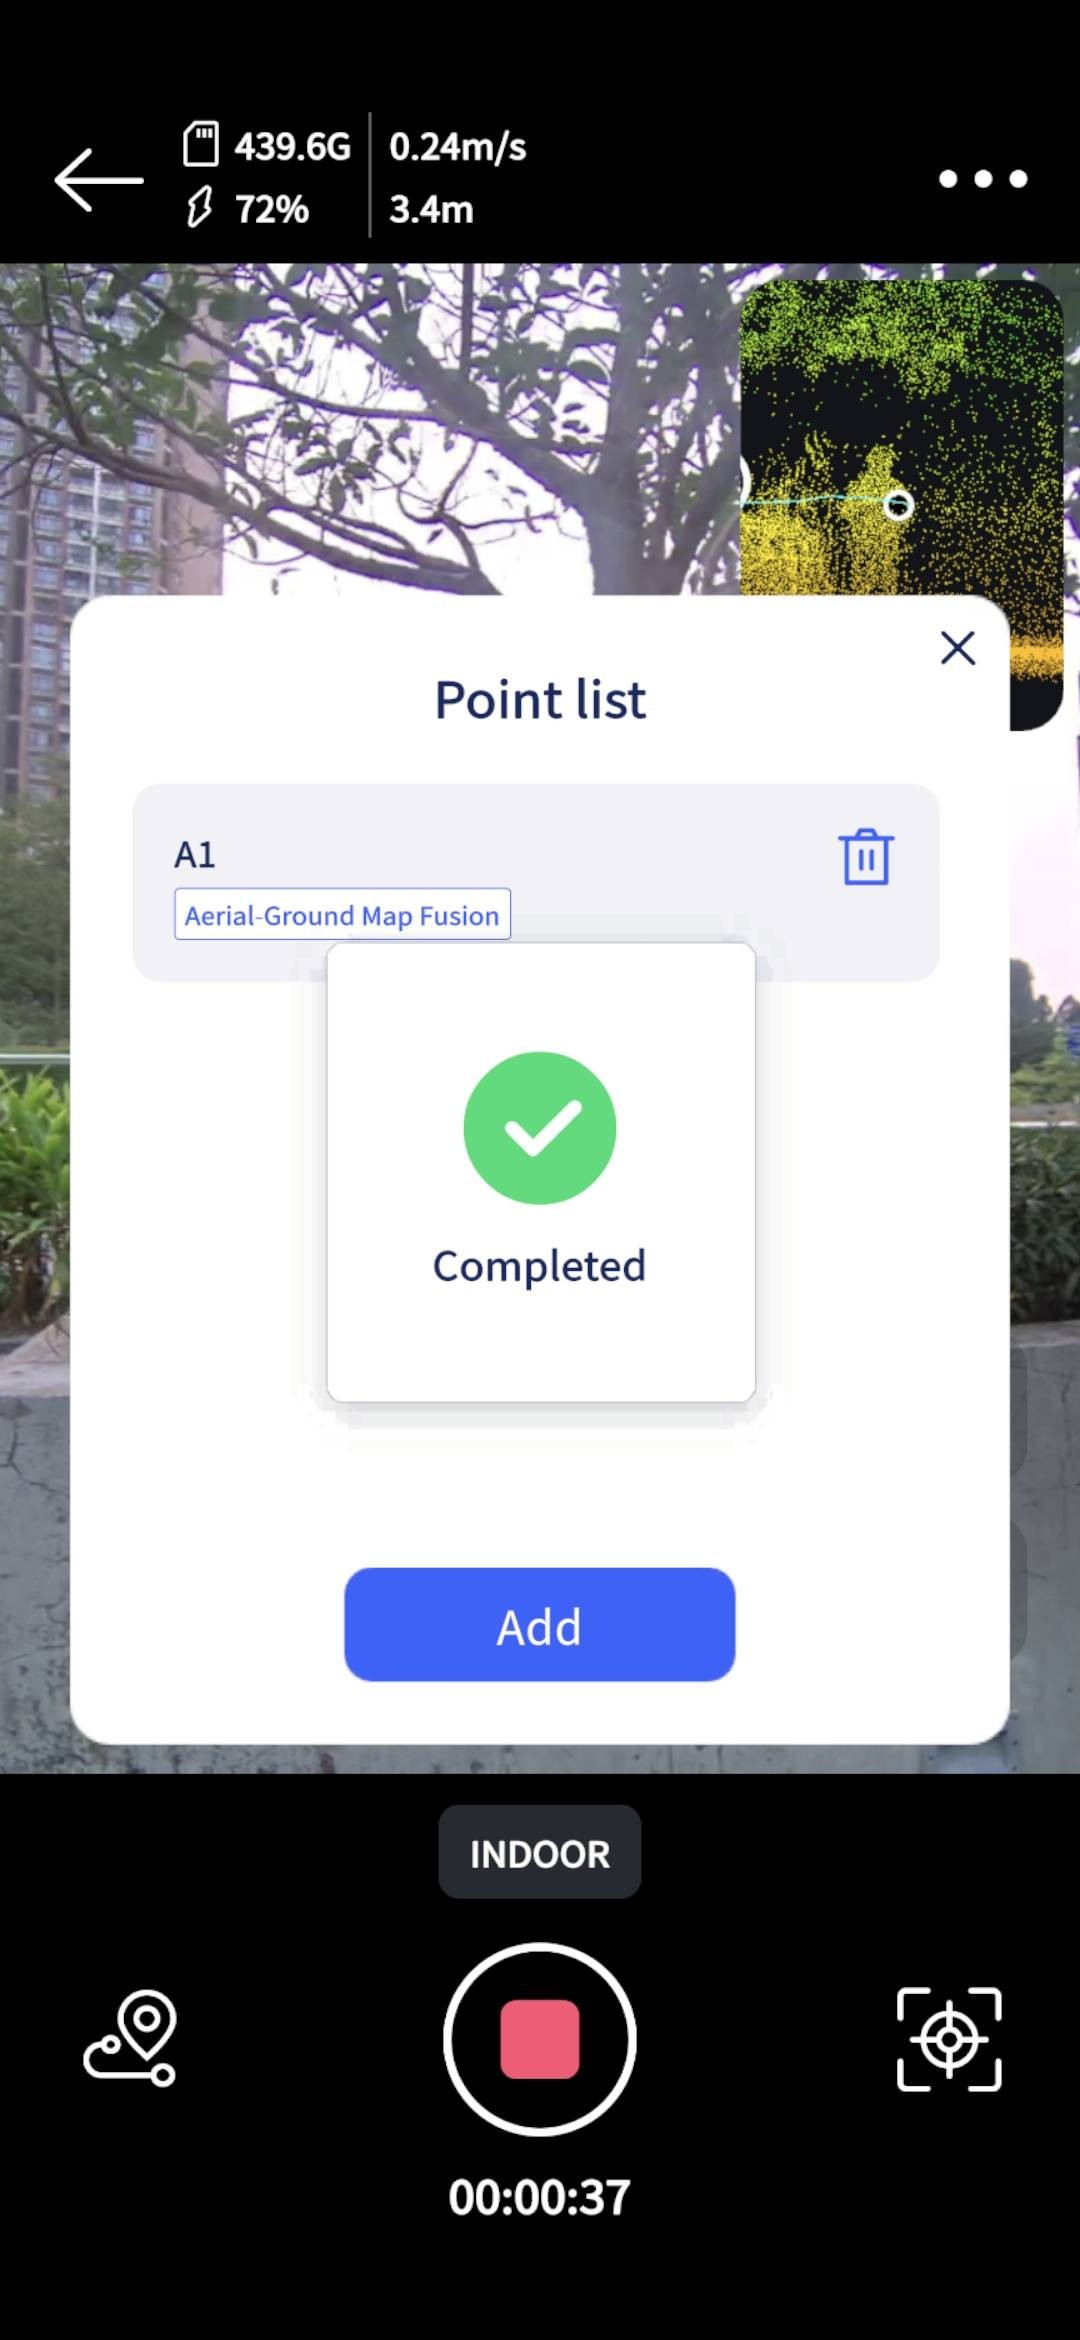
- Add an Aerial-Ground Map Fusion point
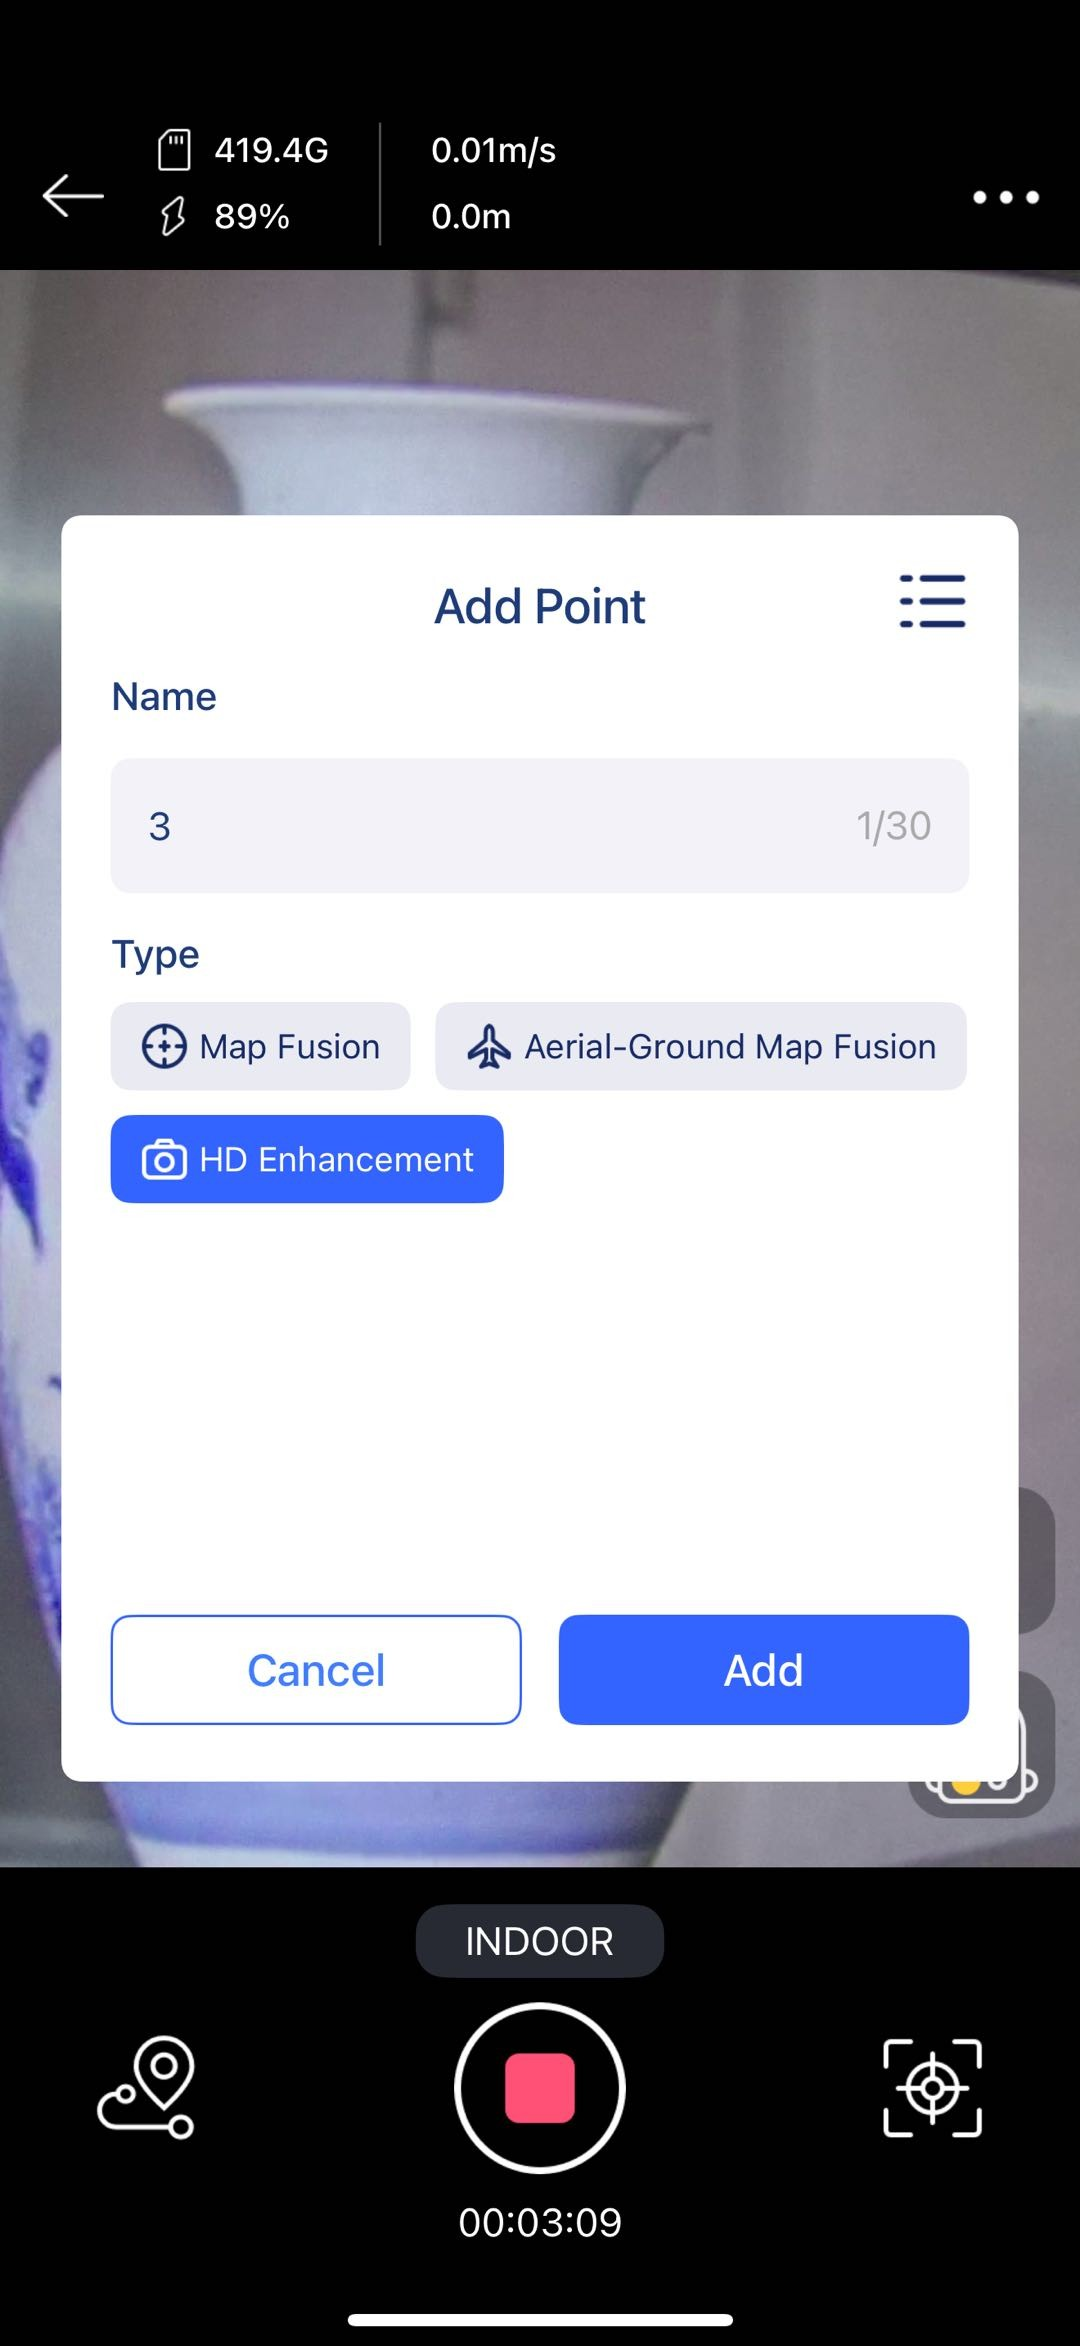
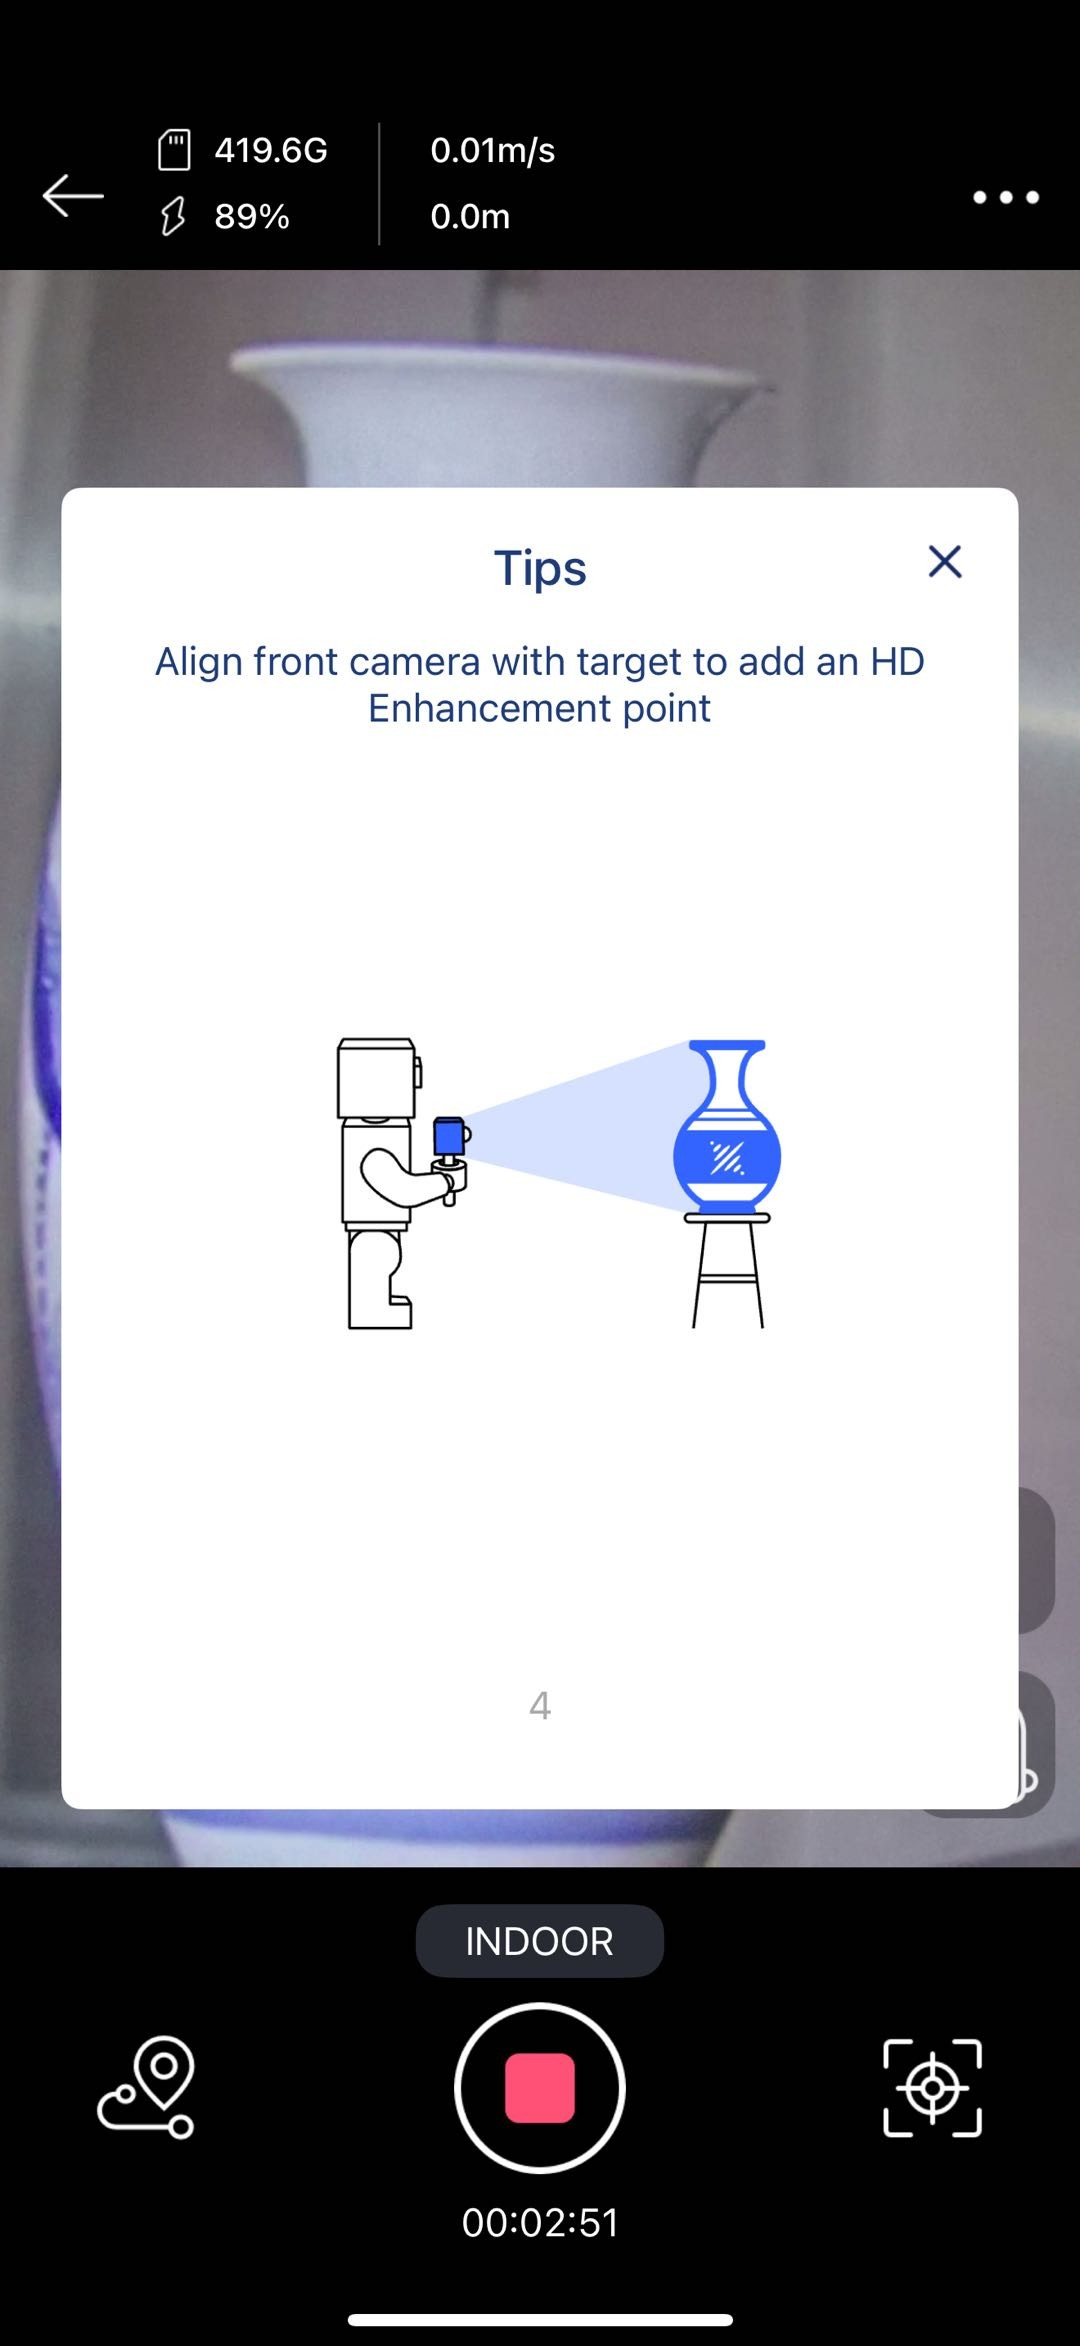
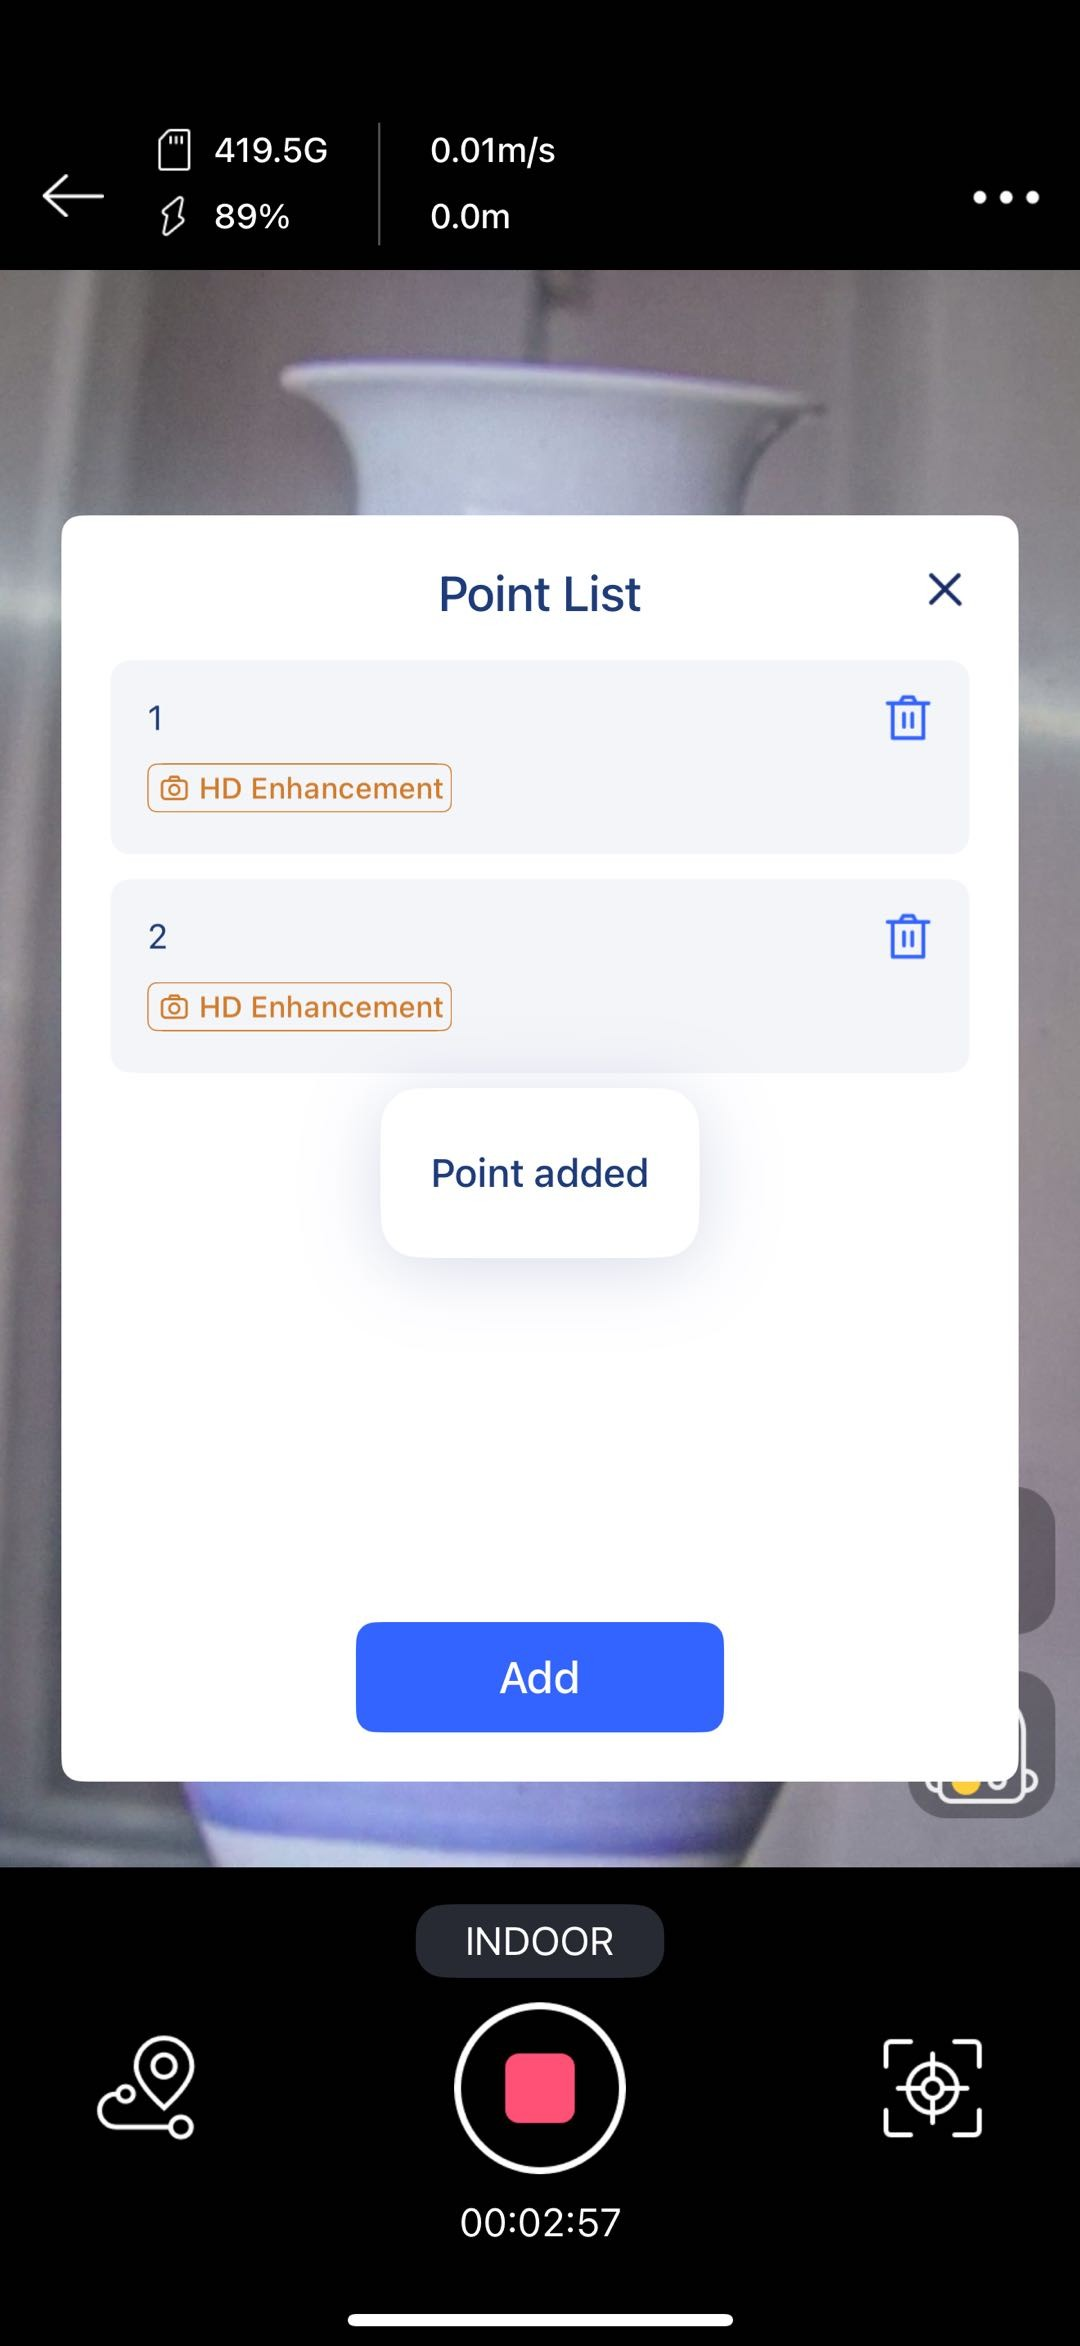
- Add an HD Enhancement point
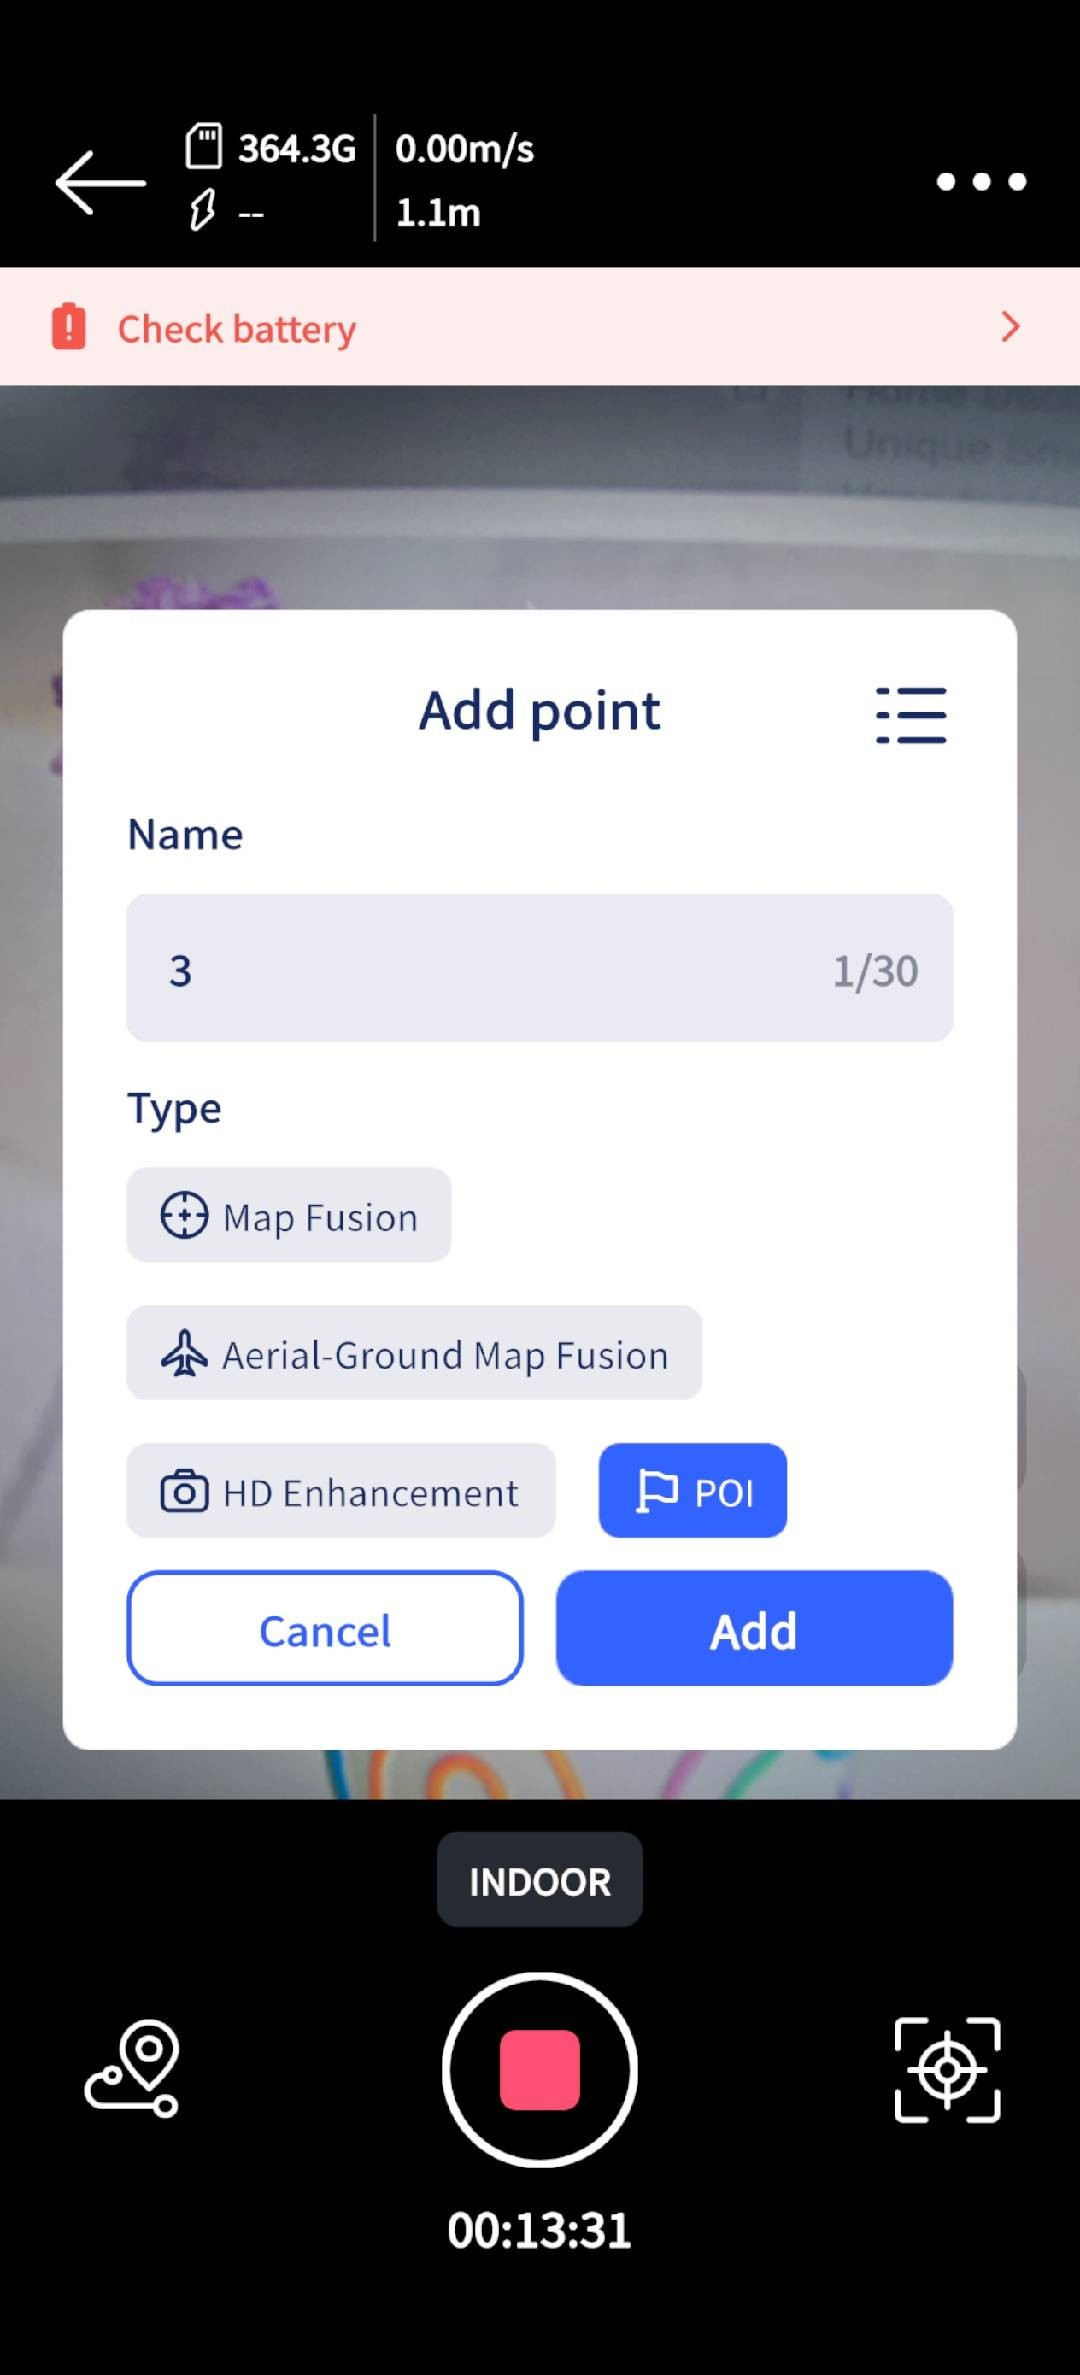
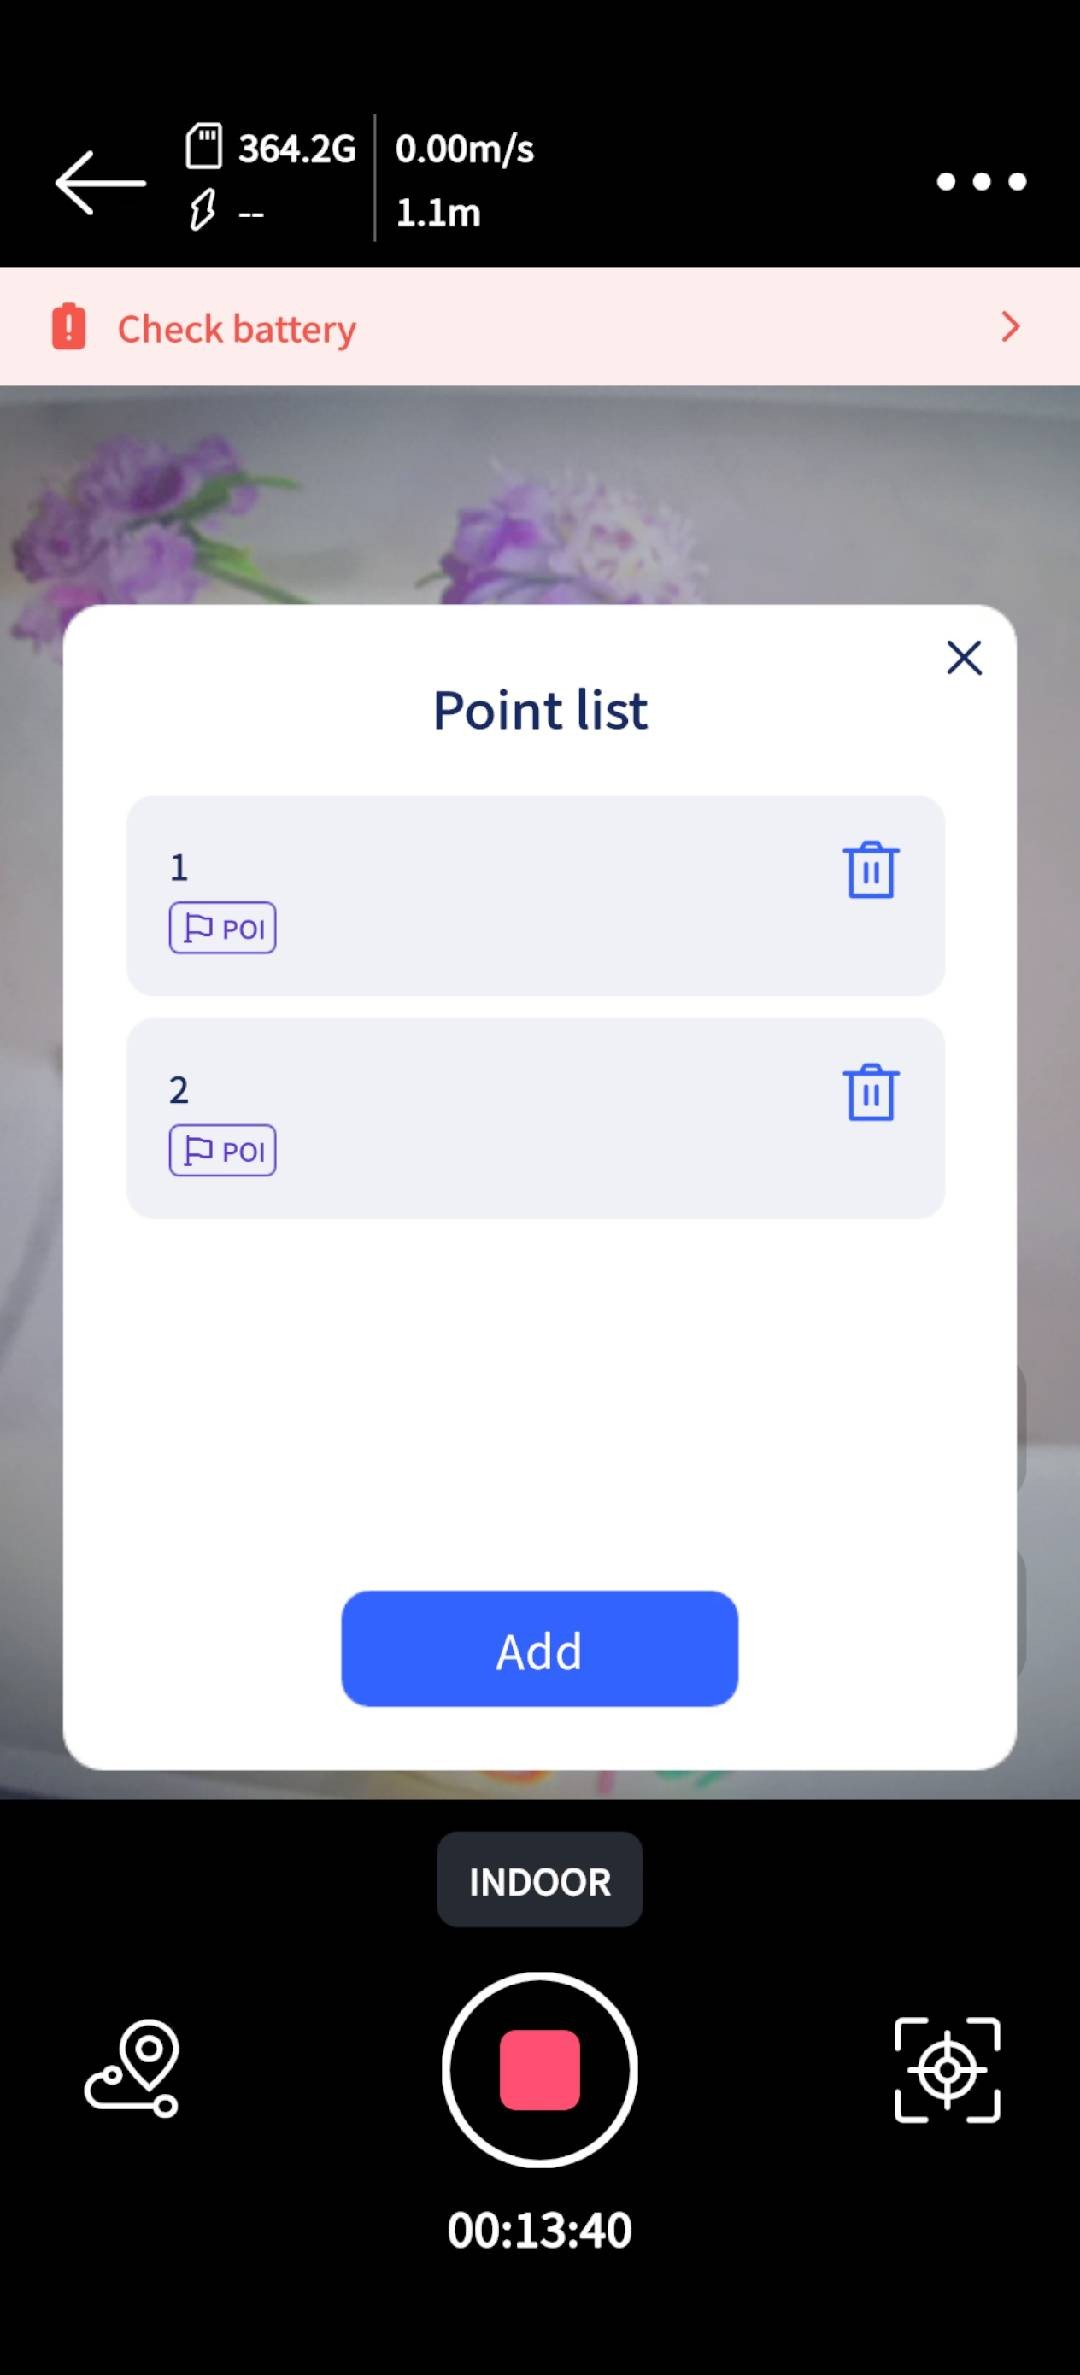
- Add a POI point
- Press and hold to stop scanning.
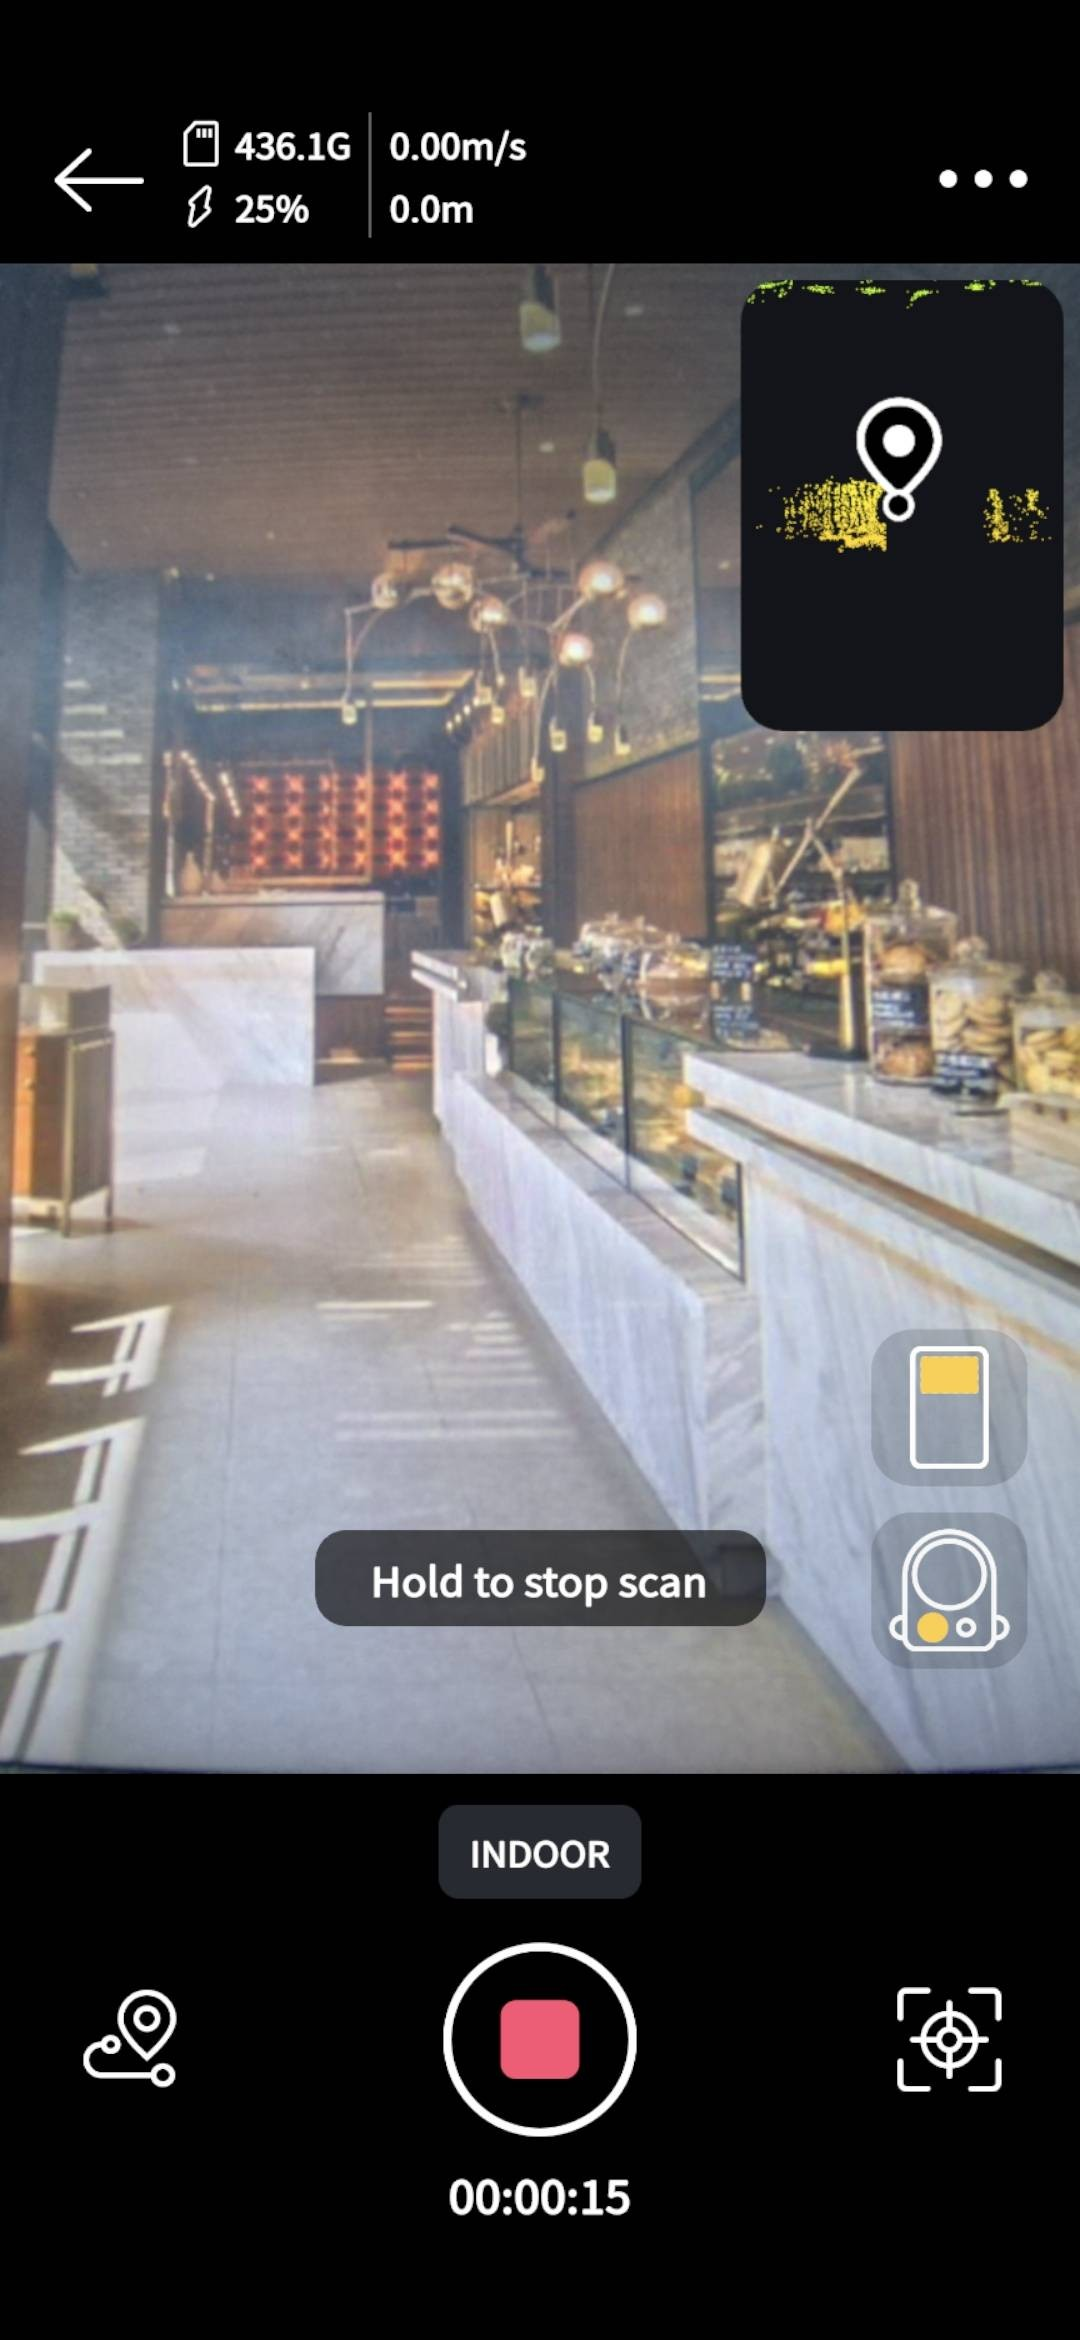
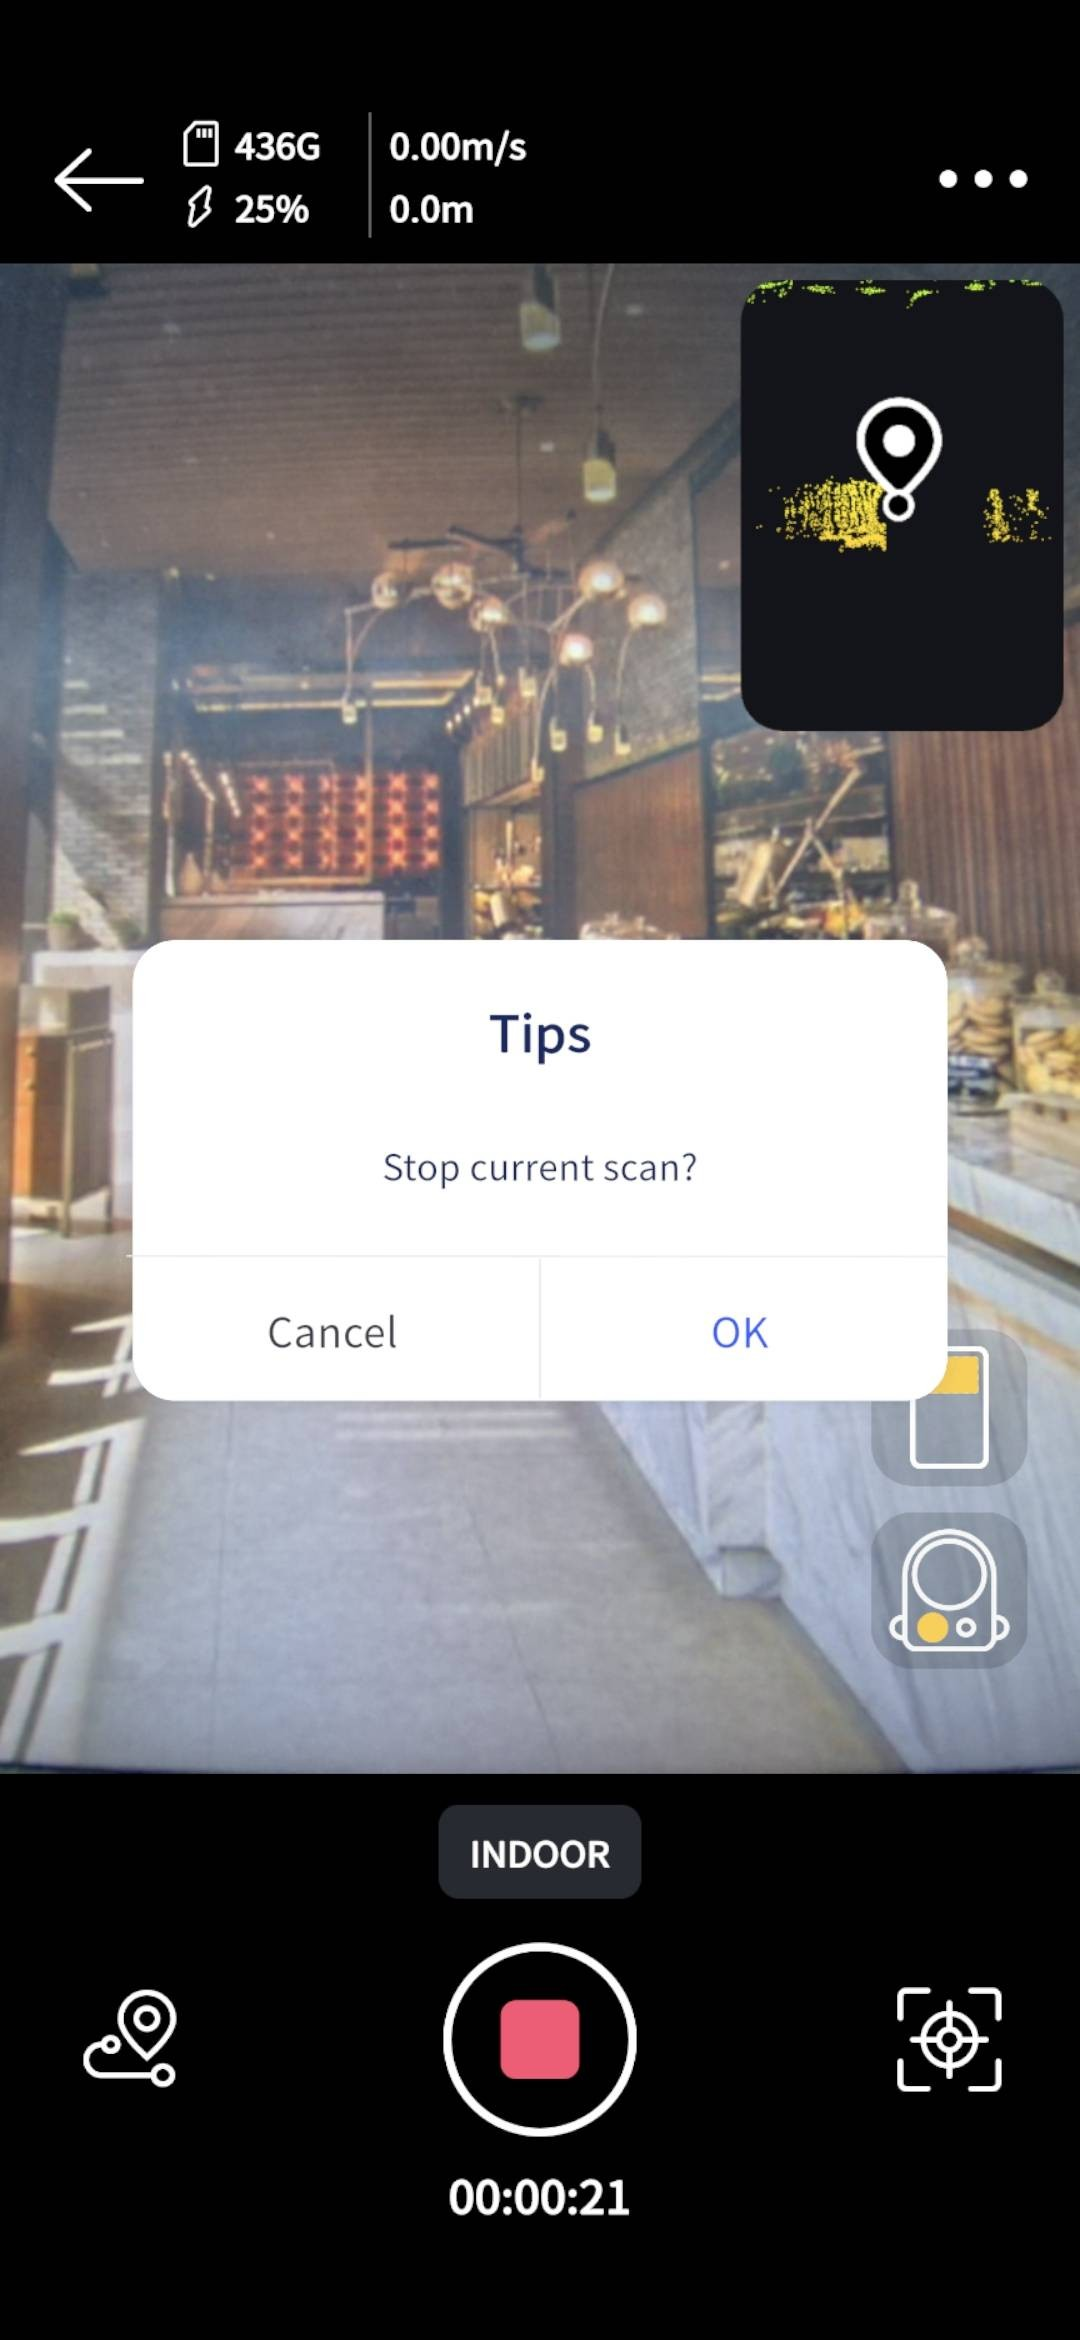
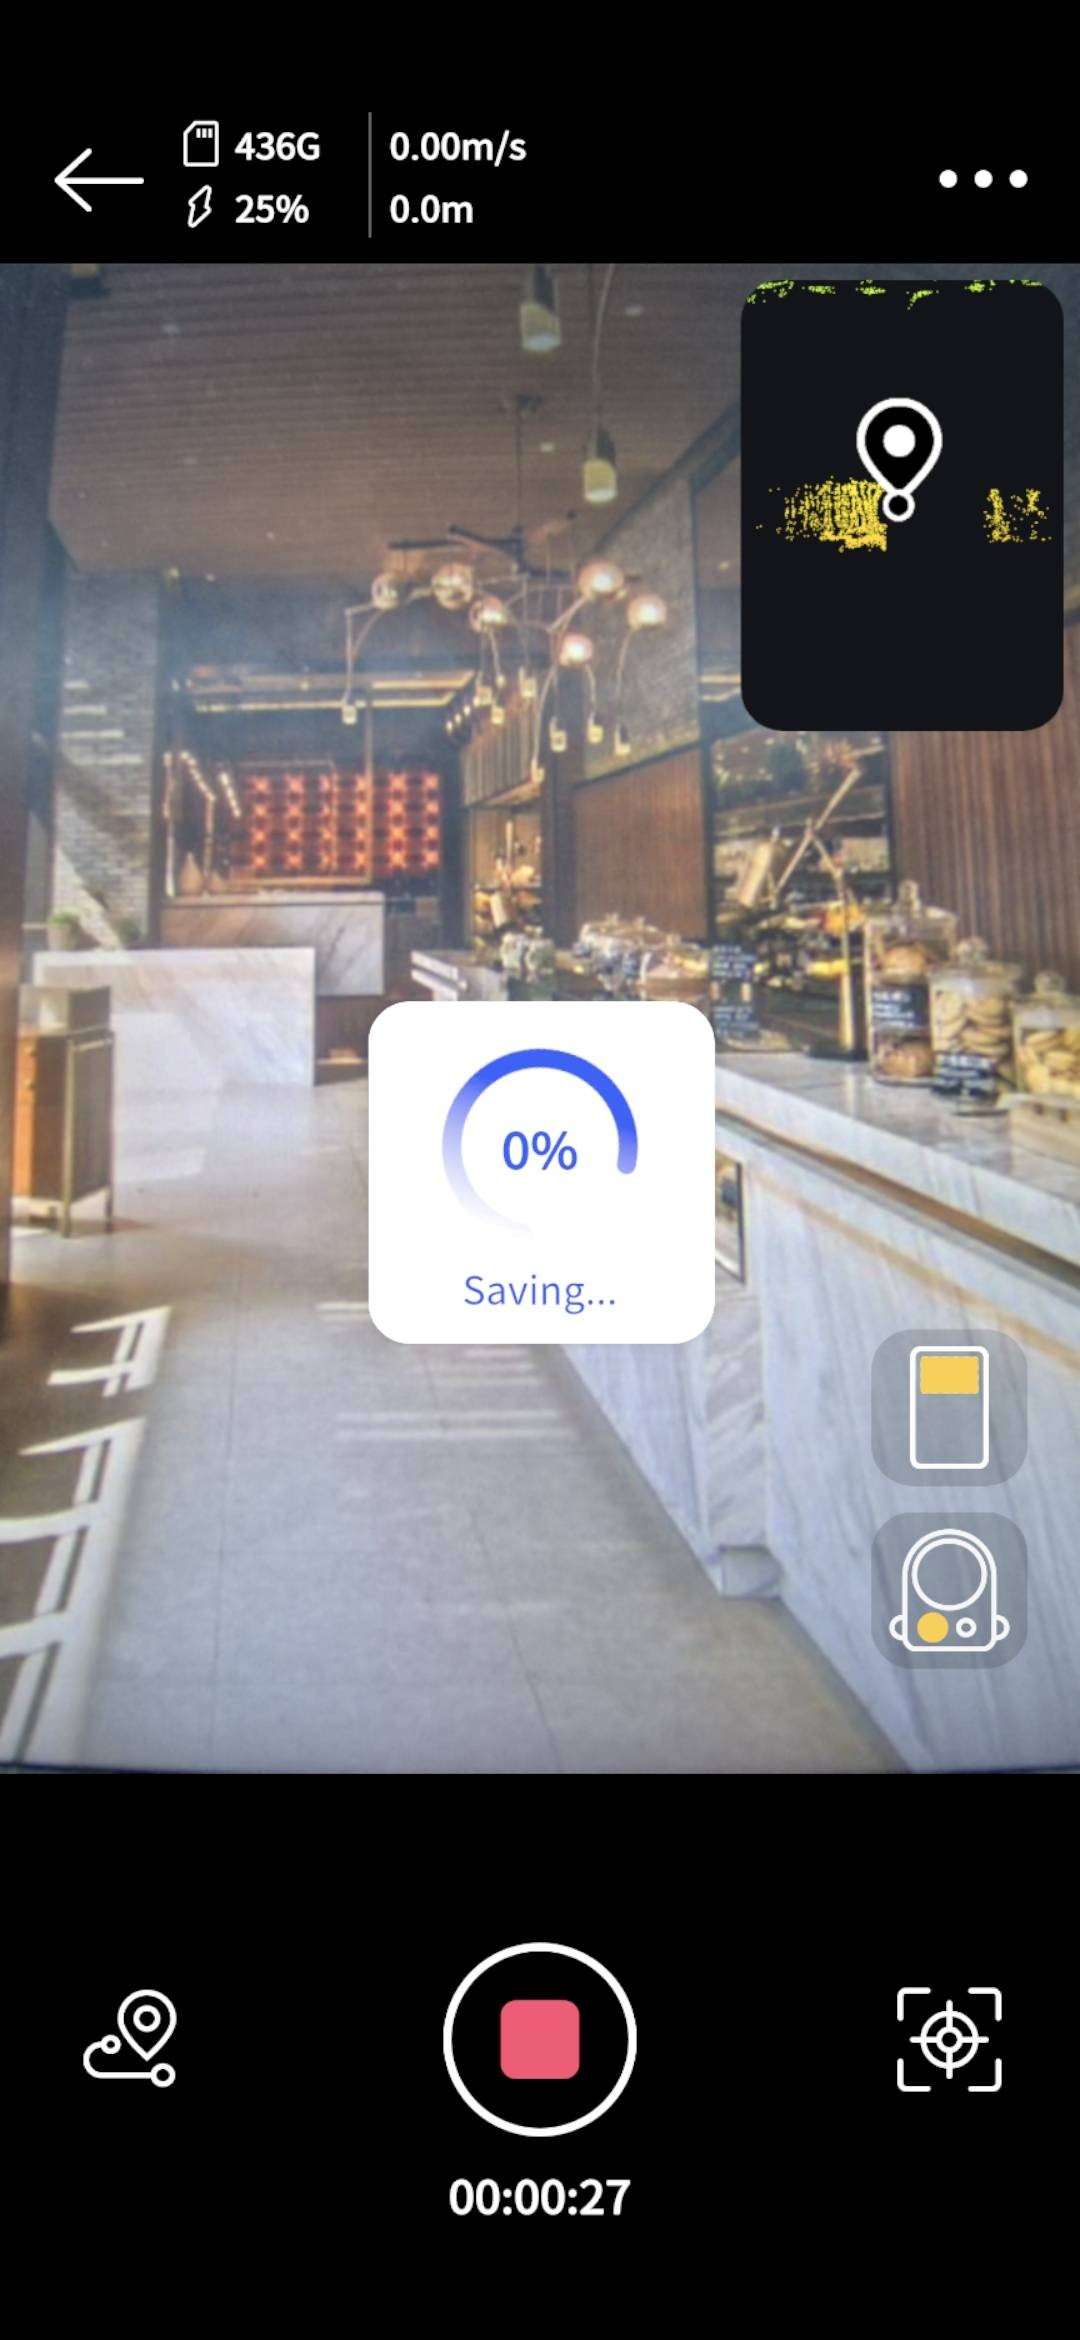
- Left-hand mode
View Model
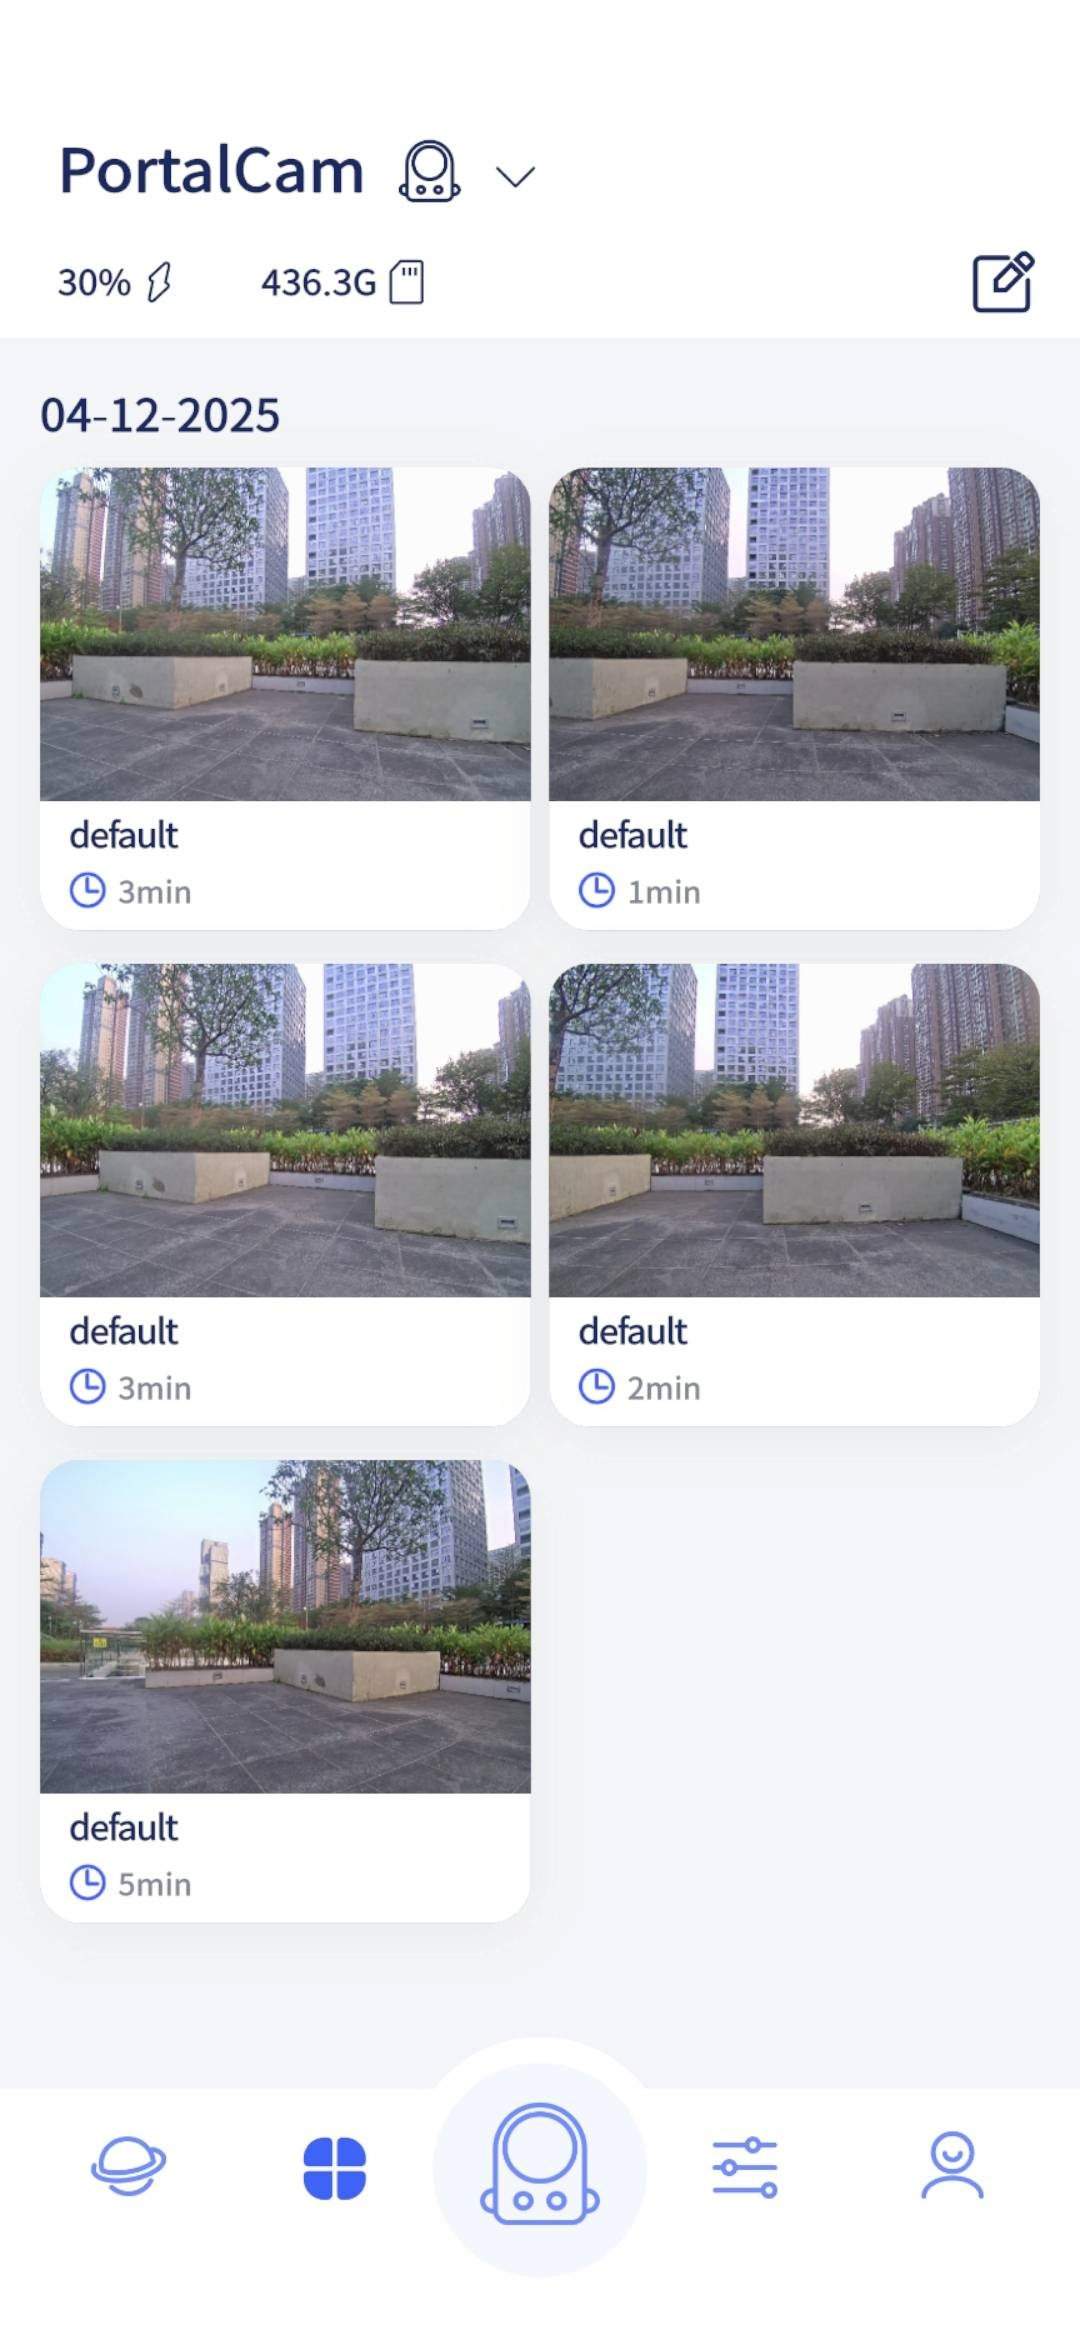
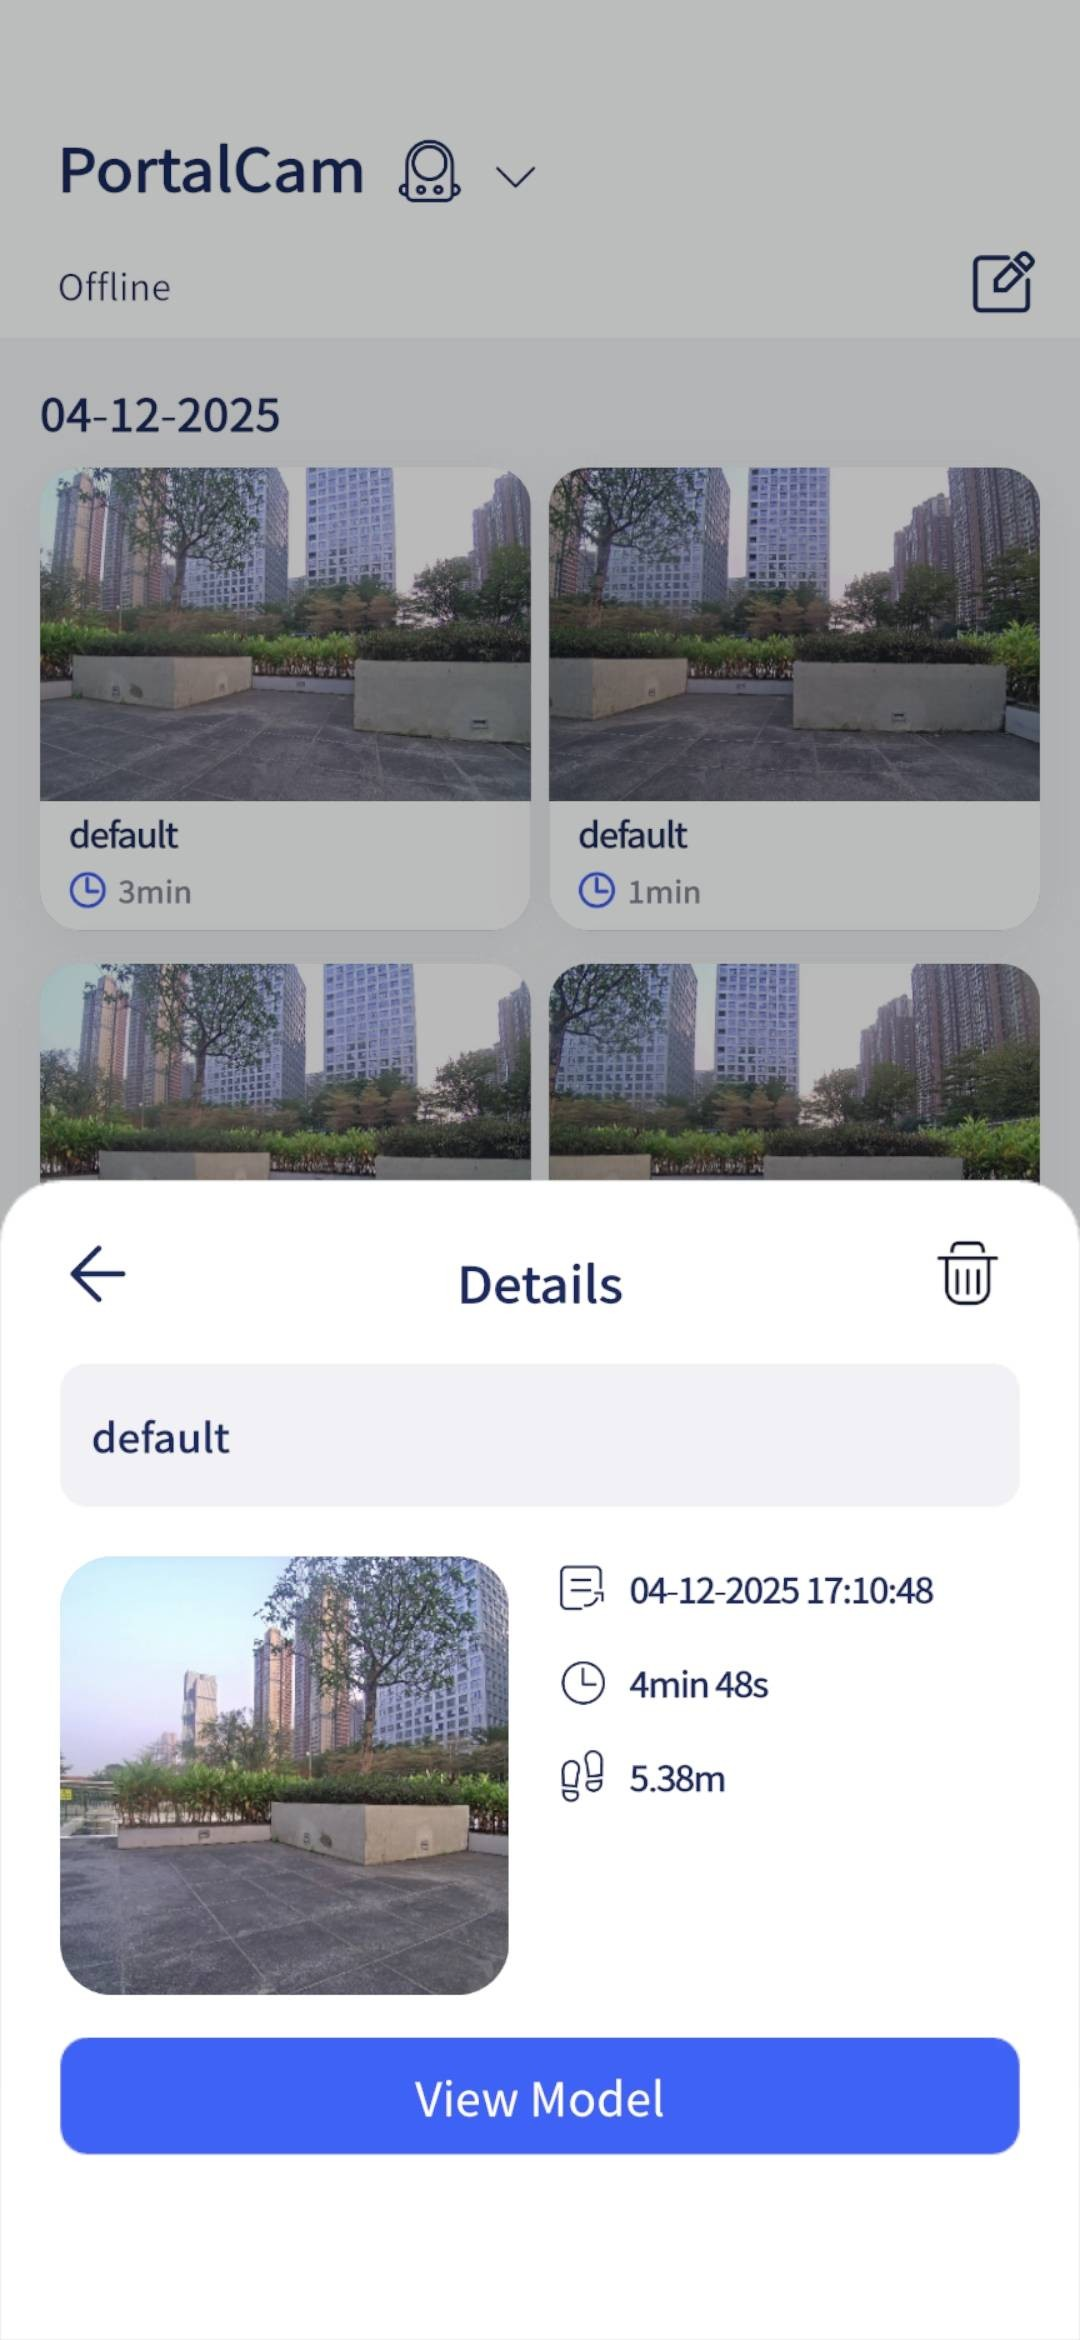
Go to the album page, tap a card, then tap View Model to open the model viewing page.
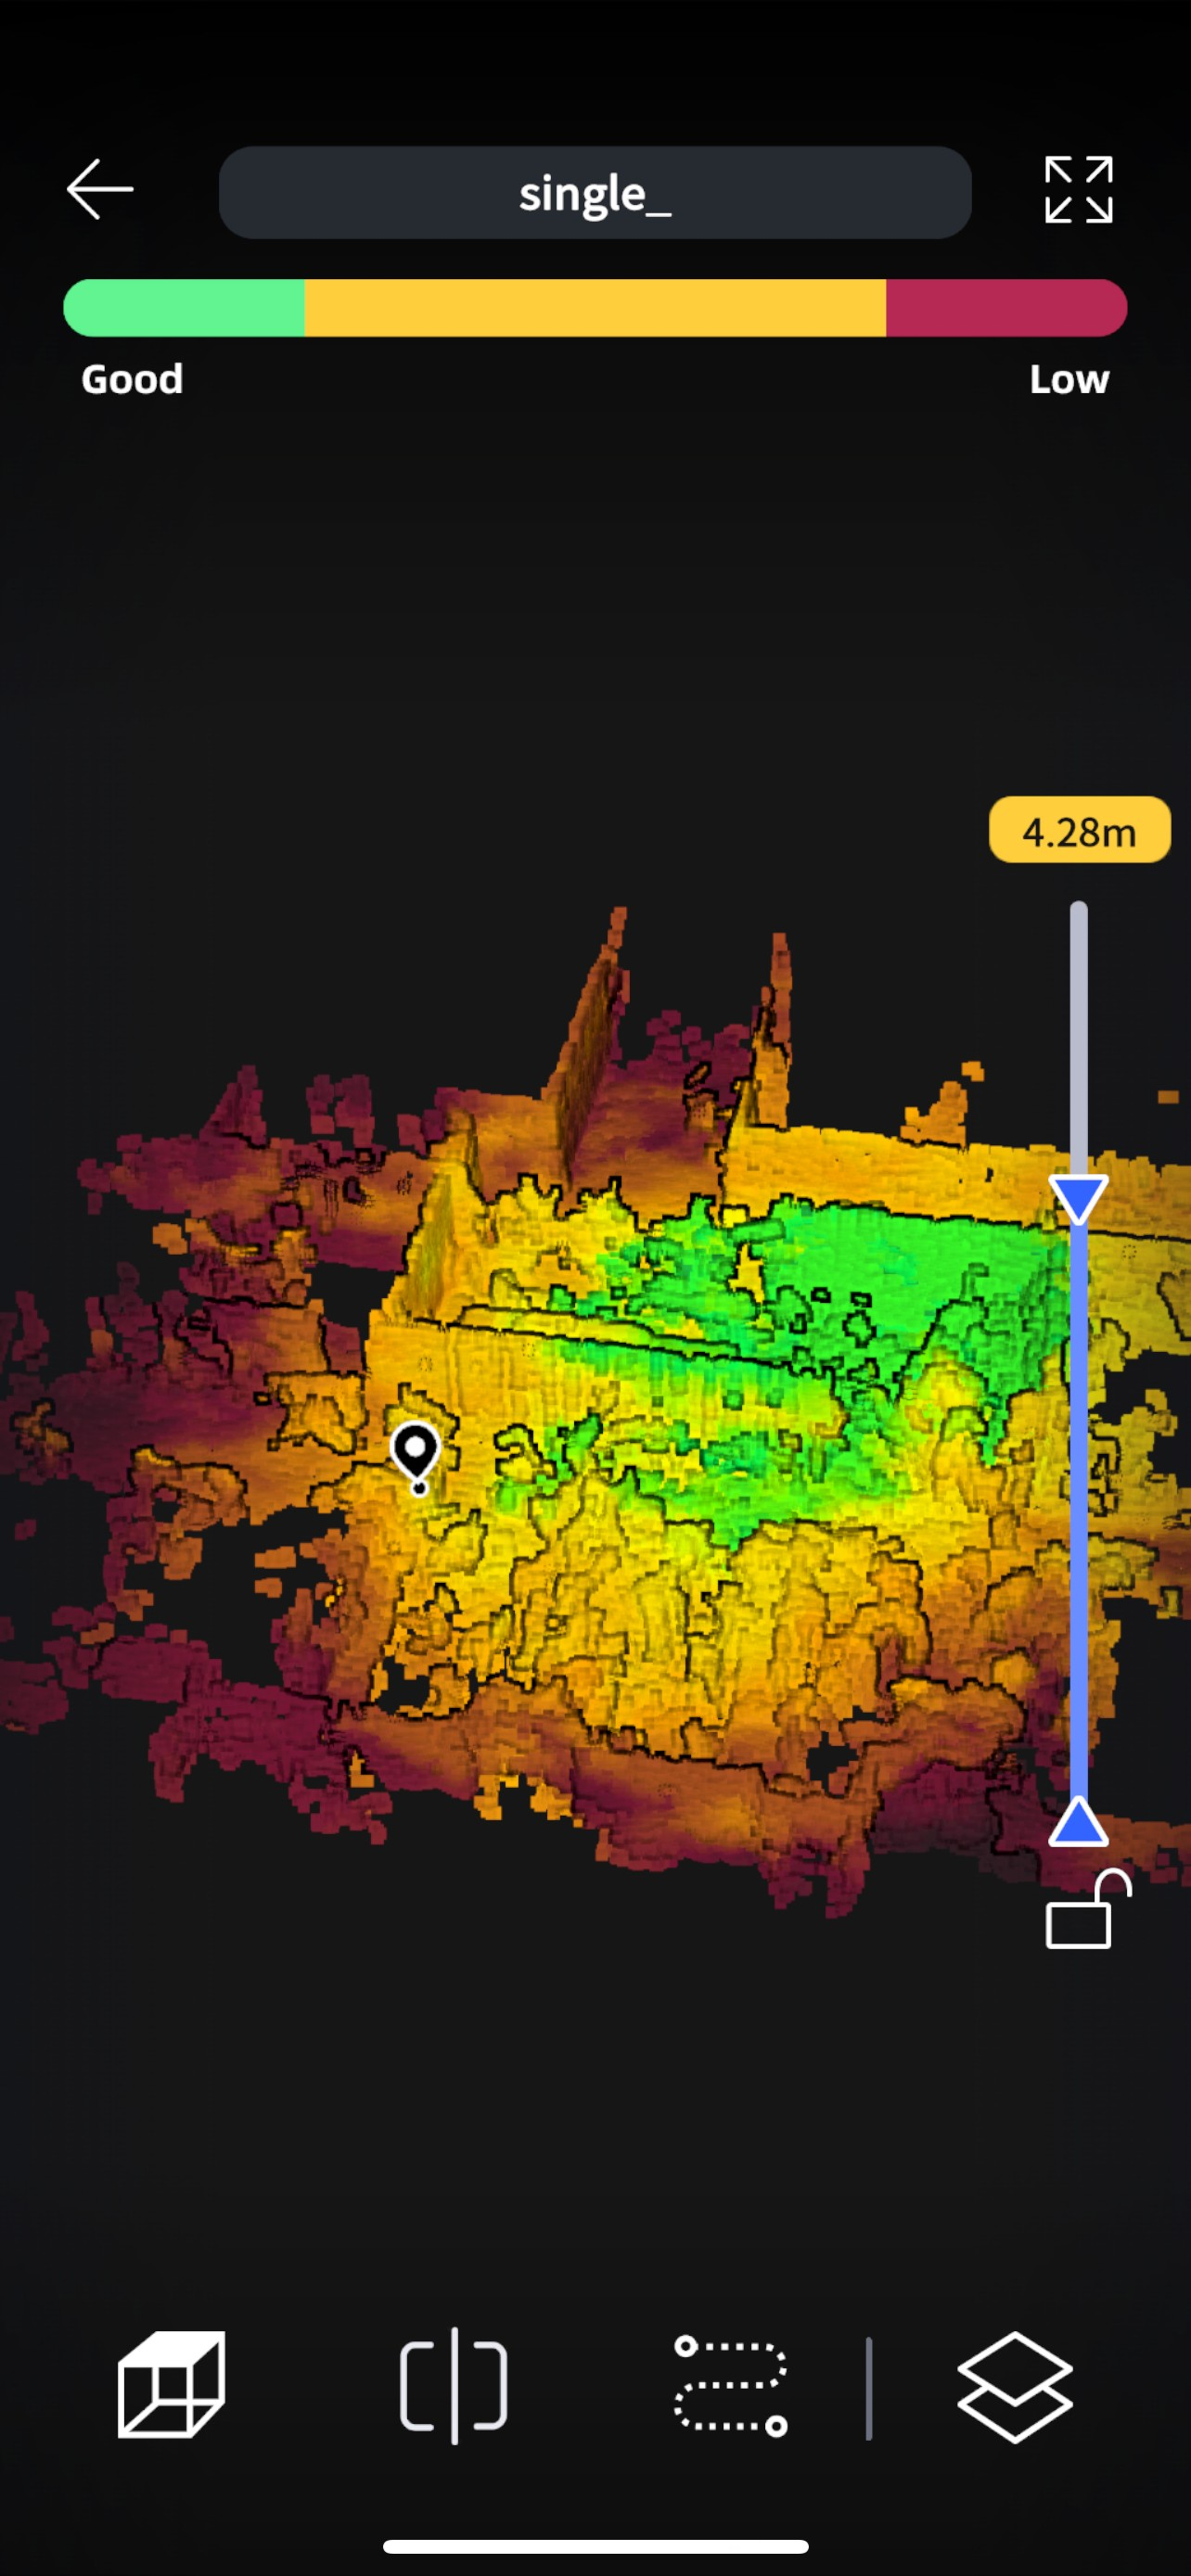
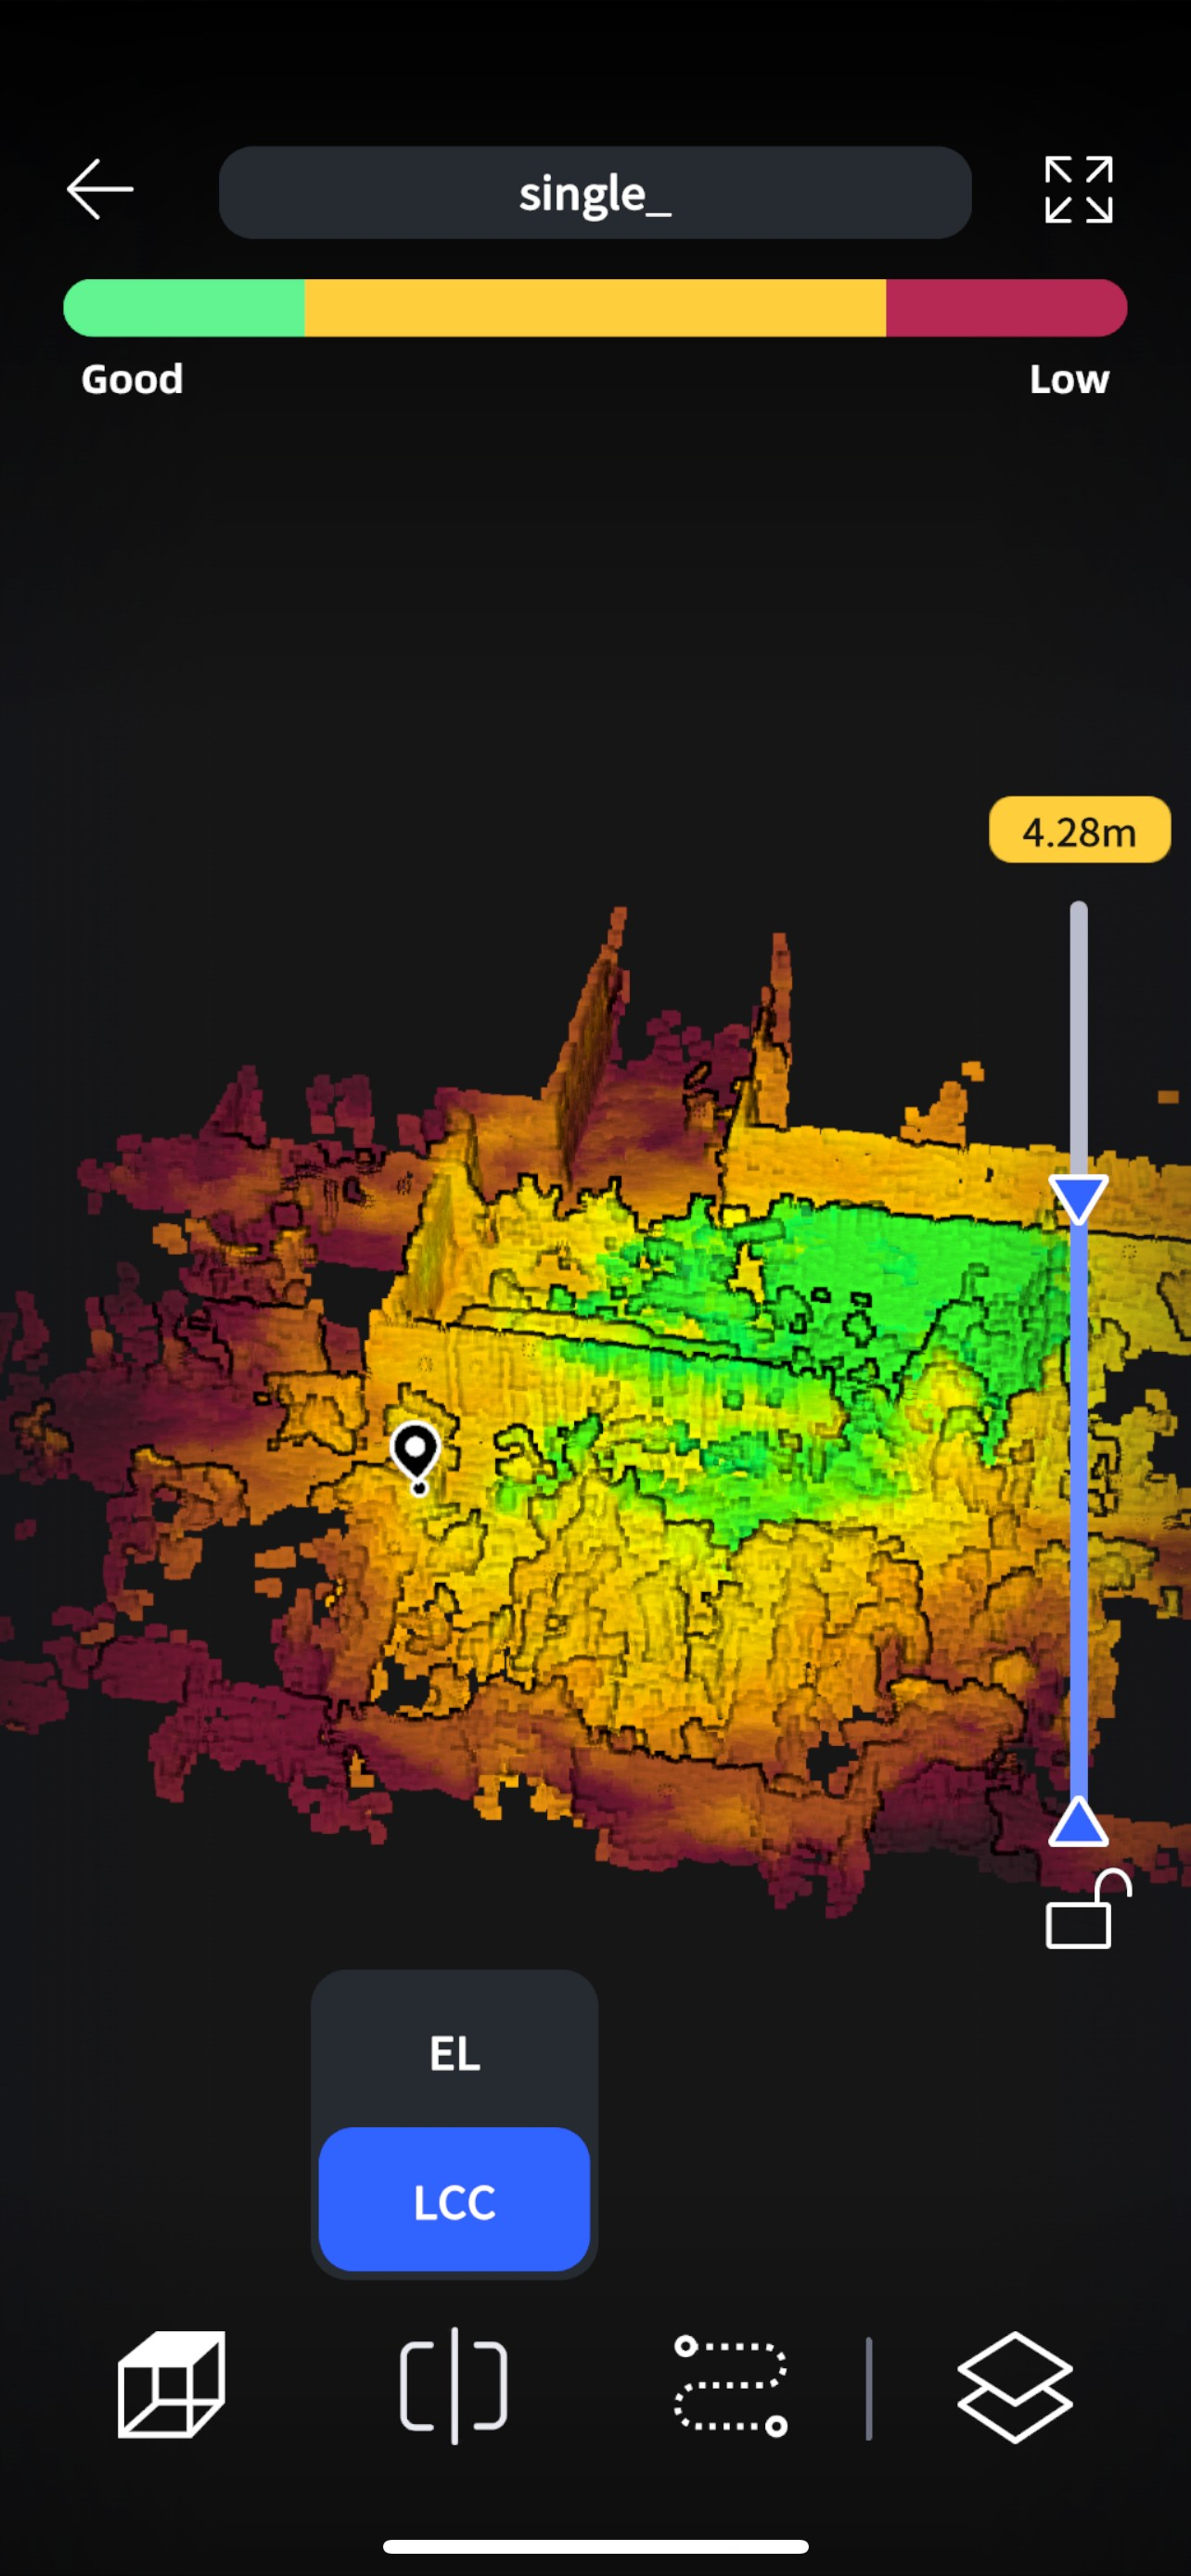
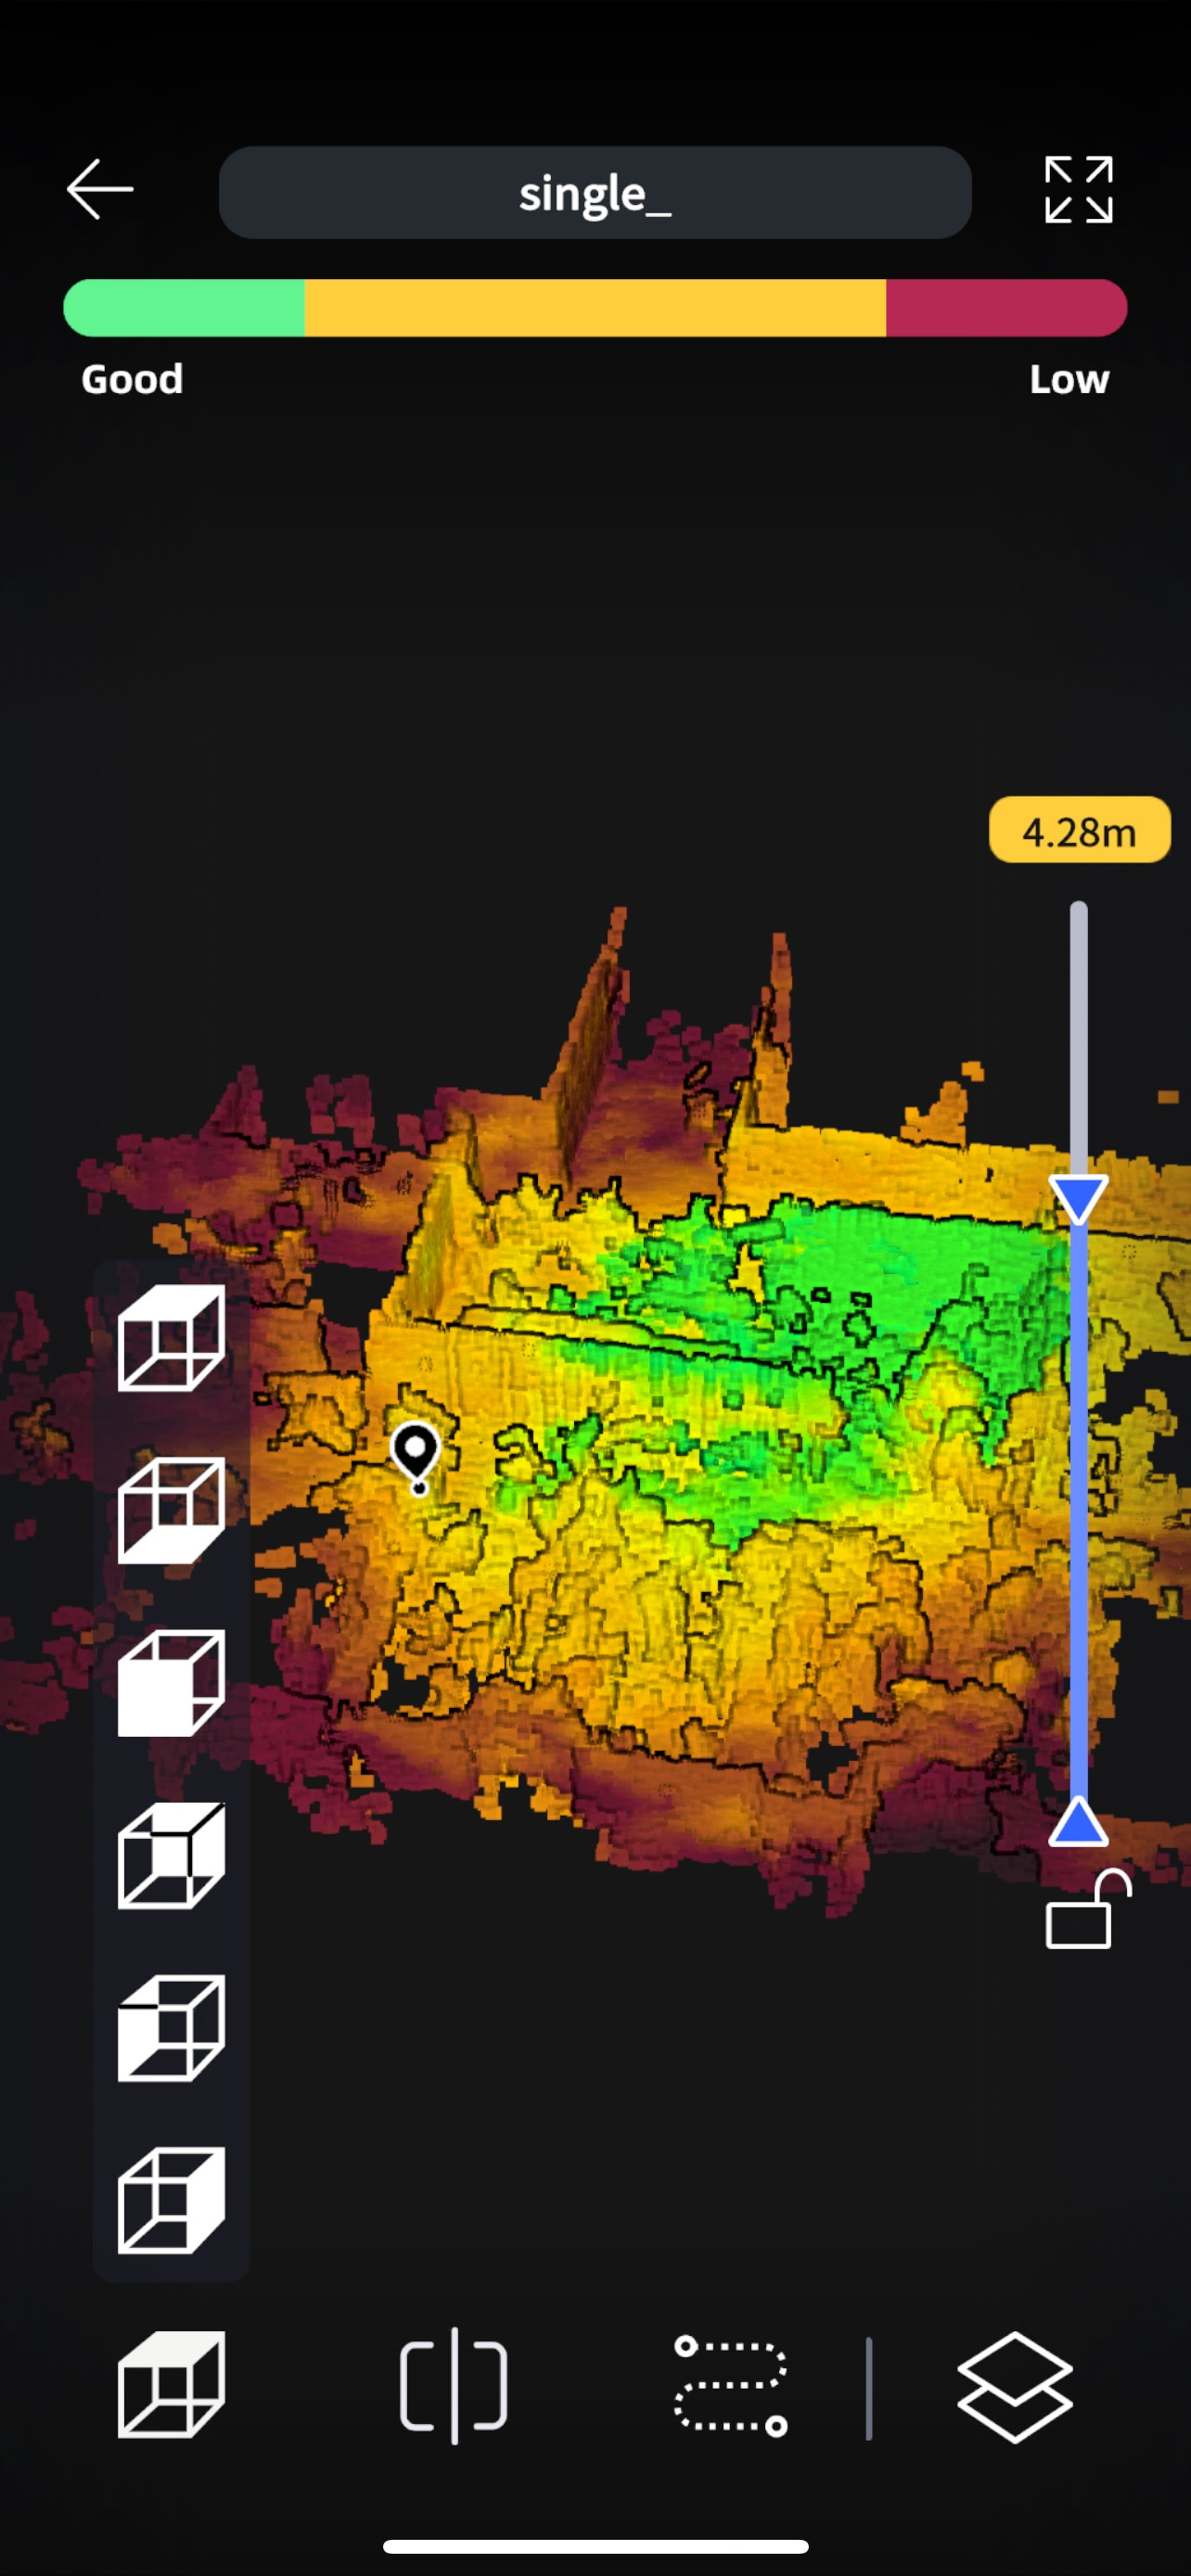
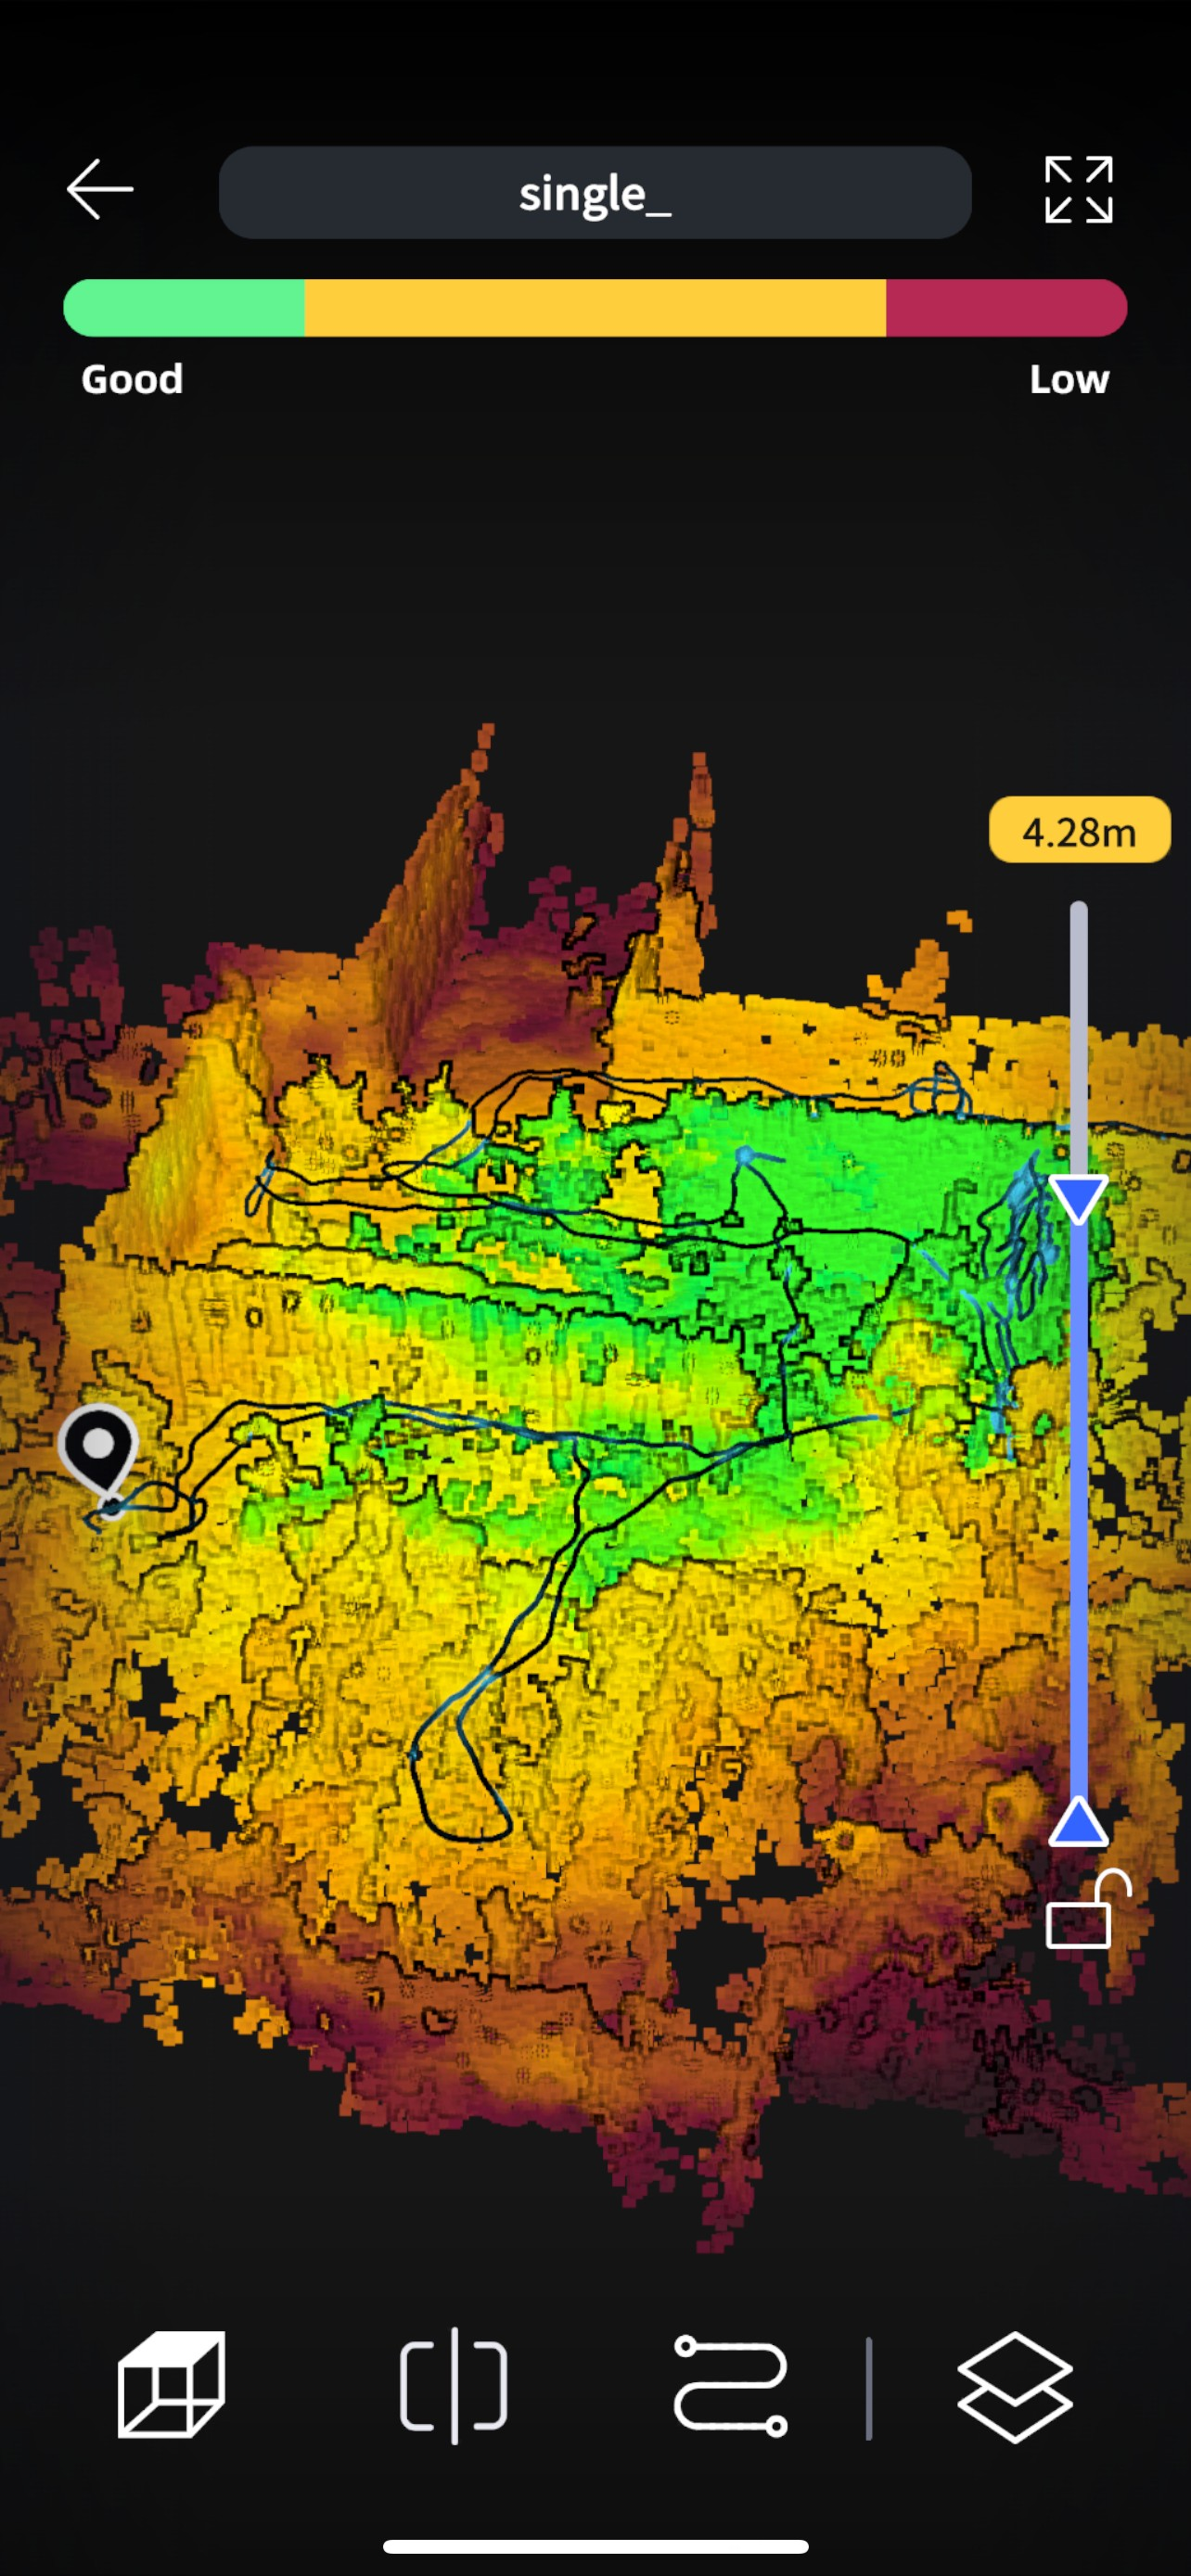
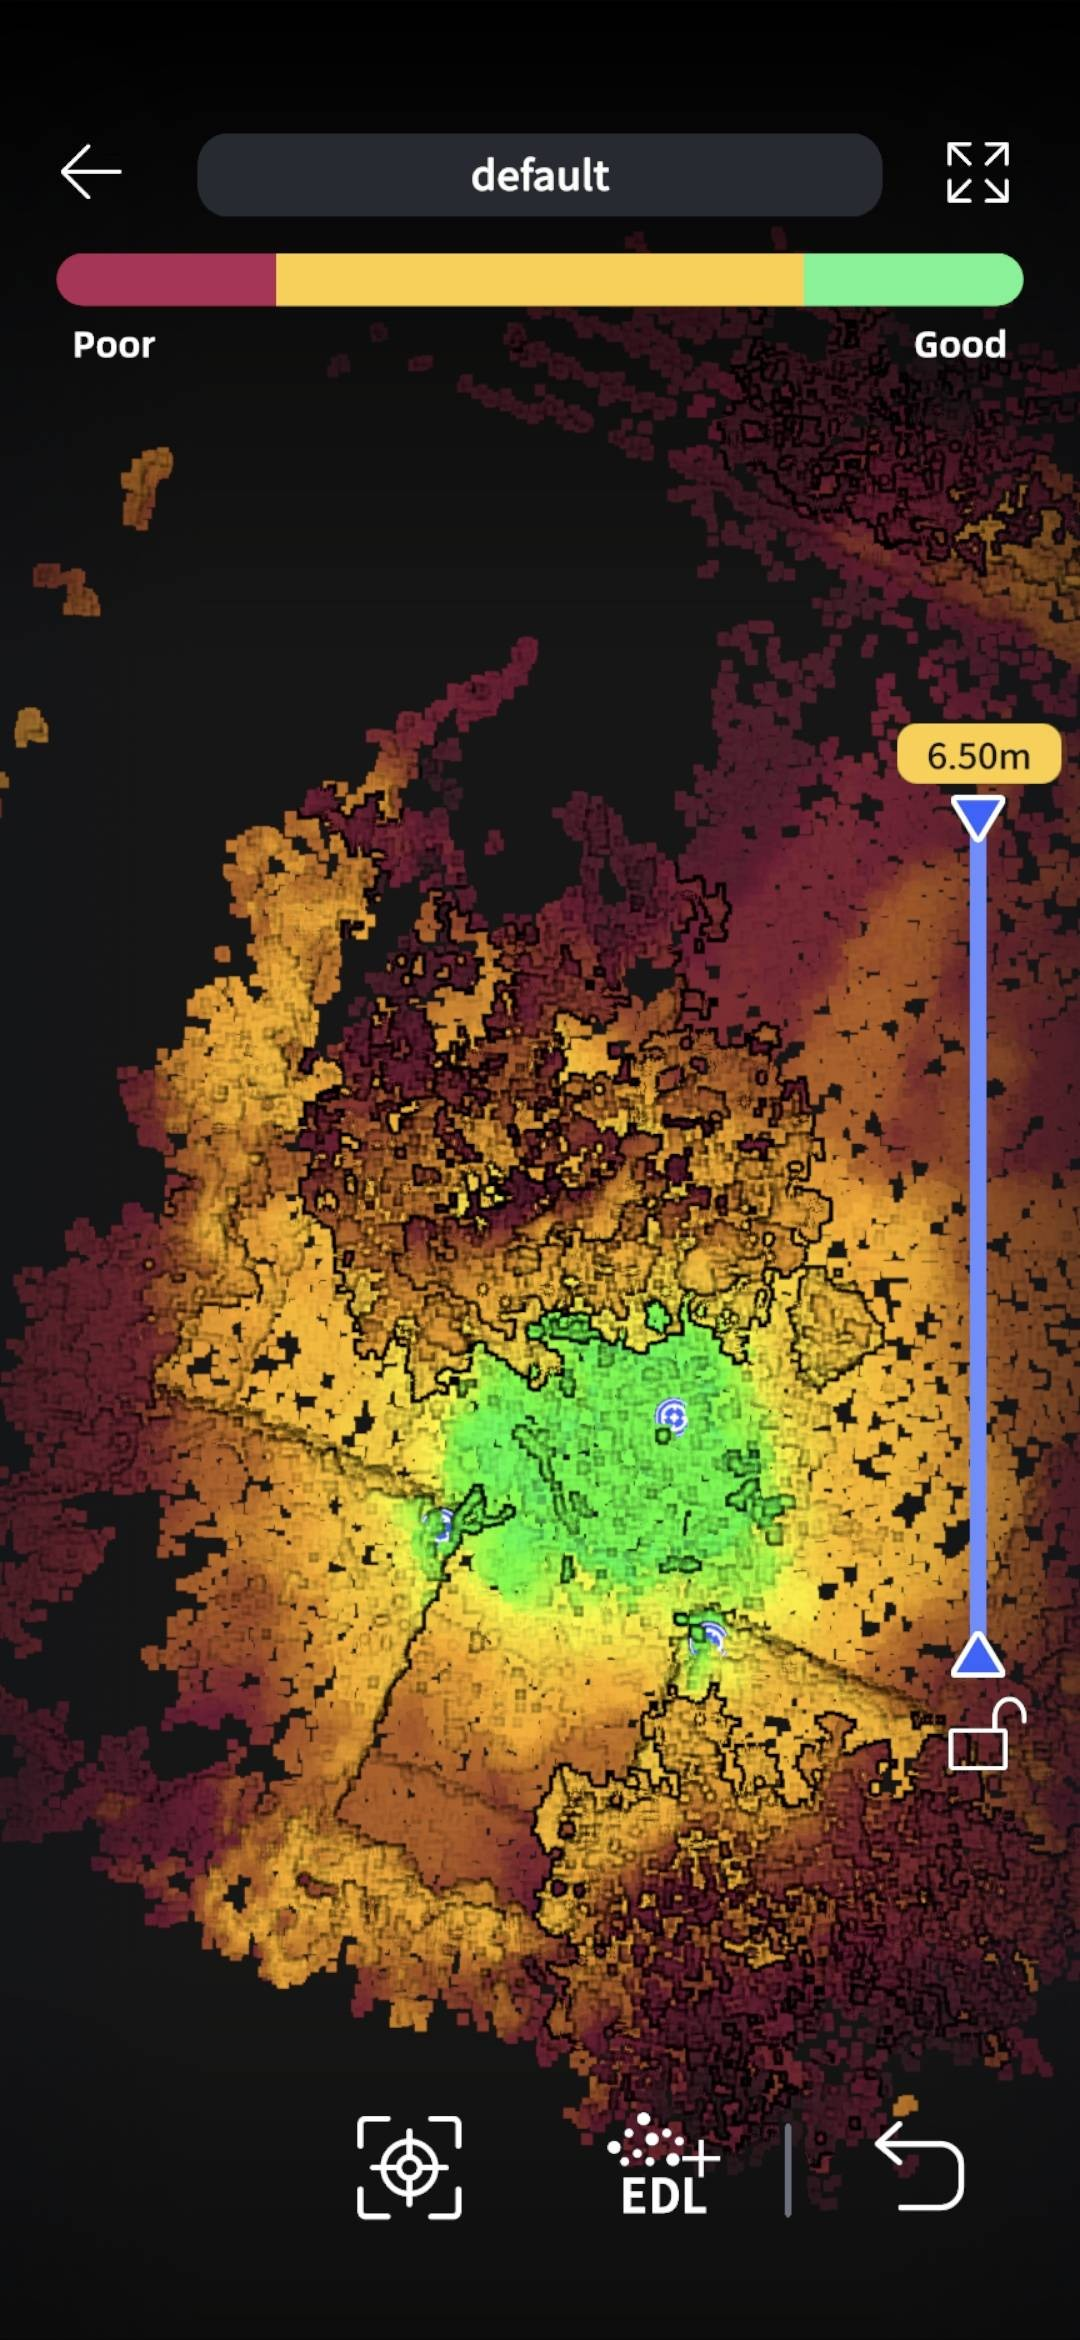
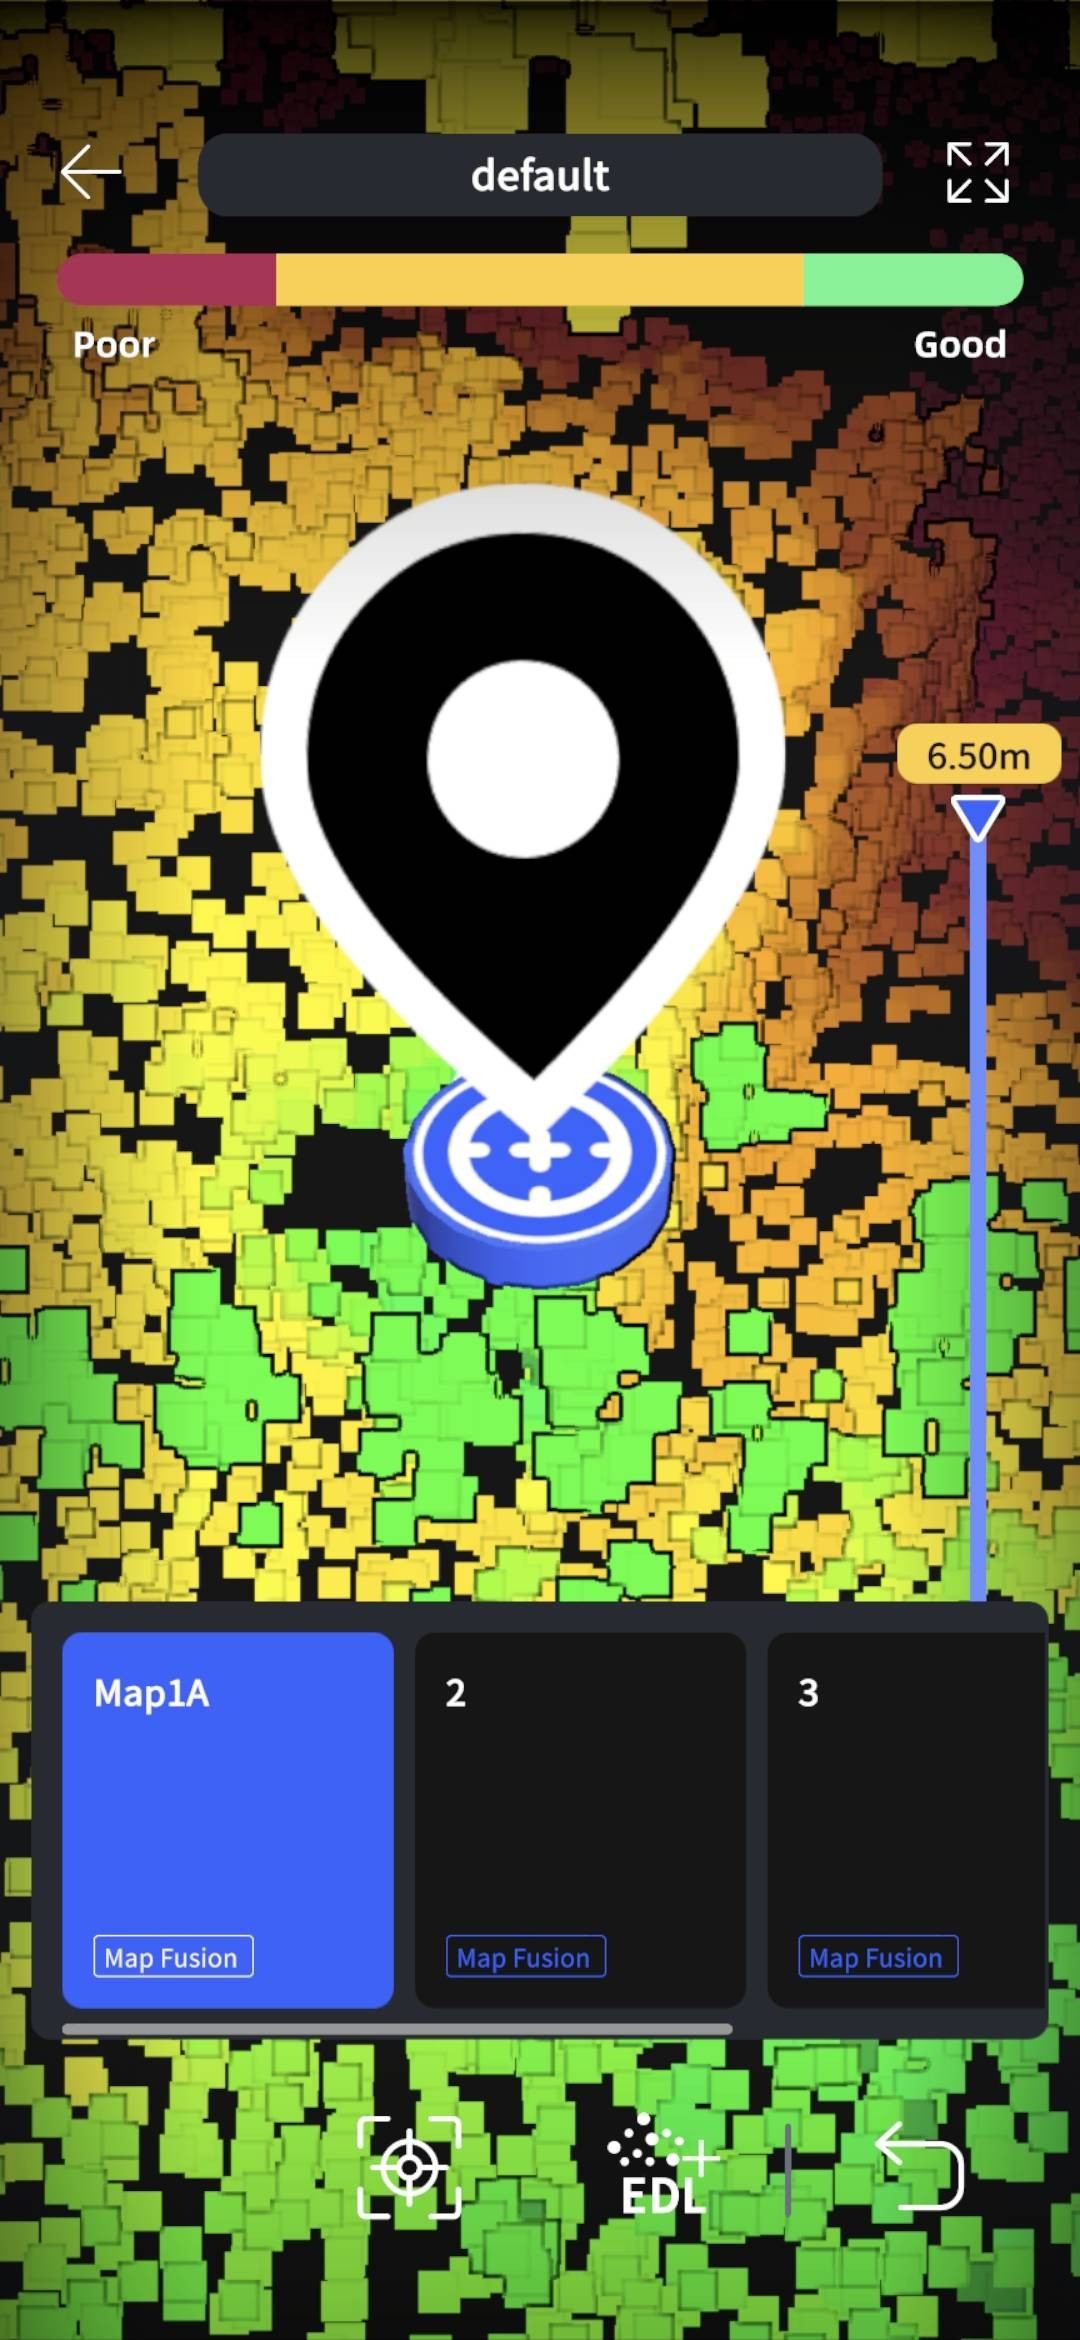
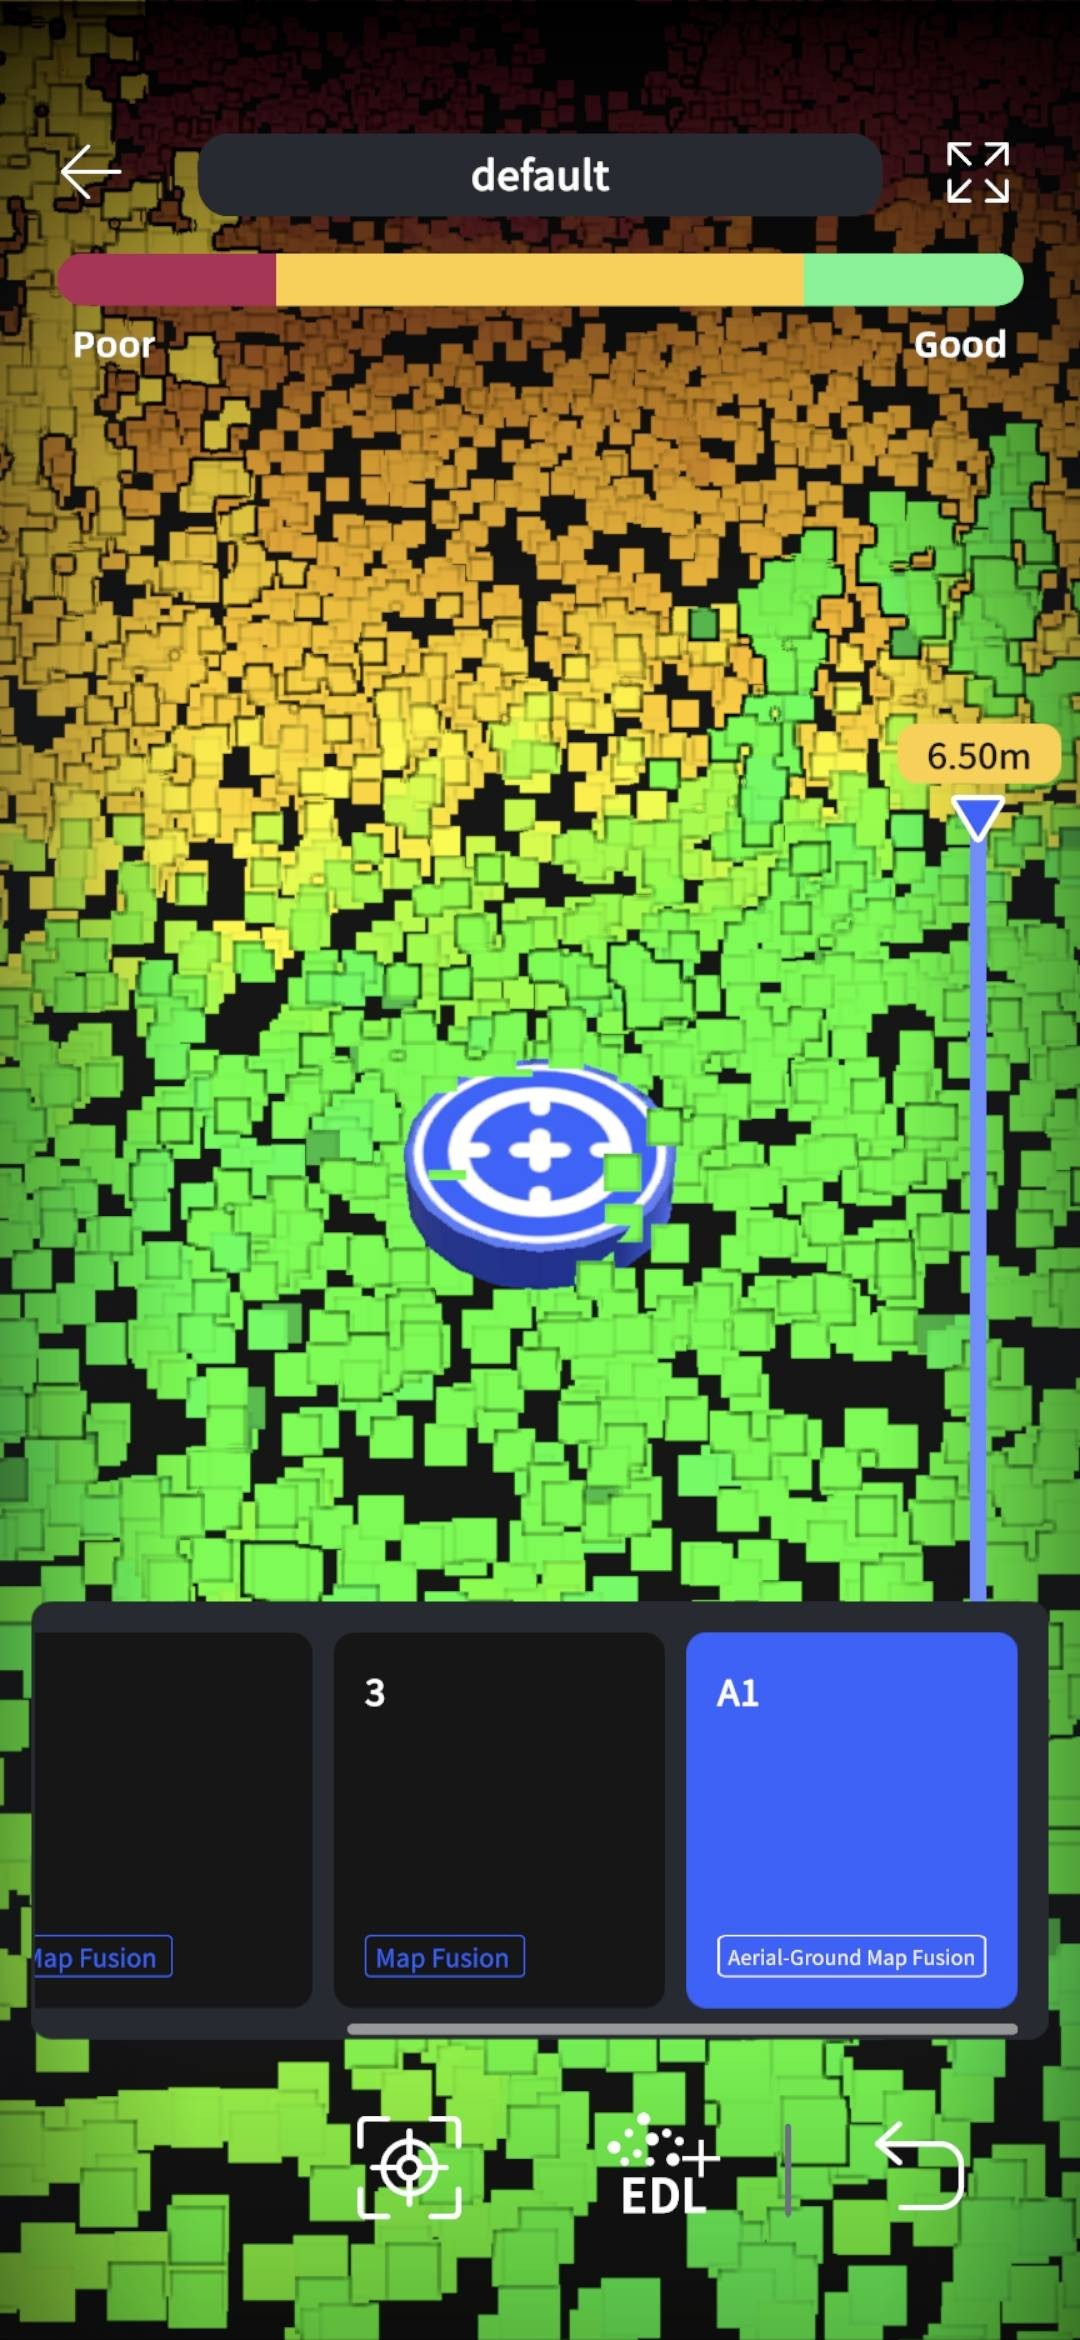
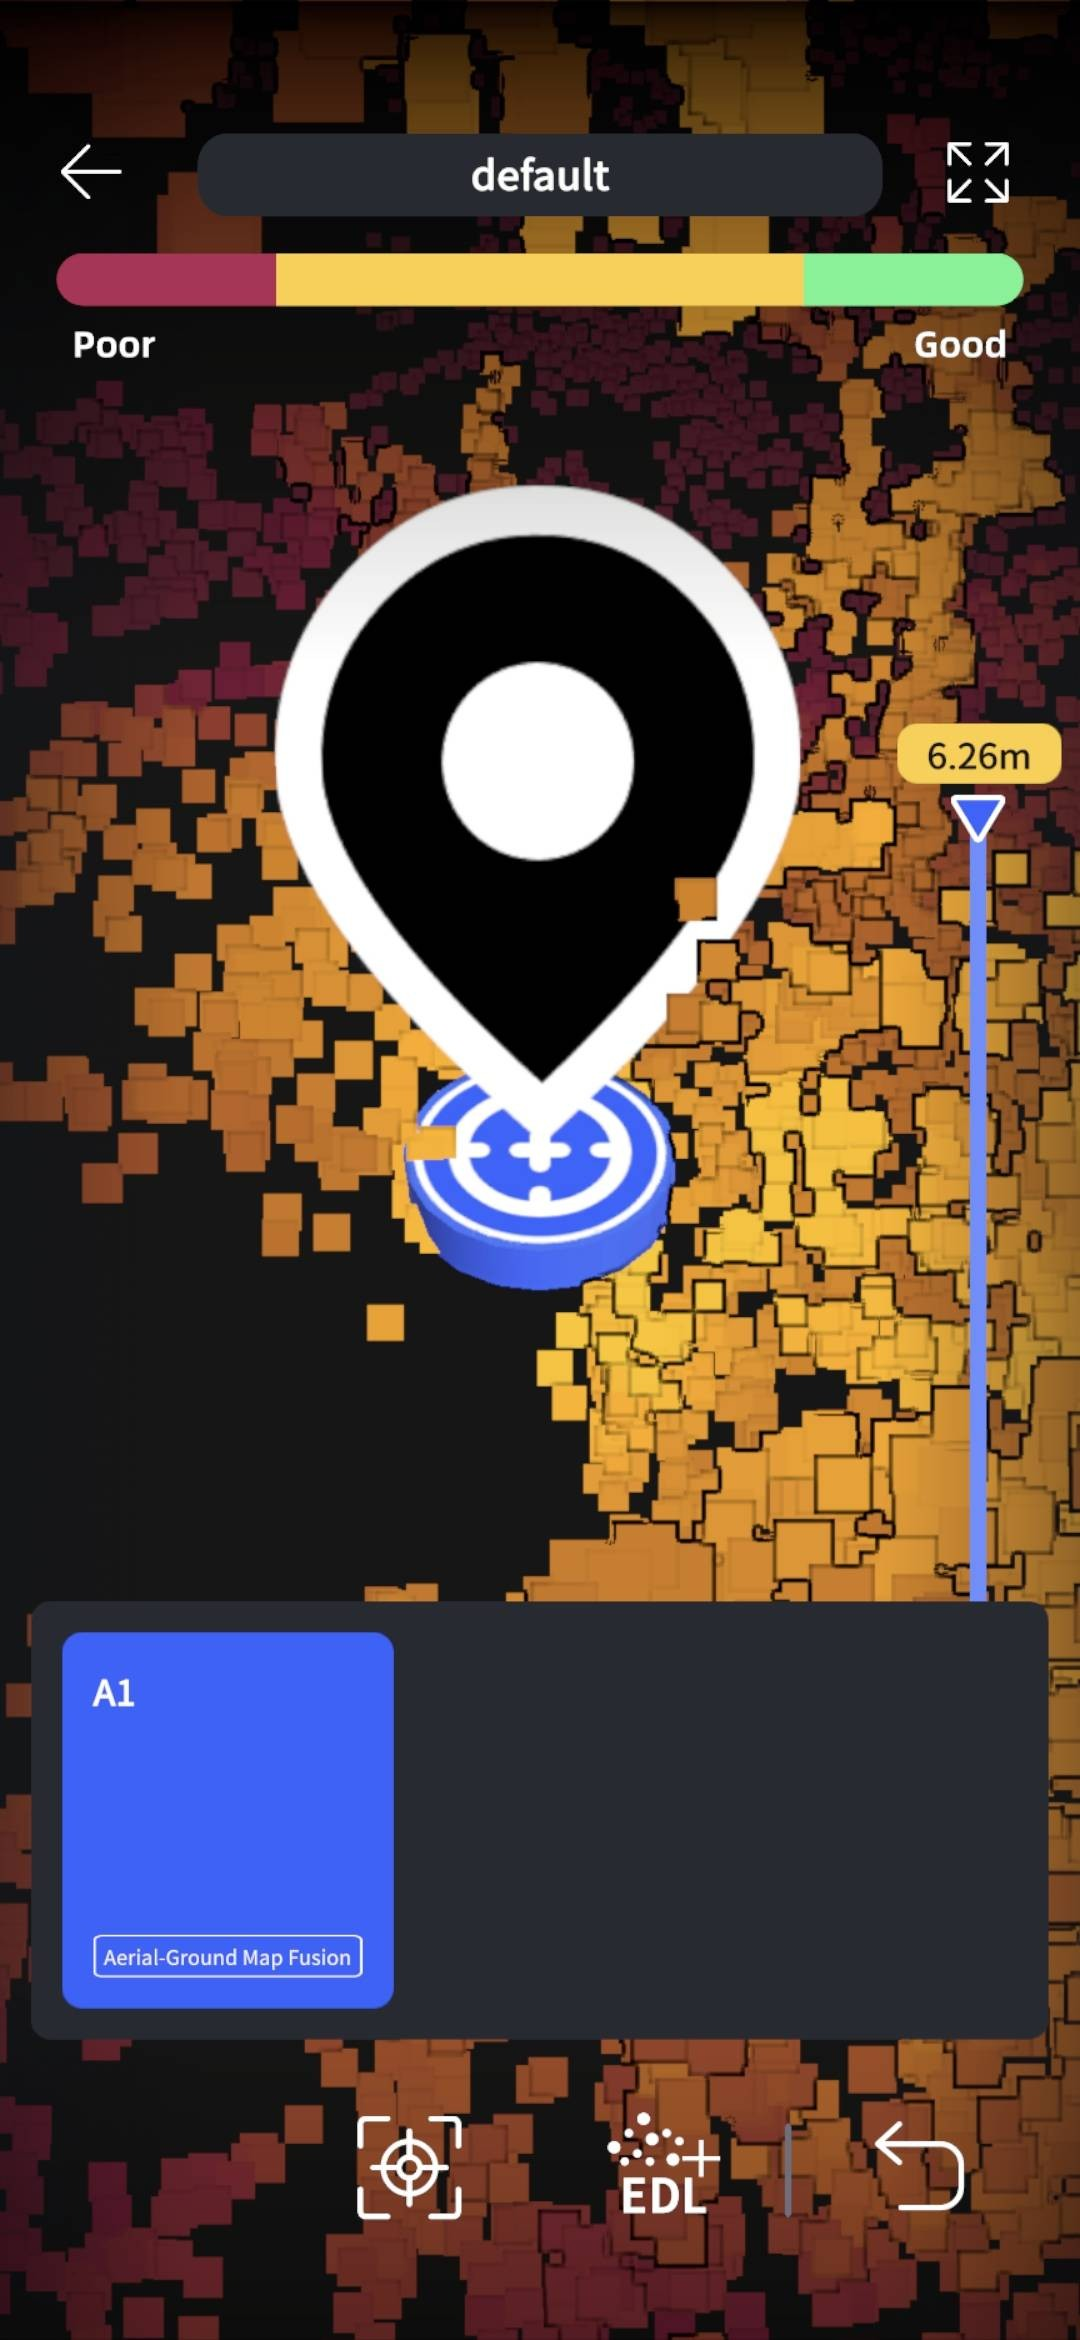
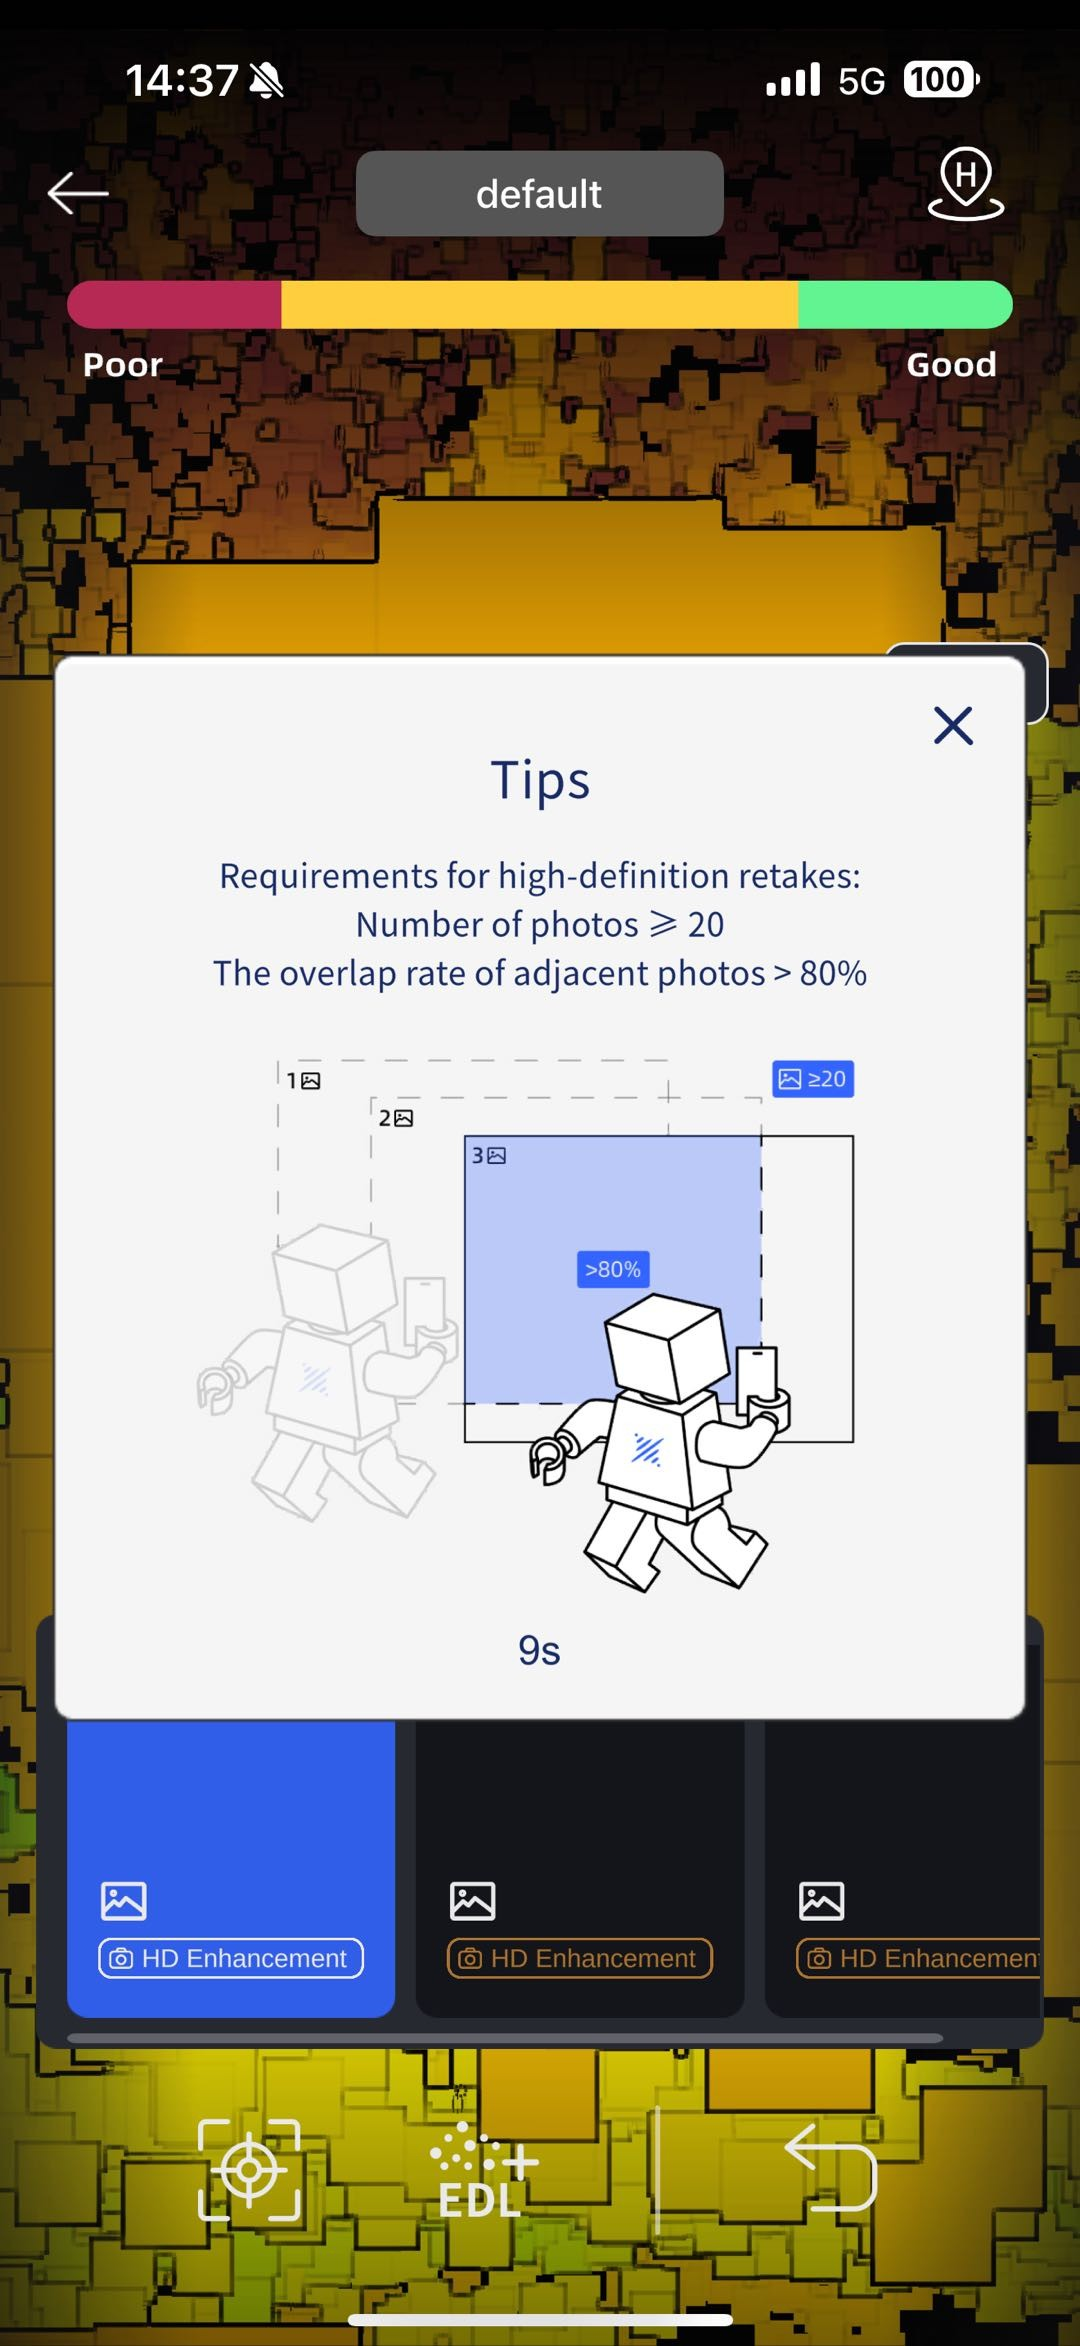
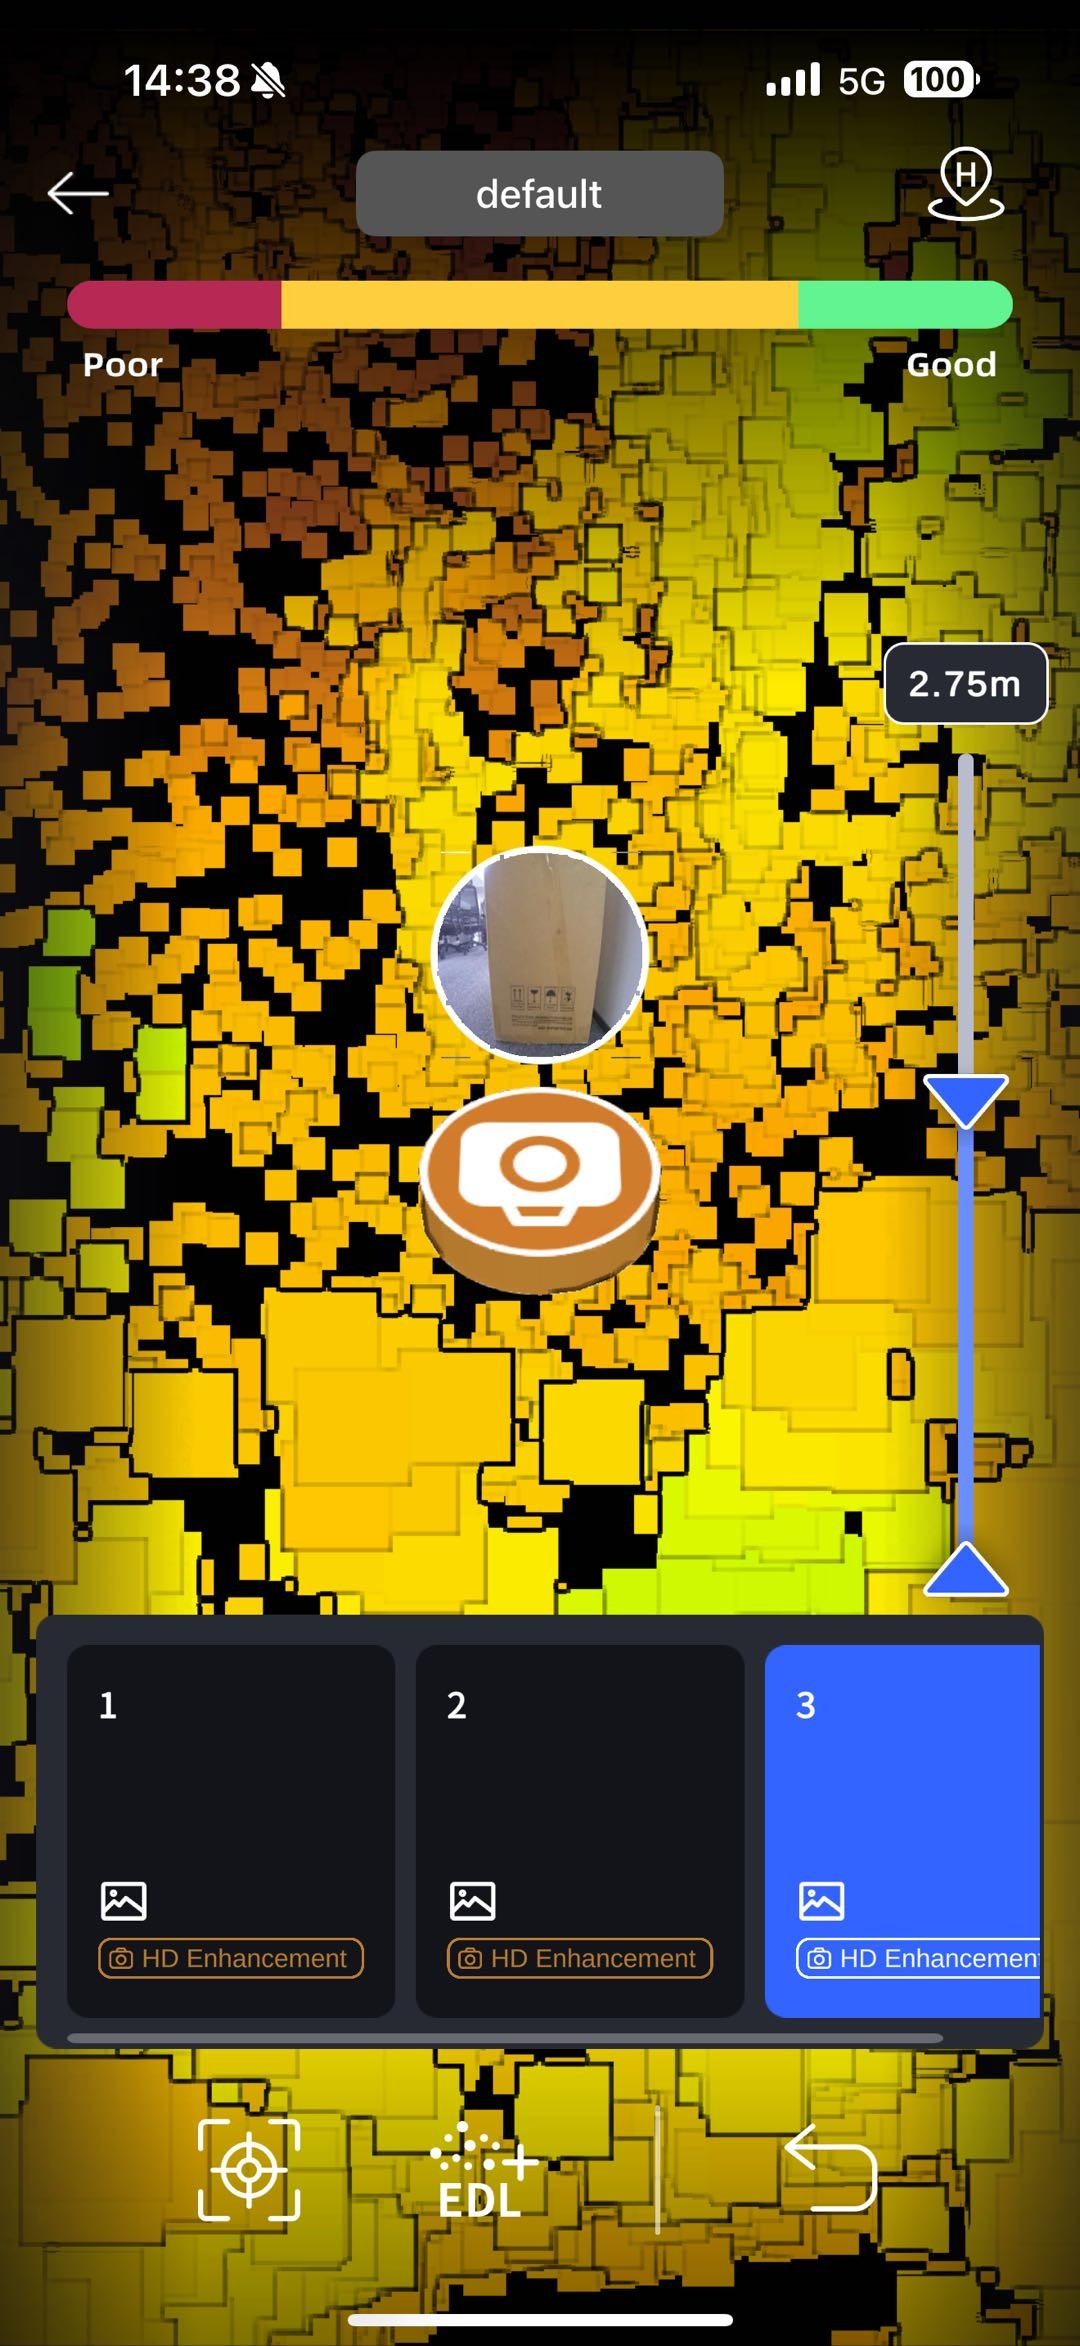
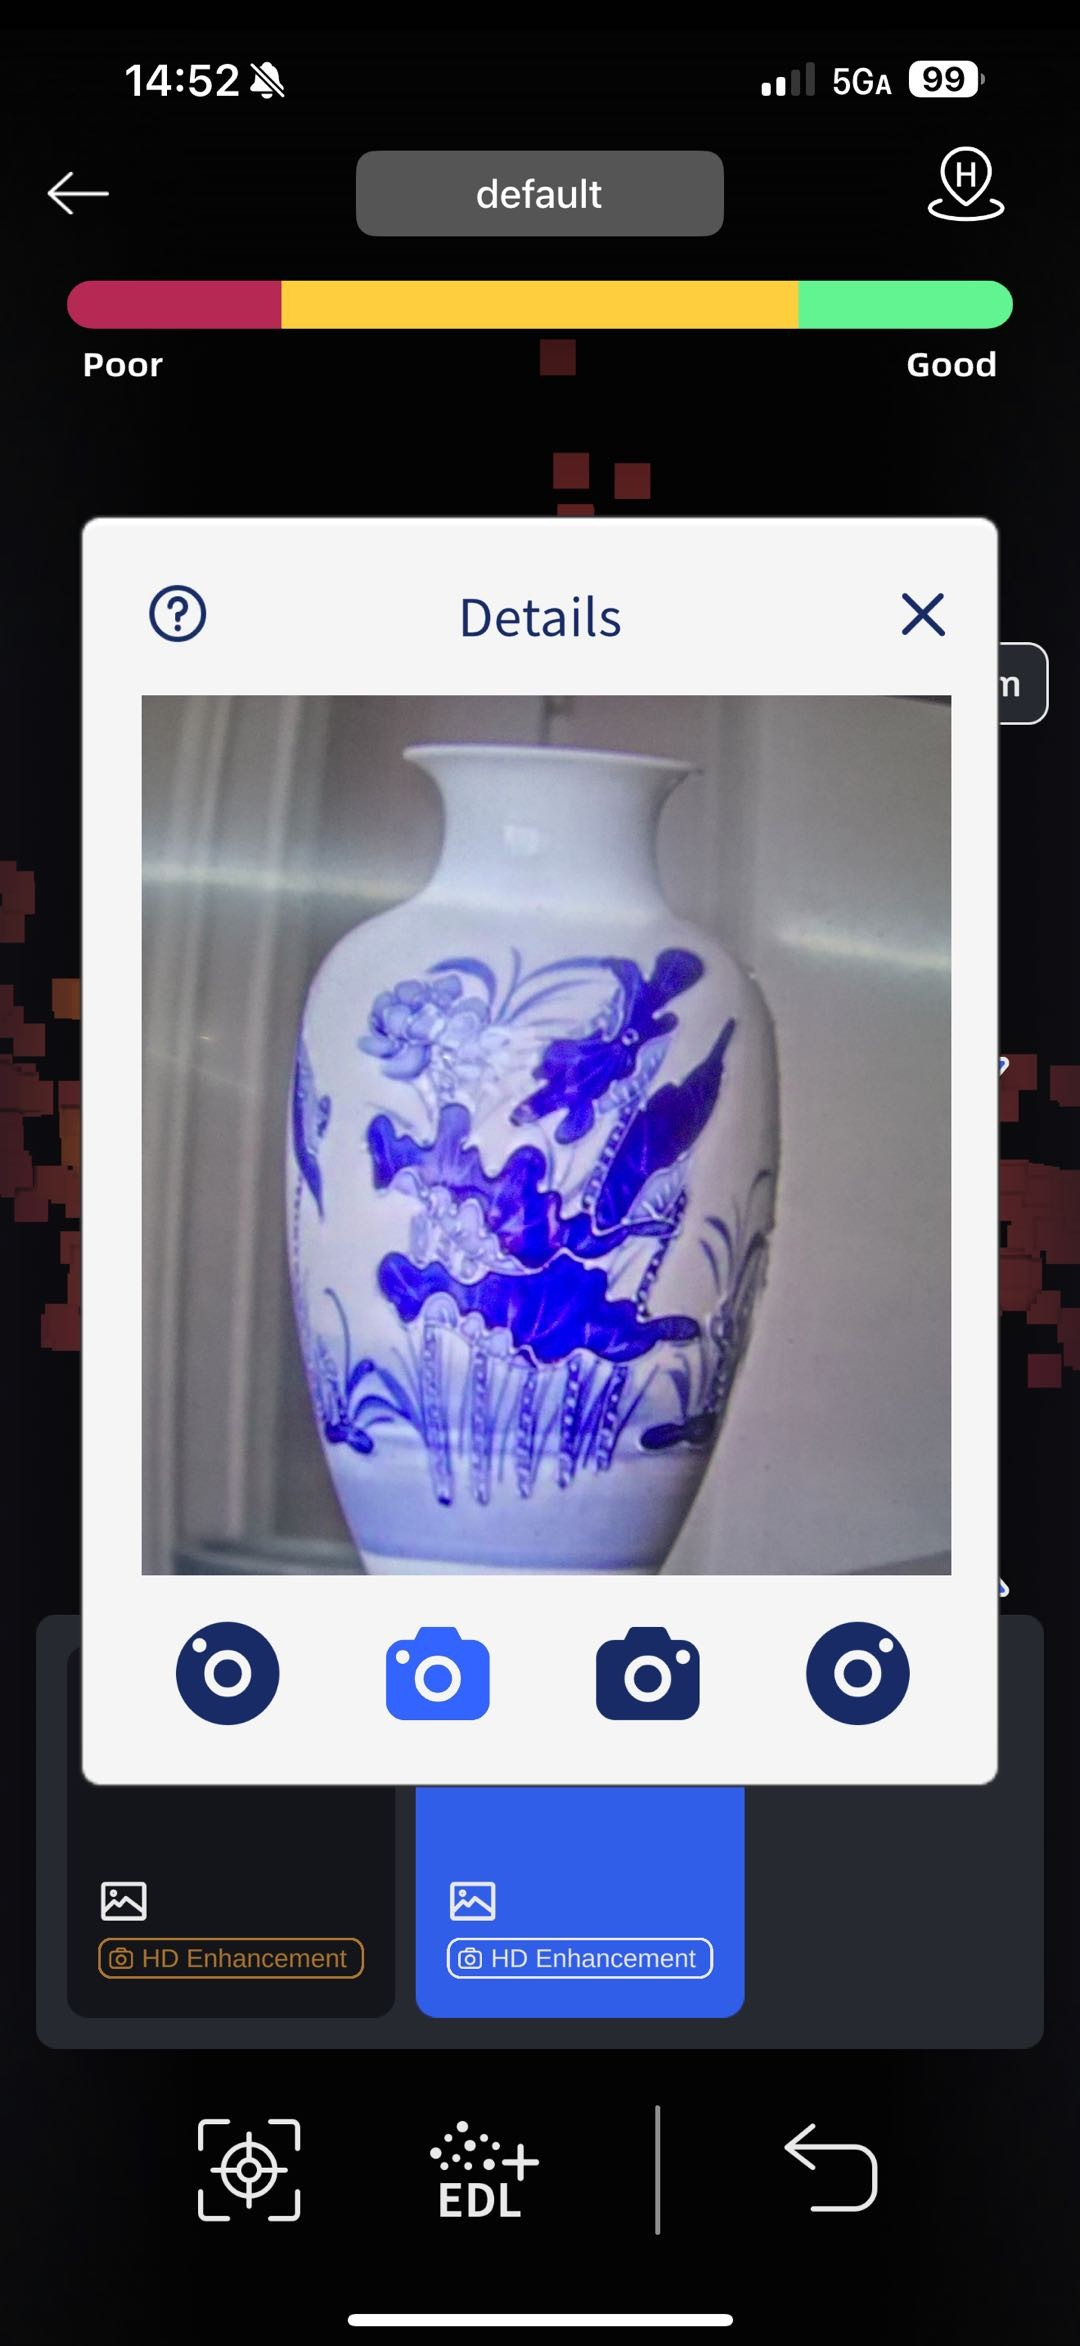
Color Display
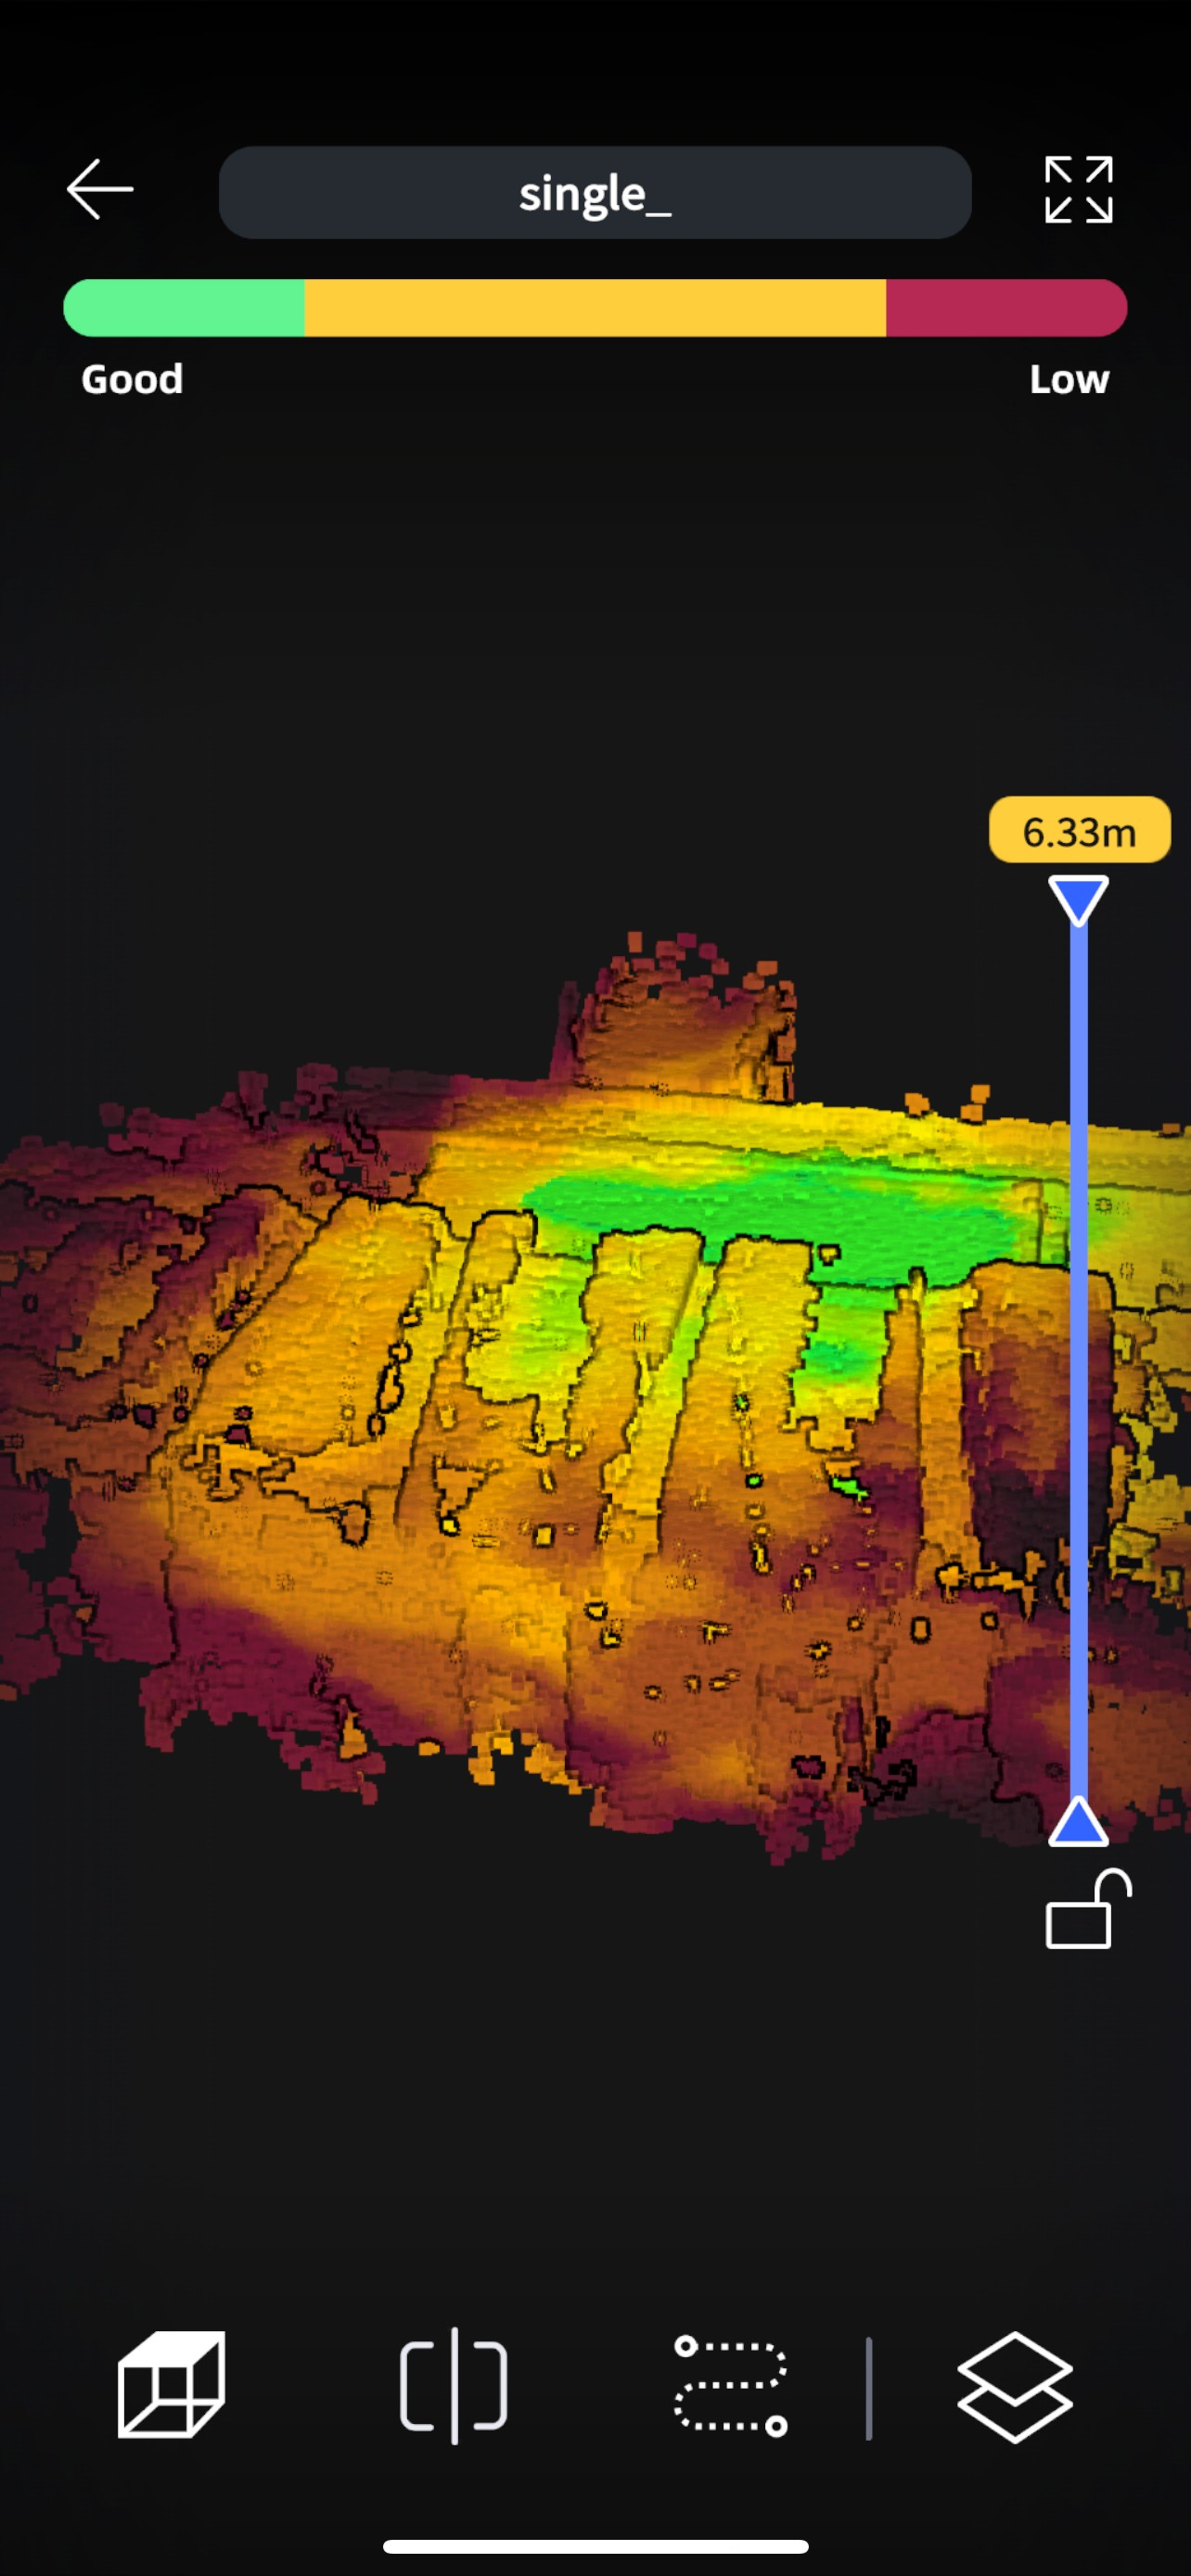
After scanning, the system automatically completes a pre-evaluation of LCC quality. Green means excellent quality, yellow means average quality, and red means poor data quality.
Tools
Crop: supports cropping the model along the Z axis. Crop away the roof to inspect the capture quality of the indoor model.
Multi-view: supports switching between multiple views.
Rendering mode: supports LCC quality mode and EL elevation mode rendering.
Trajectory: tap to show the trajectory.
Origin point: tap to return to the starting point of the scan.
Device Information and Settings
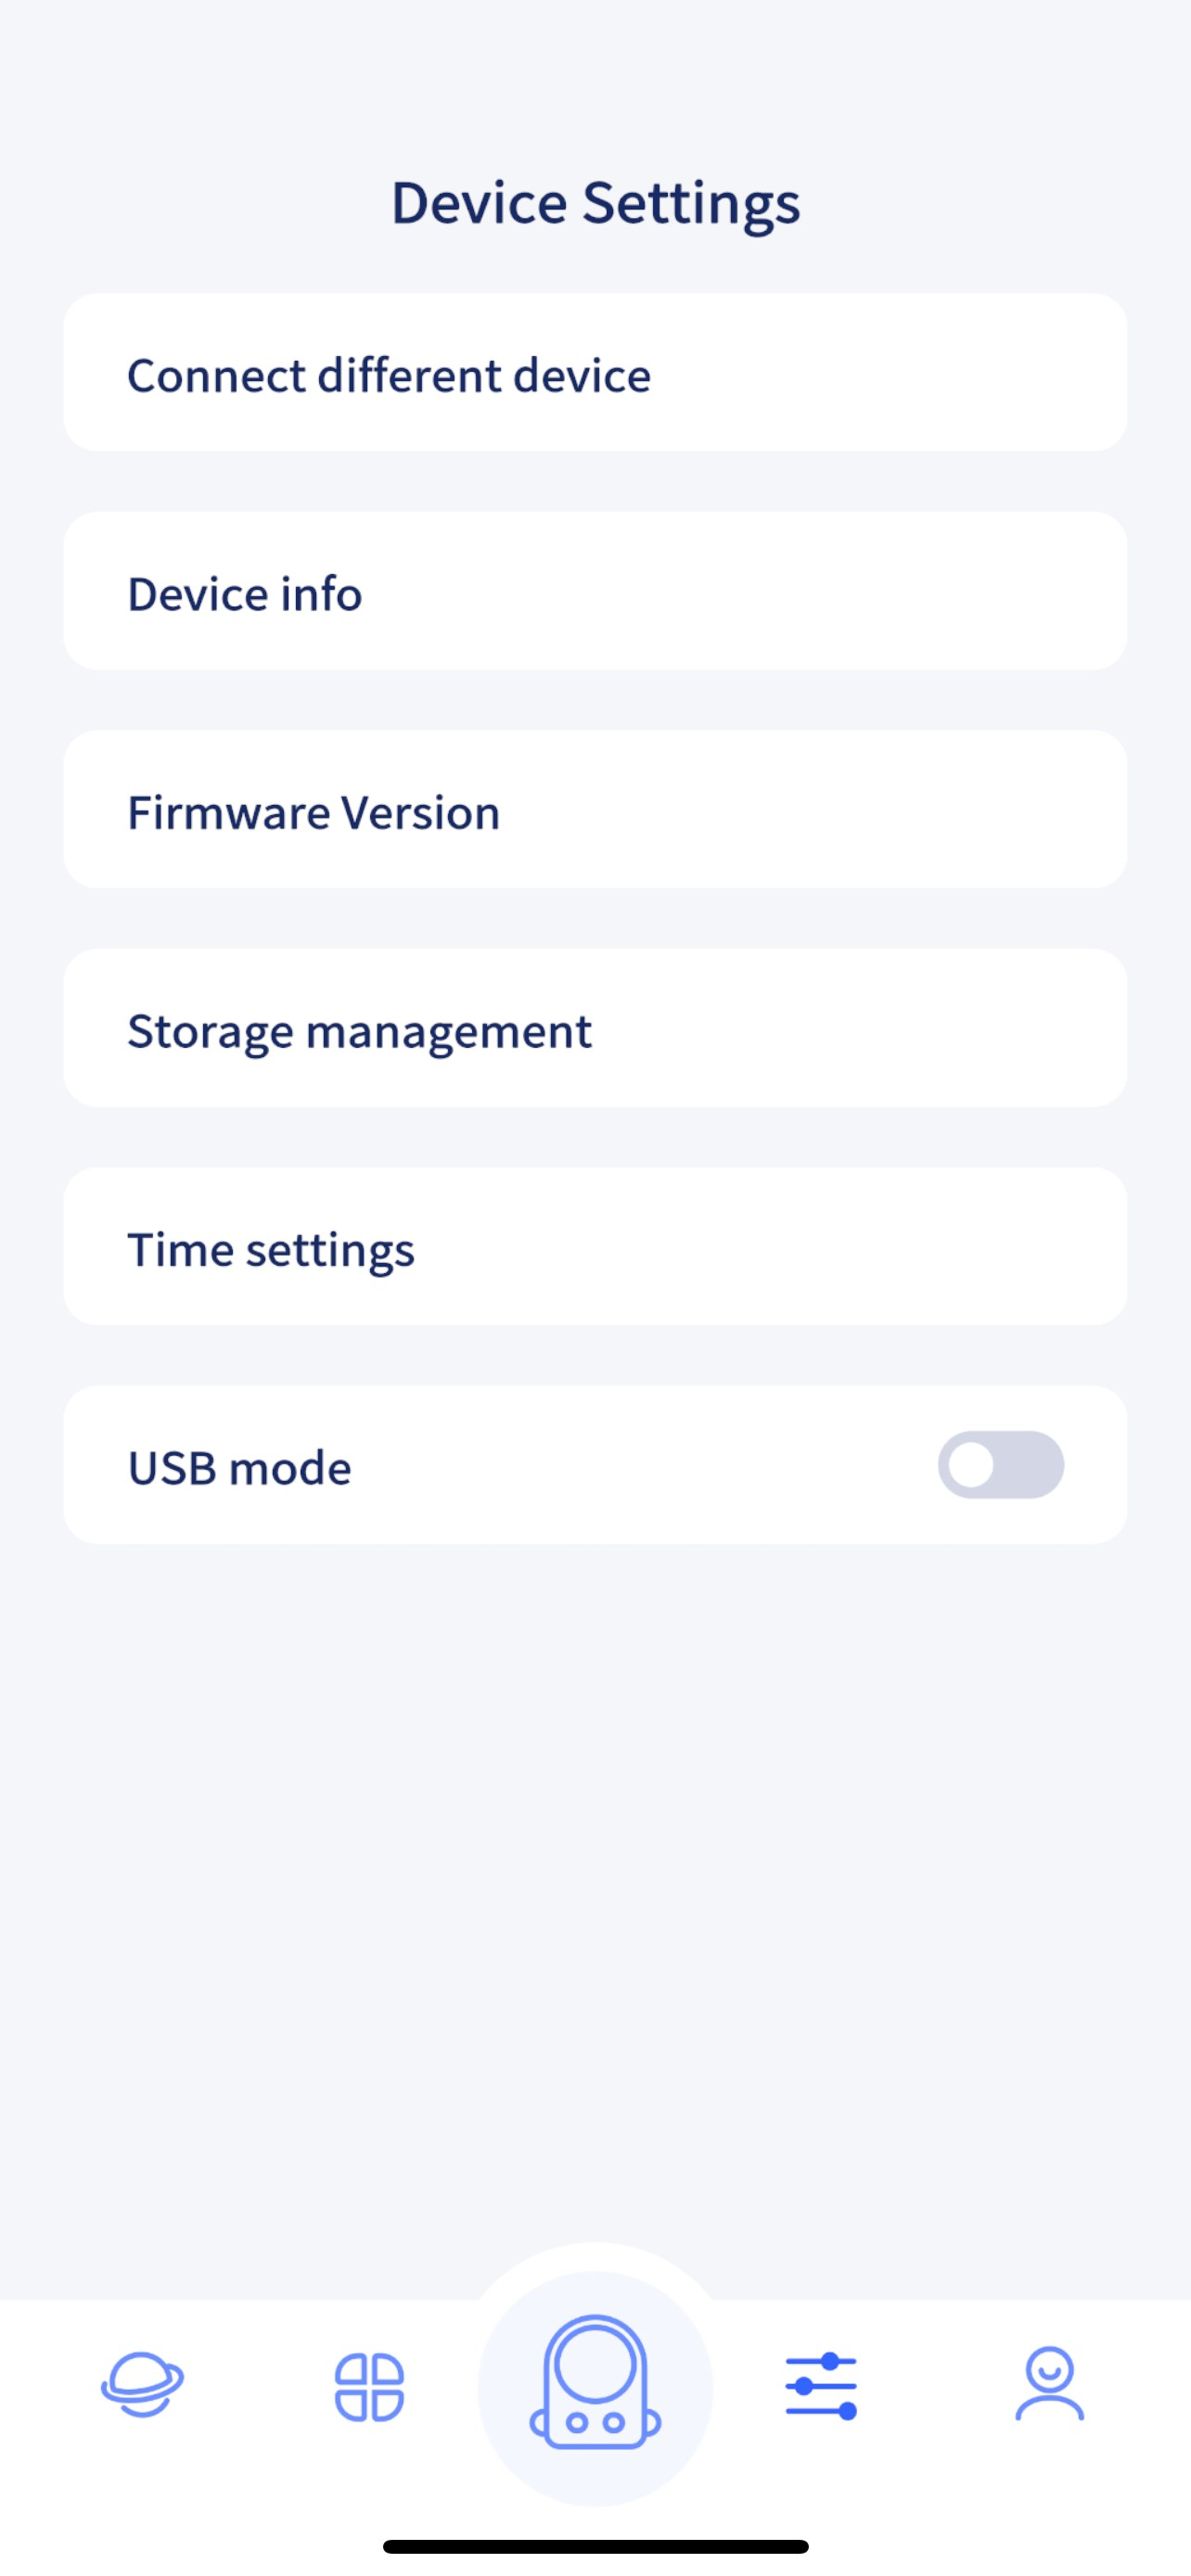
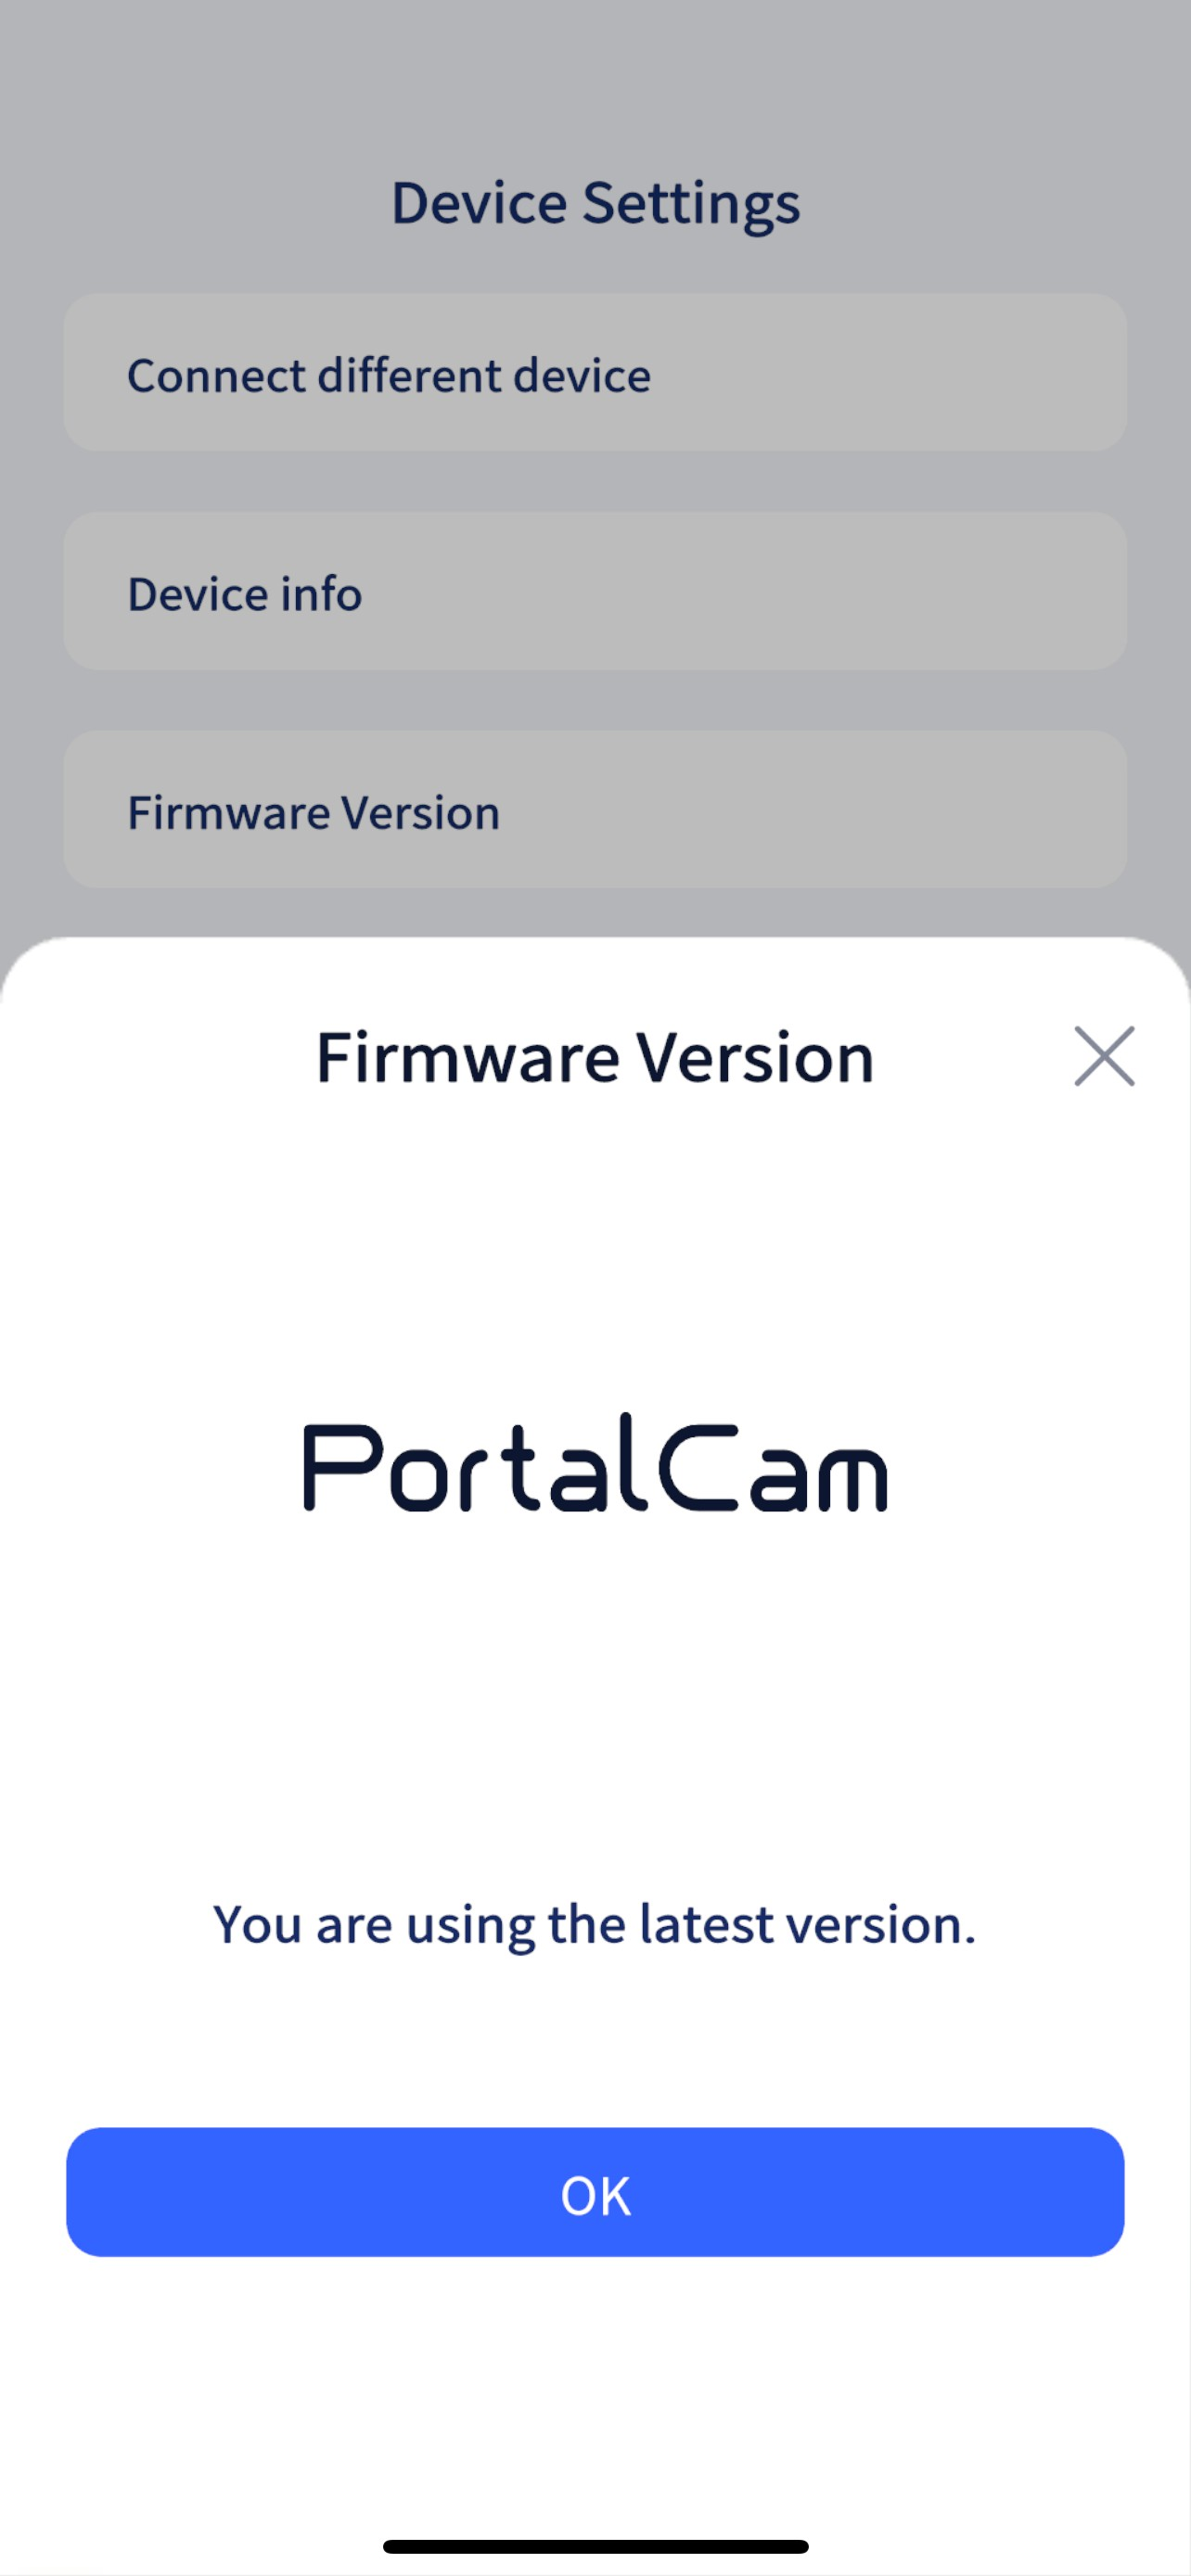
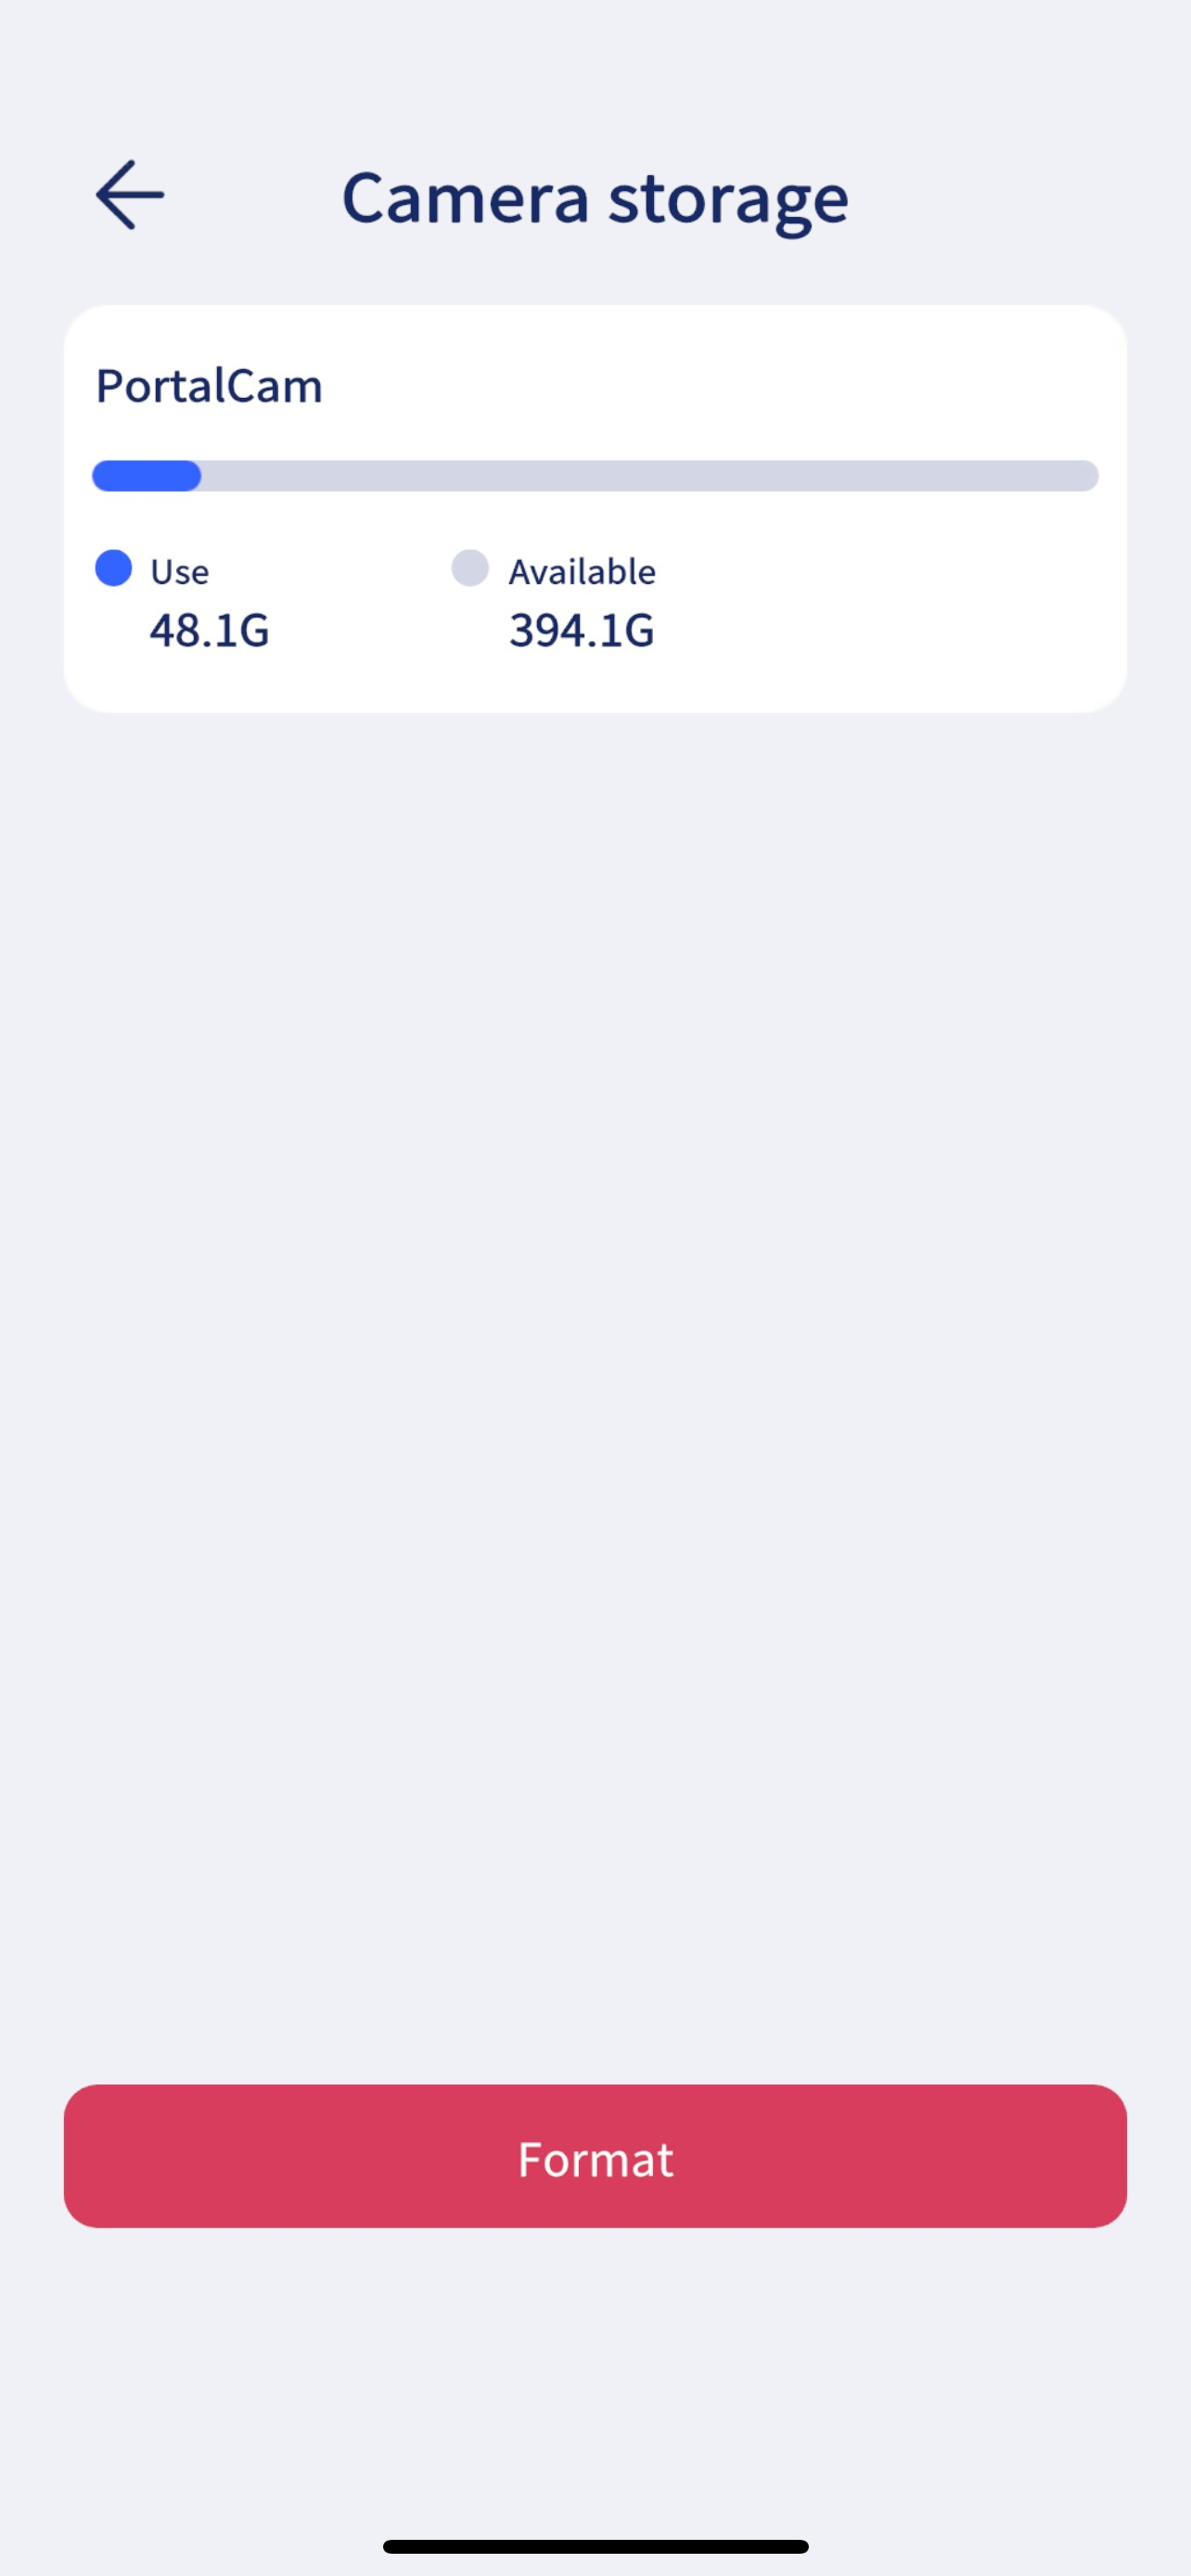
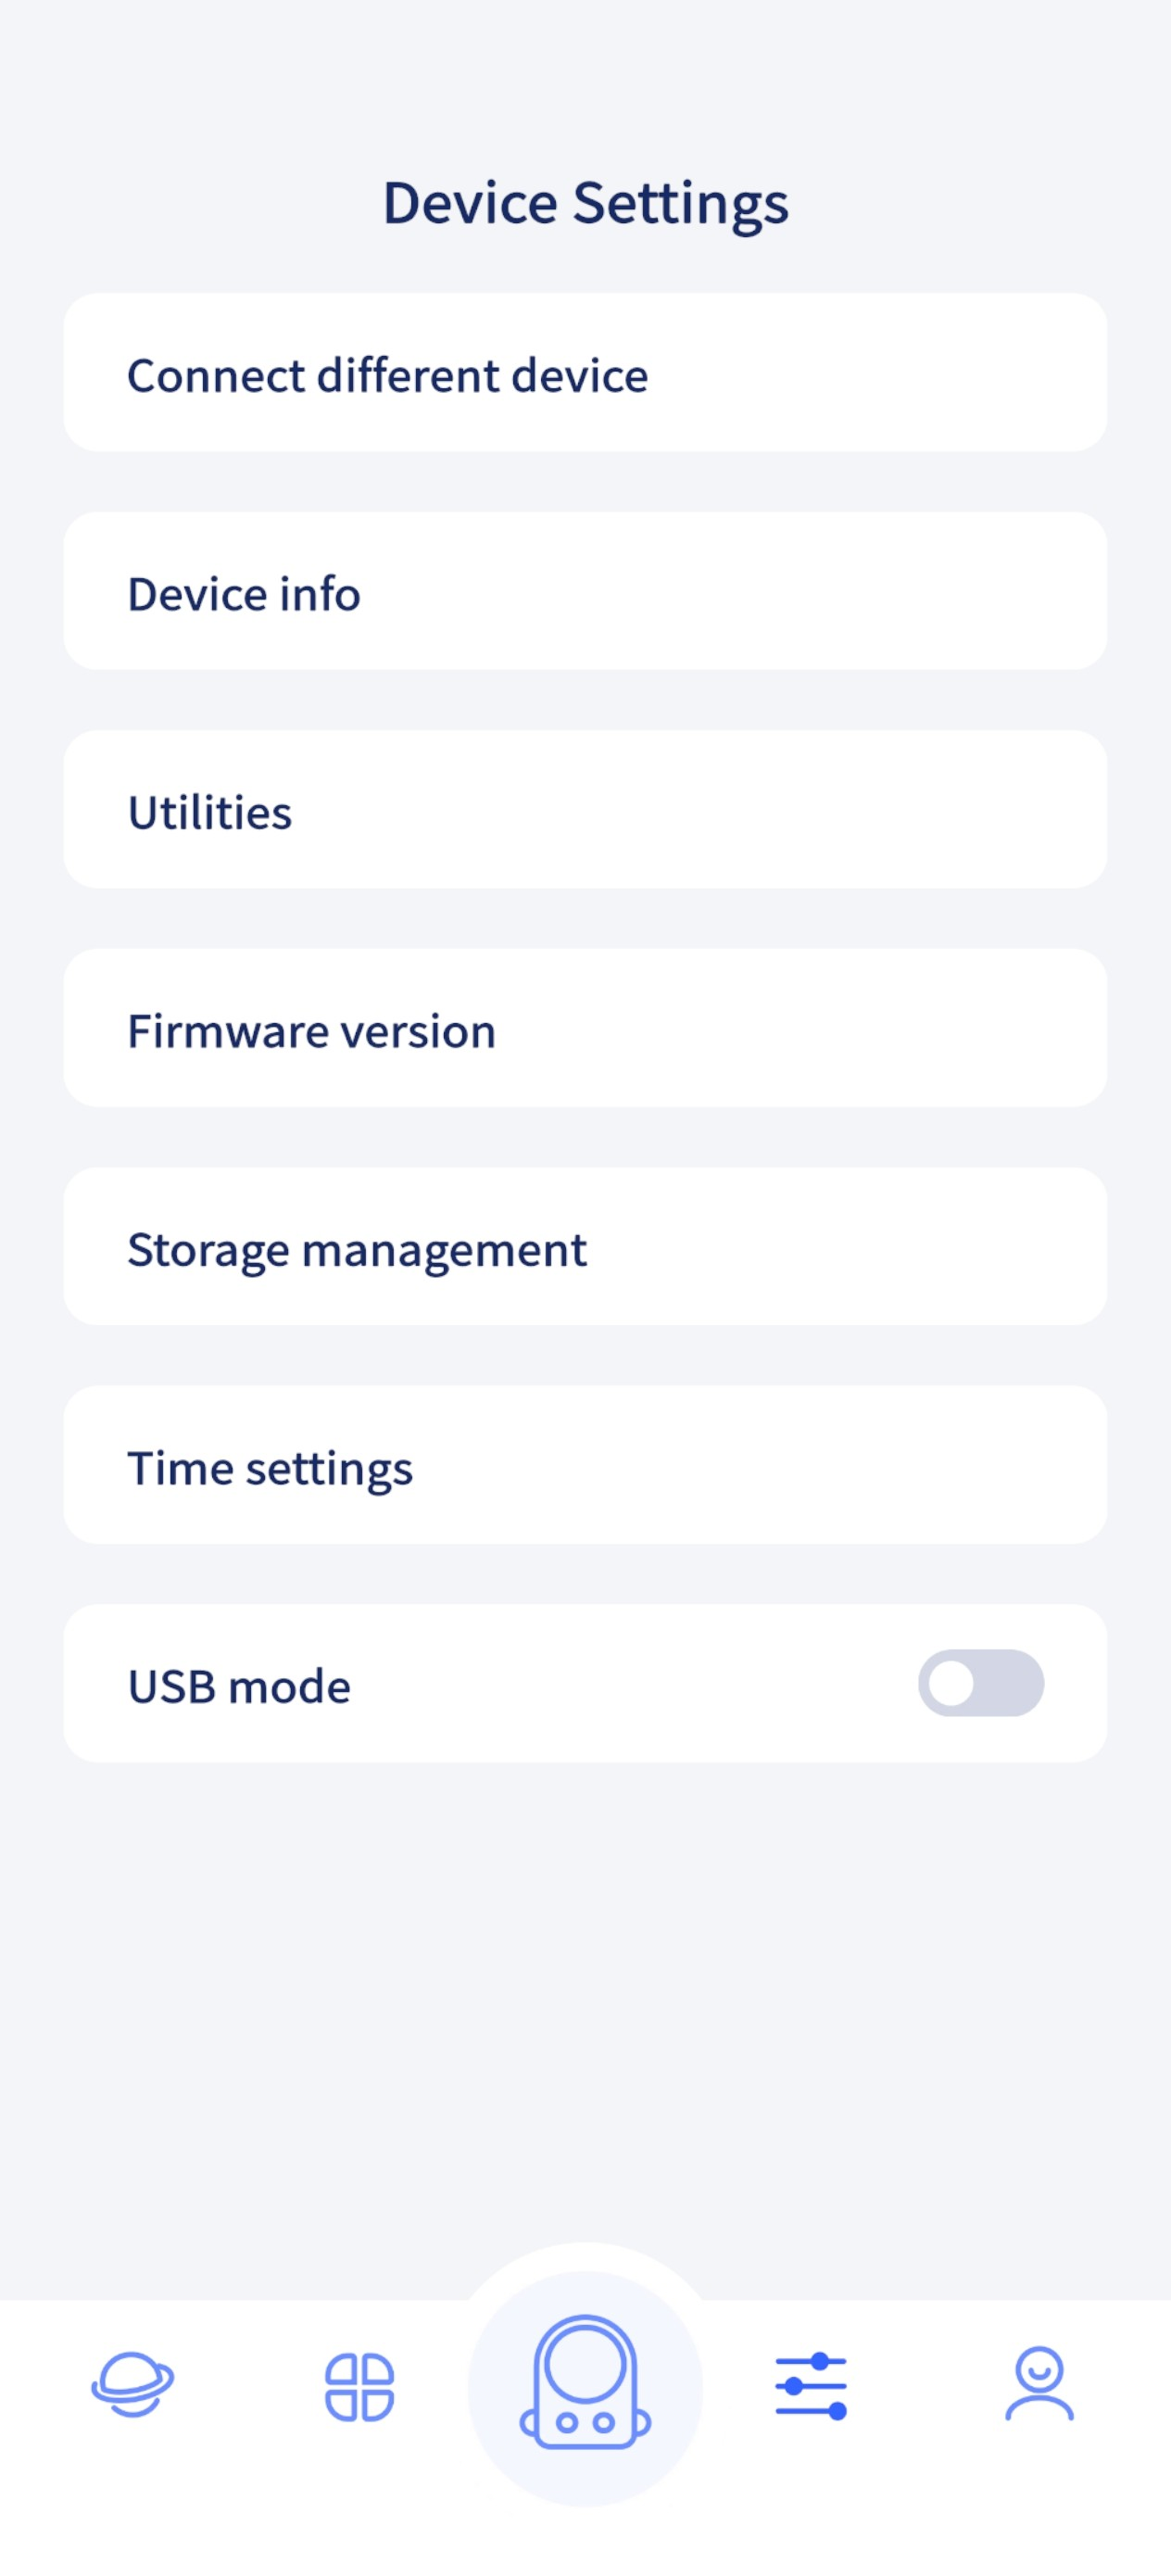
Storage Management: manage the onboard storage; you can format the disk.
Firmware version: perform firmware upgrades.
USB mode: enable USB mode on the device.
Time configuration: set the device time and time zone.
App Settings
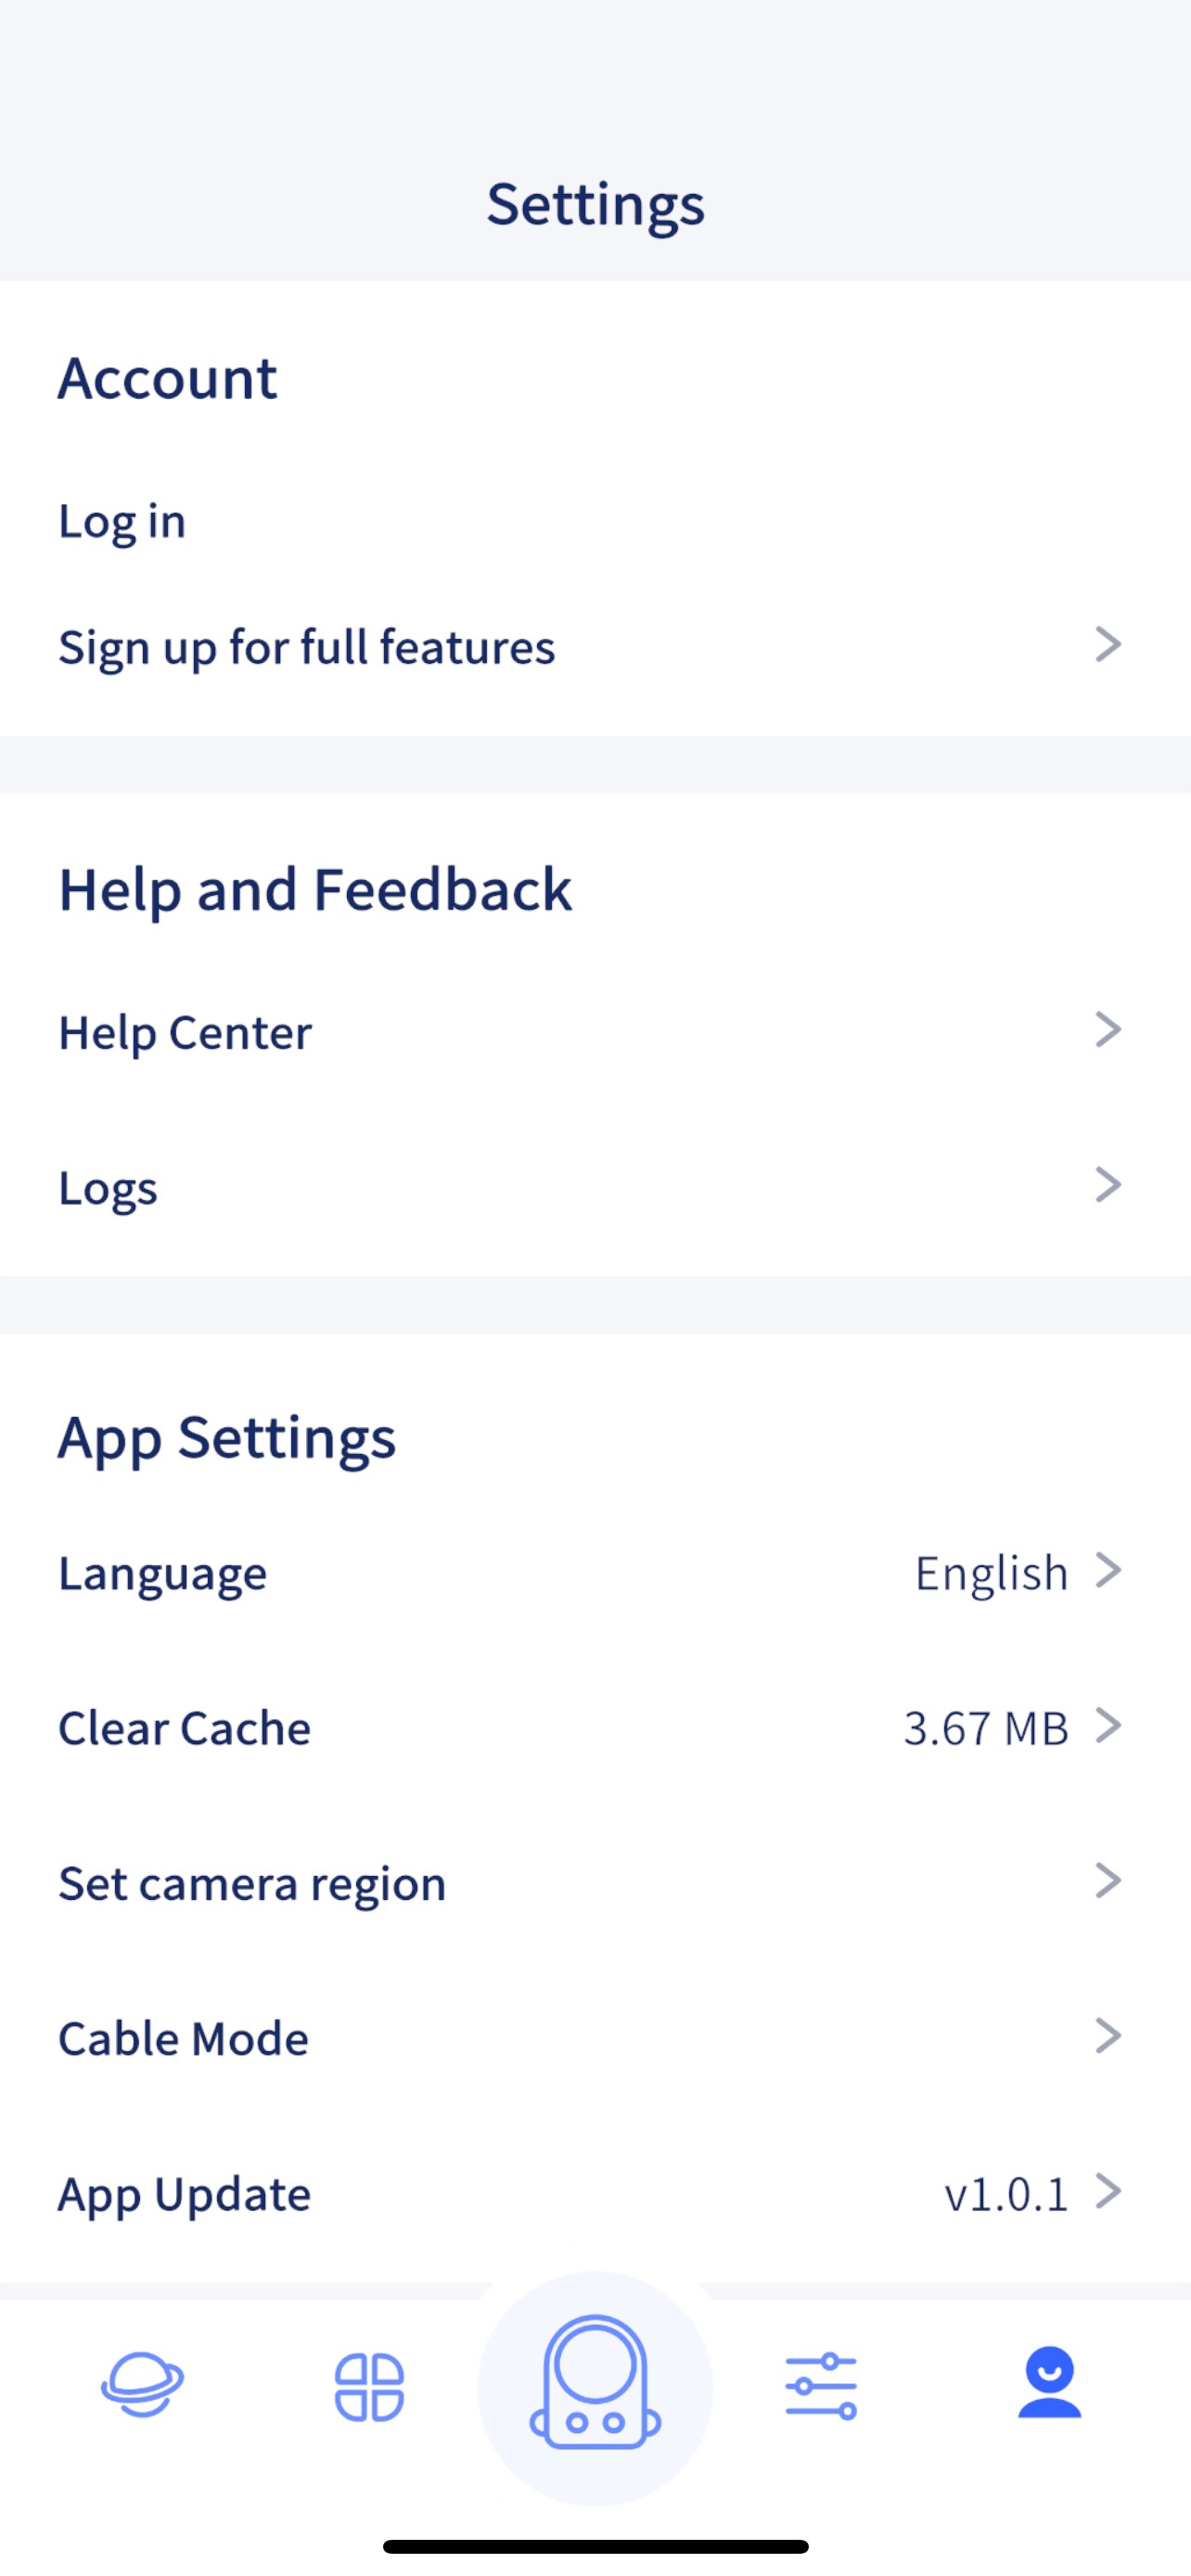
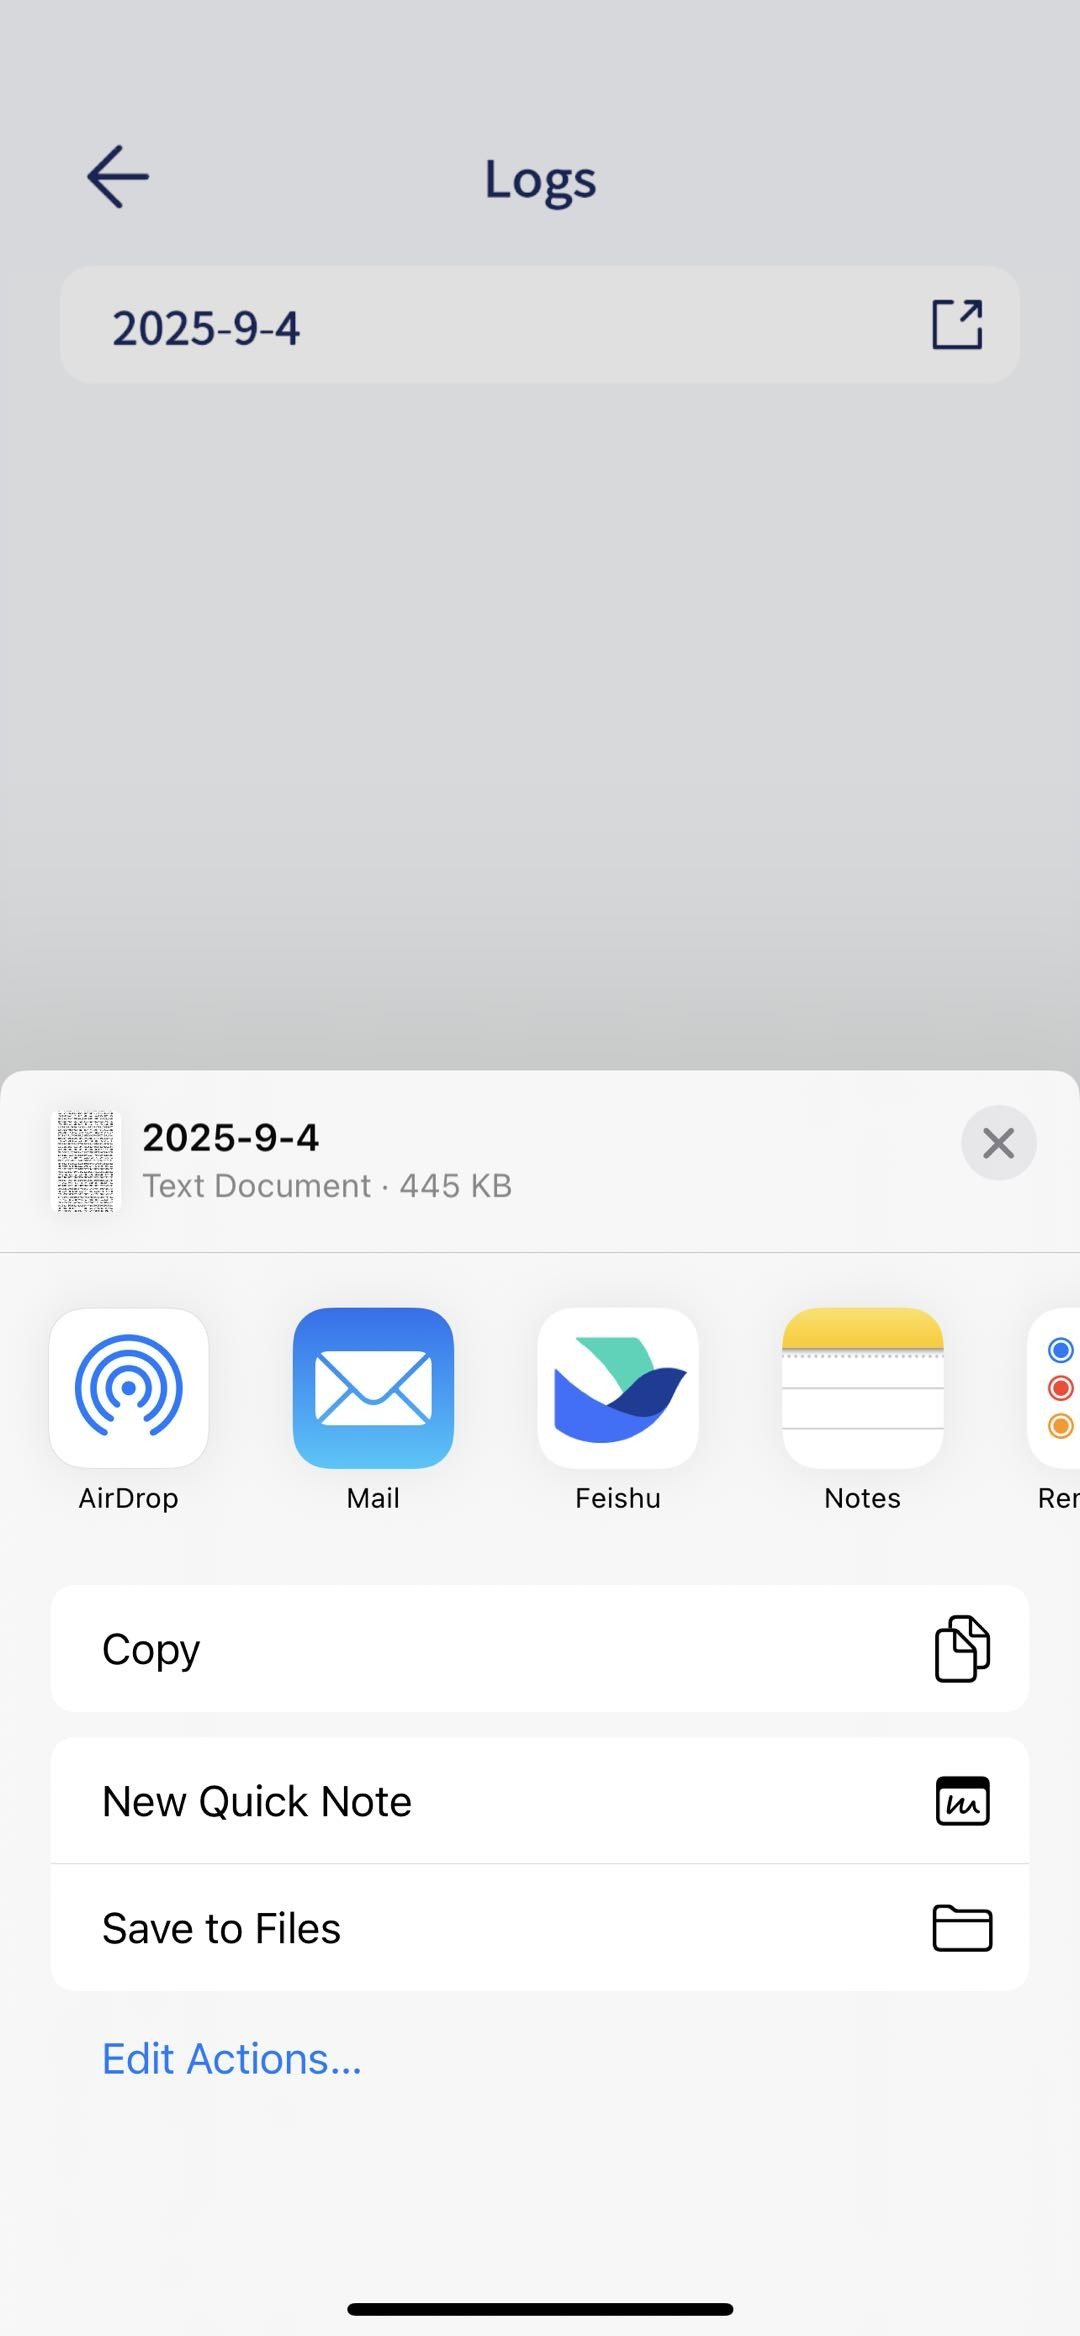
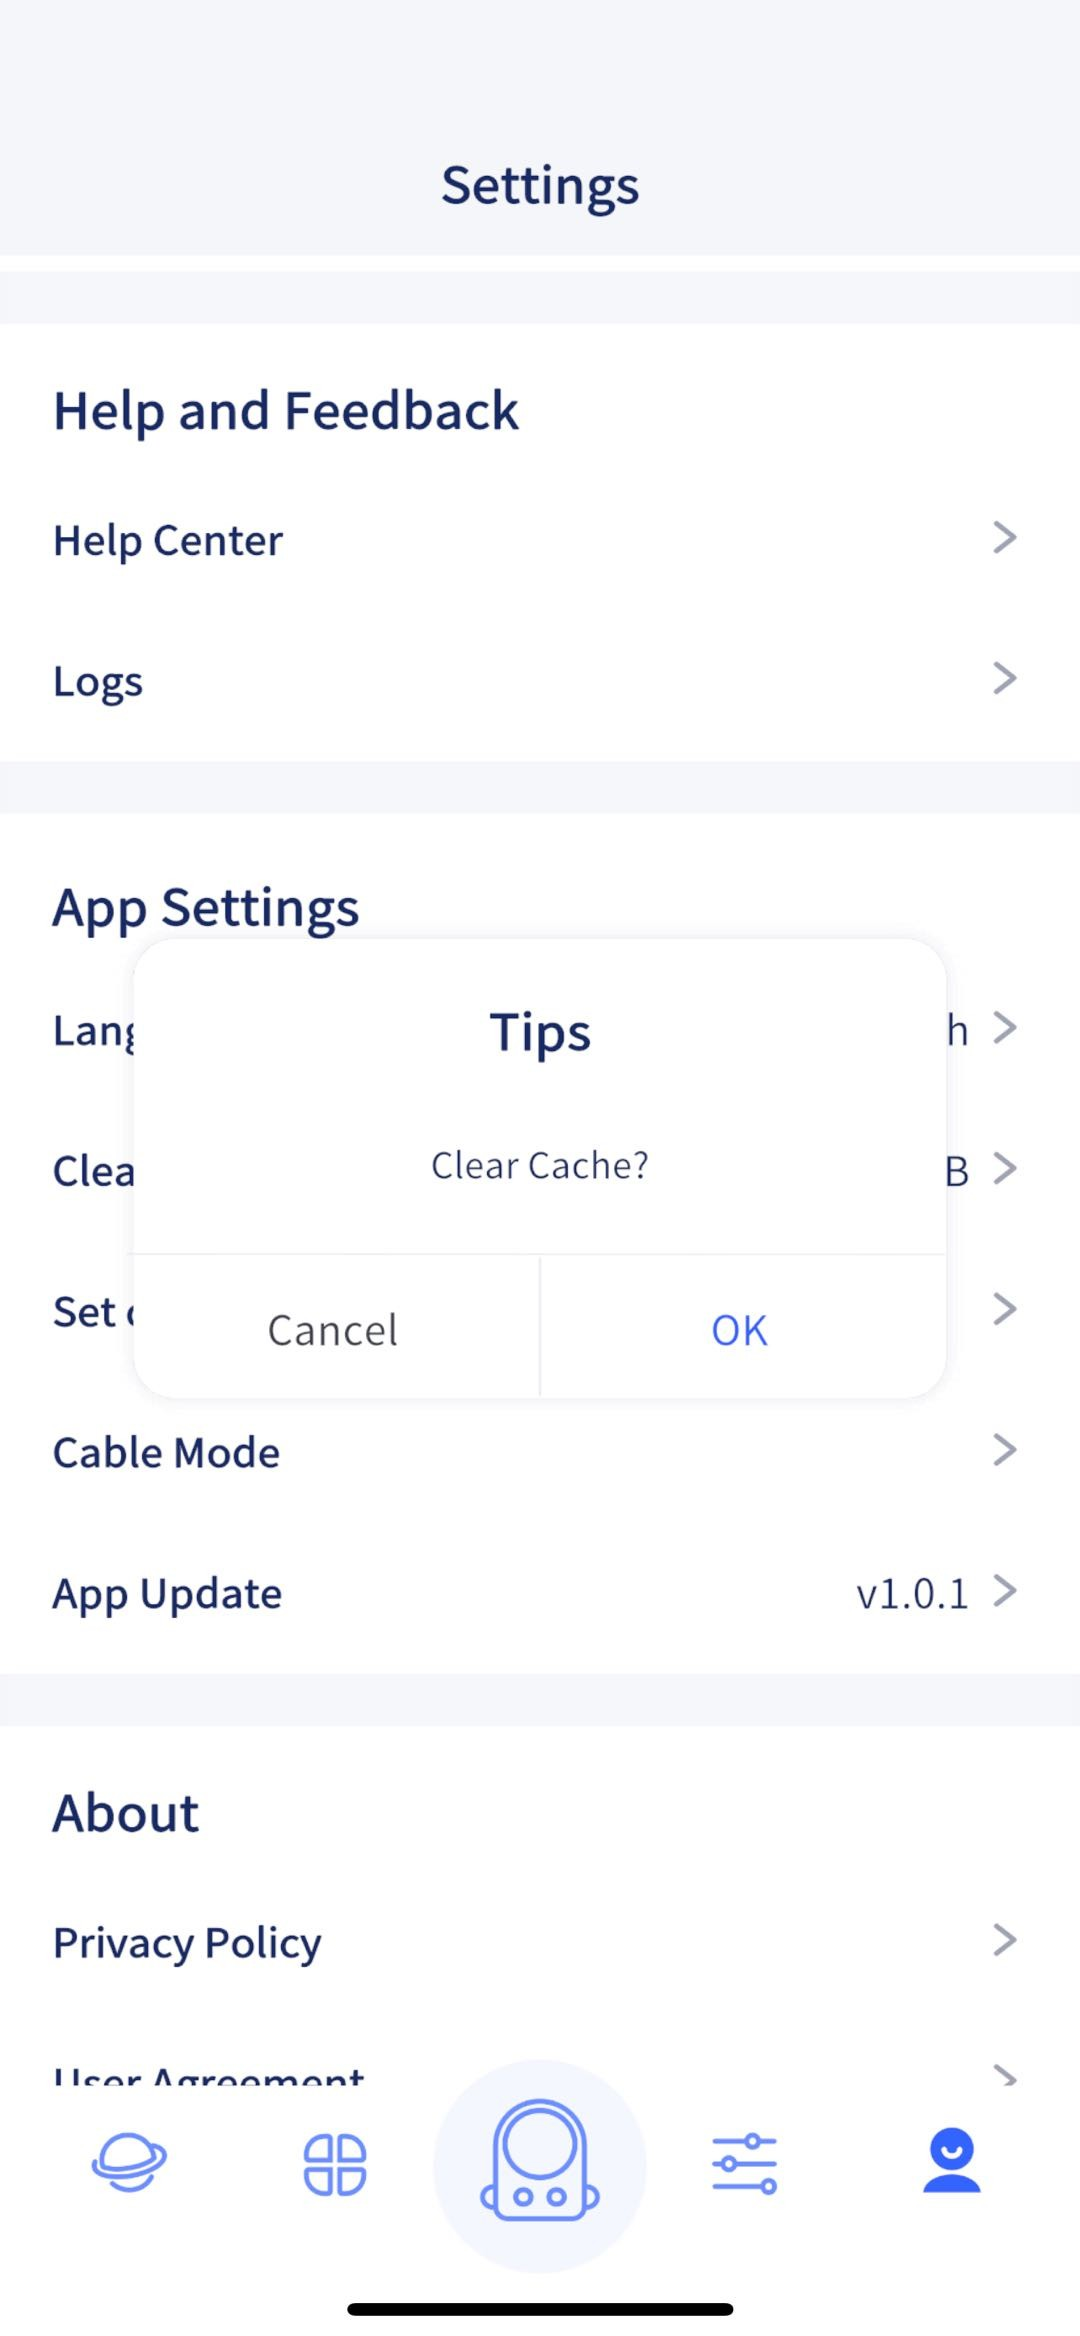
Log list: through Logs you can share error logs with technical support for troubleshooting and diagnosis.
Device Region: if you cannot connect to the device Wi-Fi, try changing the device region.
Clear cache: clear the app cache.
USB mode: use the official USB cable and follow the on-screen prompts to connect the device.
Transfer Project Files to a Computer
With the PortalCam powered on, use the official Type-C cable to connect the PortalCam to a computer.
The PortalCam automatically enters USB mode and the device light turns blue.
The computer shows the PortalCam disk.
Open the model level to see all the project files.
If the camera cannot connect to the computer, check the following:
After connecting to the computer, if the device does not automatically enter USB mode and still shows a green light, you can enable USB mode from the LCC Scan App.
Utilities
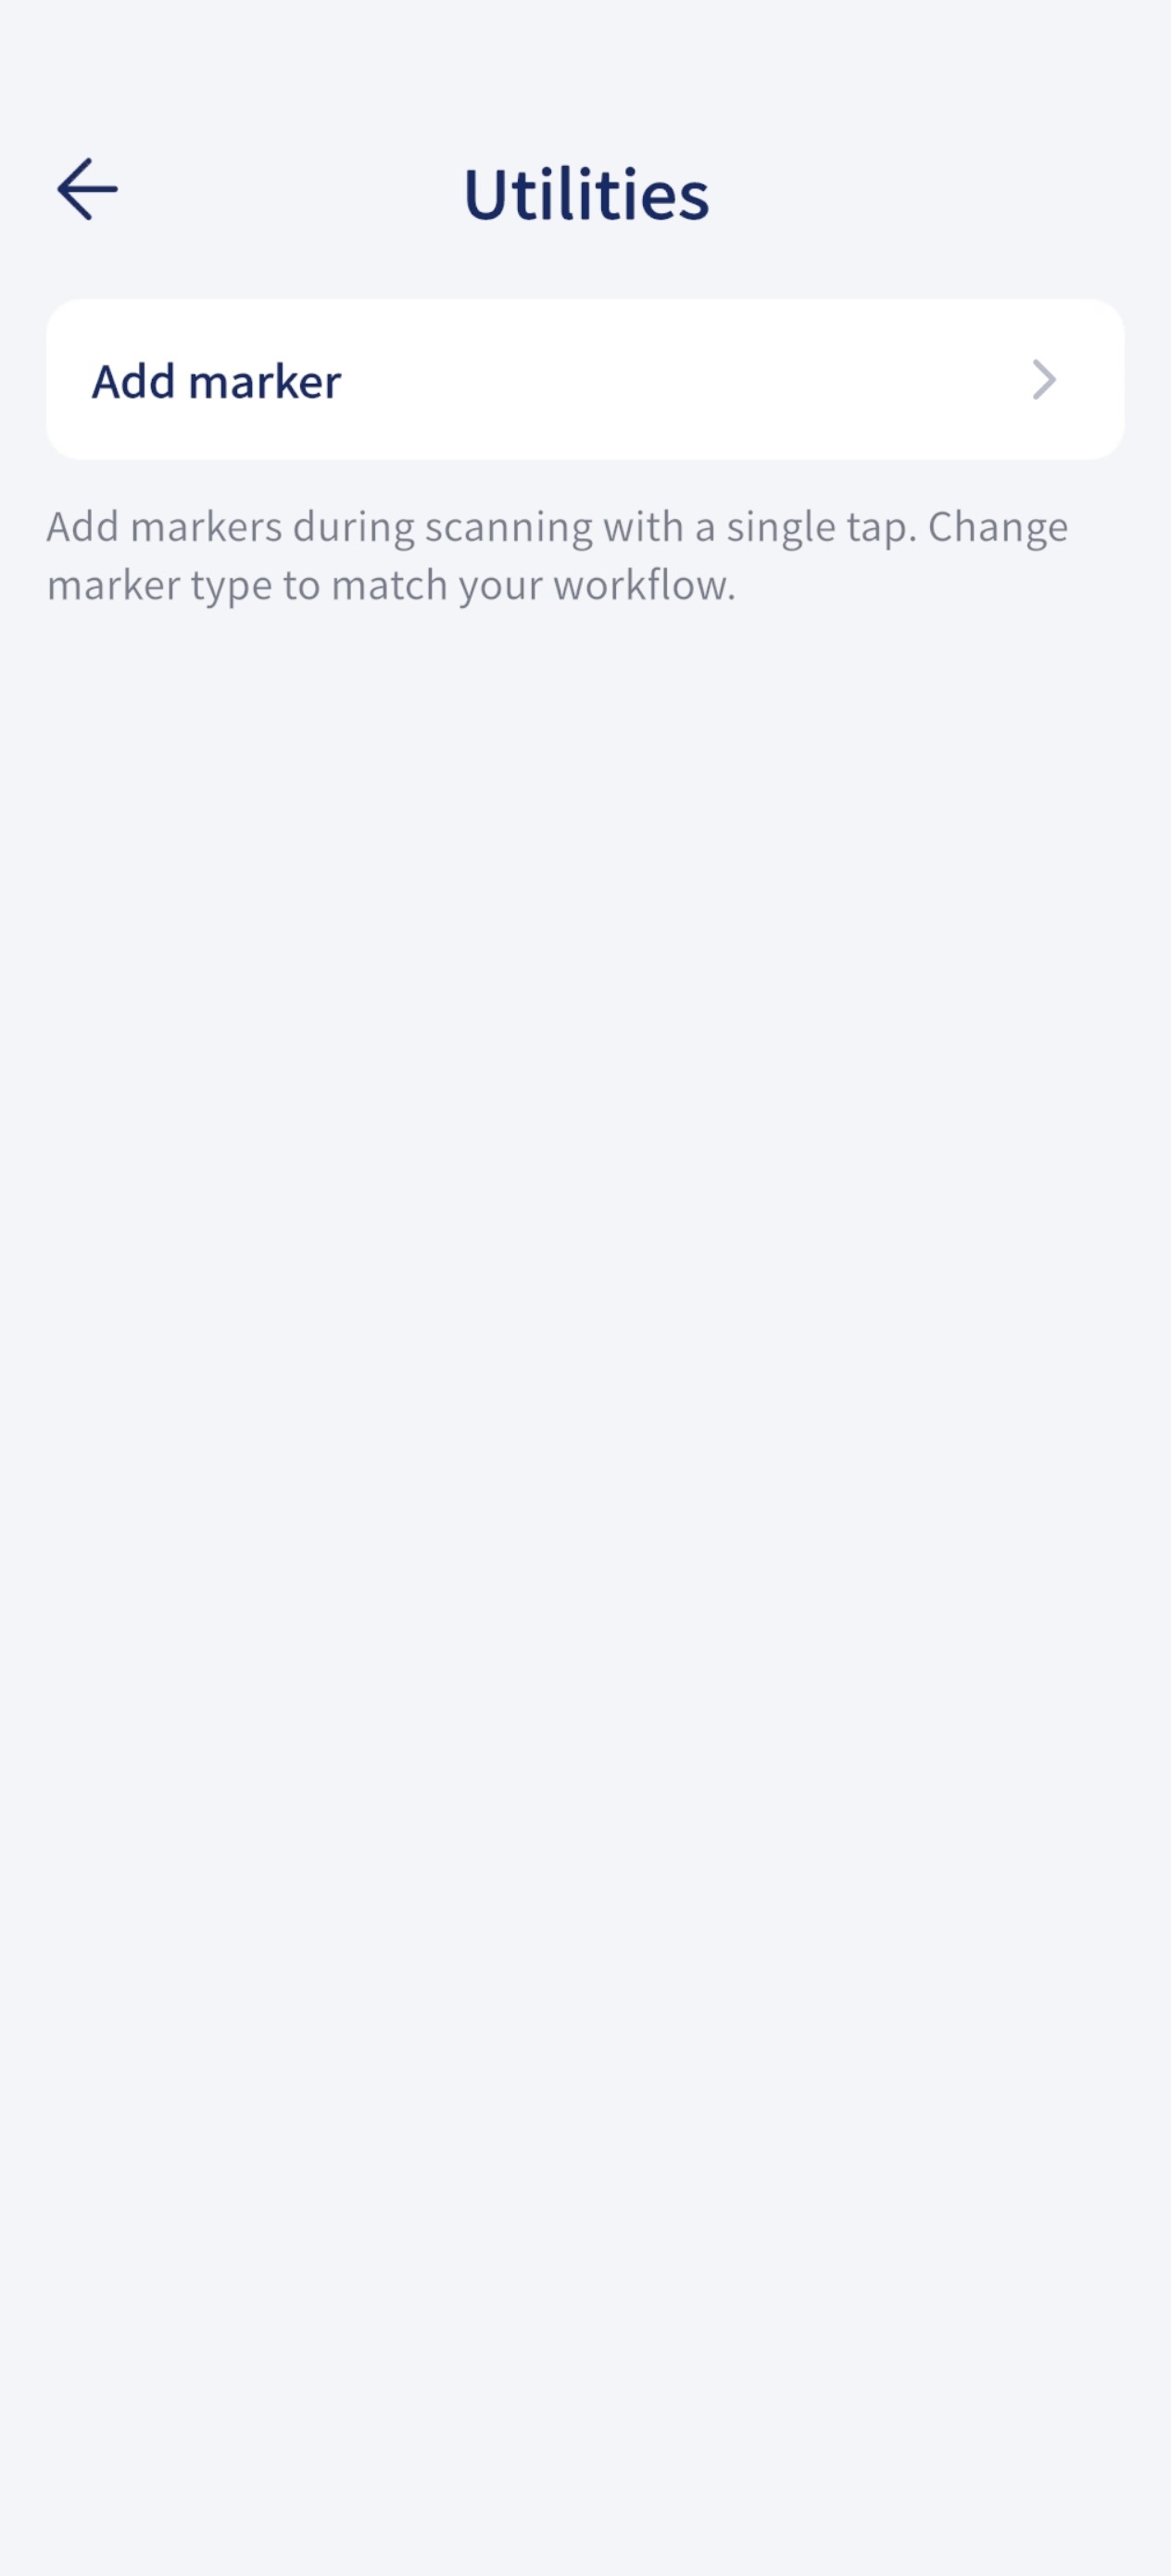
Add points
Note
During scanning, you can add a point by single-clicking the button. You can change the point type to make the P1 fit your workflow better.