Scanning Workflow
This chapter covers the complete capture workflow from connecting the device and starting a scan to exporting data, including scan mode settings, rendering mode, stopping a scan, viewing the model, data export, and the project file structure.
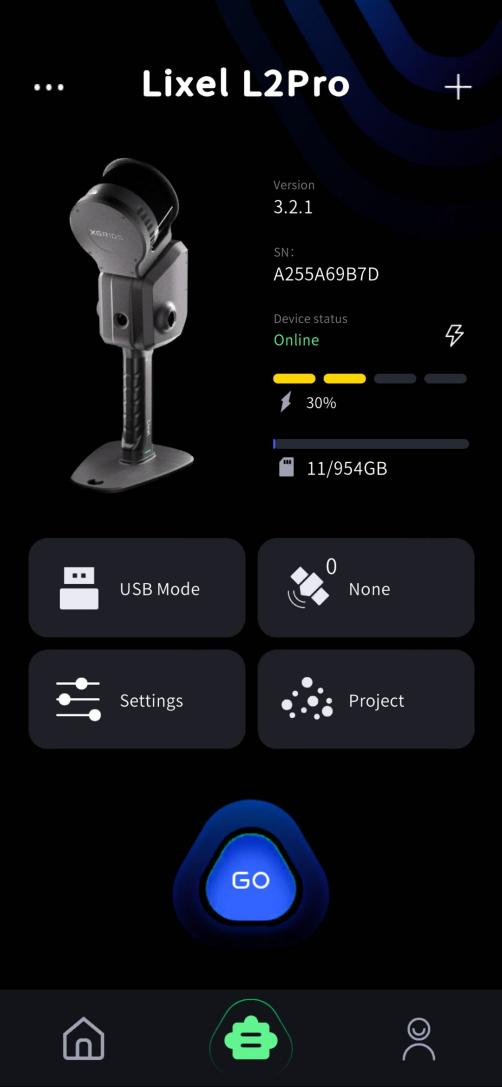
Connect the Device
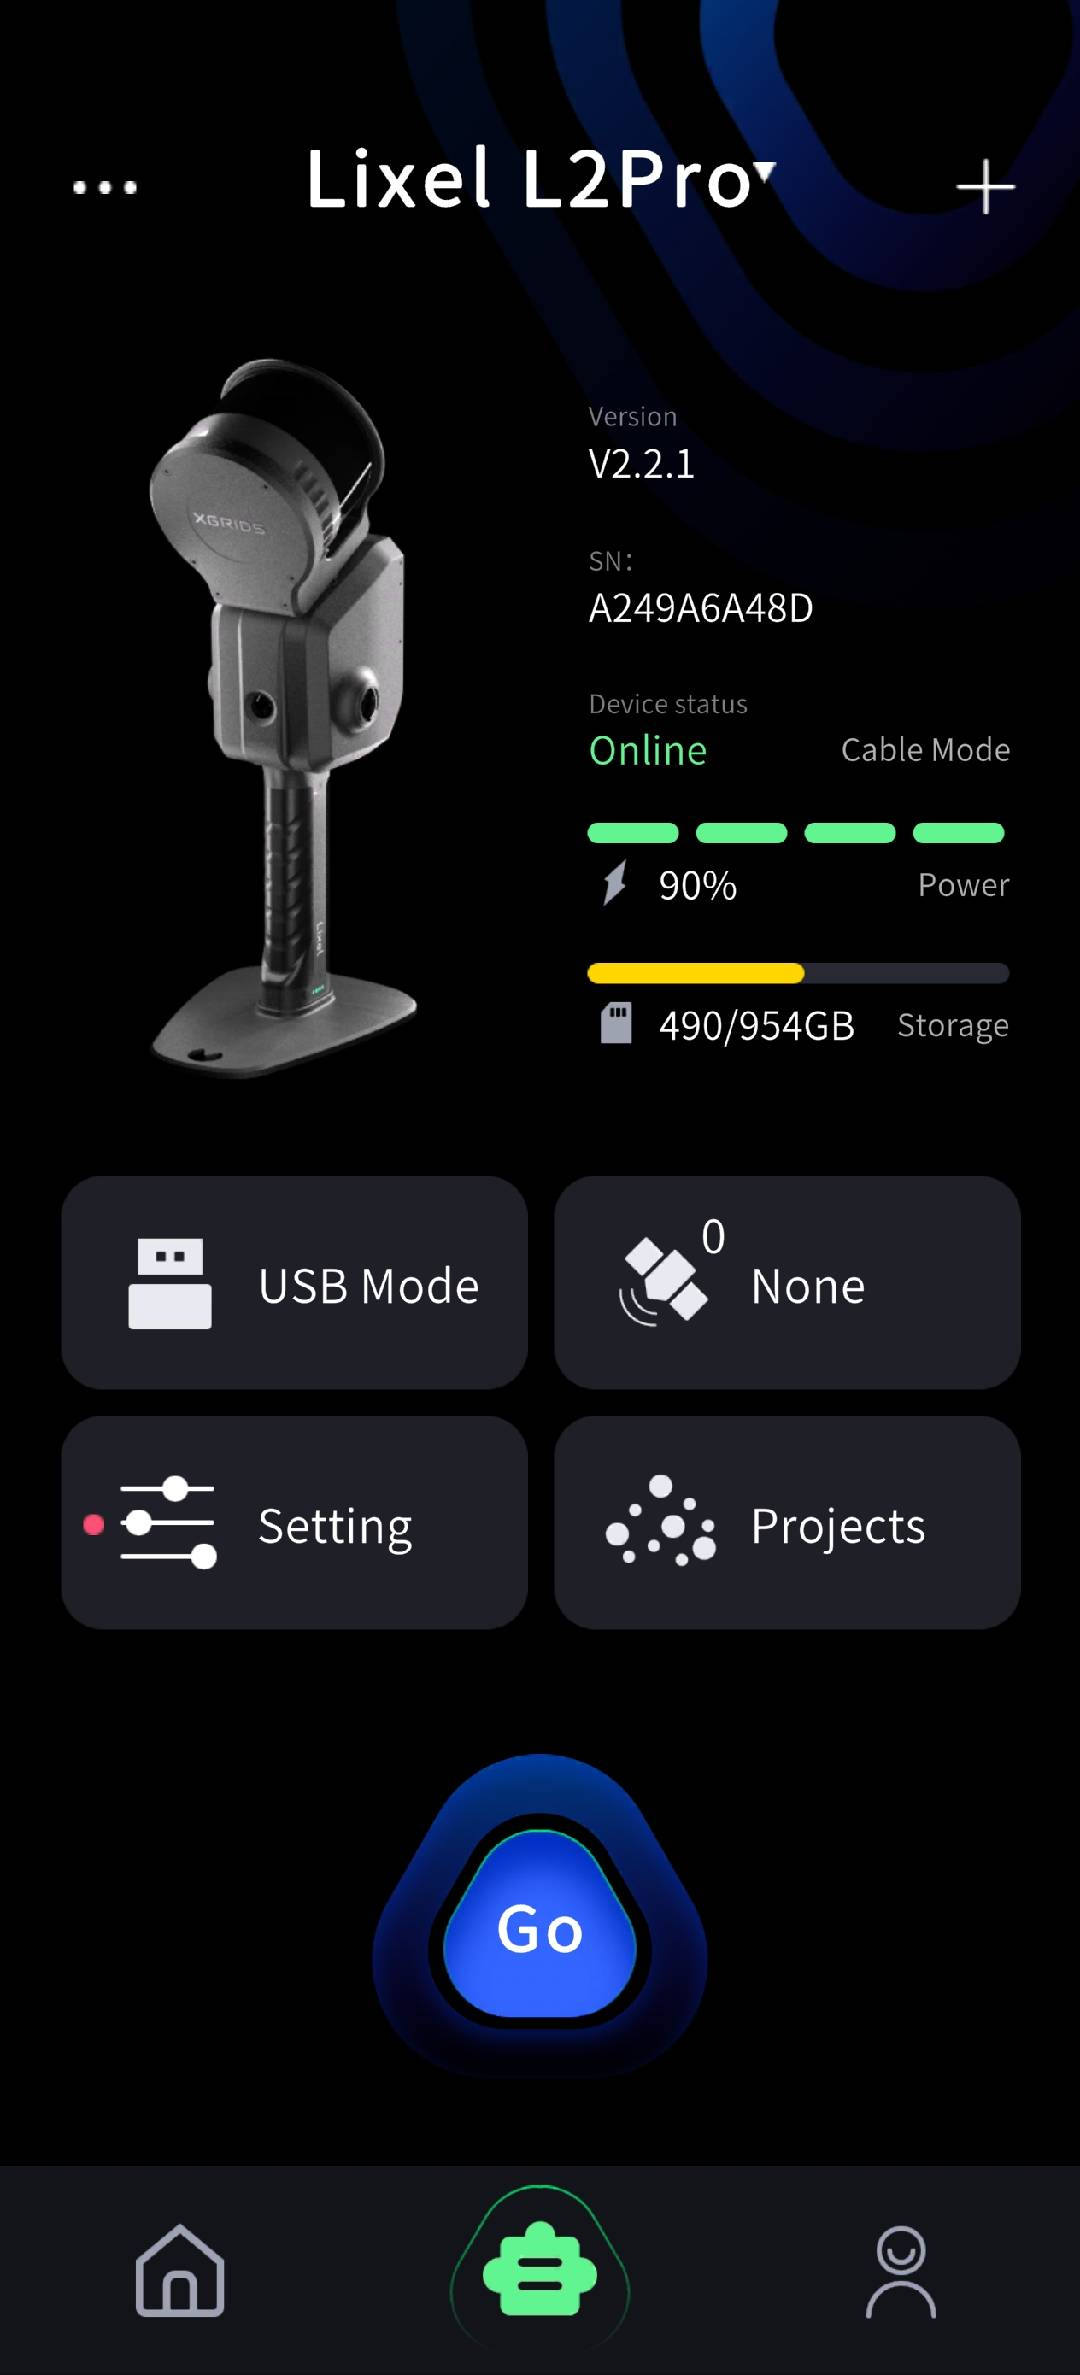
Tap "Connect" to enter the screen where the device is ready to start scanning.
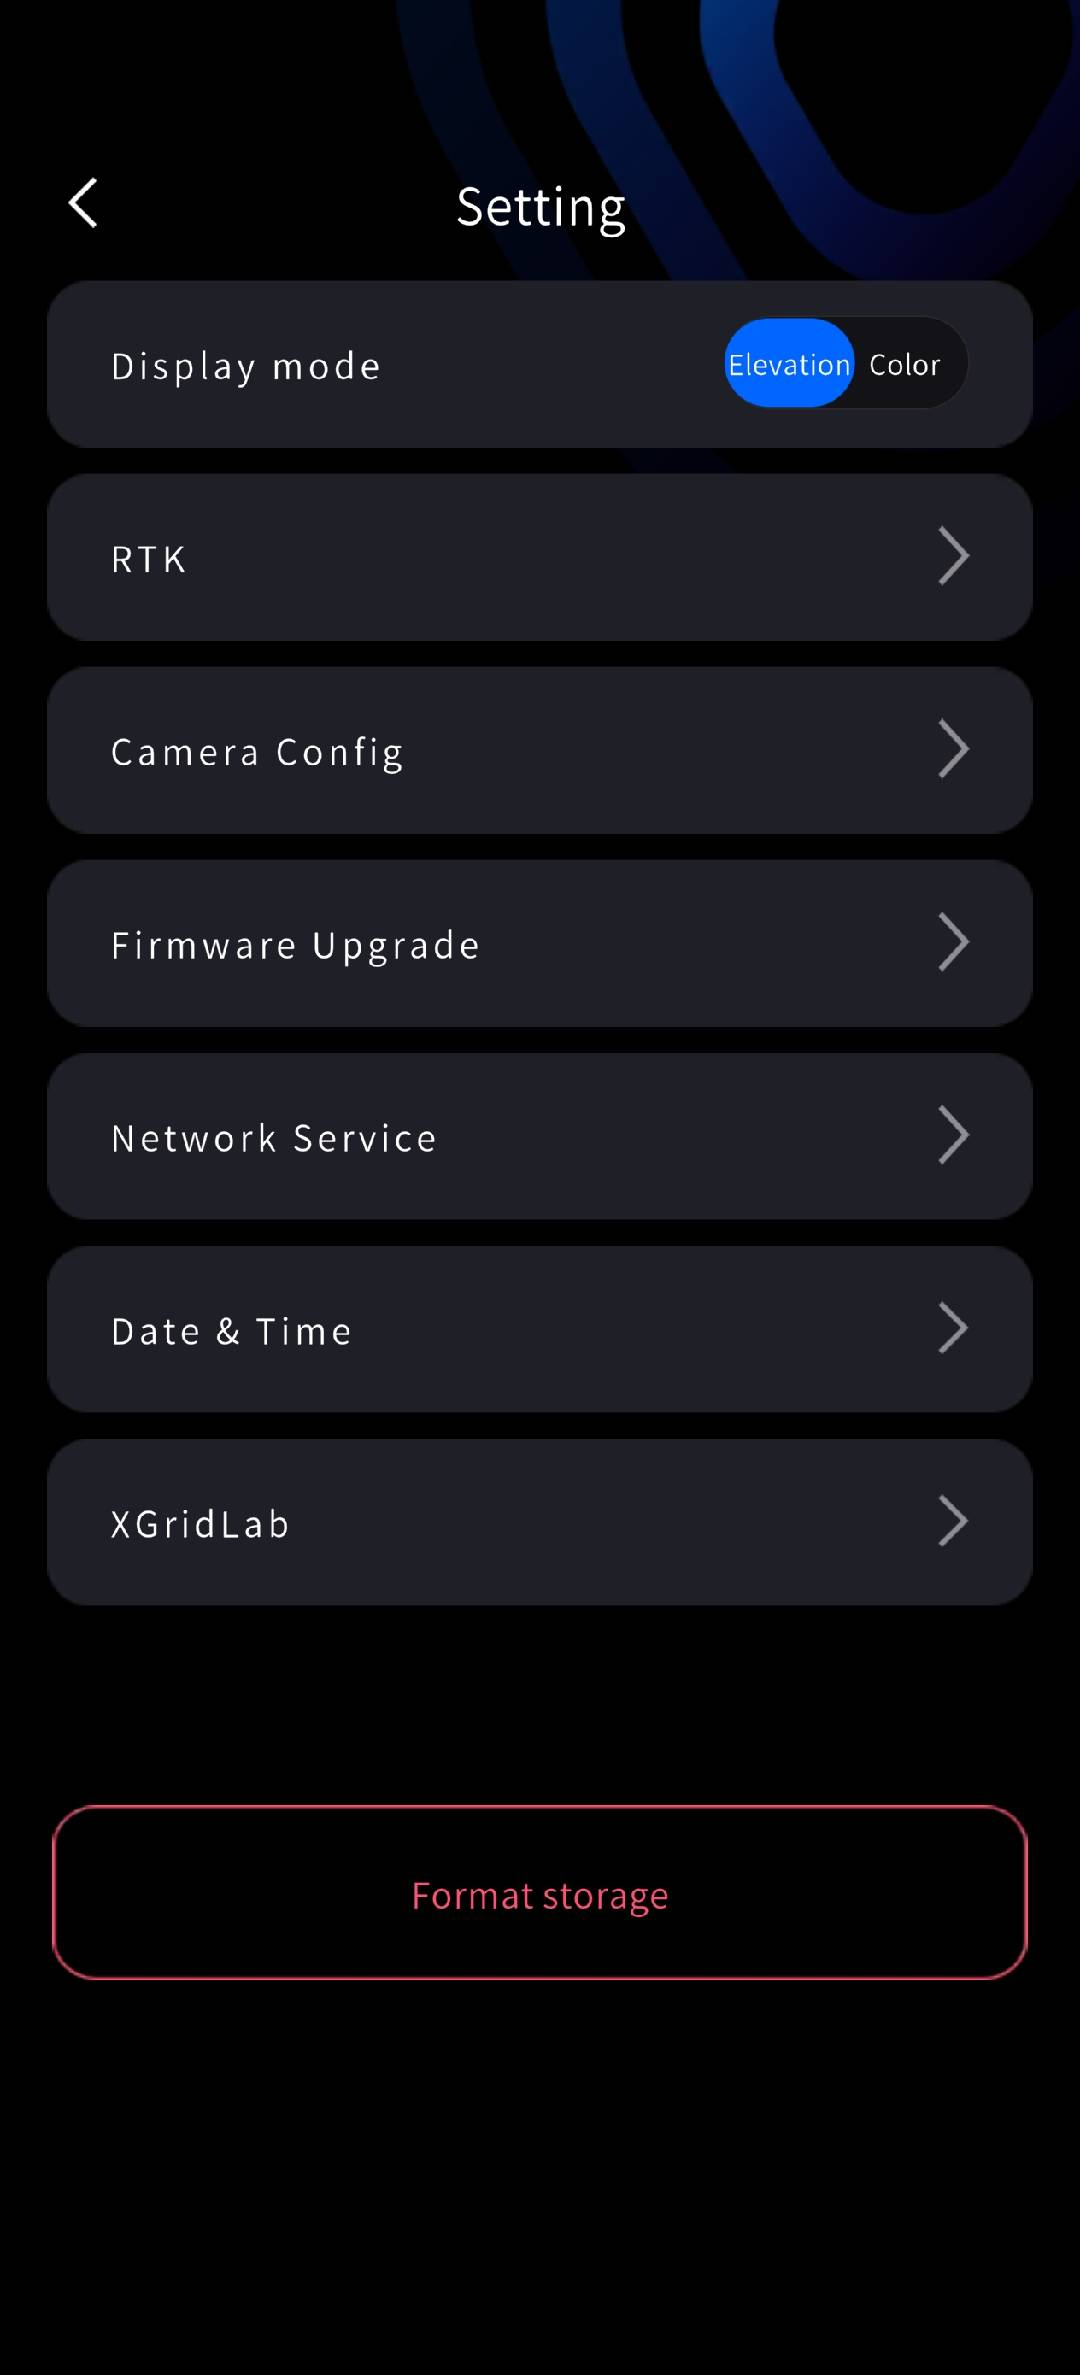
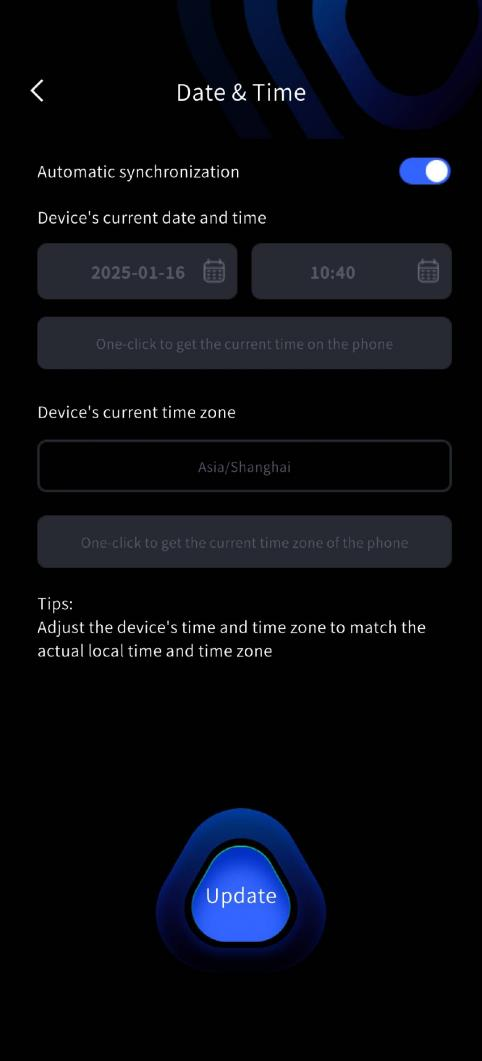
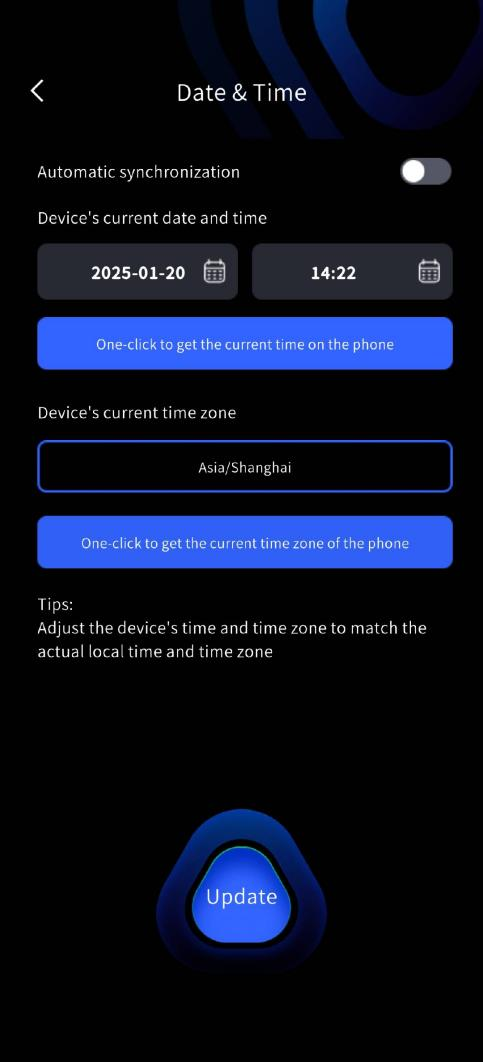
The device is time-calibrated at the factory, but if it is stored for a long time the device time may drift. The Automatic Synchronization switch in LixelGO is on by default and automatically syncs the phone time to the device. You can also set the device time manually through LixelGO. It is recommended that the device time and time zone match those of your actual location.
Scan Mode Settings (L2 Pro only)
| Mount Type | Definition | Description |
|---|---|---|
| Handheld | Used in handheld mode | LixelStudio reads the mount type automatically; no need to select it again during project processing. |
| Vehicle-Mounted | Used with the XGRIDS vehicle accessory | LixelStudio reads the mount type automatically; no need to select it again during project processing. |
| Drone | Used with the XGRIDS drone accessory | LixelStudio reads the mount type automatically; no need to select it again during project processing. |
| GNSS Mode Settings | Definition | Description |
| RTK | The RTK module uses the RTK function, receiving differential data and recording it into the project file | On the startup page, select RTK mode according to the actual project requirements. In LixelStudio, the RTK module is required for project processing. |
| PPK | The RTK module uses the PPK function, receiving raw satellite data and recording it into the project file | On the startup page, select PPK mode according to the actual project requirements. In LixelStudio, the PPK module is required for project processing. |
| DJI | The device obtains the RTK data provided by the aircraft and records it into the project | On the startup page, select DJI mode according to the actual project requirements. In LixelStudio, the RTK module is required for project processing. For details, see the drone accessory section of the manual. |
| RTK Type Settings | Definition | Description |
|---|---|---|
| Standard RTK | The device uses the parameters of the standard RTK | On the startup page, correctly select the RTK type mounted on the device. |
| Survey RTK | The device uses the parameters of the survey RTK | On the startup page, correctly select the RTK type mounted on the device. |
| Aerial RTK | The device uses the parameters of the XGRIDS drone accessory | On the startup page, correctly select the RTK type mounted on the device. |
| Remote Transmission | Definition | Description |
| Remote transmission switch | Shows whether remote transmission is enabled | Prerequisite: this status is only visible on devices configured with an XGRIDS cloud service code. Because remote transmission consumes network data, the remote transmission switch status is visible on the startup page. |
Tap the red record button on the right side of the screen; the real-time algorithm adapts the mapping to the scene.
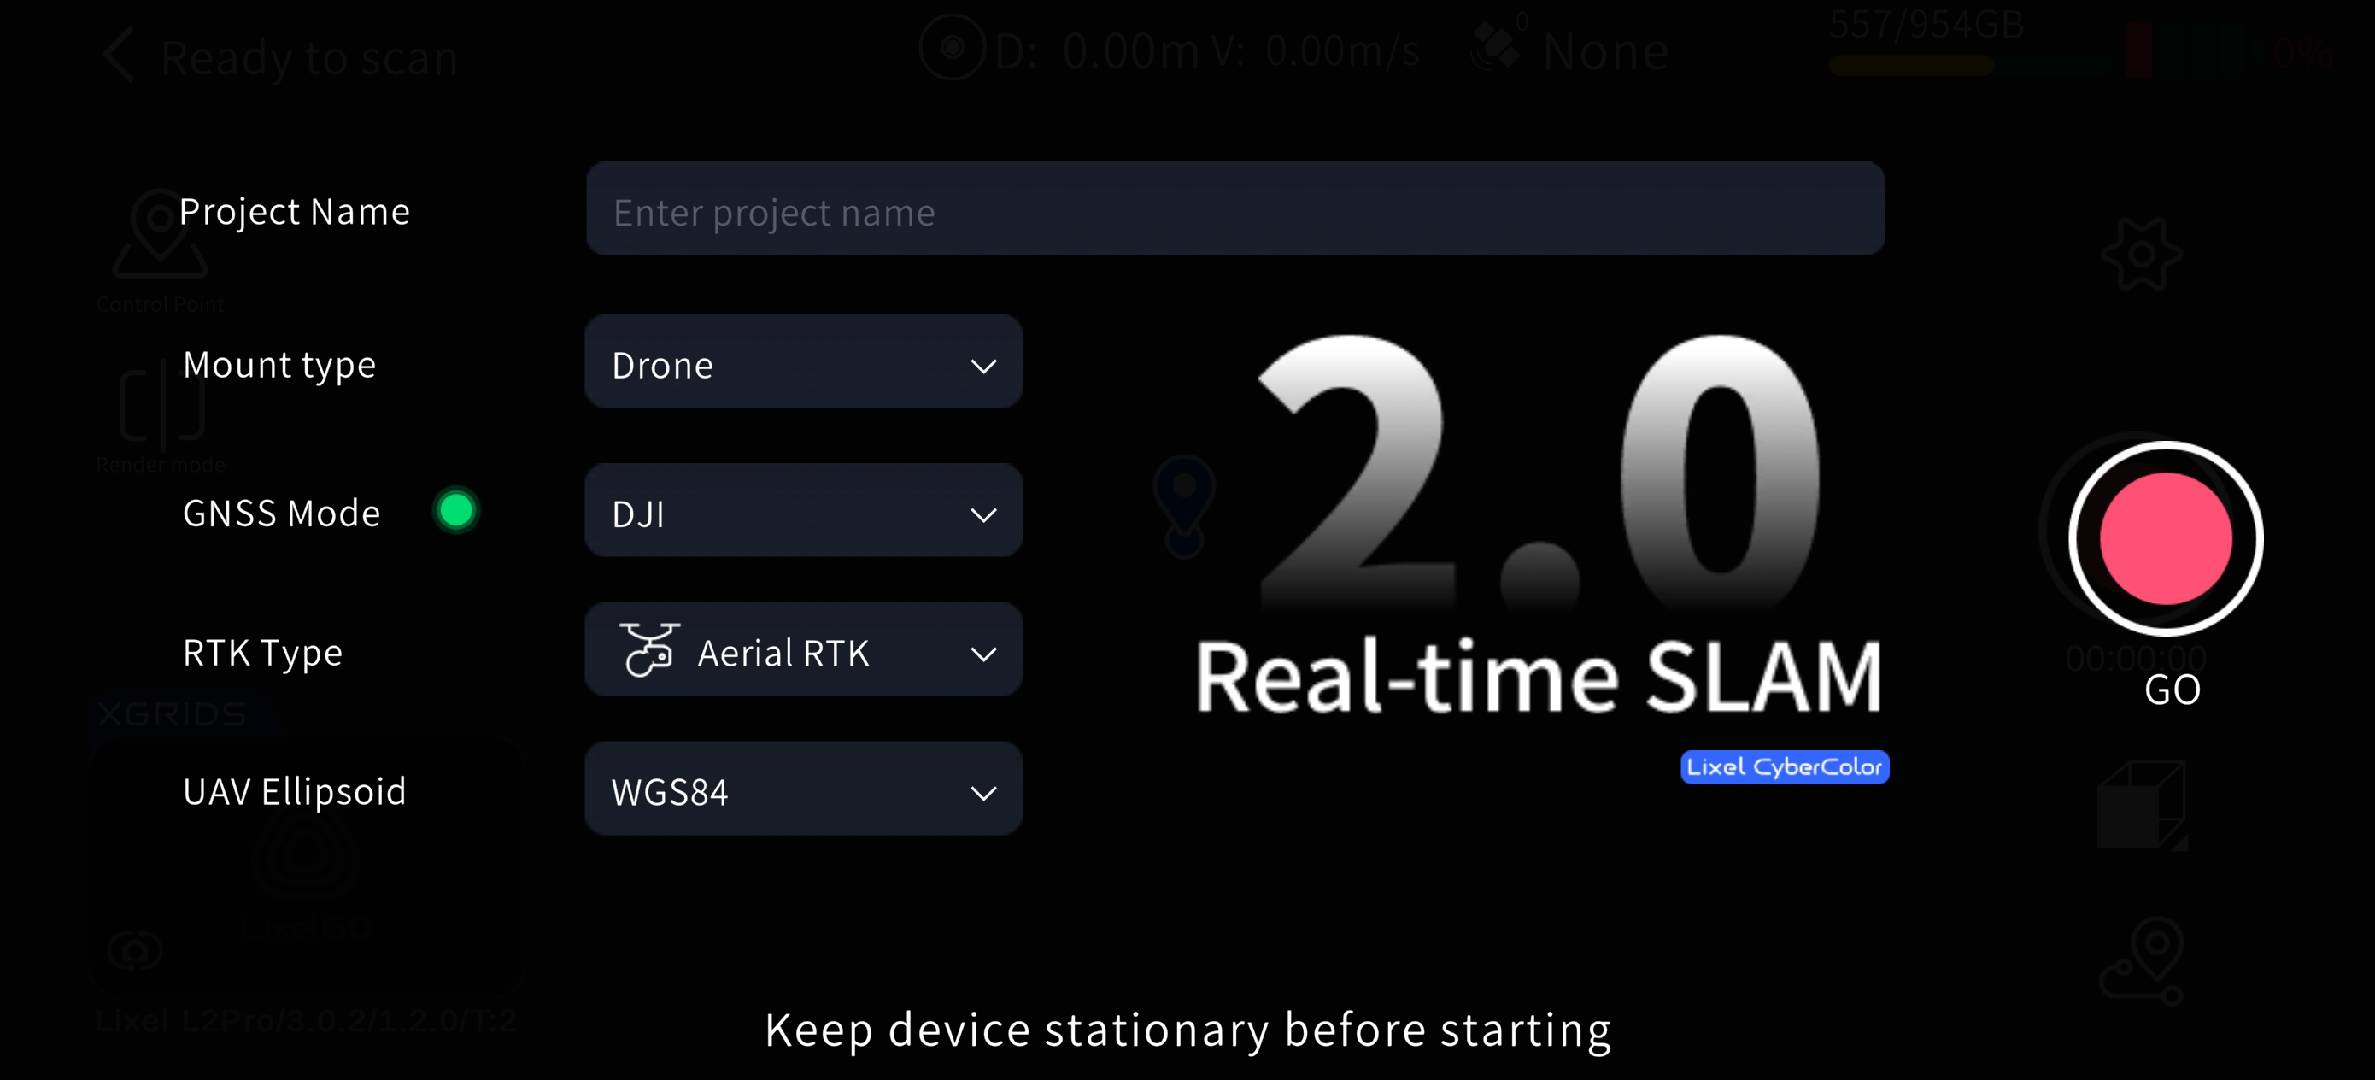
When you start a scan, a project name input box appears on the startup page, and it supports multilingual input.
For example, enter "Parking Lot B2F" and start scanning. After scanning ends, enable USB mode and you will see the project folder named "Parking Lot B2F_2025-01-15-1622026", where "2025-01-15-1622026" is the scan time.
If you do not enter a project name, the project folder is named default_2025-01-15-1622026.
Start Scanning
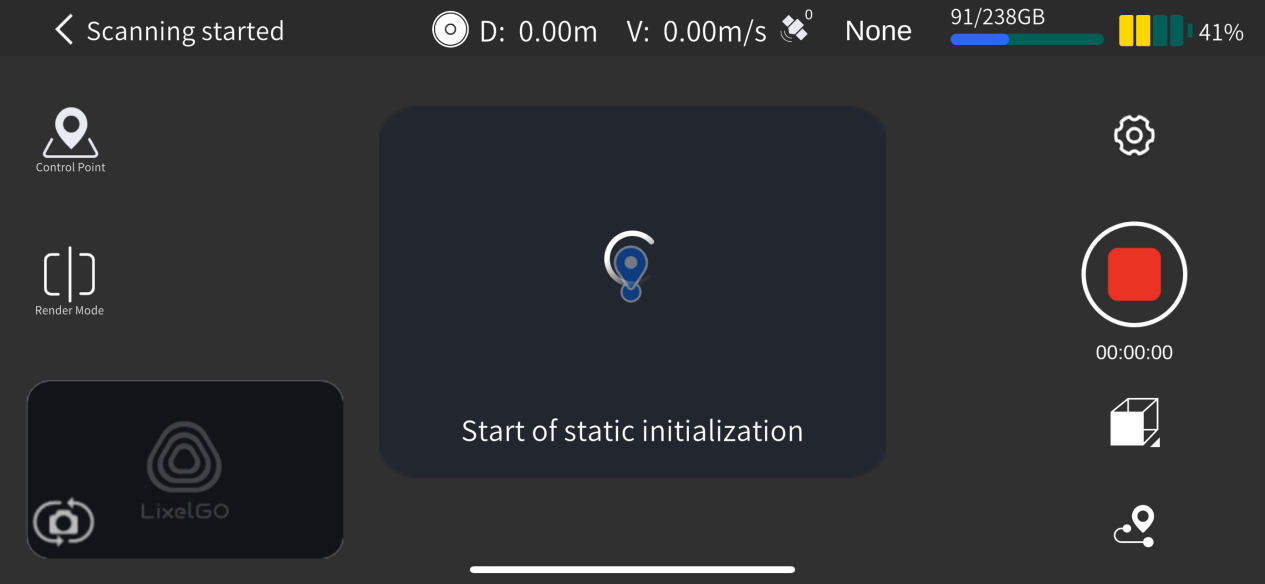
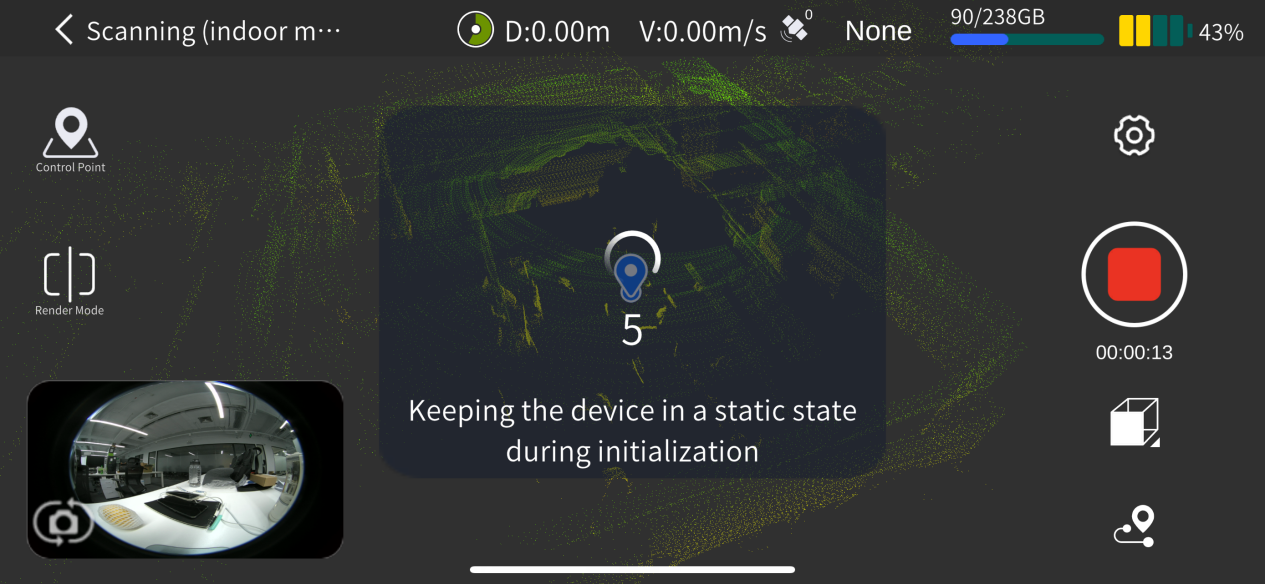
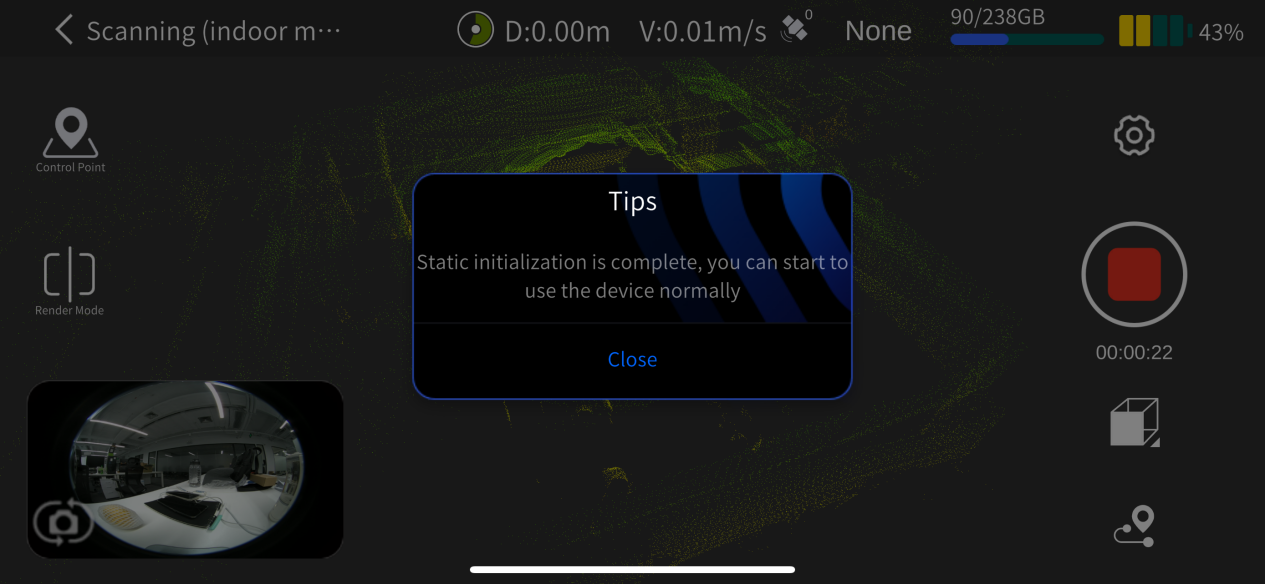
After tapping the start button, the LiDAR begins working, the indicator turns fast-flashing green, and the device prompts that static initialization has started; LixelGO shows that static initialization has begun. During this process, do not move the device and keep it steady. When a pop-up indicates static initialization is complete, tap to close the pop-up, pick up the device, and start scanning along your planned route.
Rendering Mode
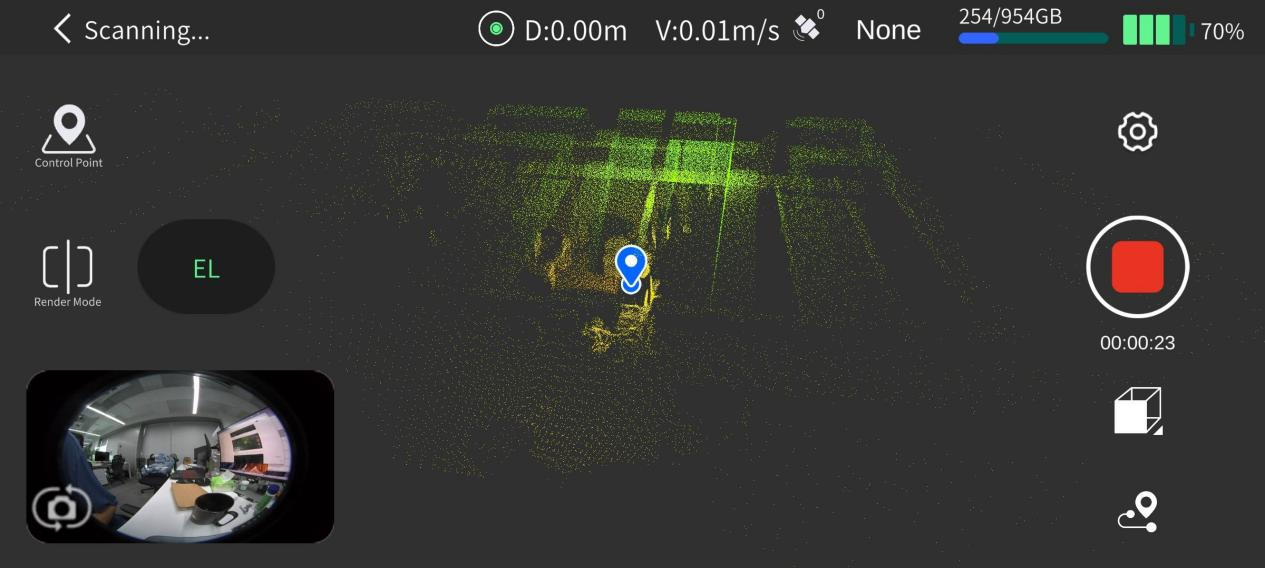
Tap the "Rendering Mode" button on the left side of the screen. Currently only "EL" elevation display is available.
Stop Scanning
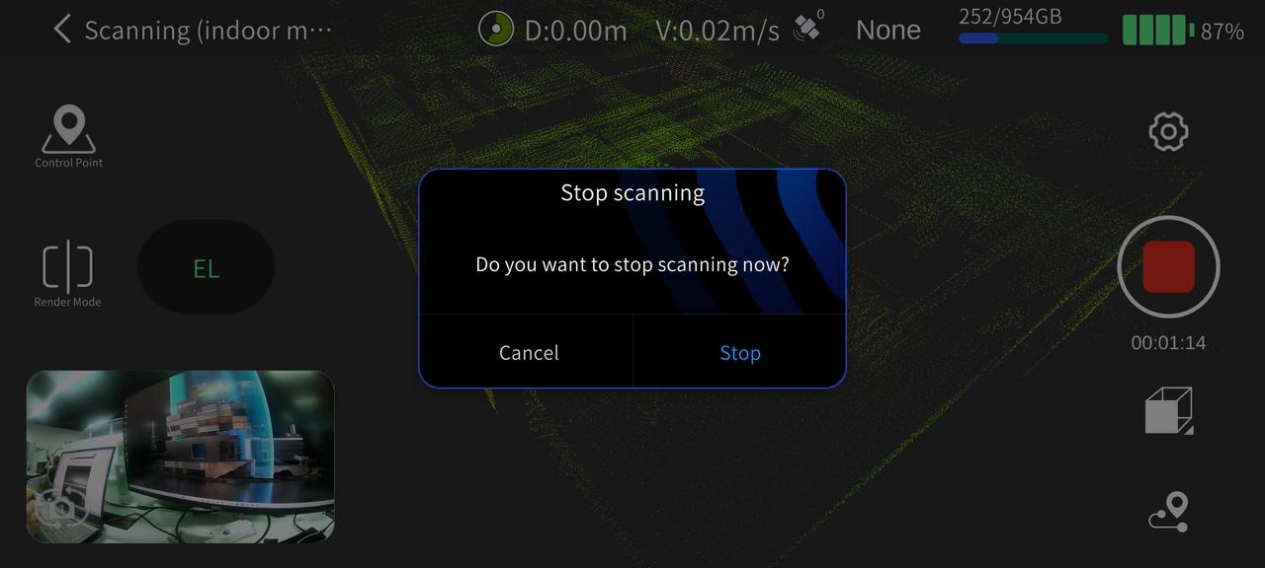
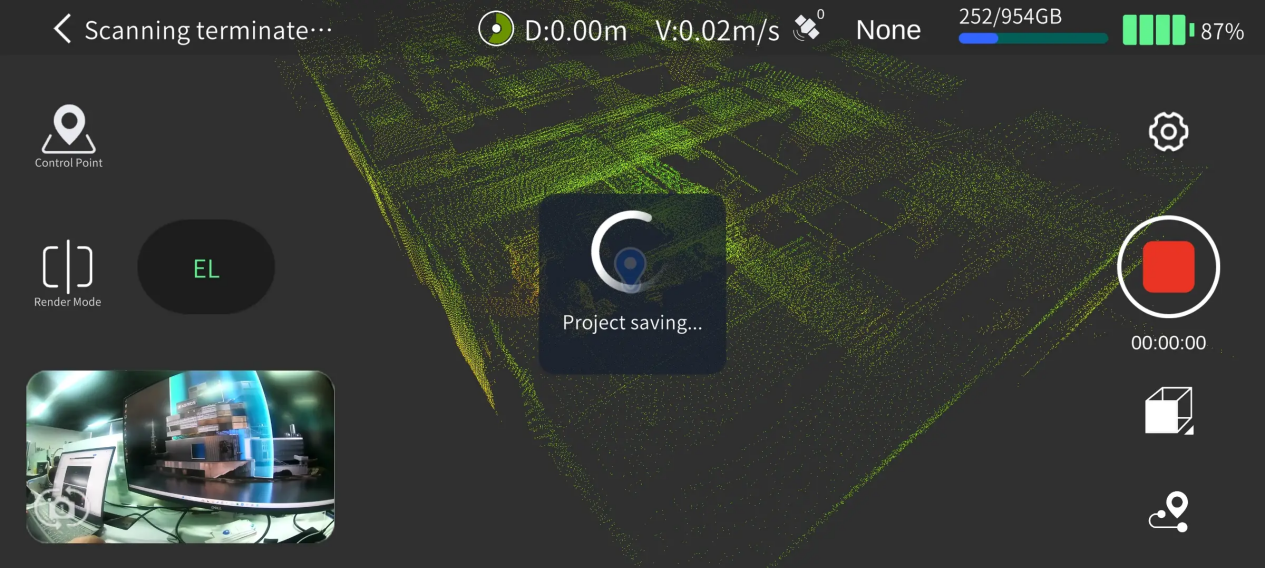
Tap the red stop-record button on the right side of the screen. After confirming the stop, the device flashes green quickly; once scanning ends, the device turns solid green. You can then power off or start a second scan.
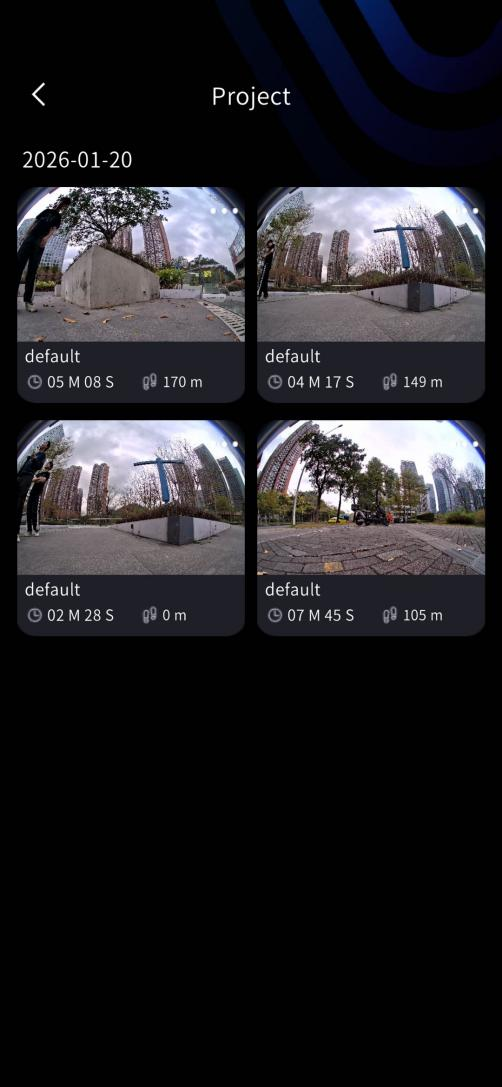
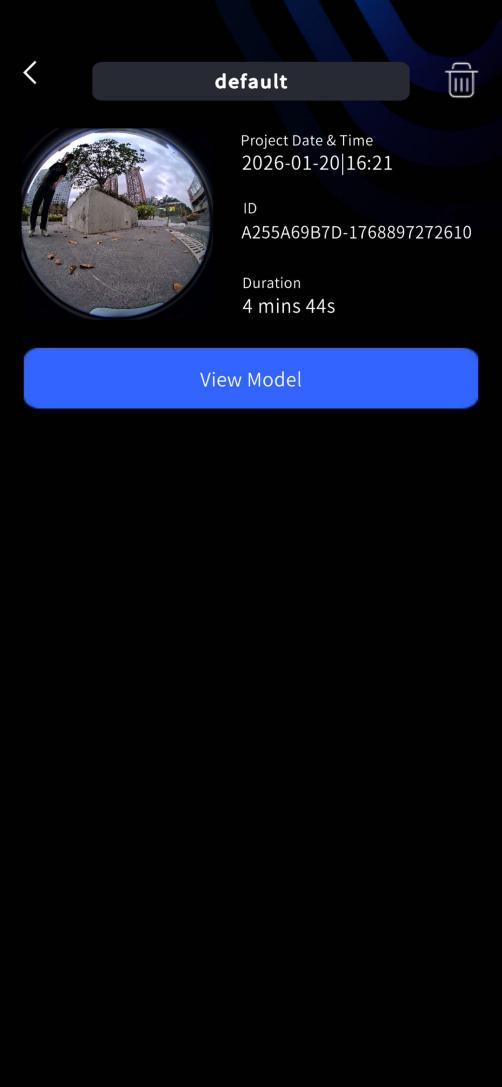
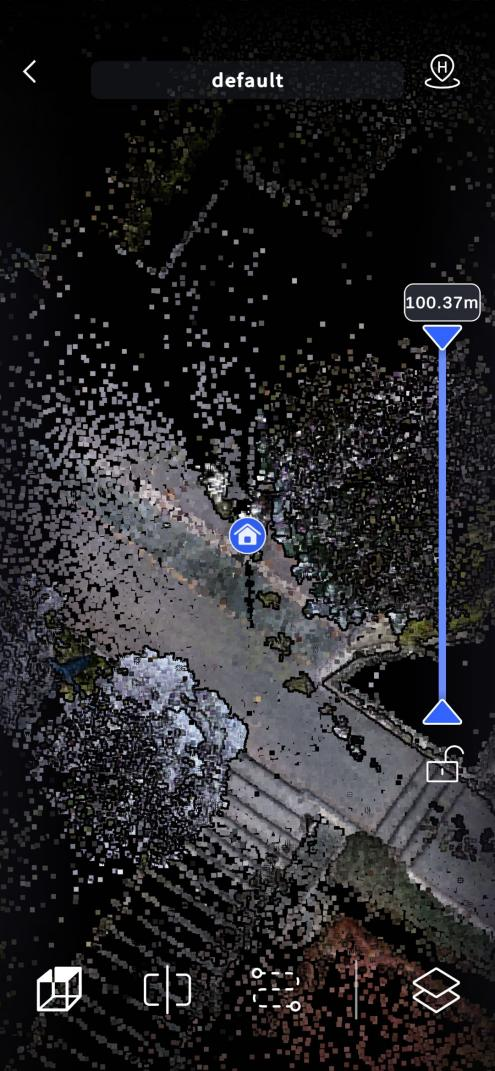
View Model
After scanning, you can view the completed model information through LixelGO. (Firmware >= 3.2.1+, LixelGO >= 1.3.0)
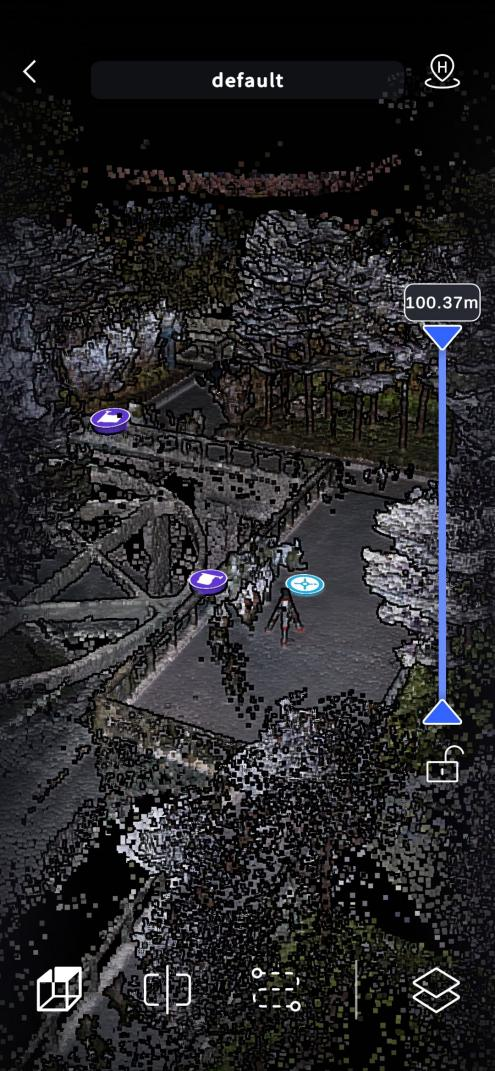
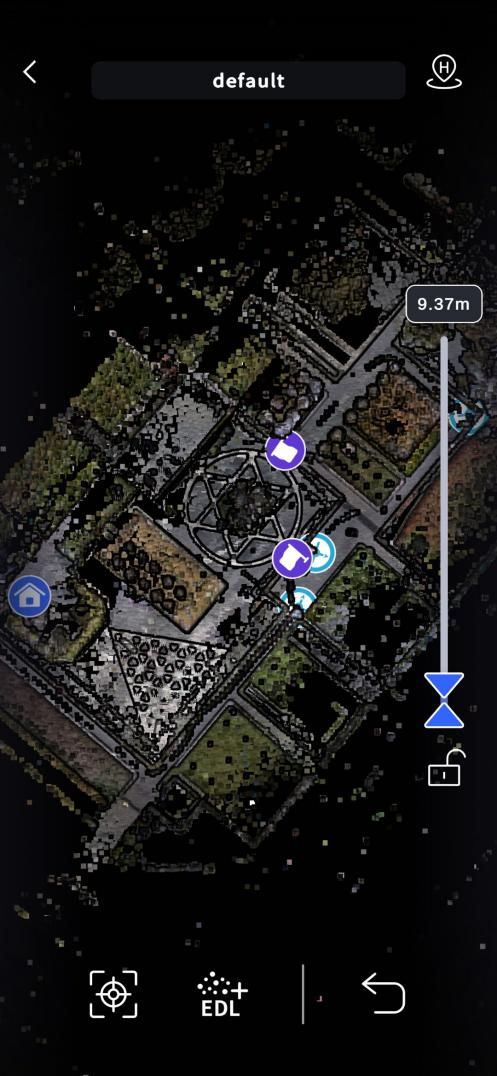
Export Scan Data
Power on the device, set it to USB mode in LixelGO, then use a Type-C cable to connect the device to the computer.
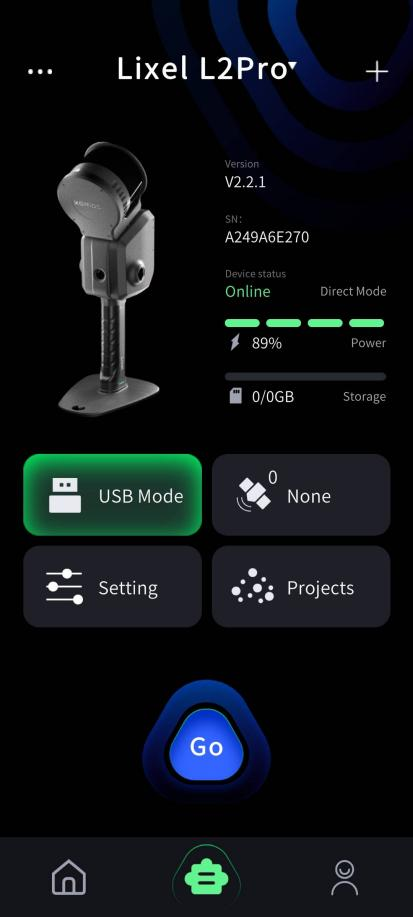
In the device's USB-mode directory, under the model folder, select the corresponding project file and copy it to a suitable directory on the computer. Project files are named after the scan start time: project name_year-month-day-hour-minute-second.
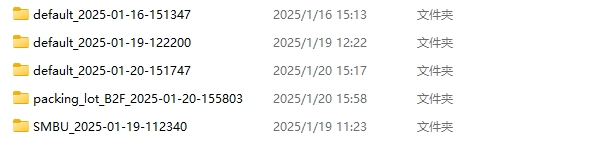
Data Project File Structure
The project files are as follows:

| File name | Sub-file name | Description |
|---|---|---|
| xxx.xbin | - | Raw sensor data recorded by the device. |
| map.las | - | Point cloud output by the device in real time. |
| project_data | control_points.csv | File that records control point information when adding control points with the app. |
| gnss.csv | File that records GNSS information when using RTK. | |
| poses.csv | Trajectory file recorded during scanning. | |
| project.json | Records device attributes and related information. | |
| measure_points.csv | File that records measurement point information when adding measurement points with the app. | |
| model | In-app model preview file. | |
| photo | Camera image at the moment a control point is added. | |
| preview_photo.jpg | Project preview image. | |
| log | Log recorded during scanning. | |
| external_data | - | This folder is empty when data is first copied from the handheld device. It is mainly used to store external files needed for LixelStudio post-processing, such as video files from an external panoramic camera and the coordinate-converted gnss.csv file. |
Note
The direct point cloud data is downsampled. If you need complete point cloud data, please use LixelStudio software for post-processing.
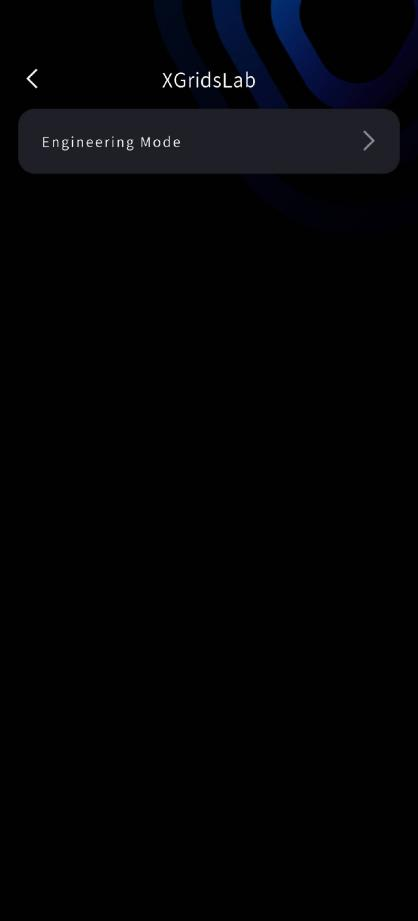
XGRIDS LAB
This feature is the XGRIDS lab. XGRIDS places specific experimental features into XGRIDS LAB for experimental use in special environments.