
Scanning Workflow
This chapter covers the full capture workflow from starting a scan to exporting data, including scan mode settings, starting a scan, rendering modes, the Scan Assist System, stopping a scan, viewing models, data export, and the project file structure.
Enter the Capture Screen
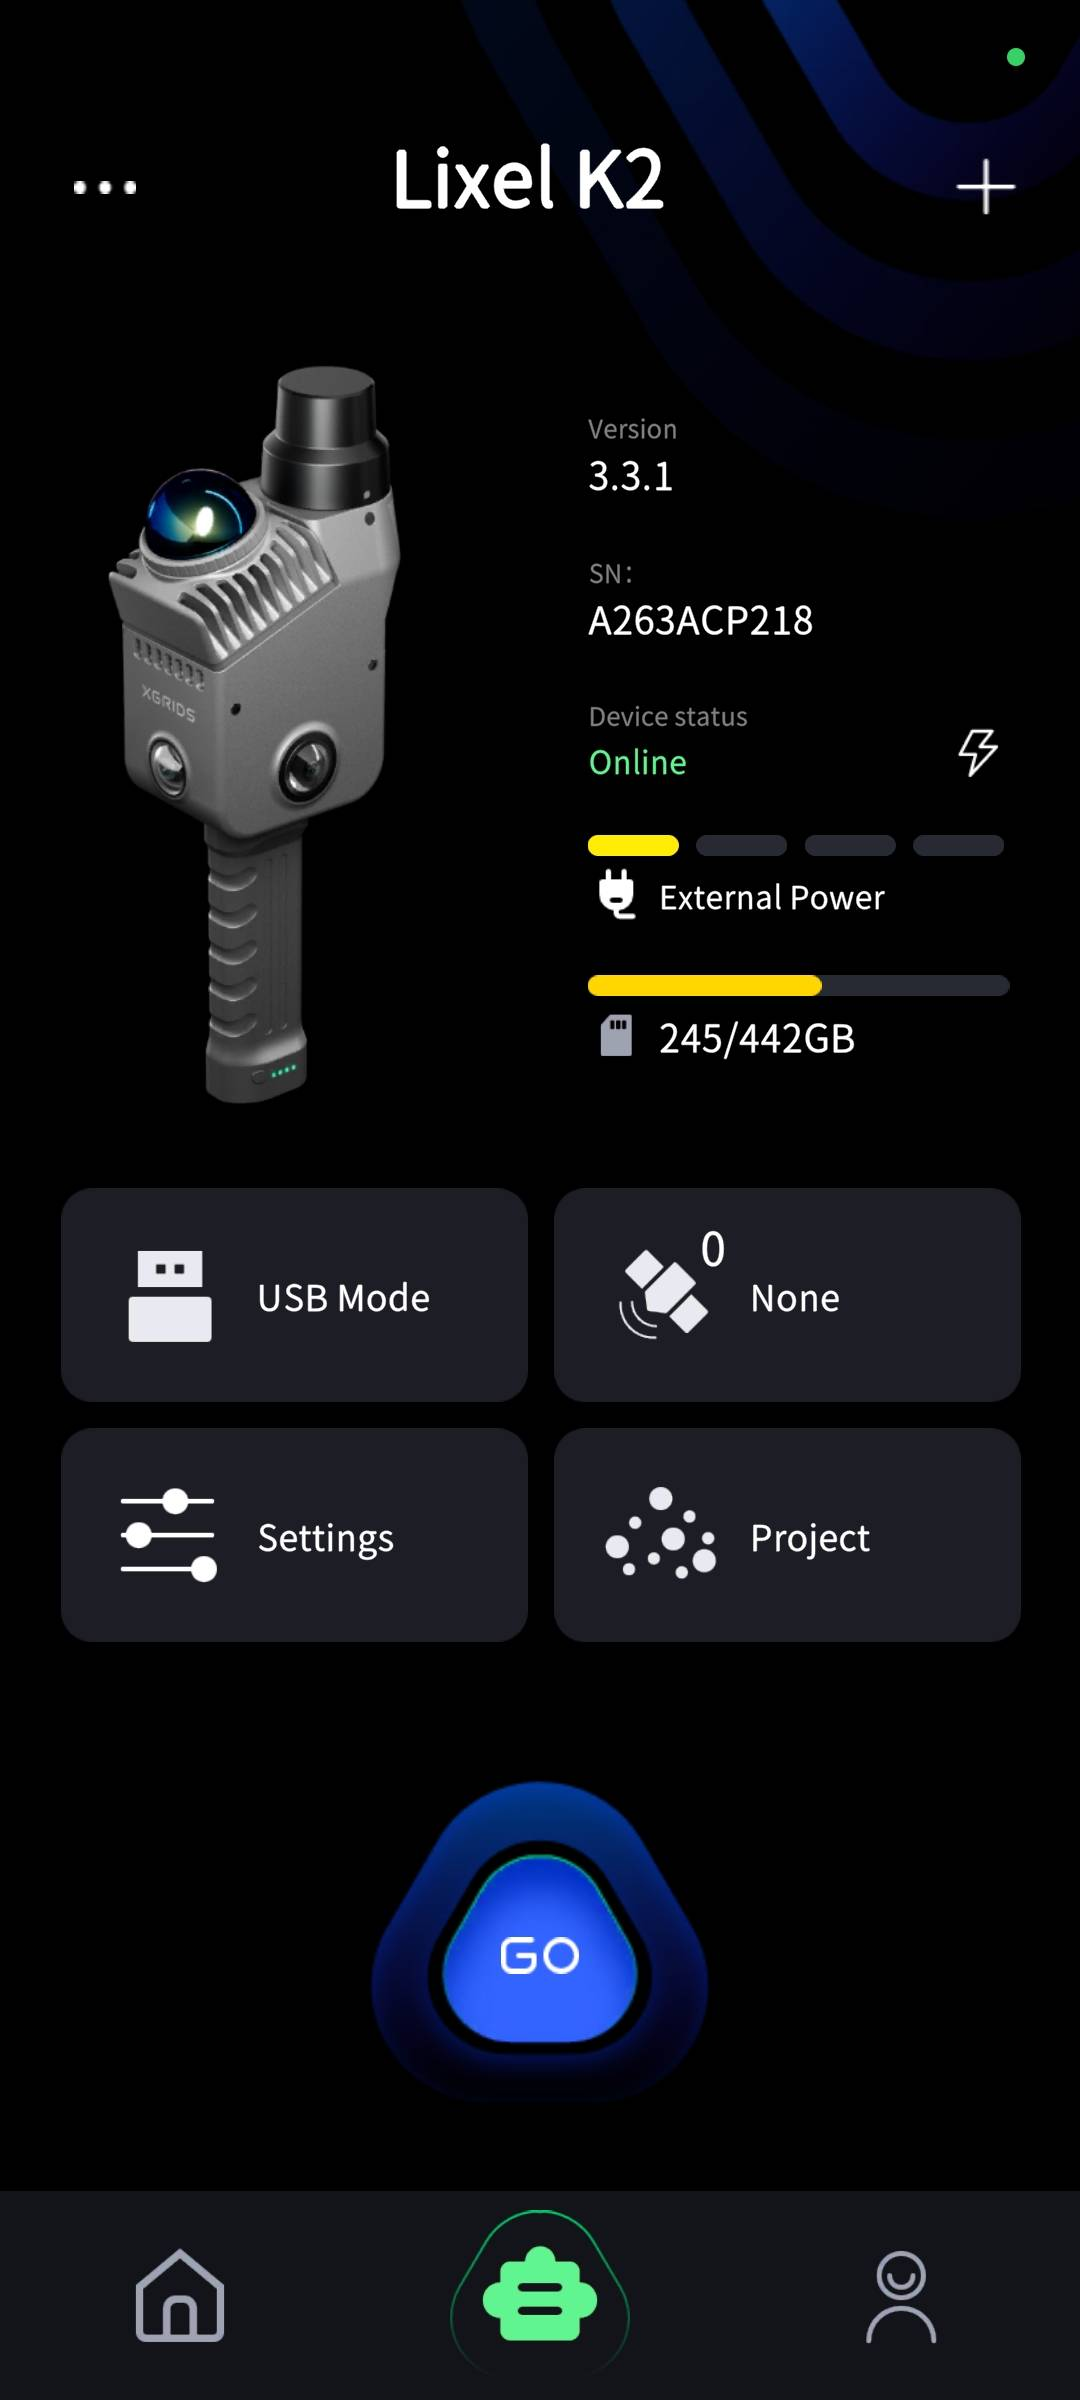
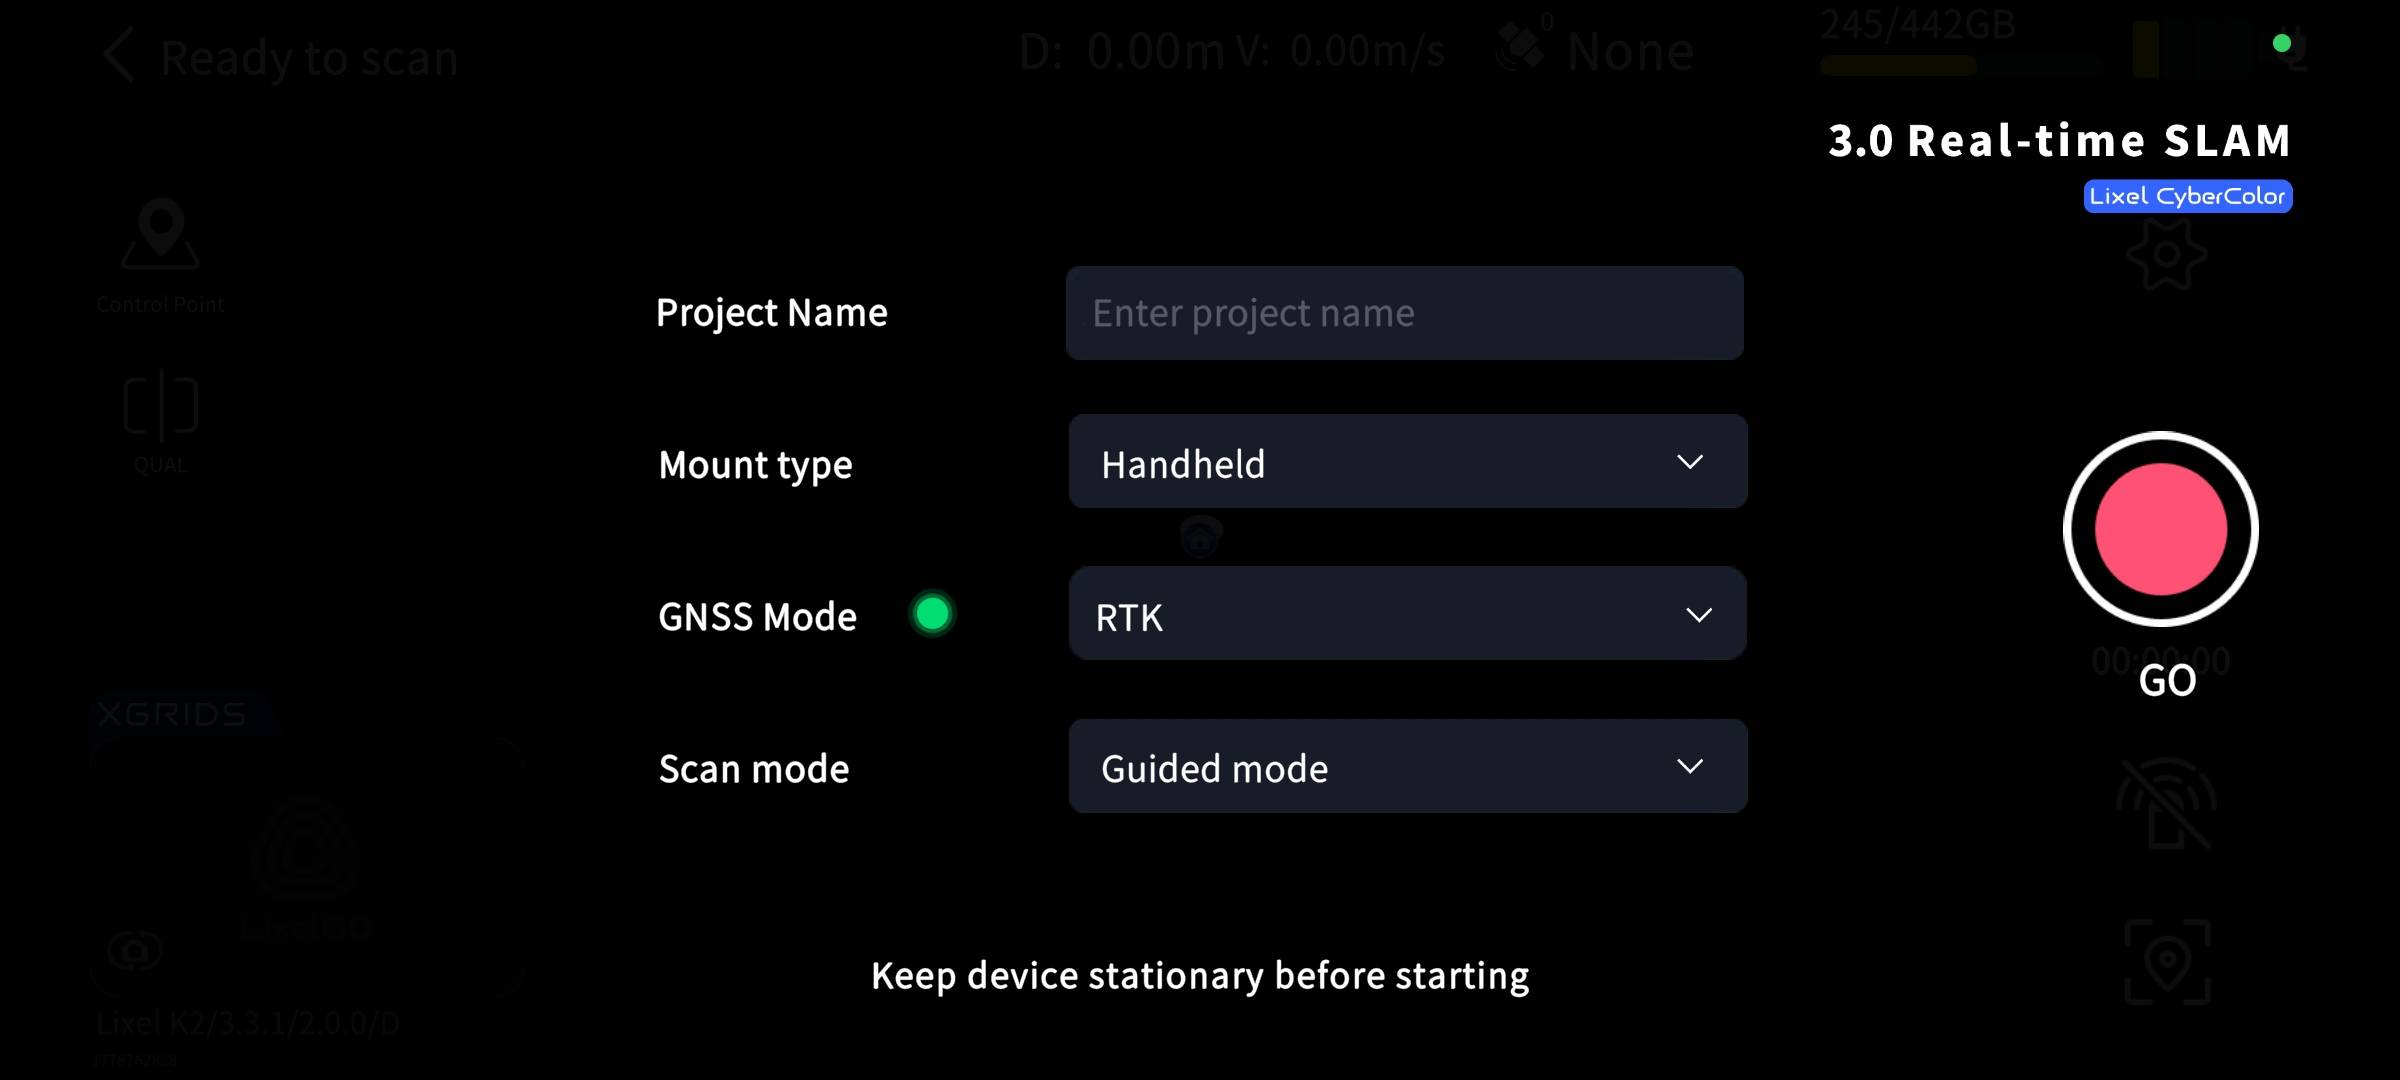
Tap GO to enter the standby-for-scanning screen.
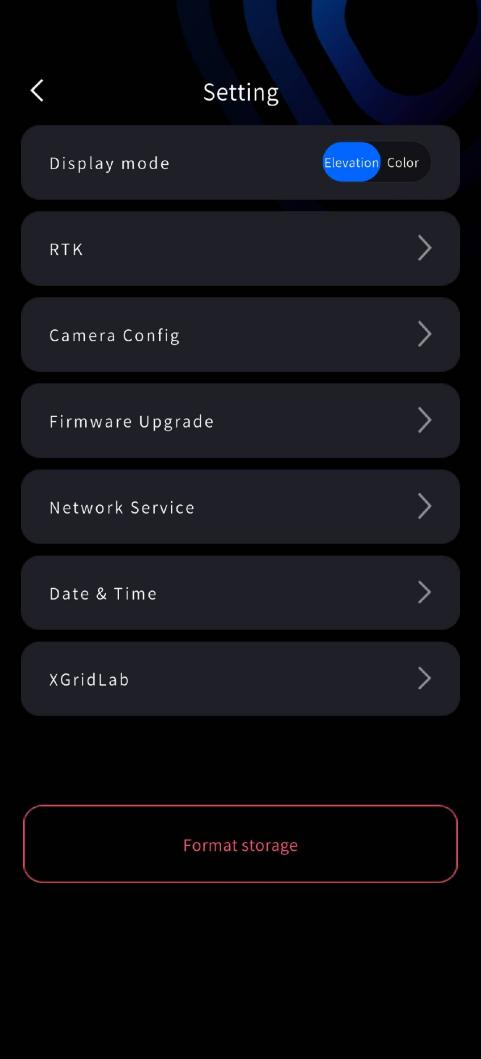
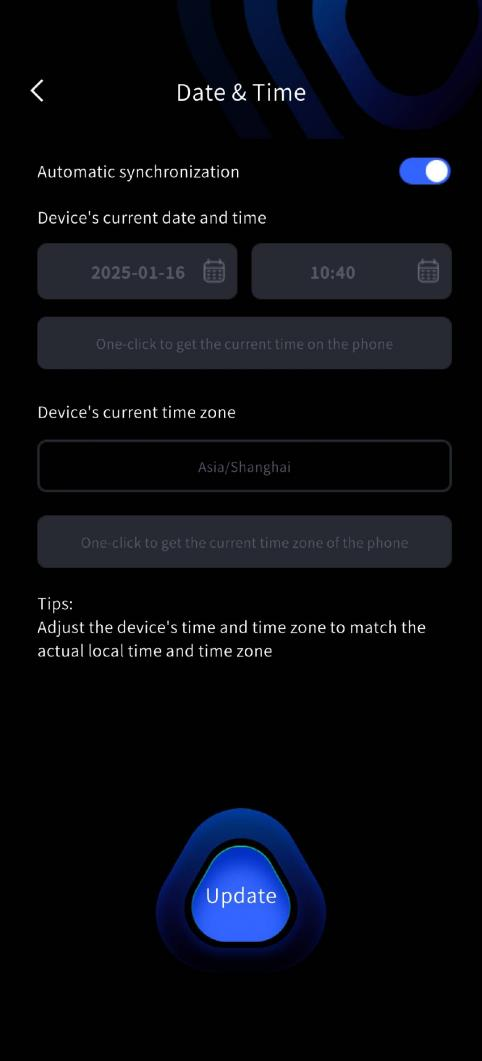
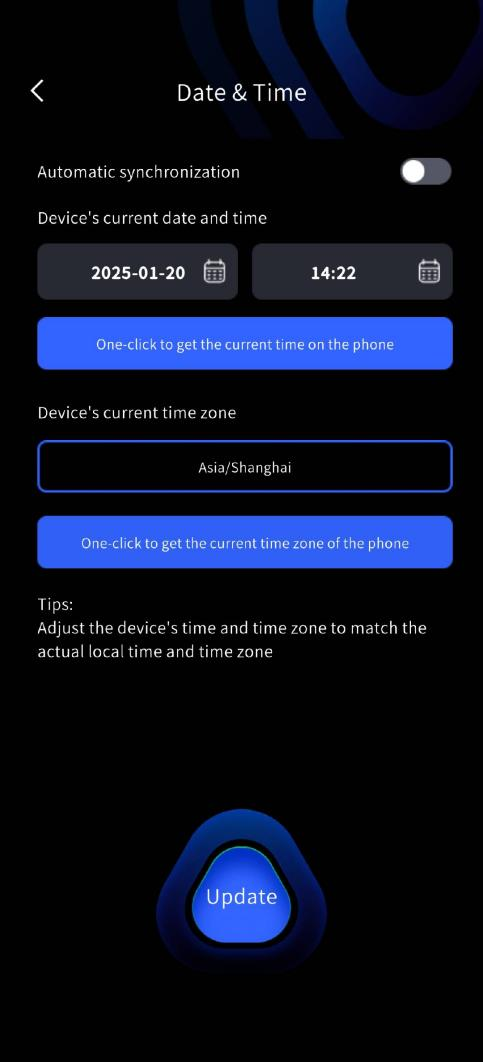
The device is time-calibrated at the factory, but long storage may cause the time to drift. LixelGO enables automatic synchronization by default, syncing the phone's time to the device. You can also set the device time manually in LixelGO; set the device time and time zone to match your actual location to keep the data records accurate.
Scan Mode Settings
Tap the red Record button on the right side of the screen. The real-time algorithm adaptively maps the scene. Select the following settings based on your situation.
Mount Type
| Mode | Function | Description |
|---|---|---|
| Handheld | Capture in handheld mode | LixelStudio automatically reads the mount type, so no manual selection is needed during project processing |
GNSS Mode
| Mode | Function | Description |
|---|---|---|
| RTK | Uses the RTK module's RTK function to receive differential data for real-time positioning and records it in the project file | Select RTK mode on the startup page; use the RTK module for project processing in LixelStudio |
| PPK | Uses the RTK module's PPK function to receive raw satellite data and records it in the project file | Select PPK mode on the startup page; use the PPK module for project processing in LixelStudio |
Scan Mode
| Mode | Function | Supported Rendering Modes |
|---|---|---|
| Guided Mode | Evaluates scan quality in real time to help assess coverage | Supports Scan Assist System and Scan Quality rendering; does not support true-color point cloud rendering |
| RGB Mode | View the real-time true-color point cloud | Supports true-color rendering; does not support Scan Assist System or Scan Quality rendering |
Tip
RGB Mode has about a 10-second processing delay for intelligent analysis and color optimization.
Project Naming
When you start a scan, the startup page shows a project name input field that supports multiple languages.
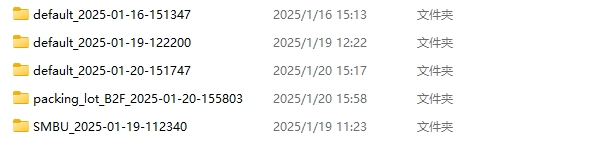
- If you enter "Parking Lot B2F" and start scanning, then enable USB mode after the scan, the project folder is named
Parking_Lot_B2F_2025-01-15-1622026, with the scan time as the suffix. - If no project name is entered, the folder is named
default_2025-01-15-1622026.
Start Scanning
Static Initialization (Required)
After selecting the scan mode, the device automatically starts the LiDAR:
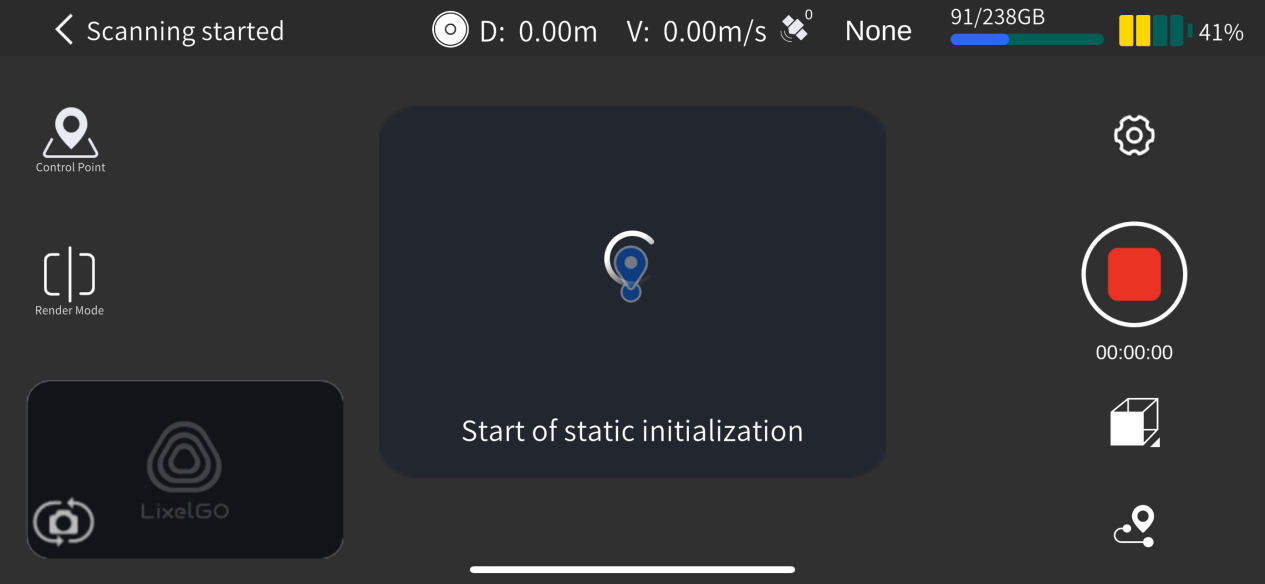
- Watch the indicator light: fast-flashing green means the LiDAR has started; the app prompts "Static initialization started".
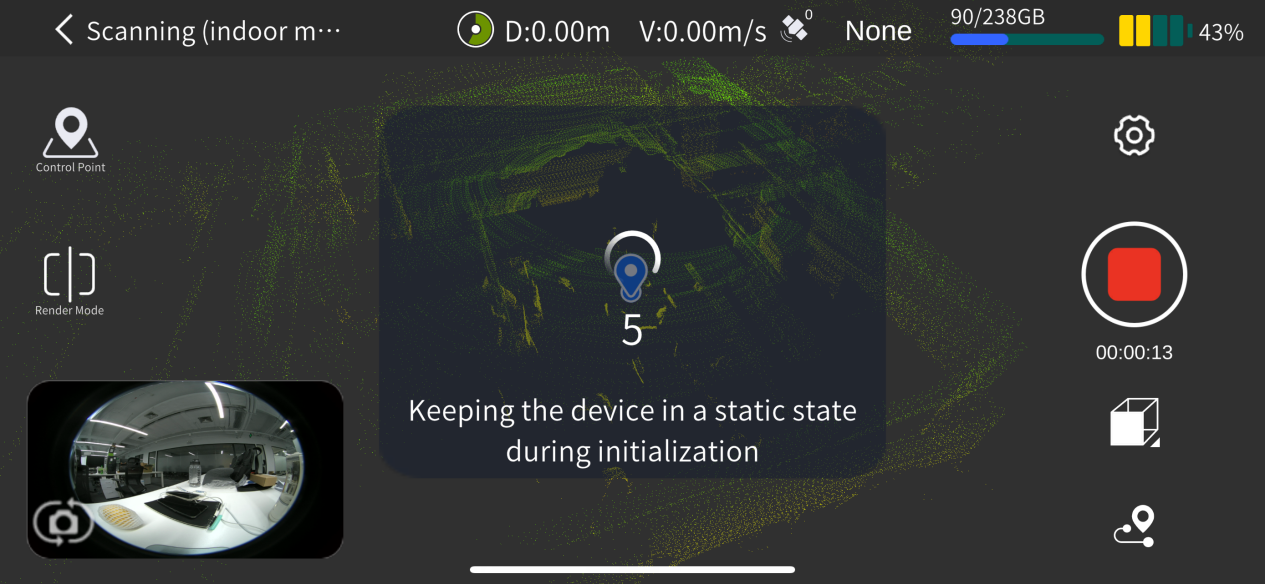
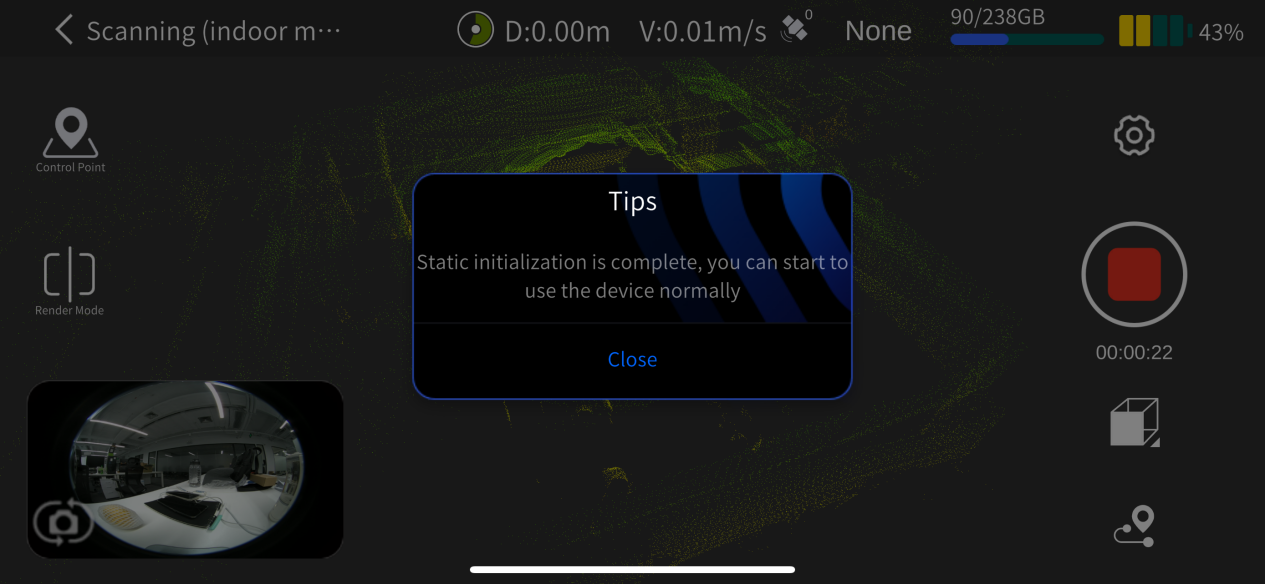
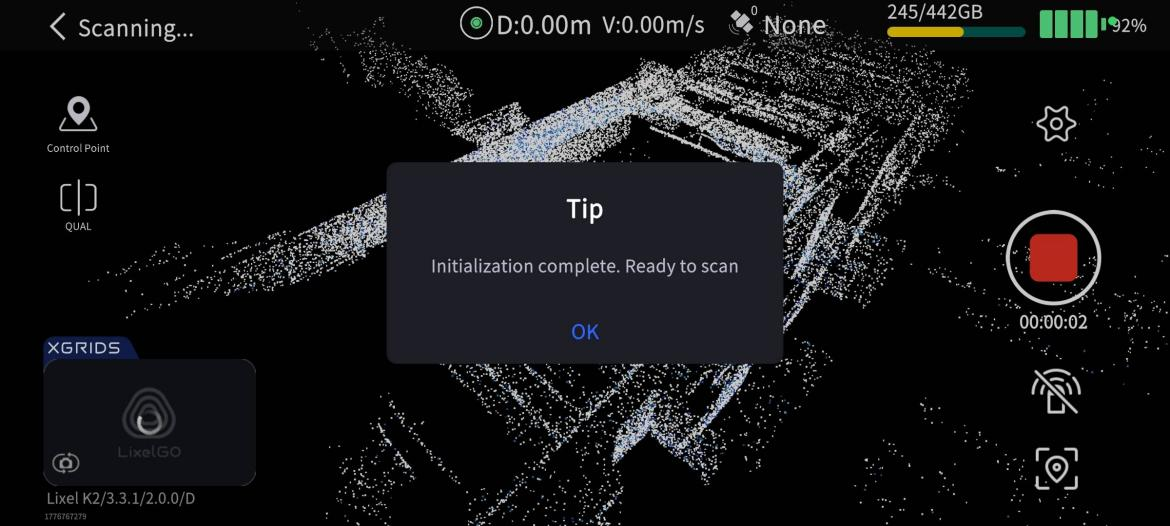
- Stay still for 15 seconds: do not move the device; keep it stable. The screen shows a countdown; wait for the pop-up "Static initialization complete".
- Start scanning: close the pop-up, pick up the device, and start scanning along the planned route.
Note
Do not move the device during static initialization; keep it stable.
Handheld Posture Suggestions
- Goal: reduce how much of the operator appears in the camera's field of view to improve colorization.
- Recommended: hold the device extended in front of your chest.
- Avoid: keeping the device close against your body.
Scan Route Suggestions
Lighting
- Choose an environment with suitable lighting.
- Avoid strong light/dark contrast.
Field of view
- Prefer routes with a wide field of view (such as the middle of a road) to improve color point cloud coverage and colorization accuracy.
Special case: narrow-space scanning (gaps between buildings, alleys, etc.)
- Slow down, moving more slowly than normal walking.
- Scan when there are no people or moving objects nearby.
- Ensure accurate point cloud data and good colorization.
Tip
Narrow spaces require higher scan quality; capture patiently and do not rush.
Rendering Mode
Tap the Rendering Mode button on the left side of the screen to choose a display option:
| Mode | Description |
|---|---|
EL Elevation | Colors the point cloud by height, making terrain relief easy to see |
RGB True color | Displays the point cloud in true color, making objects easy to identify |
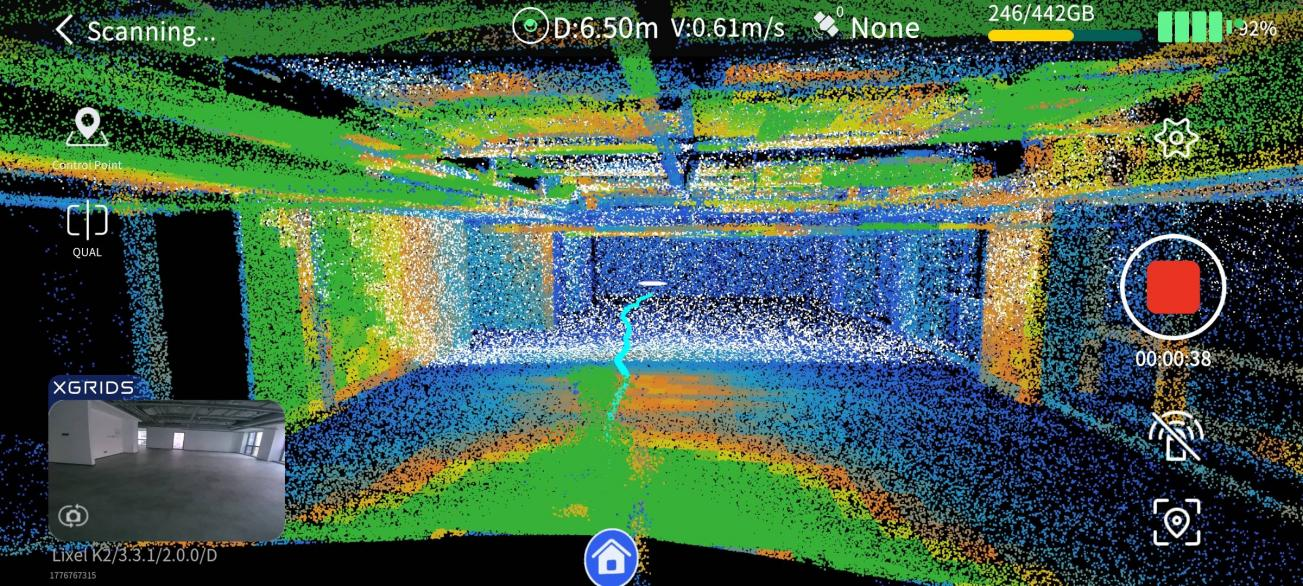
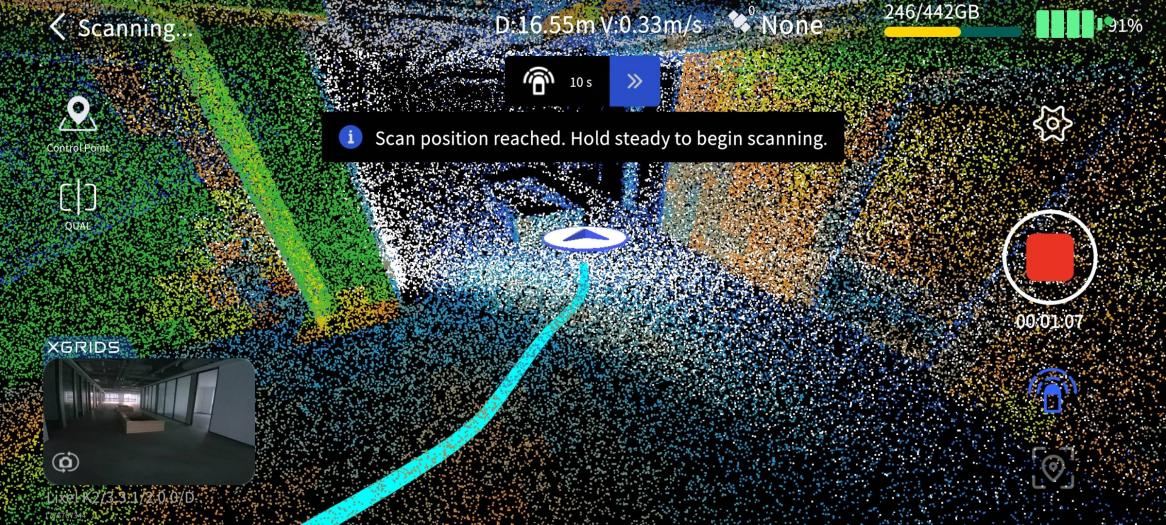
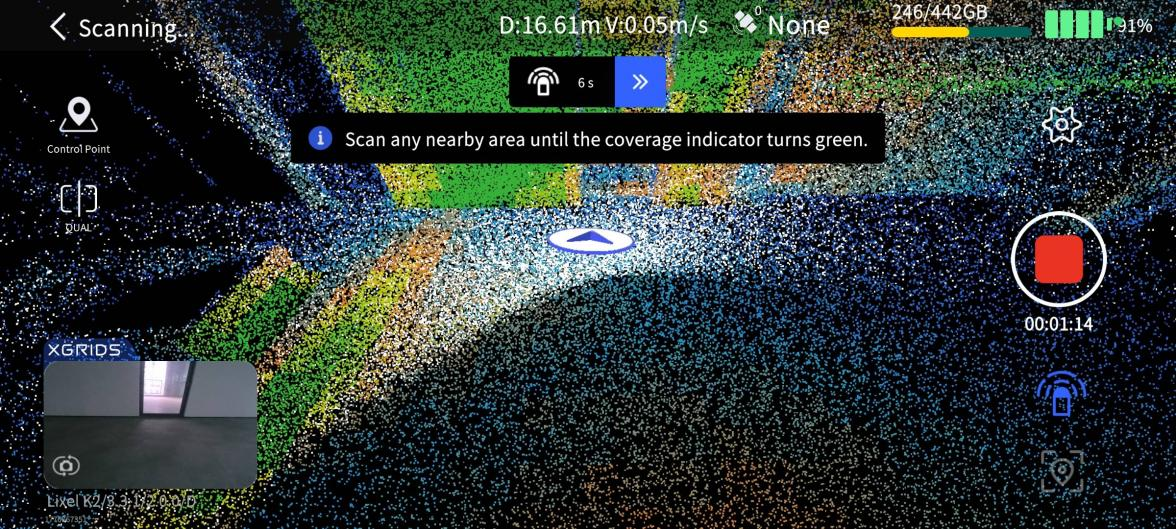
QUAL Scan quality | Displays point cloud density in real time to help assess coverage |
Tip
The available modes depend on the selected scan mode (Guided Mode / RGB Mode). RGB true-color display requires switching the scan mode to "RGB Mode" on the project startup page.
About Scan Quality display
- Purpose: check whether point cloud density is sufficient, avoiding missed areas or rework from sparse coverage.
- Note: it does not represent scan accuracy, nor does it reflect LCC scan quality.
We recommend switching to QUAL mode periodically during scanning to check coverage and ensure no areas are missed.
Scan Assist System
Purpose
- Check whether point cloud density is sufficient.
- Avoid missed areas or rework from sparse coverage.
Note
- It does not represent scan accuracy, nor does it reflect LCC scan quality.
How to use
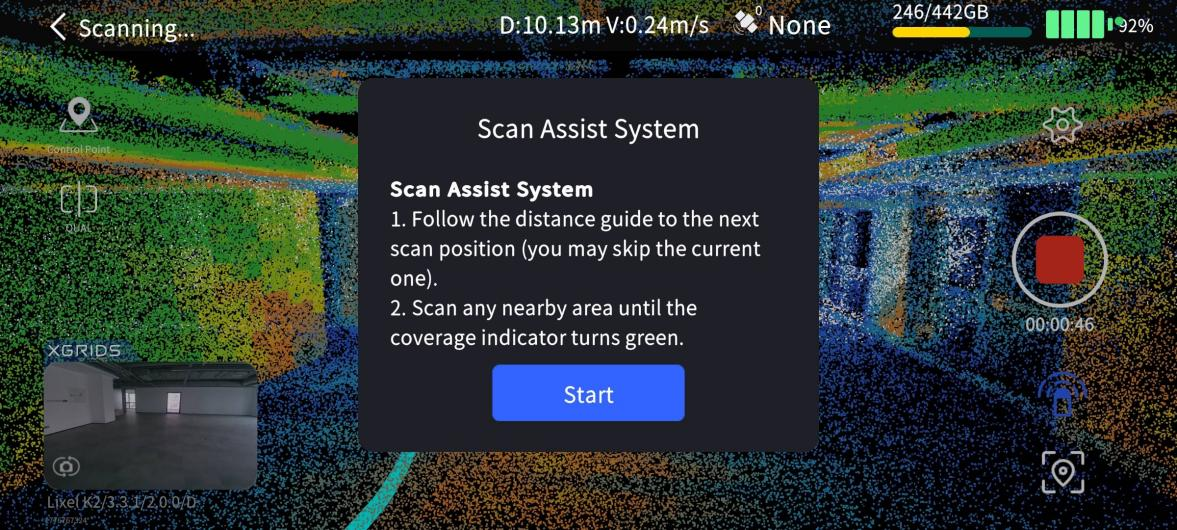
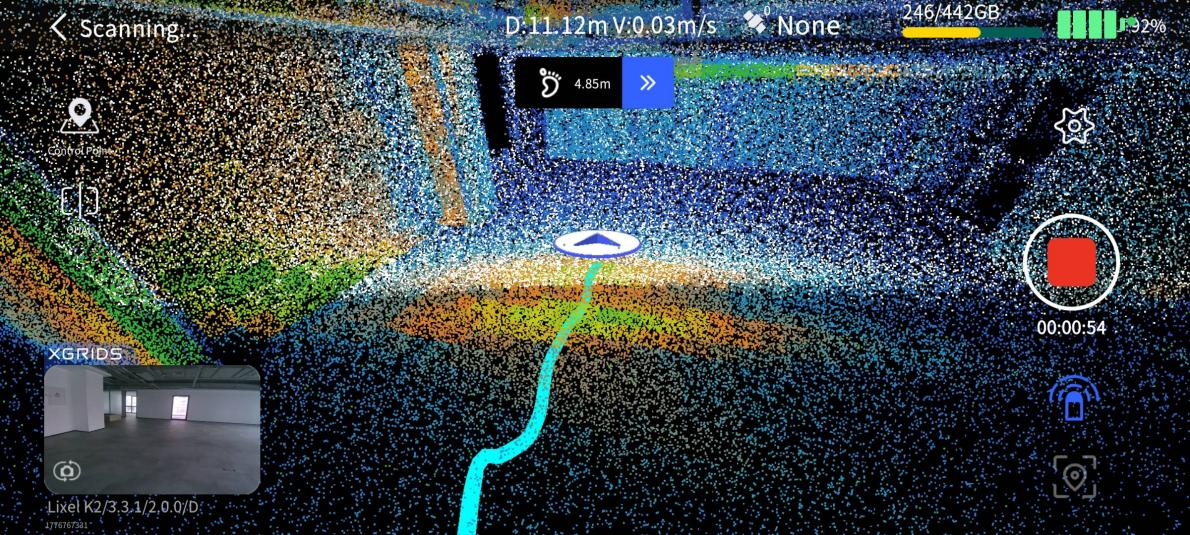
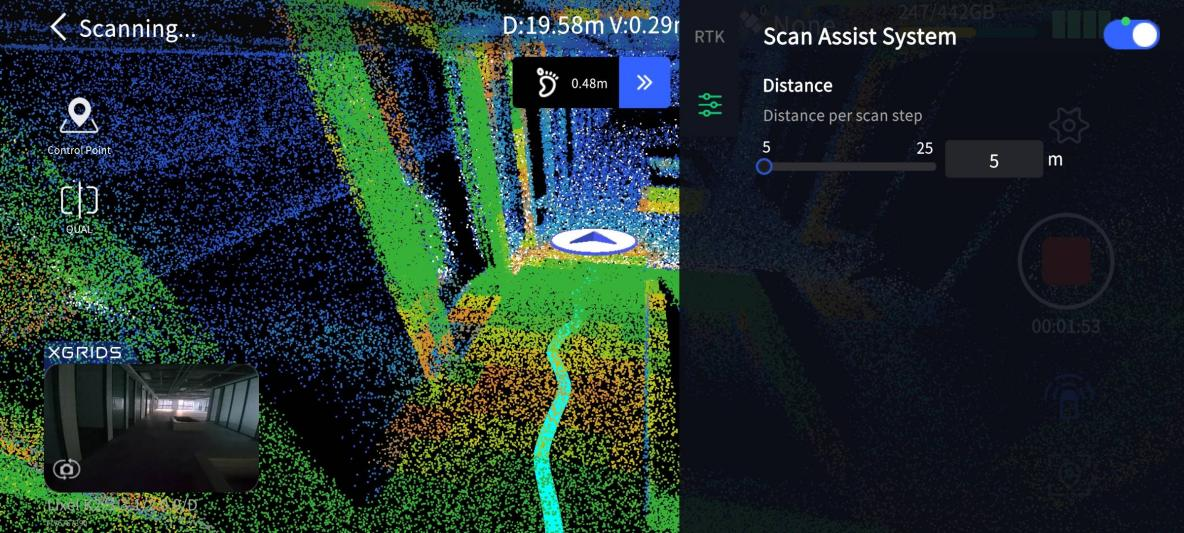
- After starting a scan, tap Scan Assist System below the stop button.
- The system starts and enters the settings screen.
- Adjust the step distance based on your situation.
Tip
Set the step distance according to the complexity of the scene to ensure complete point cloud coverage.
Stop Scanning
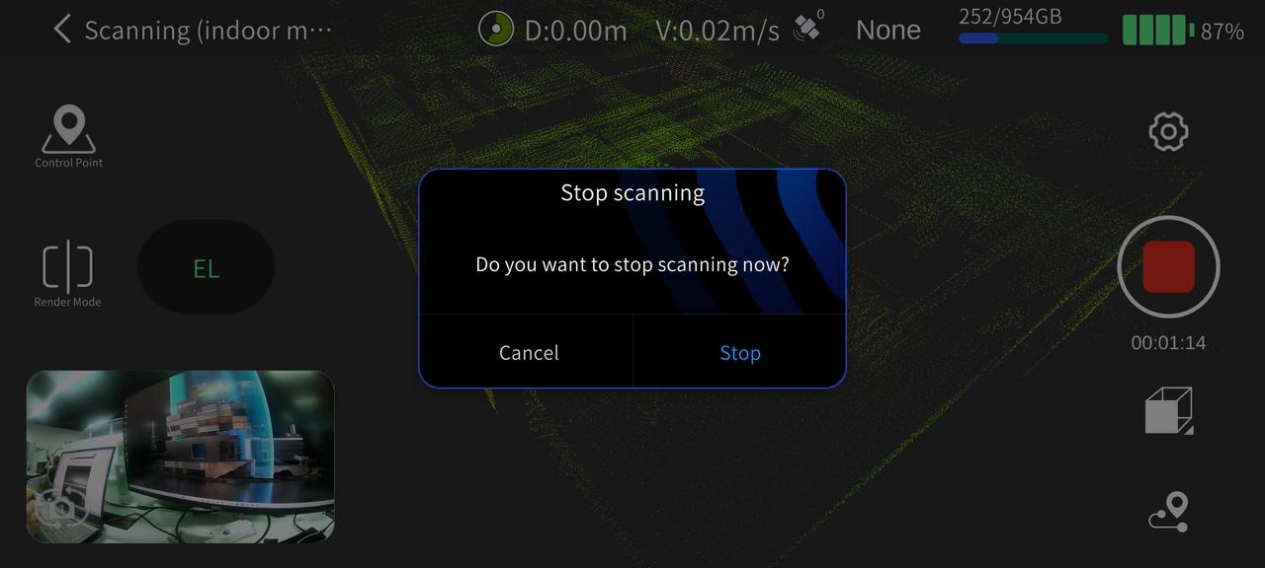
- Tap the red End Recording button on the right side of the screen.
- Confirm to stop scanning in the pop-up.
- Watch the indicator light:
- Fast-flashing green: data is being saved.
- Solid green: scanning is complete and data is saved.
- When done, you can power off the device or start another scan.
Note
Wait until the indicator light turns solid green before doing anything else, to ensure the data is fully saved.
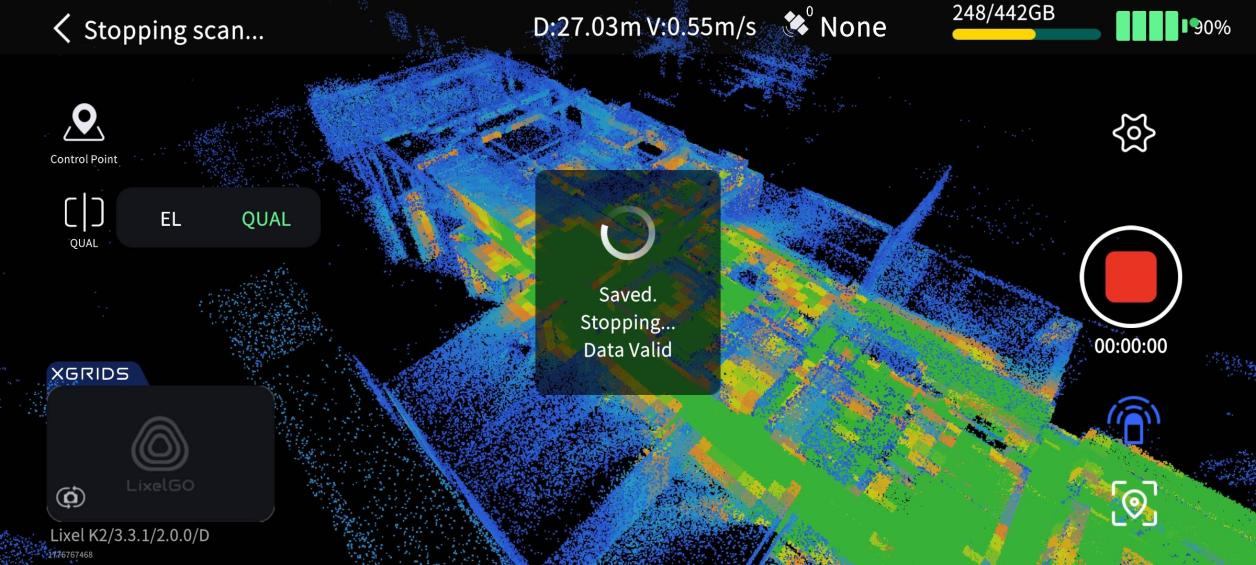
View Model
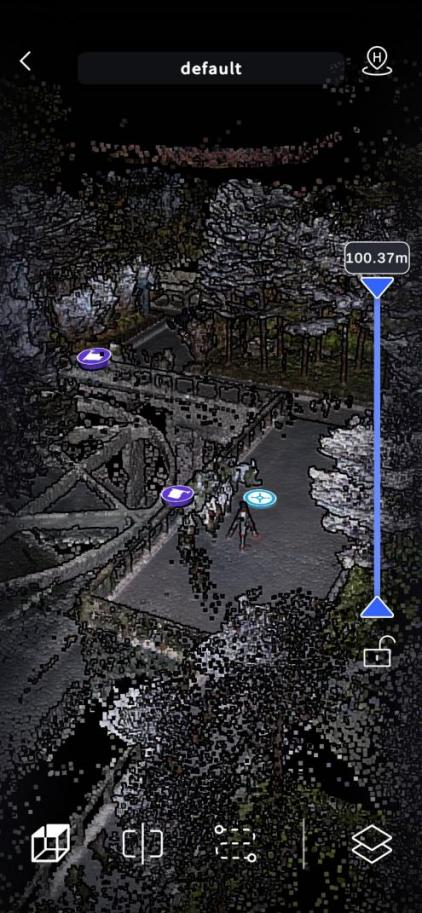
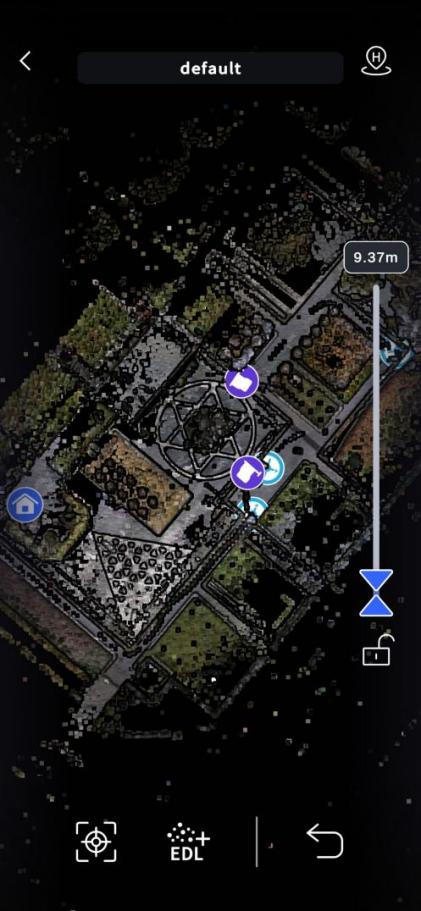
After scanning, you can view model information, take measurements, and share offline through LixelGO.
View model information
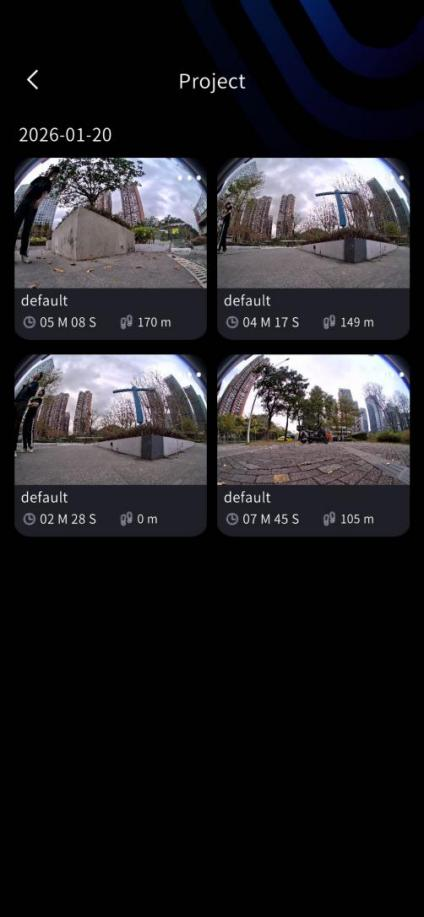
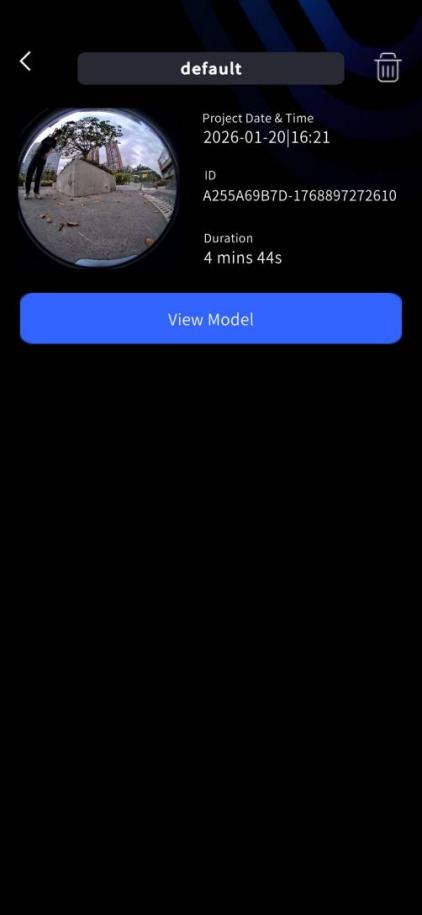
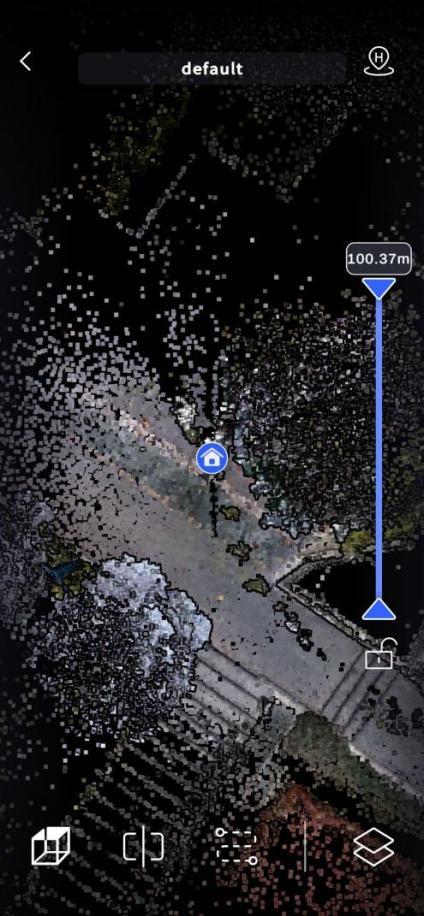
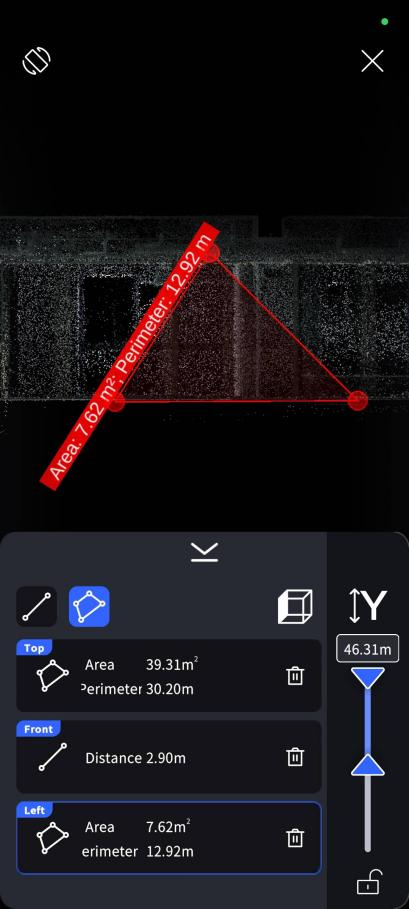
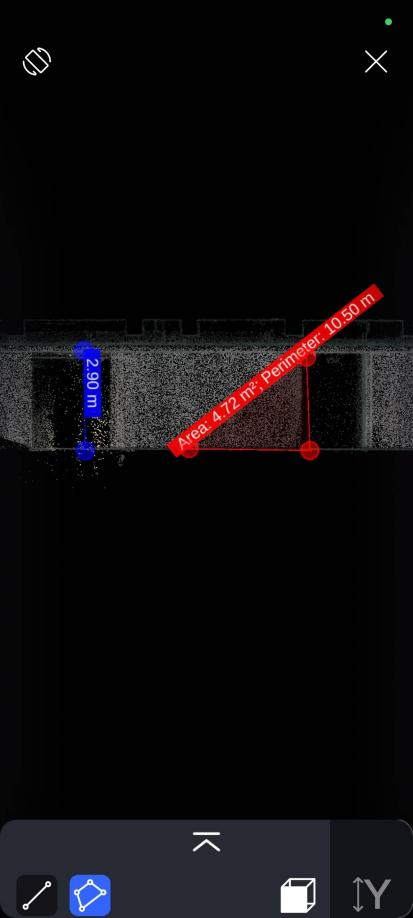
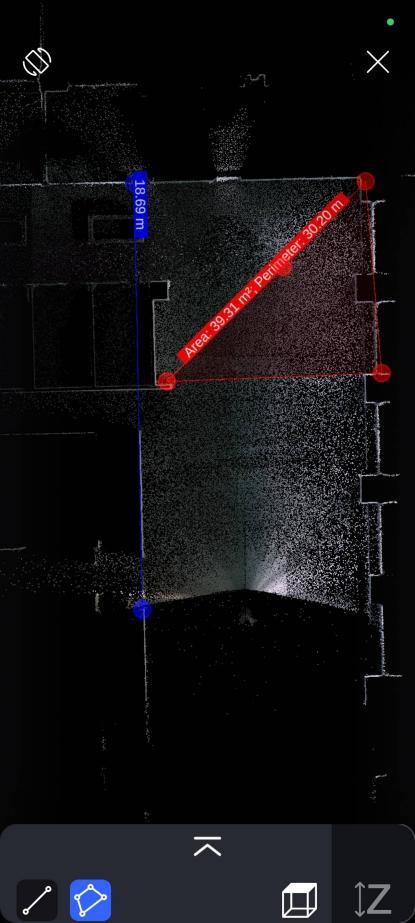
Measurement
In model view, you can perform distance (line) and area measurements.
Offline Sharing
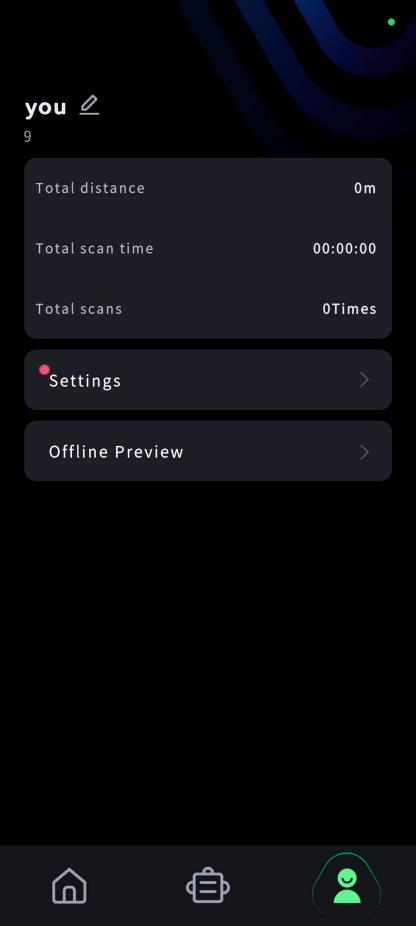
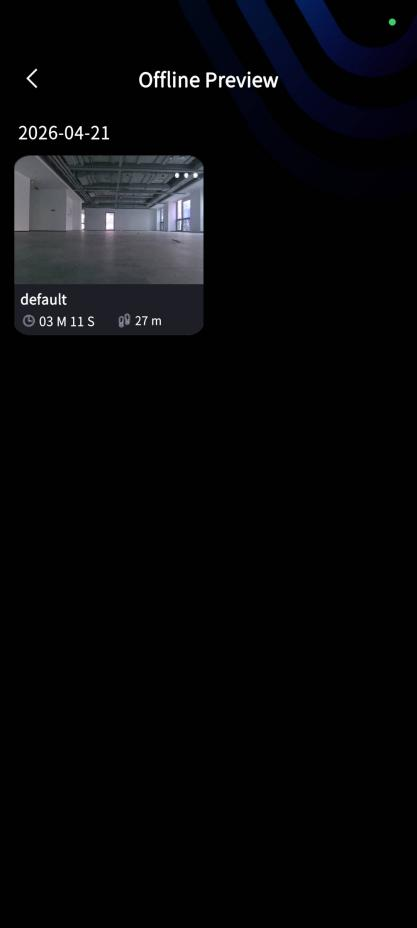
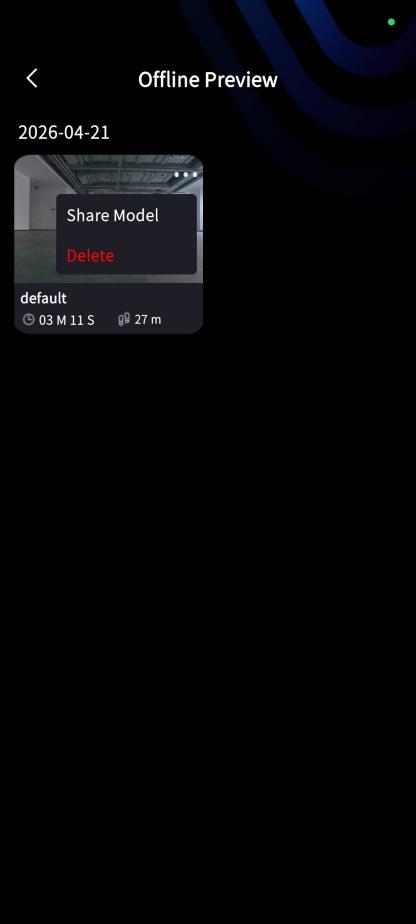
The LixelGO Offline Preview module lets you quickly share models. The share format is .las.
Downloading Scan Data
Steps
- Enable USB mode: after powering on, set the device to USB mode in LixelGO.
- Connect to a computer: use a Type-C cable to connect the device to the computer.
- Copy project files: open the device's USB directory, go to the
modelfolder, select the corresponding project file, and copy it to a suitable directory on the computer.
Project file naming rule
The file name format is ProjectName_year-month-day-time, for example:
Parking_Lot_B2F_2025-01-15-162026default_2025-01-15-143520
Tip
The file name automatically uses the scan start time, making it easy to identify and manage.
Data Project File Structure
The project file structure is as follows:
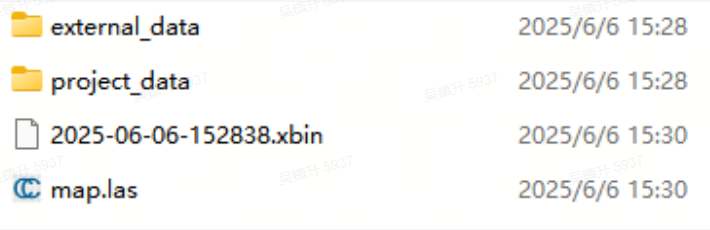
| File / Directory | Subfile | Description |
|---|---|---|
xxx.xbin | — | Raw sensor data recorded by the device |
map.las | — | Point cloud output by the device in real time |
project_data | control_points.csv | Control point information recorded when adding control points in LixelGO |
gnss.csv | GNSS information recorded when using RTK | |
poses.csv | Trajectory file recorded during scanning | |
project.json | Device attributes and related information | |
model | In-app model preview file | |
photo | Camera image captured when adding a control point | |
preview_photo.jpg | Project preview image | |
log | Log recorded during scanning | |
external_data | — | Empty initially; used to store external data required for LixelStudio post-processing |
Note
The directly output real-time point cloud is downsampled. If you need the complete point cloud, use LixelStudio for post-processing.