Device Activation and Connection
The Lixel L2 Pro is connected, activated, and managed through the LixelGO app on your phone. This chapter covers the installation environment requirements for LixelGO and the full device activation and connection workflow.
About LixelGO
LixelGO is the phone app for the Lixel L2 Pro. It supports viewing and managing projects and enables the management of digital 3D spatial assets. Scan the code to install the latest version of LixelGO.
Recommended Installation Environment
Phone configuration requirements:
| Module | Requirement |
|---|---|
| CPU | Snapdragon series, Snapdragon 8 or above recommended |
| Random Access Memory | 8 GB minimum |
| Display chip | Discrete display chip |
| Other | Supports Bluetooth, wireless hotspot, and USB tethering |
Phones verified to work well in testing:
| Brand | Model | CPU | RAM | GPU |
|---|---|---|---|---|
| VIVO | IQOO NEO 6 | Snapdragon 8+ Gen 1 | 12 GB | Adreno 730 |
| Redmi | Redmi K50 Gaming Edition | Qualcomm Snapdragon 8 Gen 1 | 8 GB | Adreno 730 |
| Huawei | Huawei P50E | Snapdragon 778G | 8 GB | Adreno 642L |
| OPPO | OPPO K10 | Dimensity 8000-MAX | 8 GB | Mali-G510 MC6 |
Device Activation
1. Register and log in to LixelGO
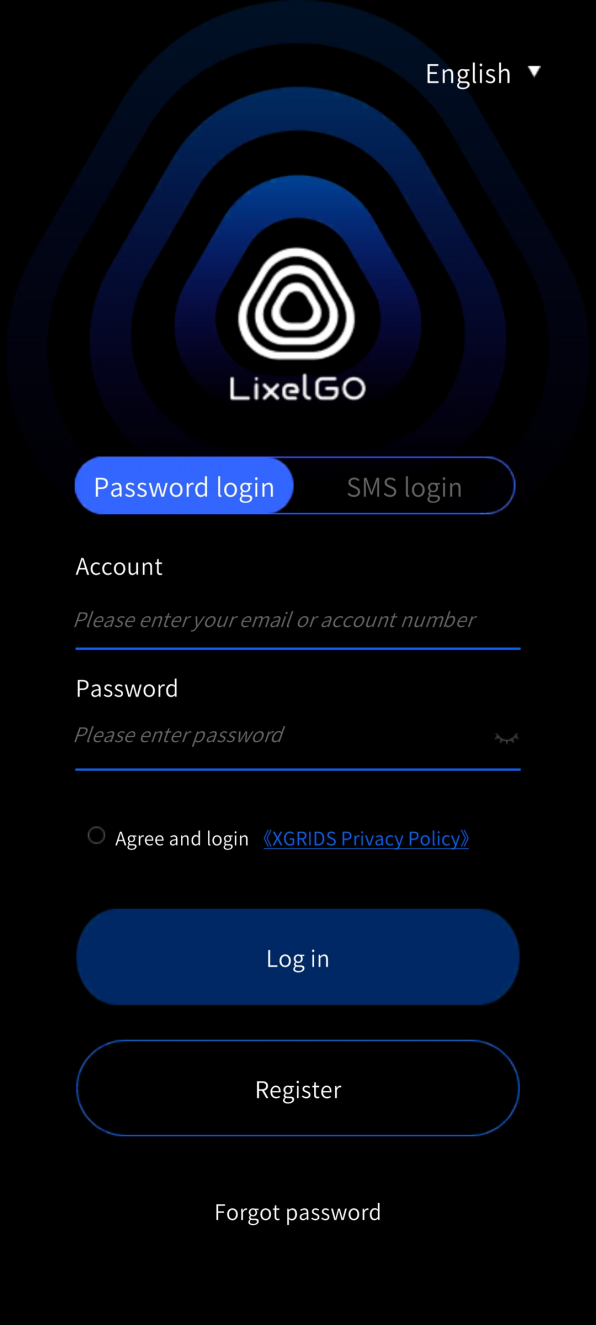
After installing LixelGO, open the app and tap Use Now to enter the login/registration screen. New users should choose "Register" and register with an email or phone number. Registered users can log in with account and password or via SMS.
2. Forgot password
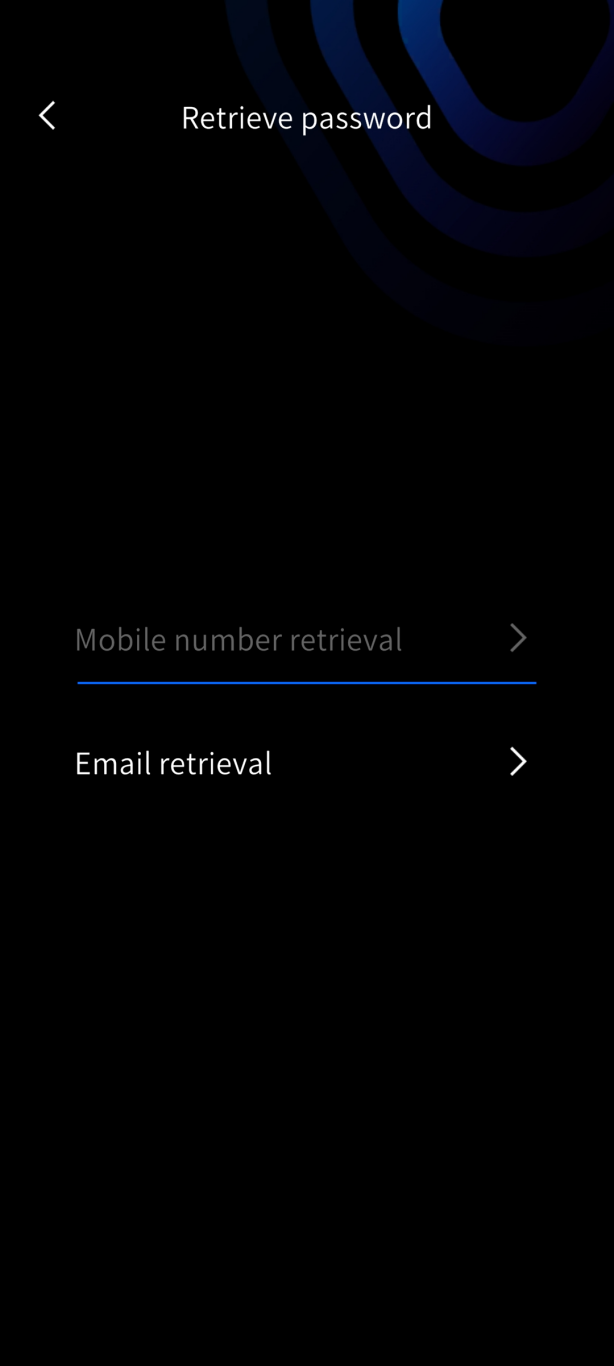
If you have registered an account but forgot the password, tap "Forgot password" on the screen and retrieve it via your registered phone number or email.
3. Switch language
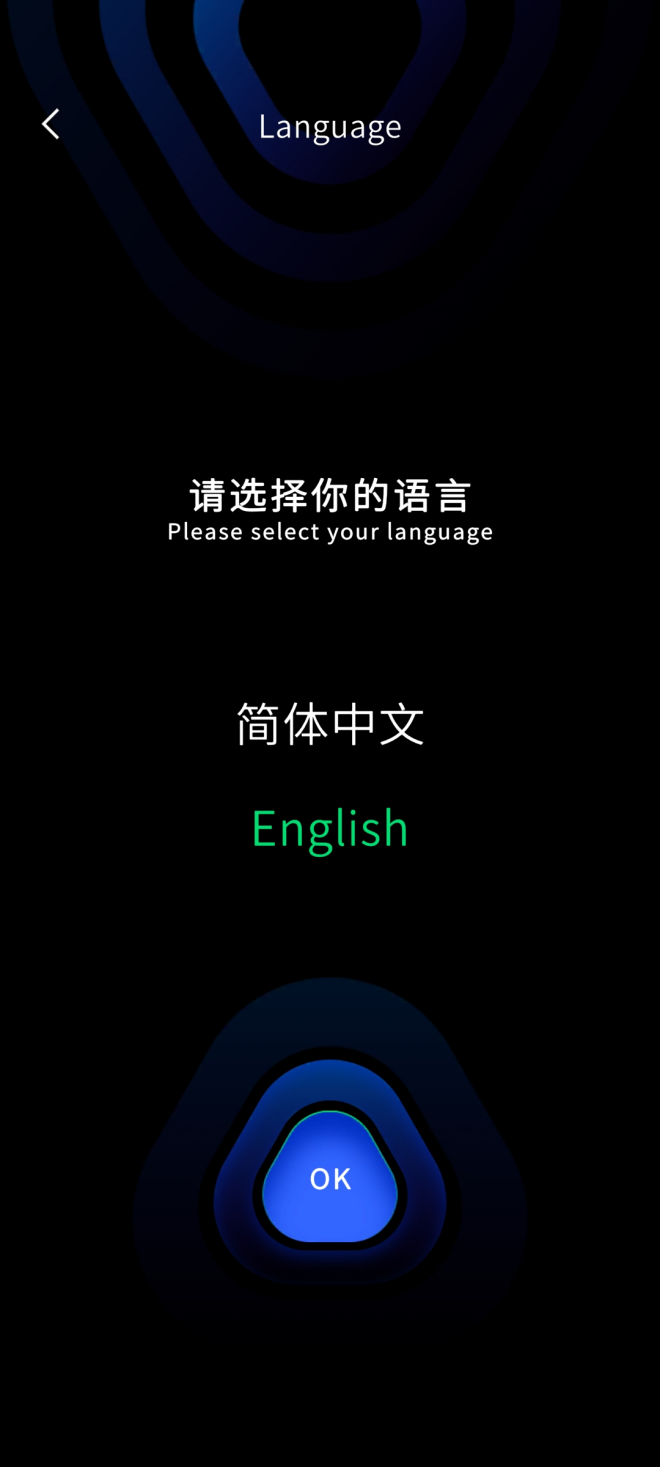
Tap the top-right corner of the screen to switch language.
4. Add a device
Press and hold the power button to turn on the handheld scanner. The device has started successfully when the indicator changes from fast-flashing blue to solid green.
Adding a device works slightly differently on Android and iOS. Follow the section that matches your phone.
Android version
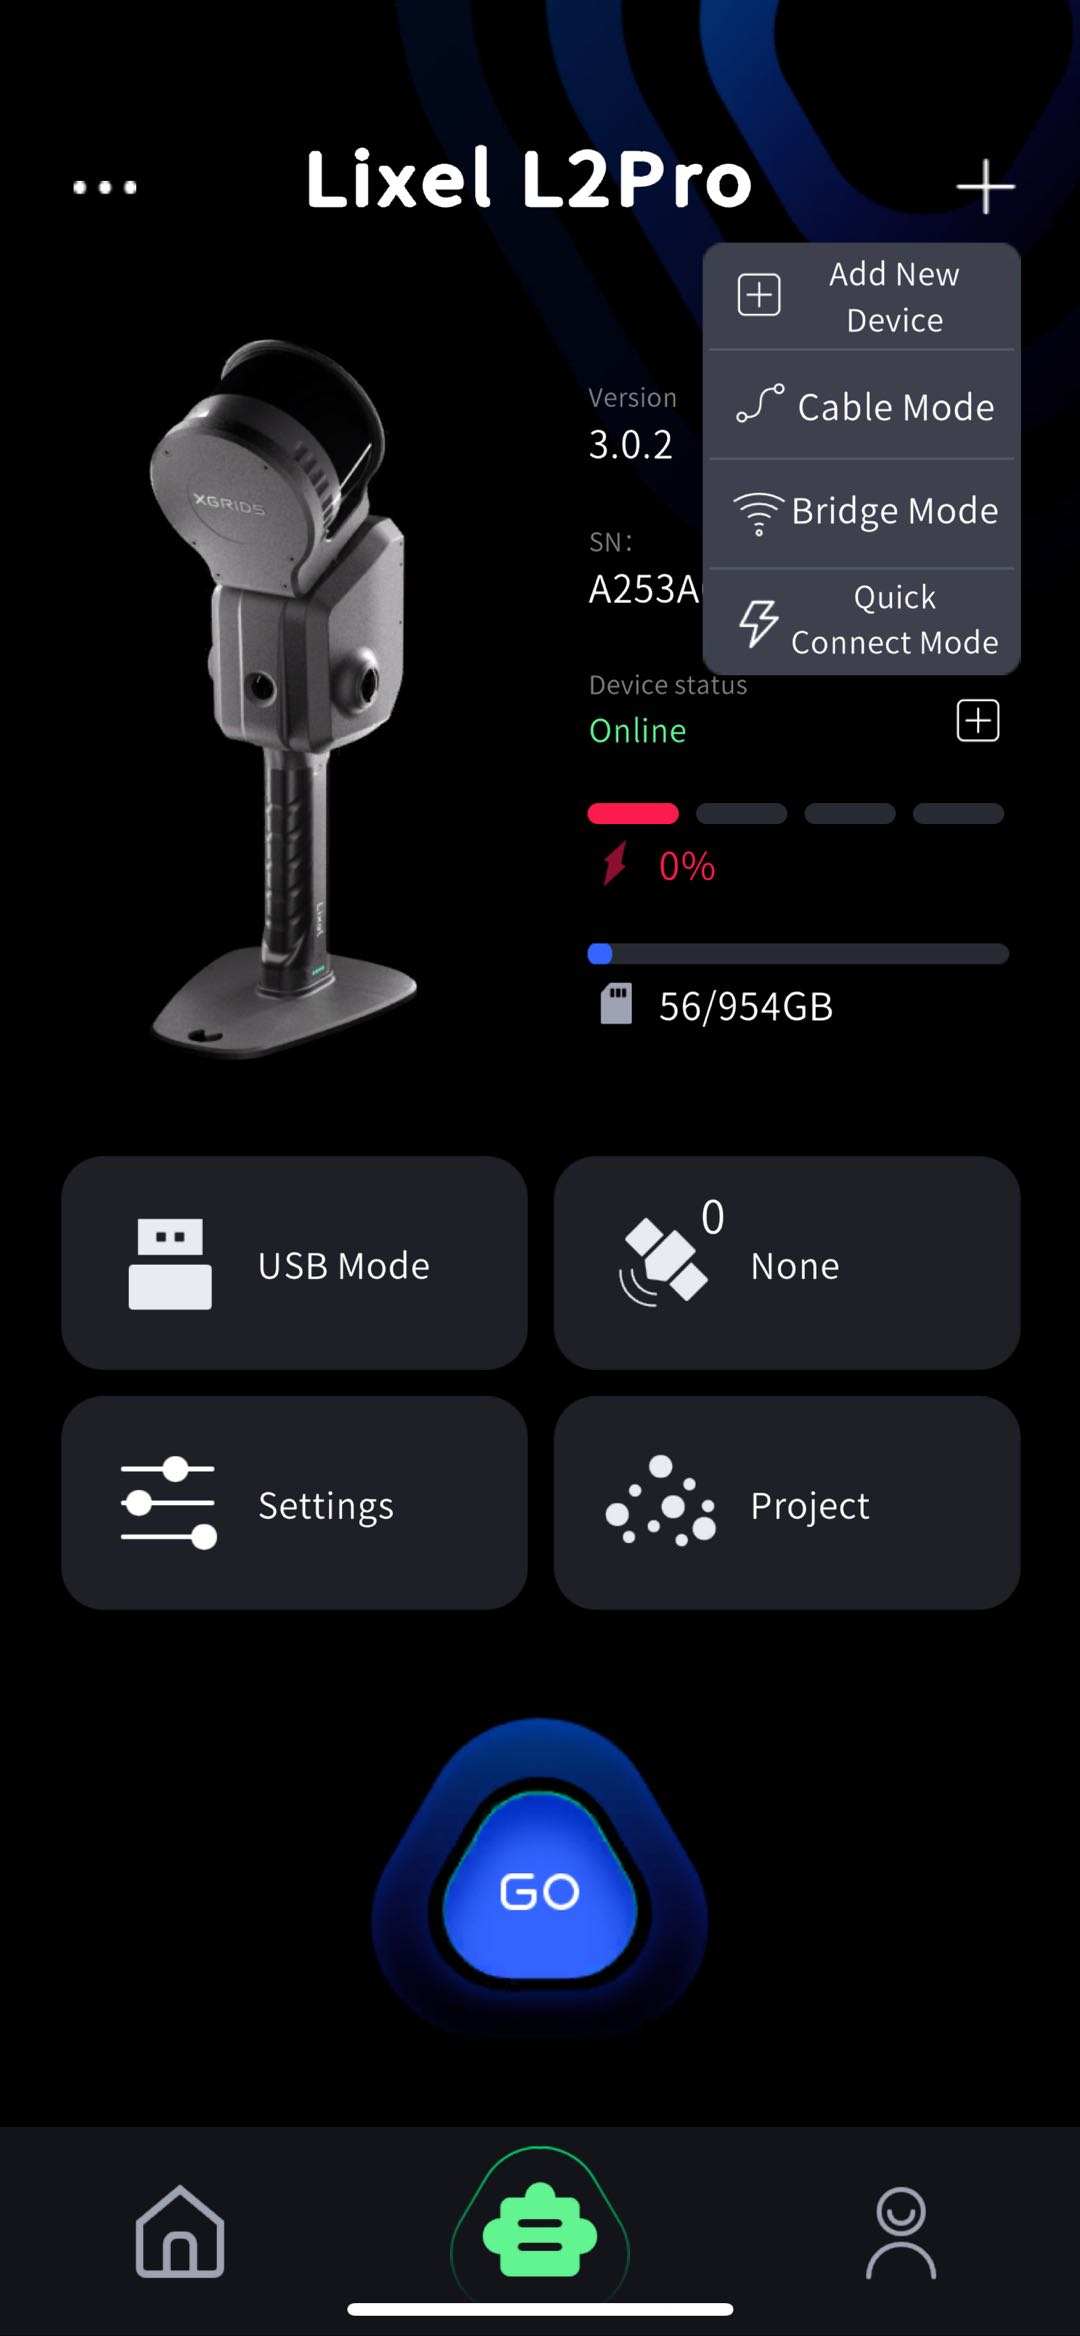
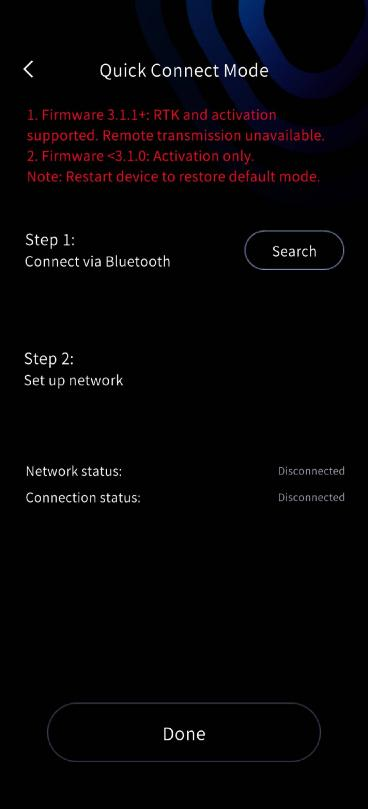
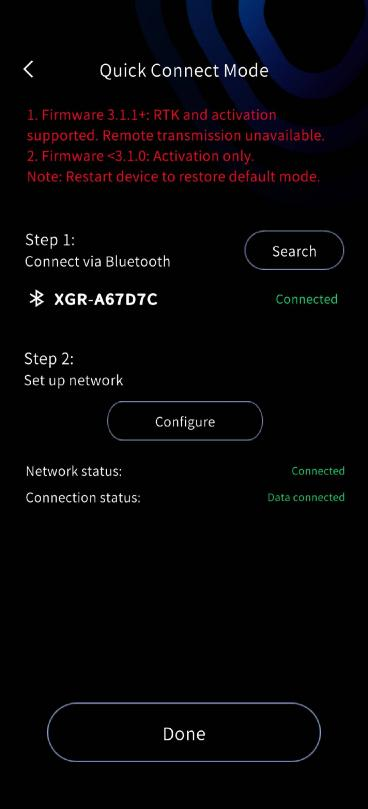
- Quick Connect Mode: LixelGO with device firmware V3.2.1 uses Quick Connect Mode by default.
- Hotspot Mode: Tap Add Device, grant permissions, and follow the steps.
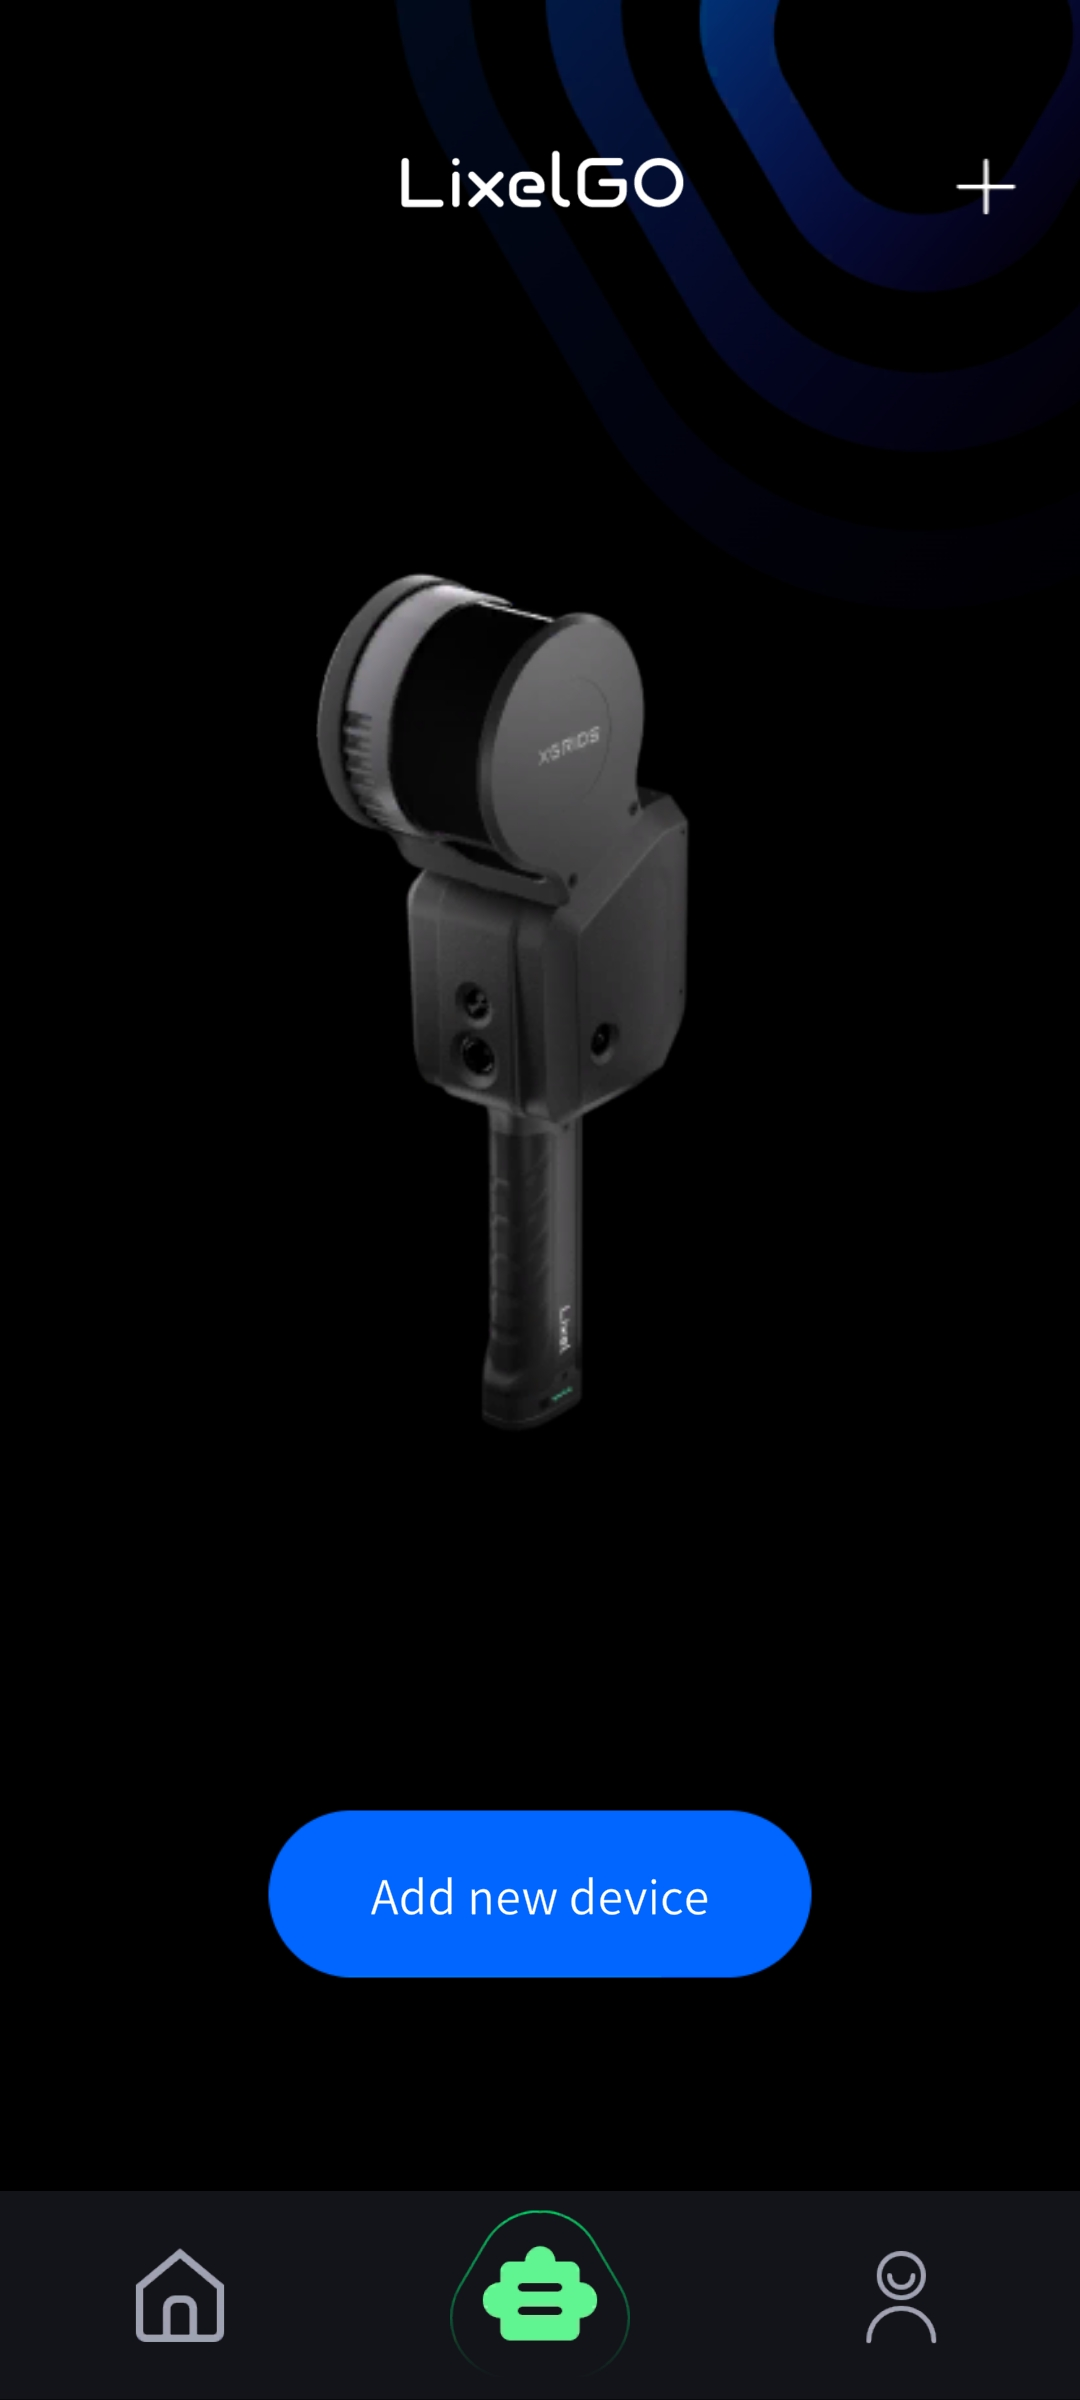
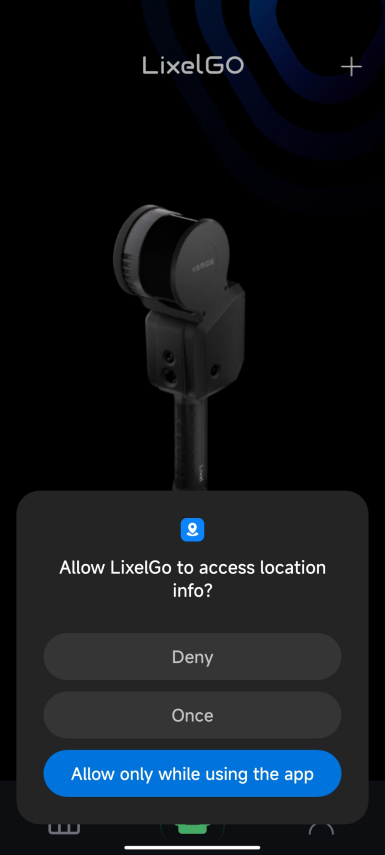
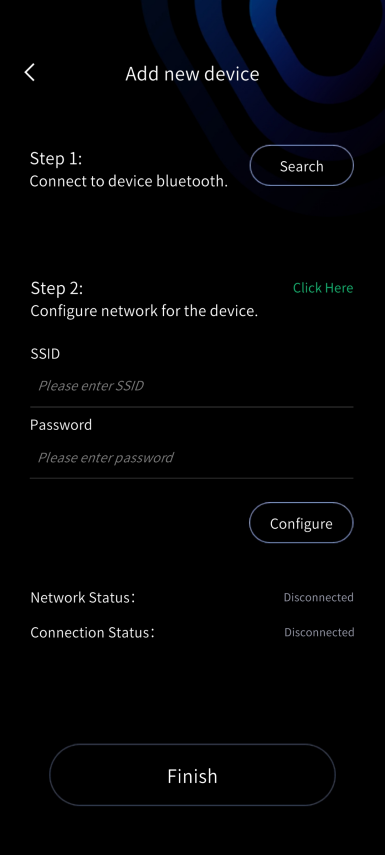
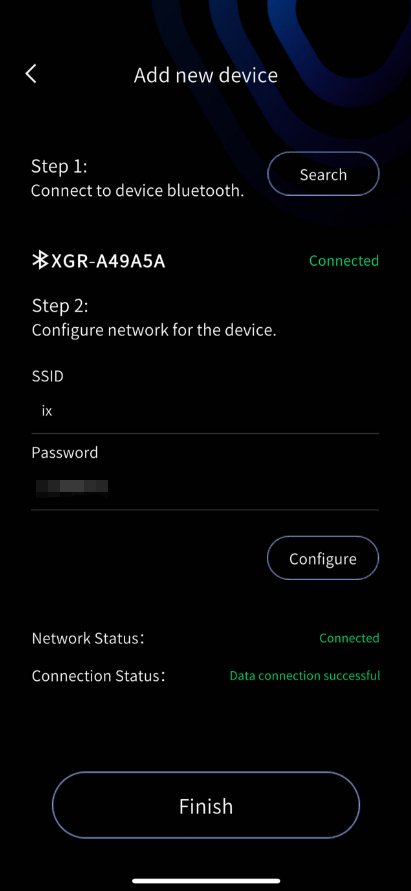
Step 1: Turn on your phone's Bluetooth and tap the screen to search for Bluetooth, then connect to the device's Bluetooth. Step 2: Configure the network for the device. First turn on your phone's hotspot, enter the hotspot name and password, and tap Configure; the device connects to the phone hotspot automatically. Keep the hotspot name and password as simple as possible.
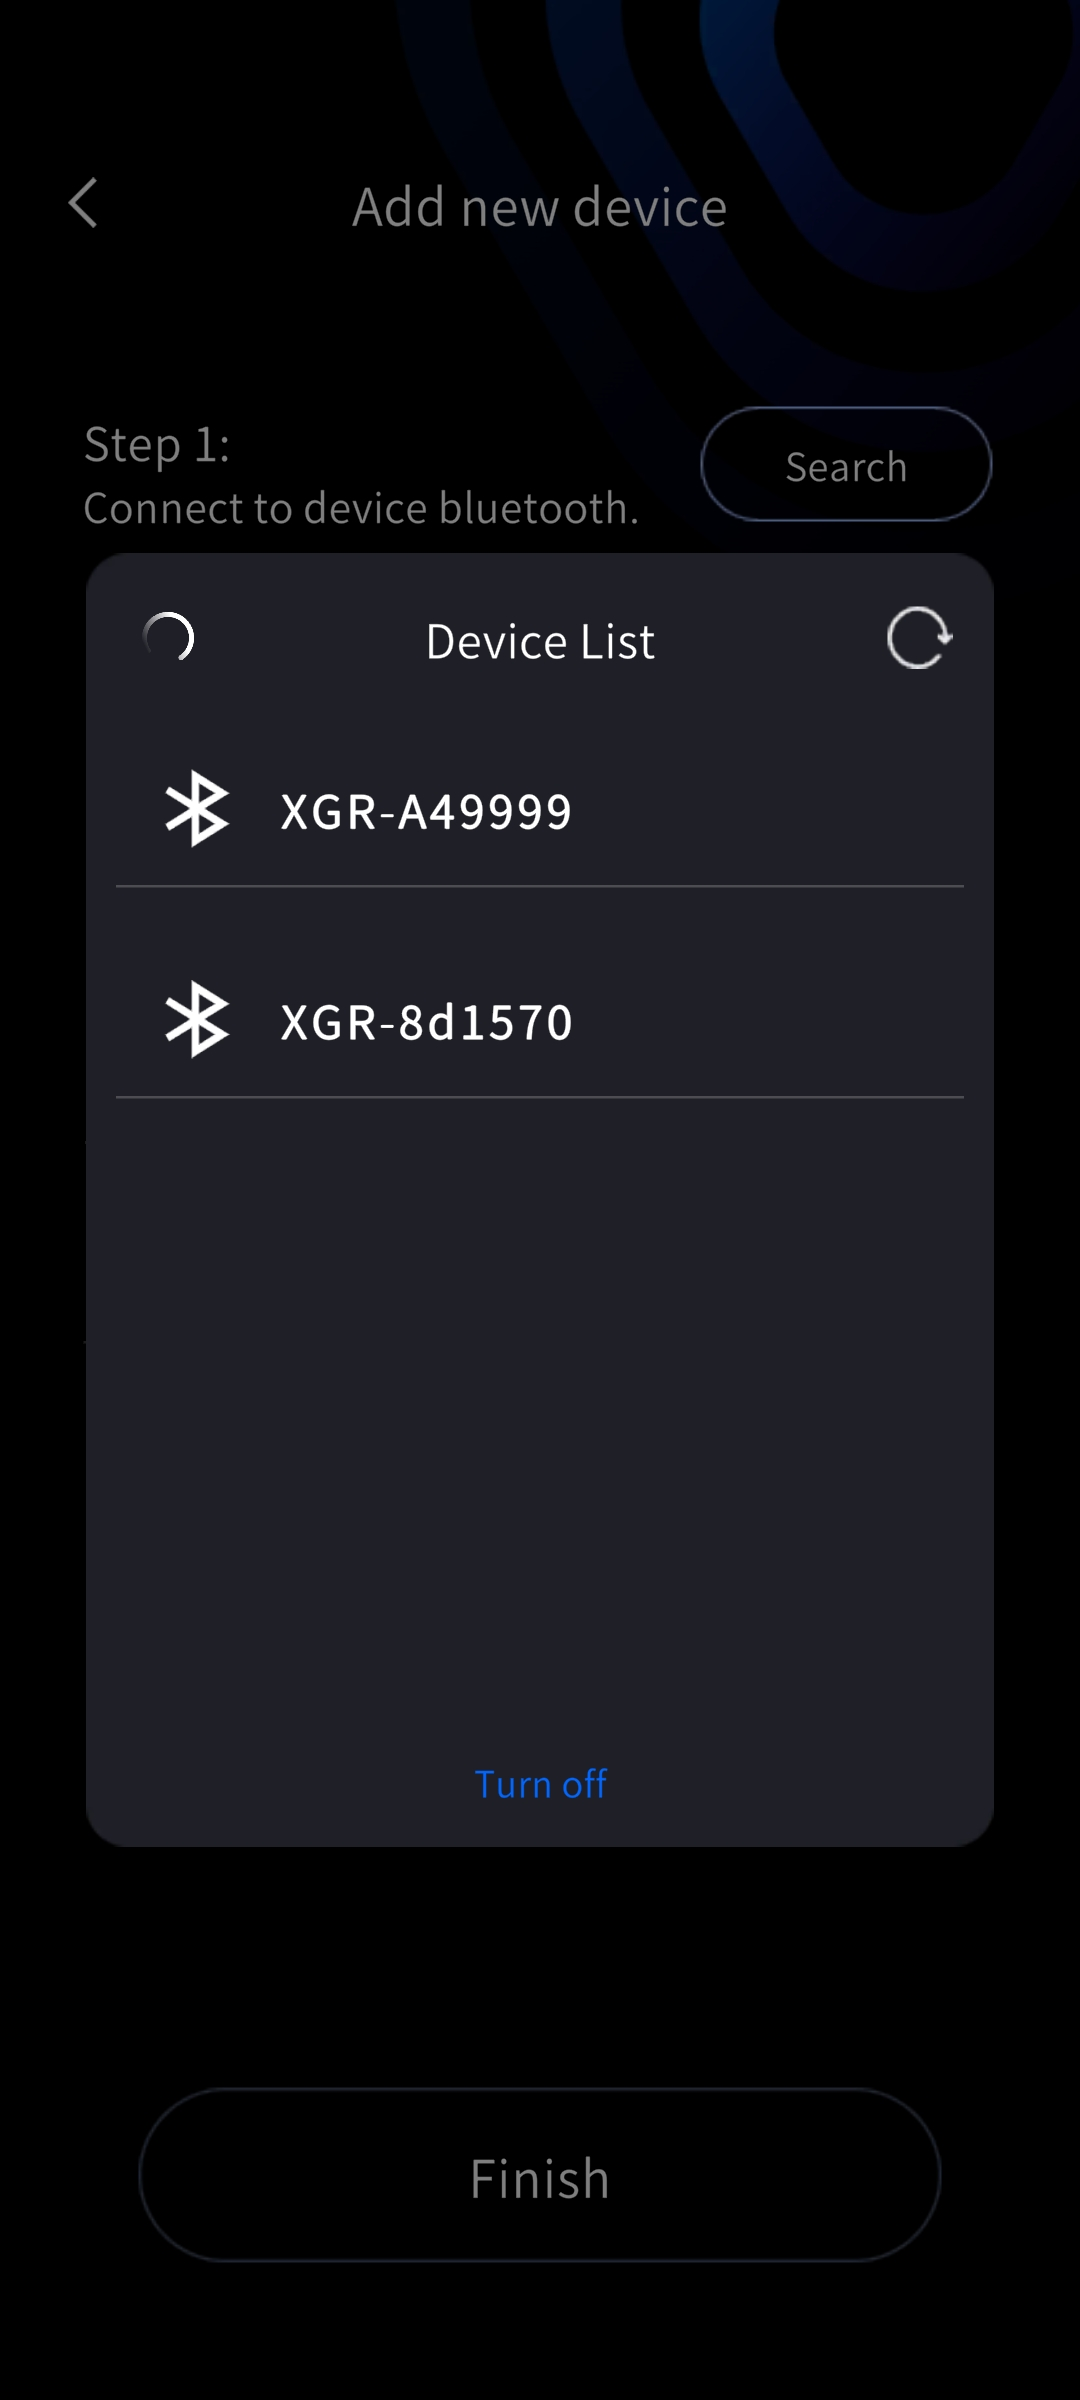
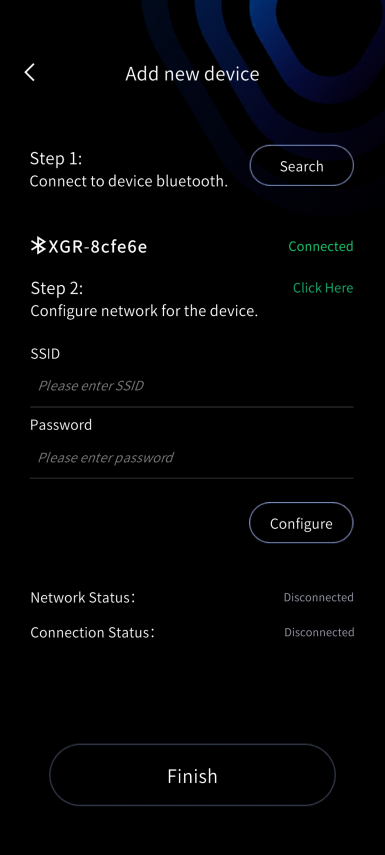
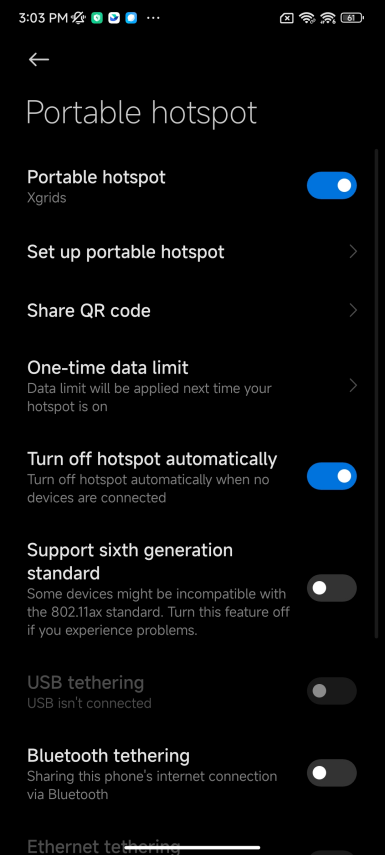
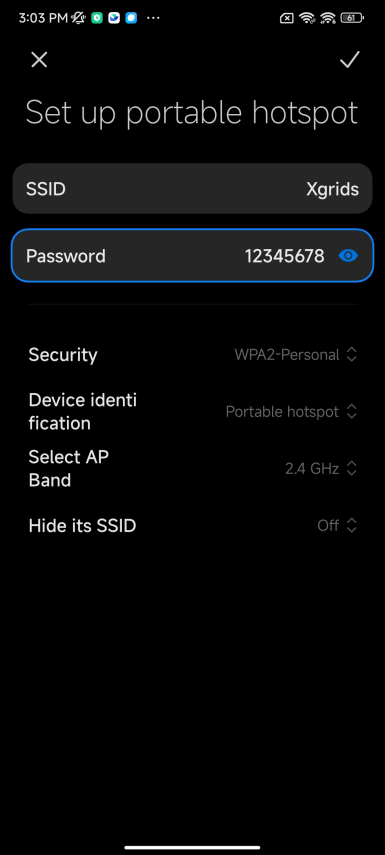
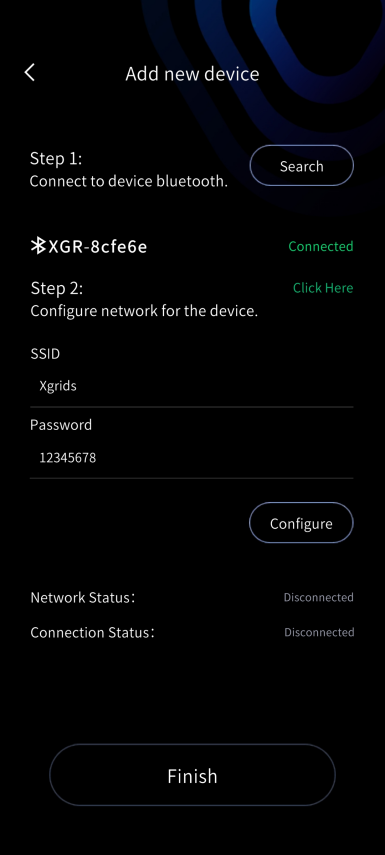
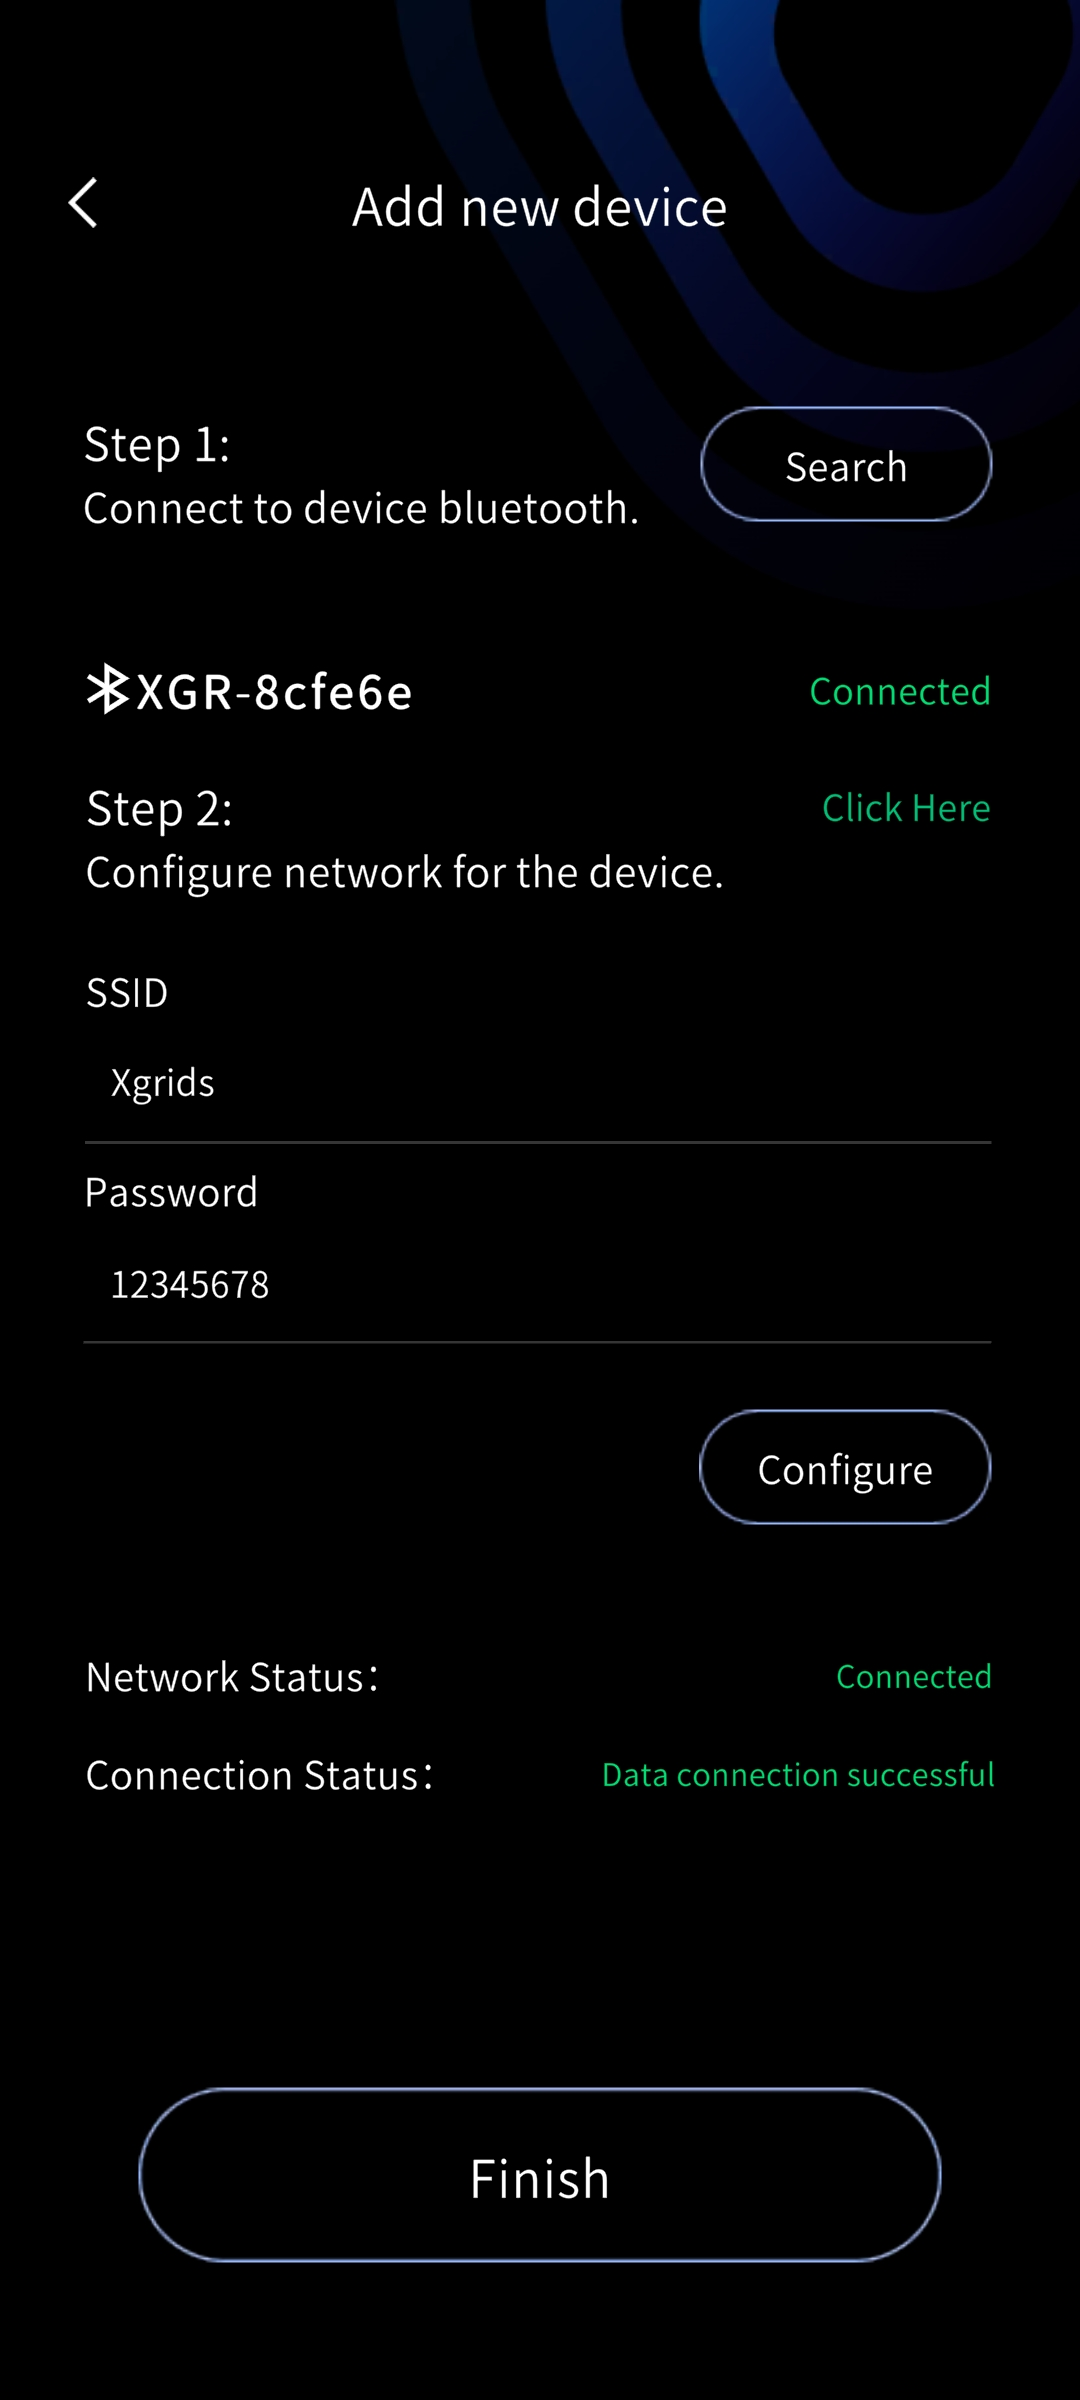
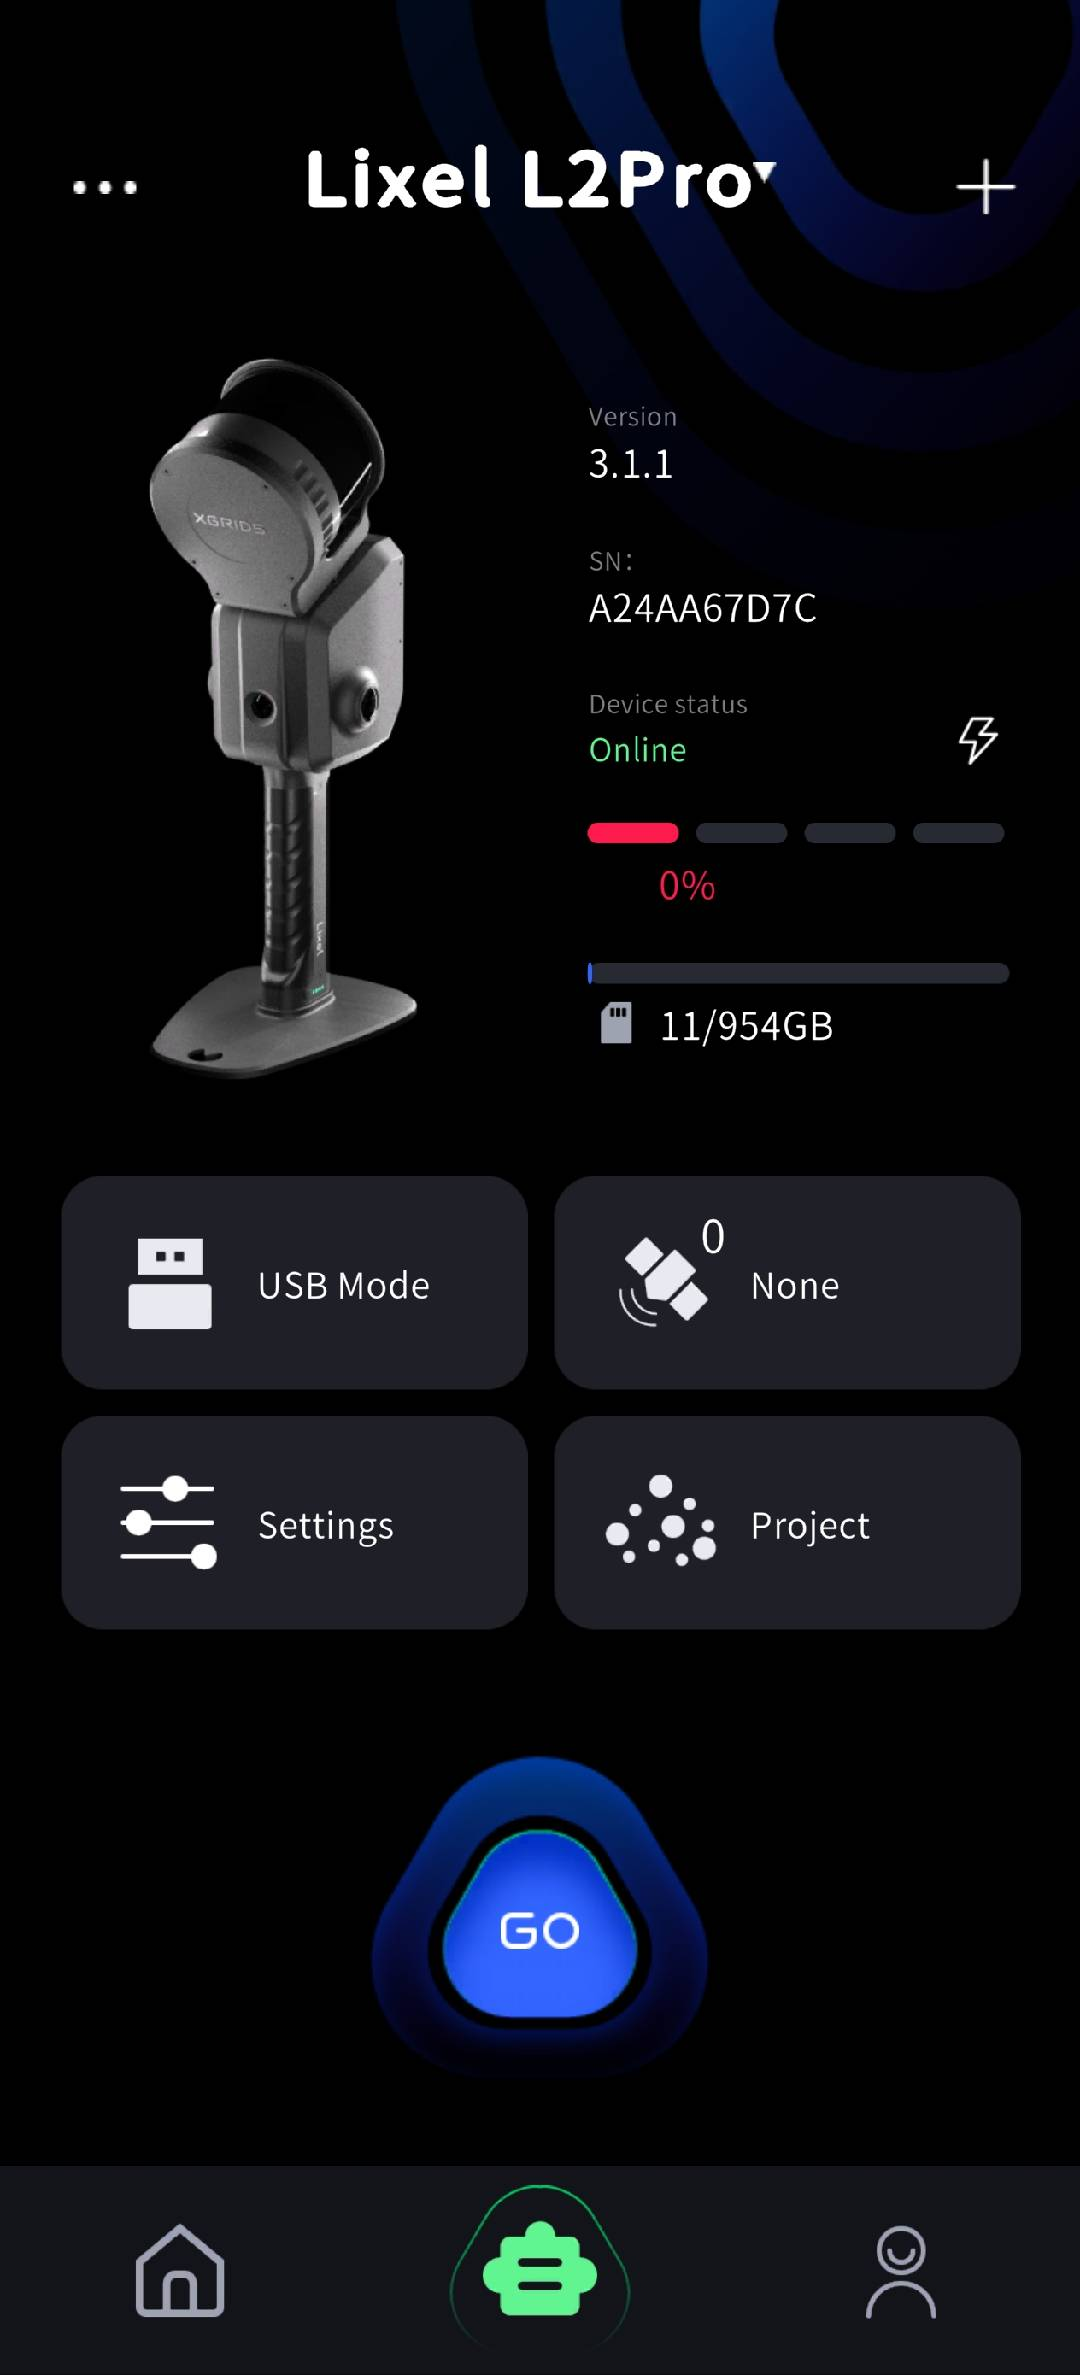
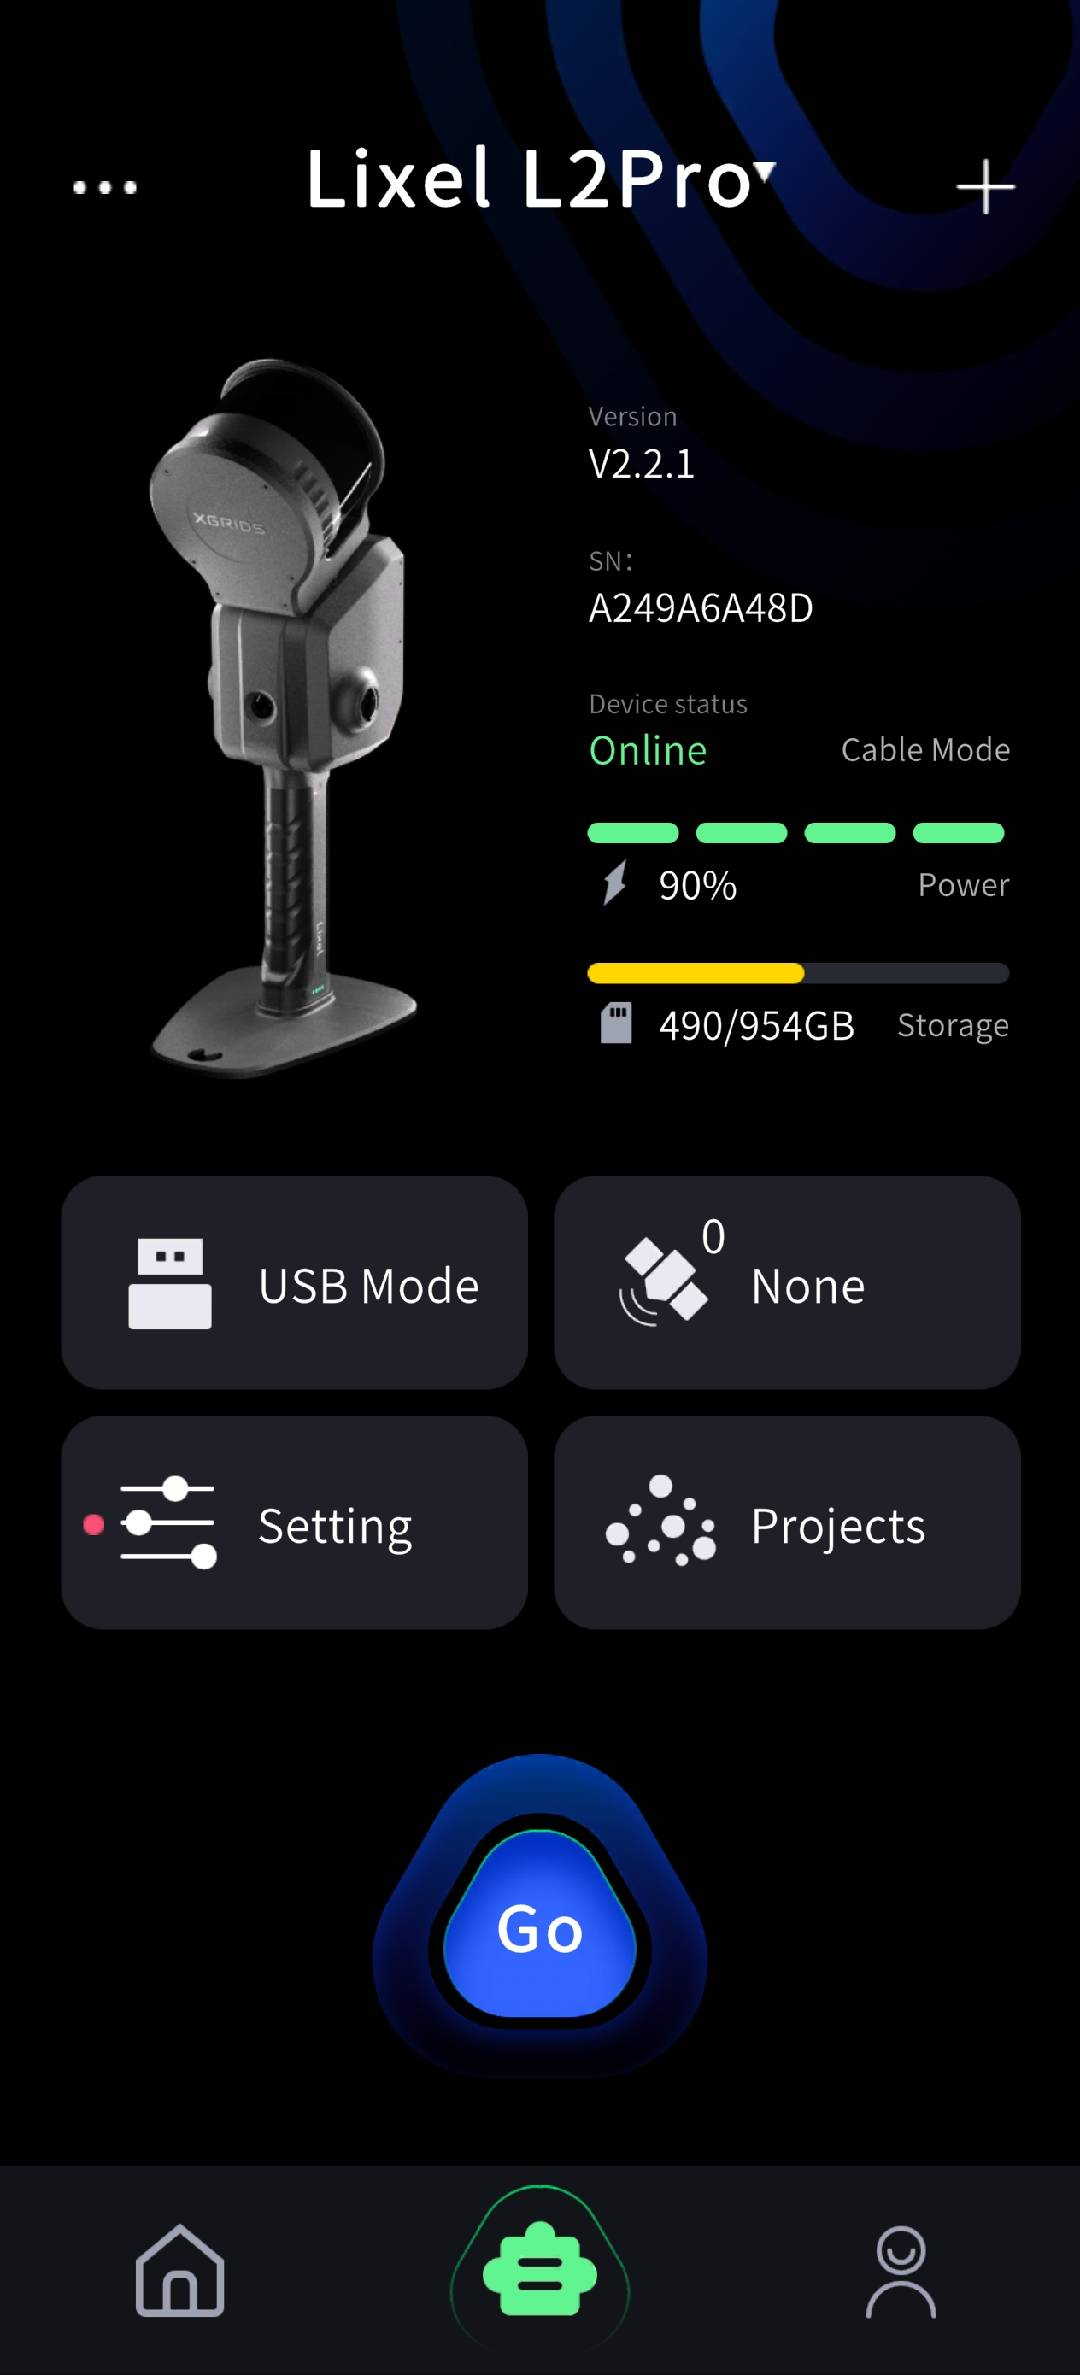
When both the network connection status and the data connection status show success, tap Done to view the basic information of the connected device.
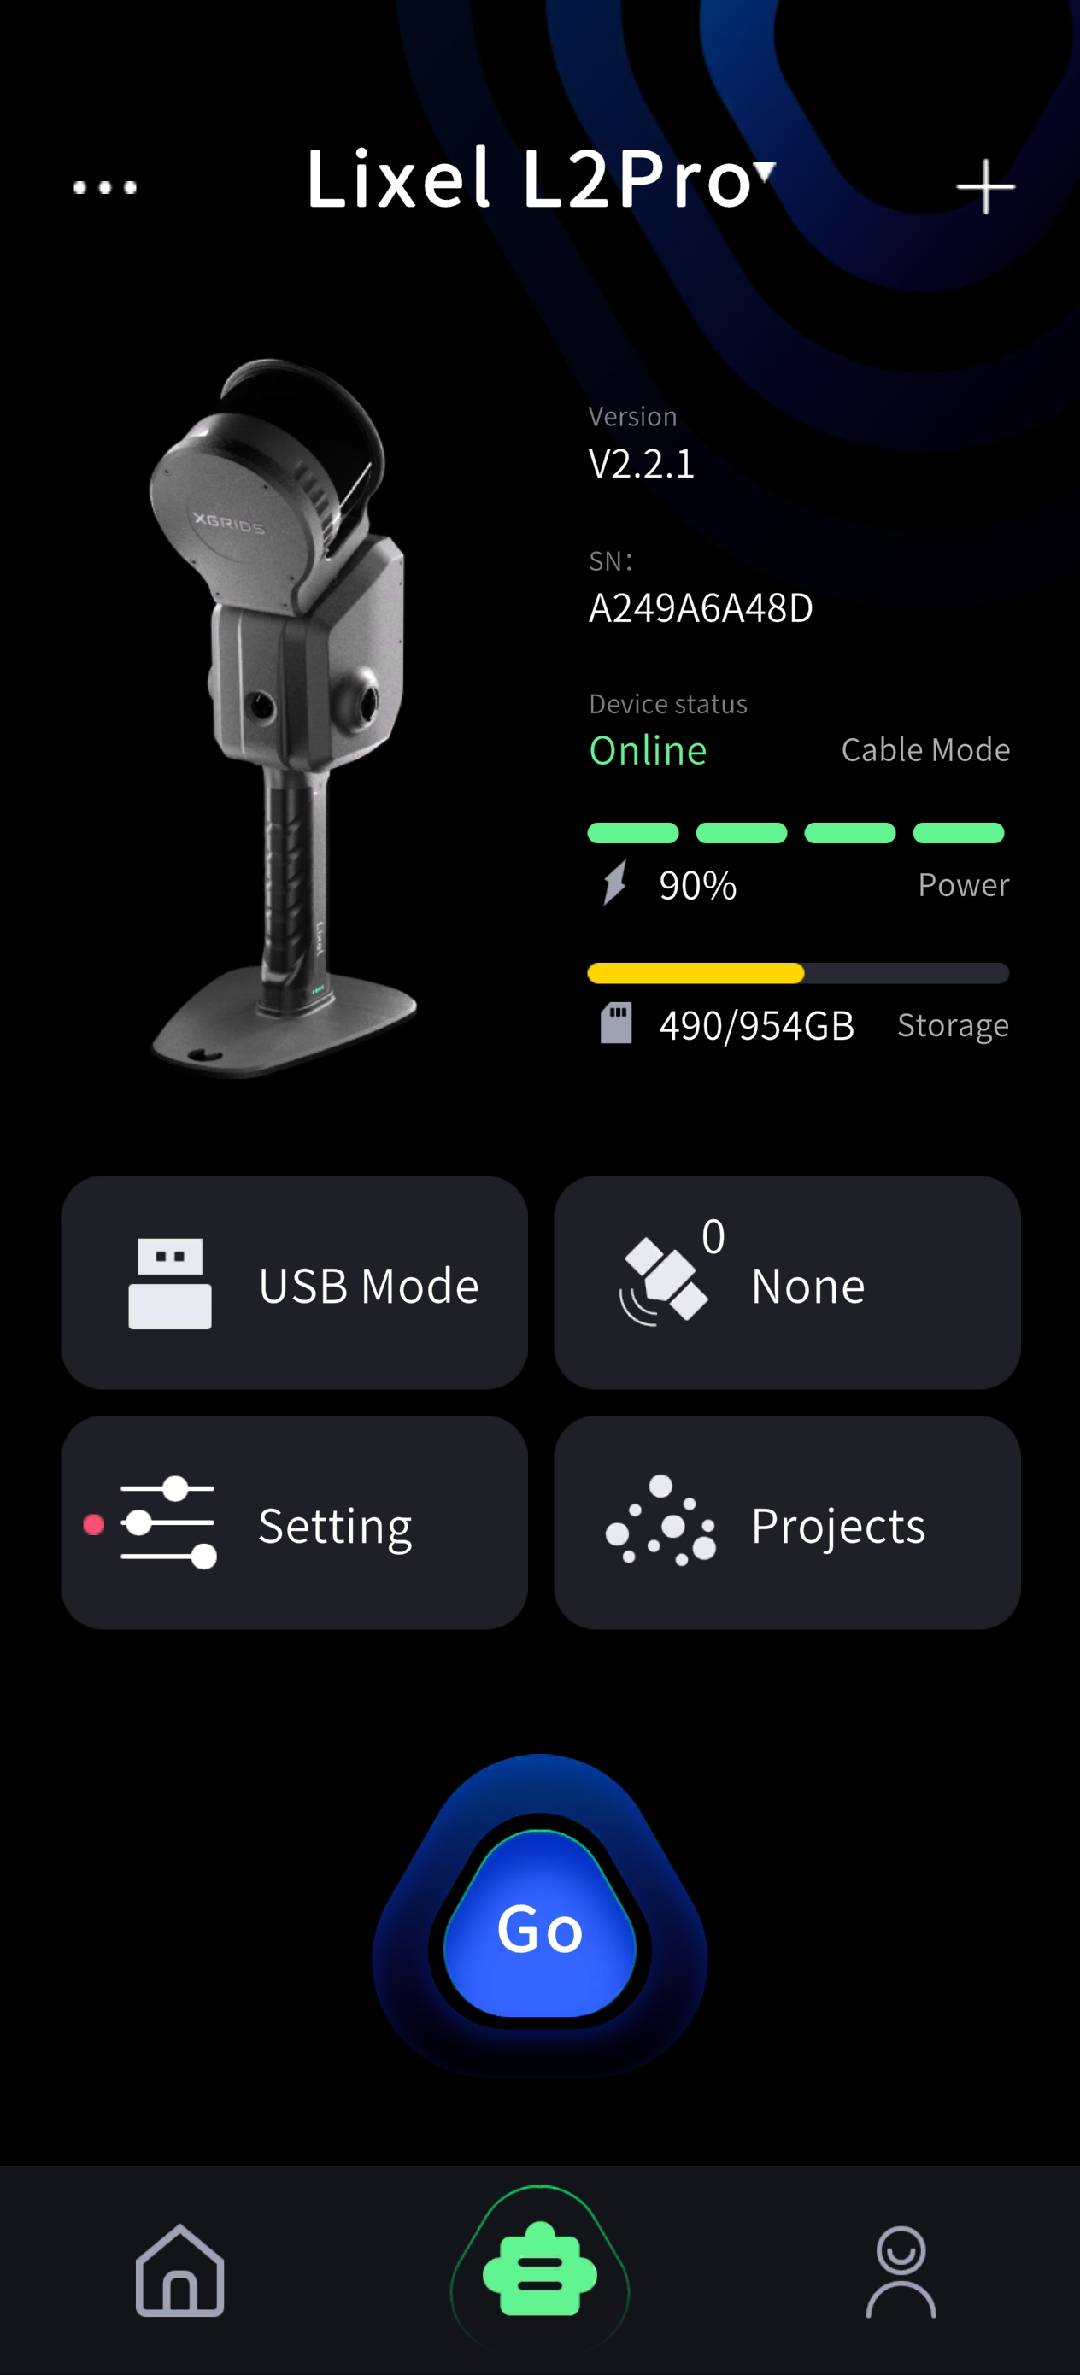
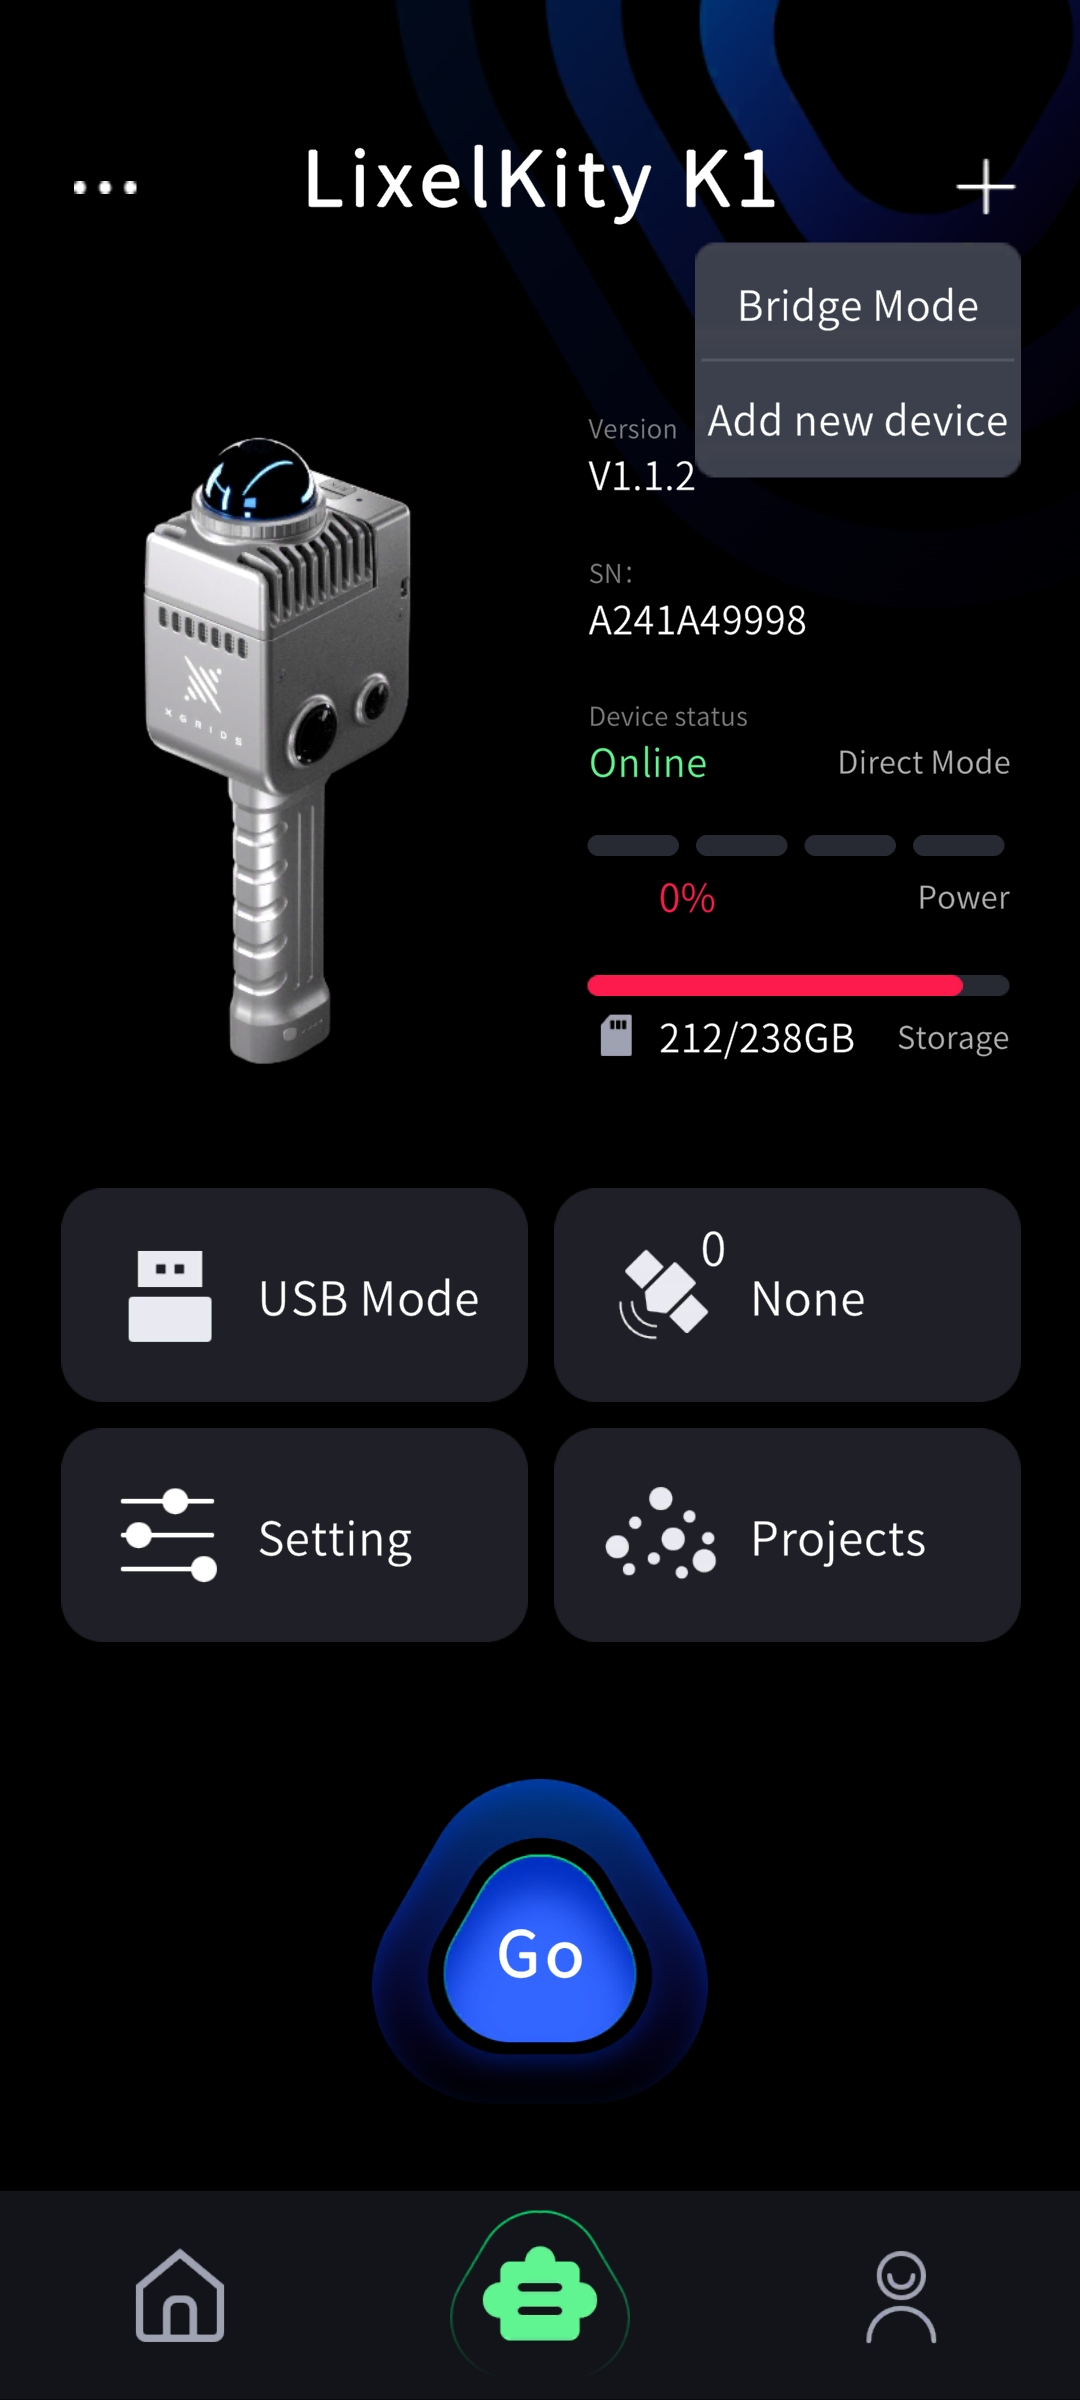
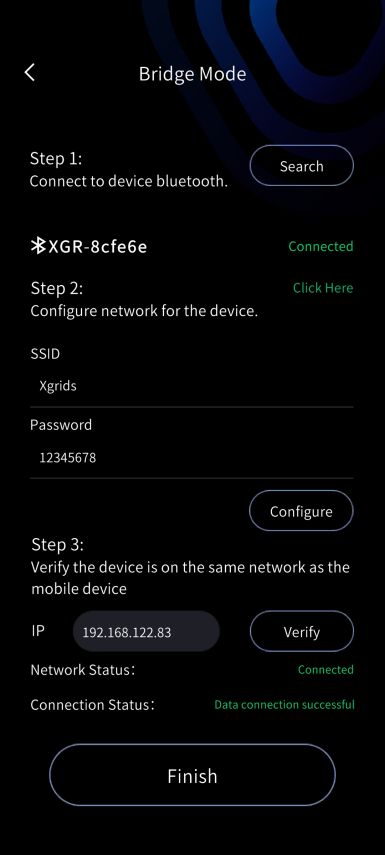
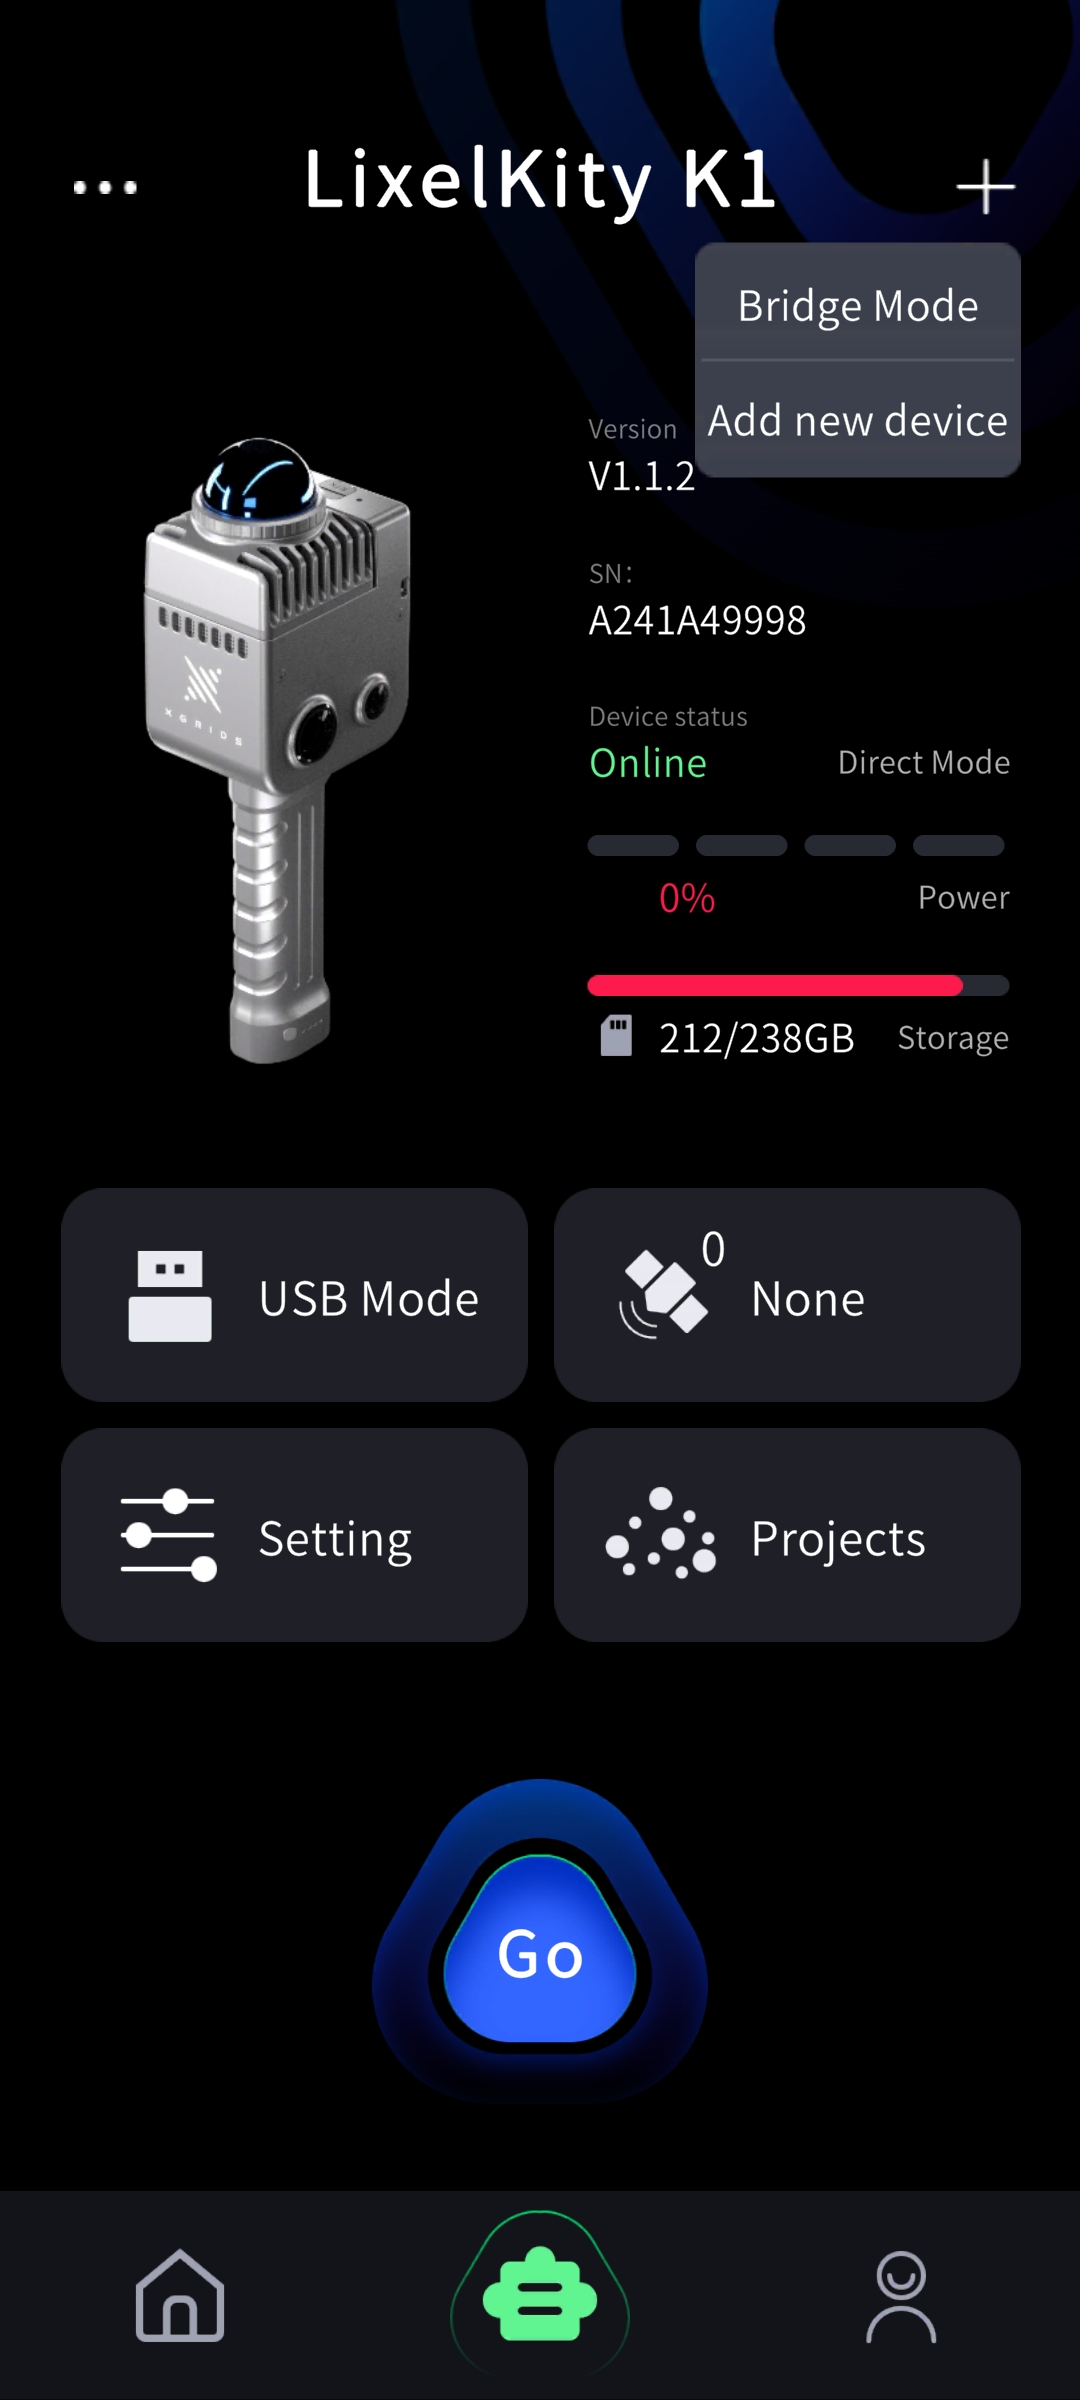
- Bridge Mode (connect the device and phone to the same LAN): Note: in this mode, if the scanner and phone leave the Wi-Fi network, data transmission is interrupted, but the device continues recording normally. Tap the plus sign in the top-right corner, select Bridge Mode, enter the screen, and follow the steps.
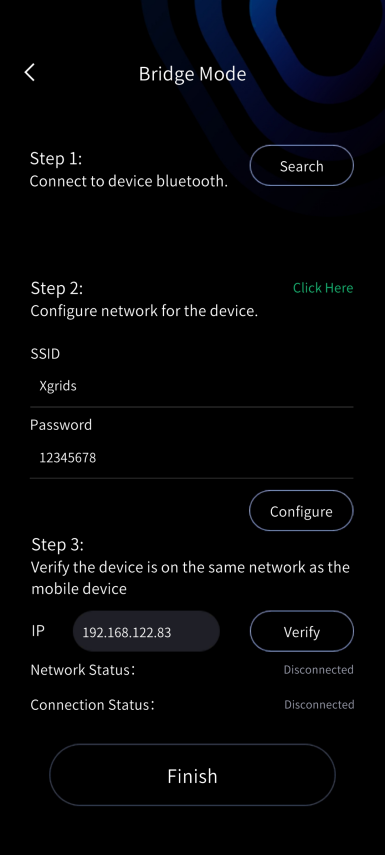
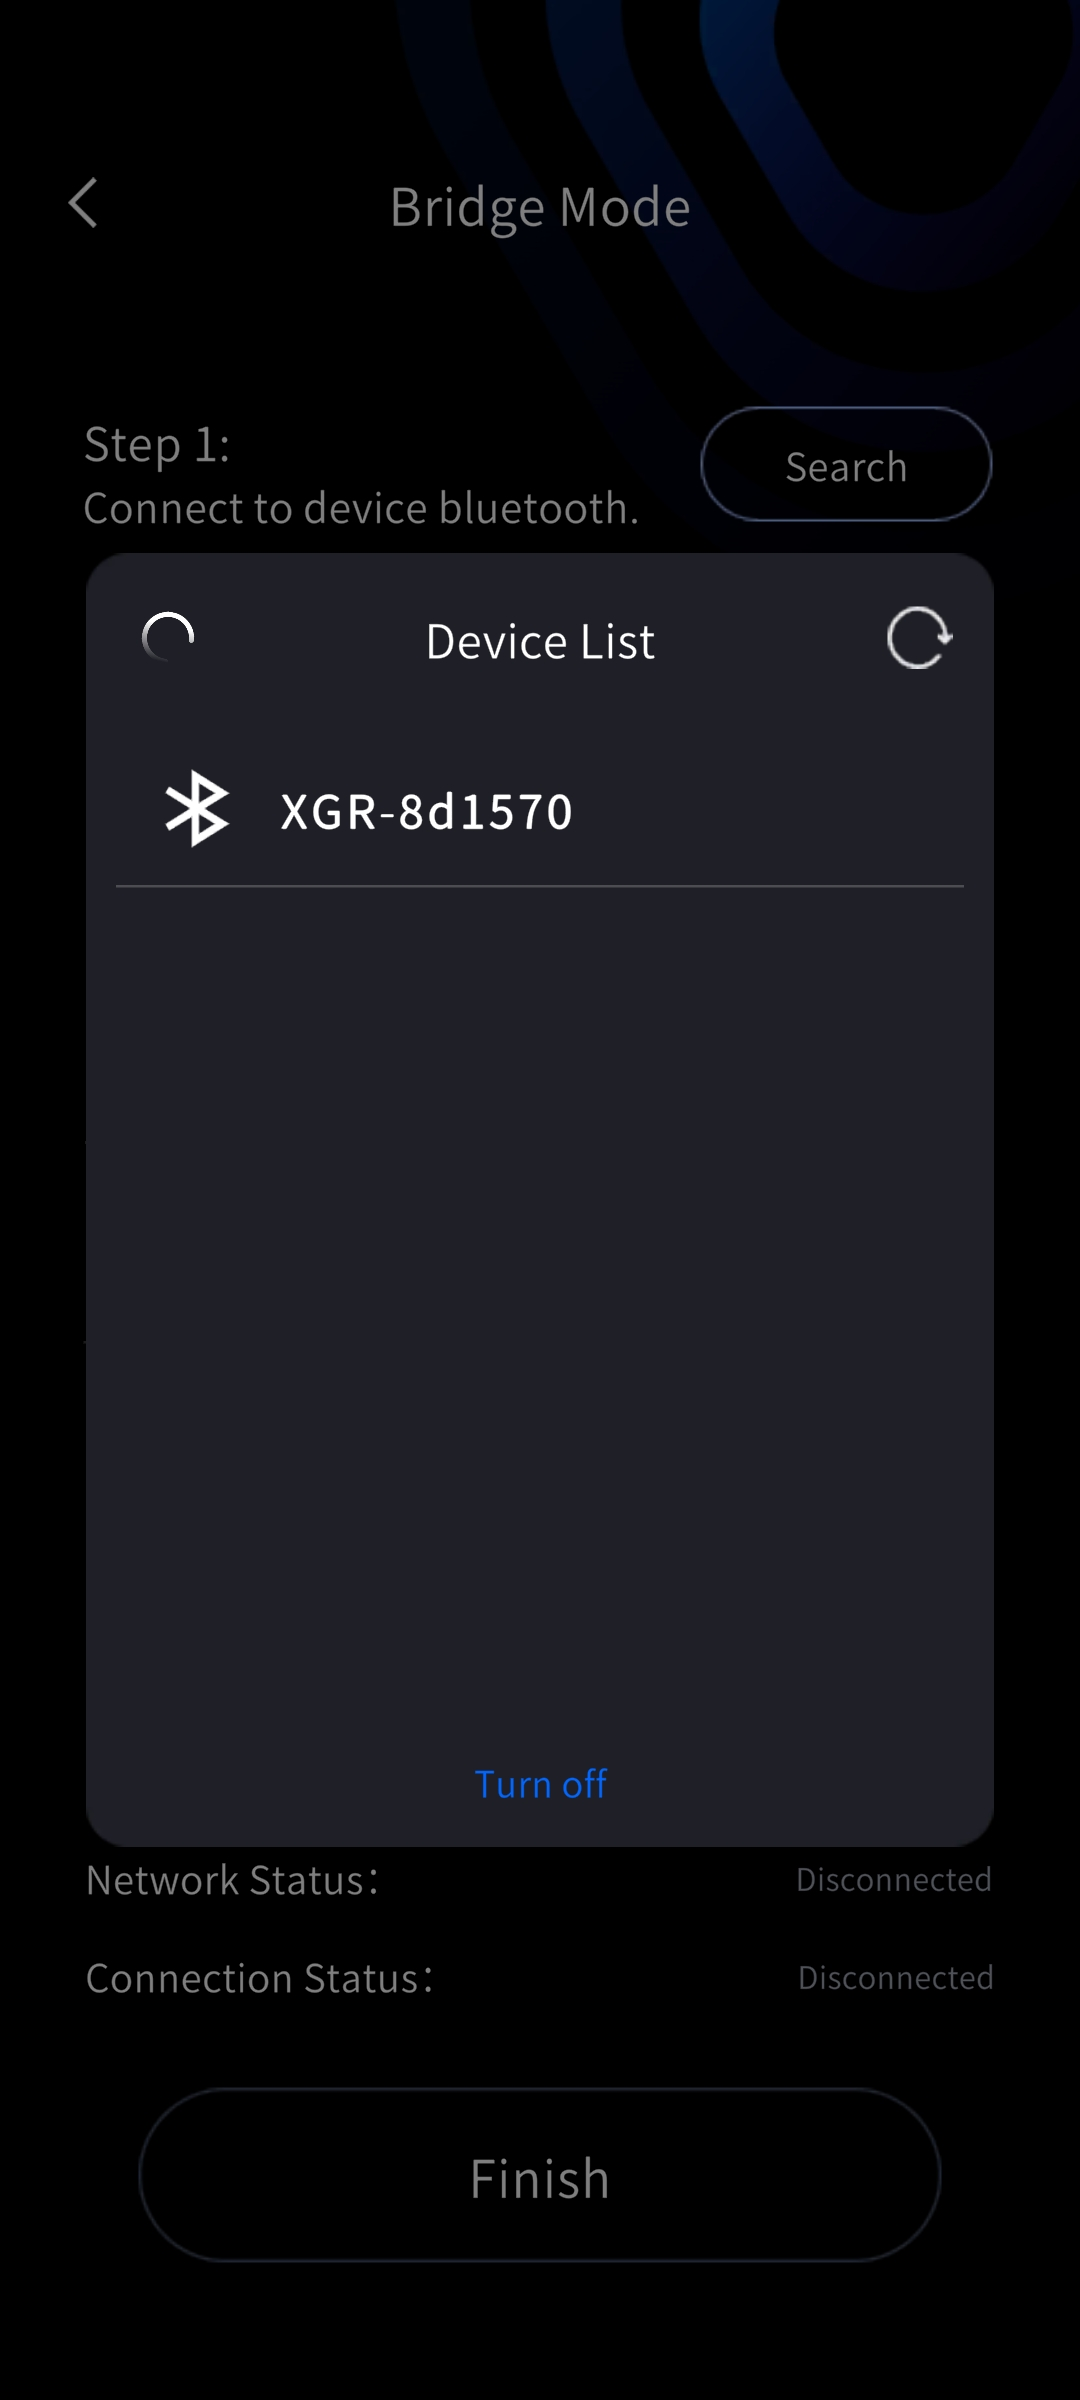
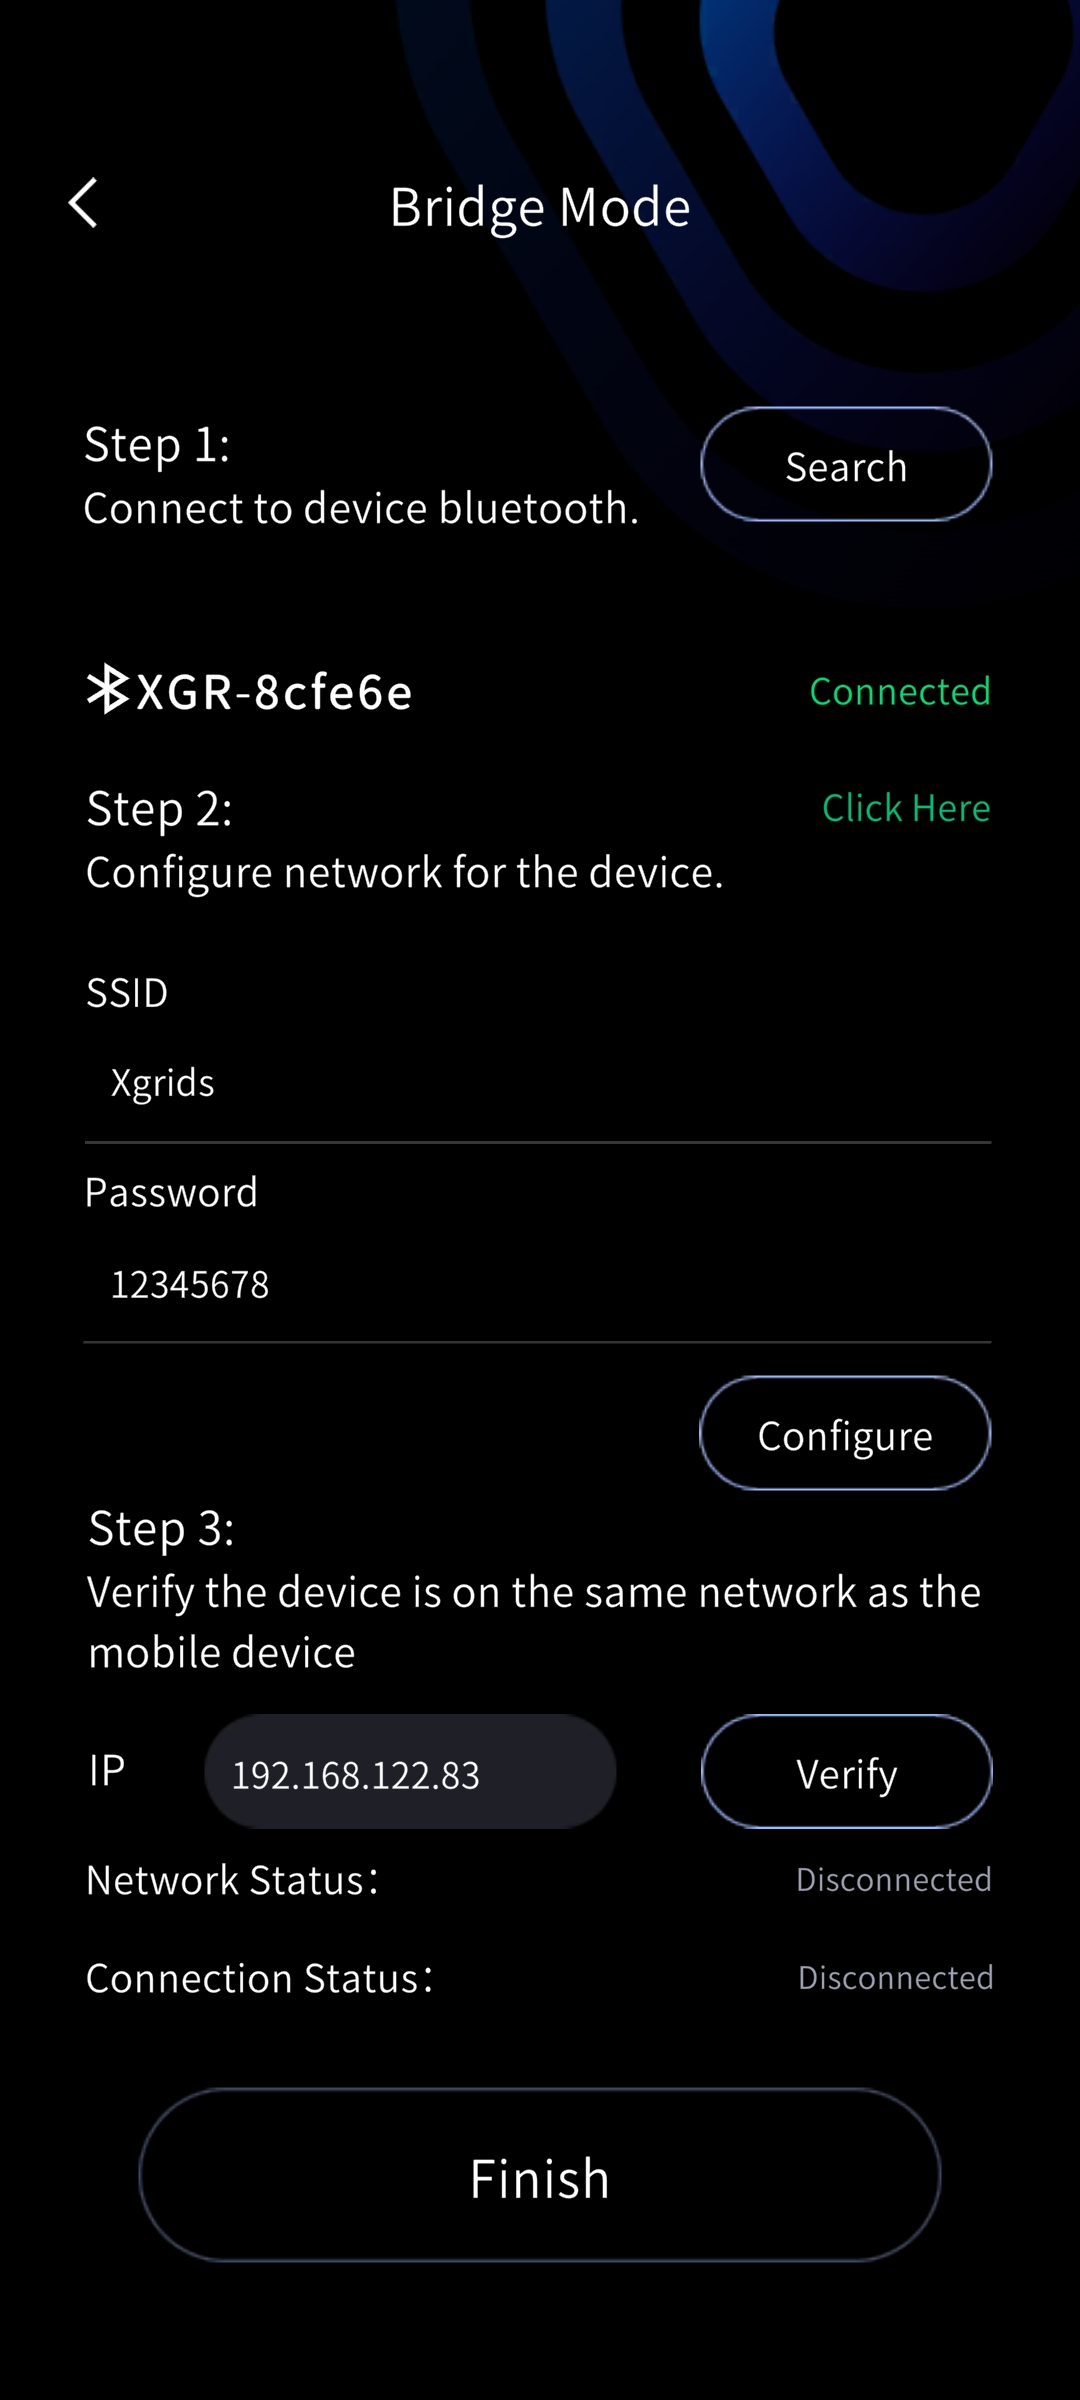
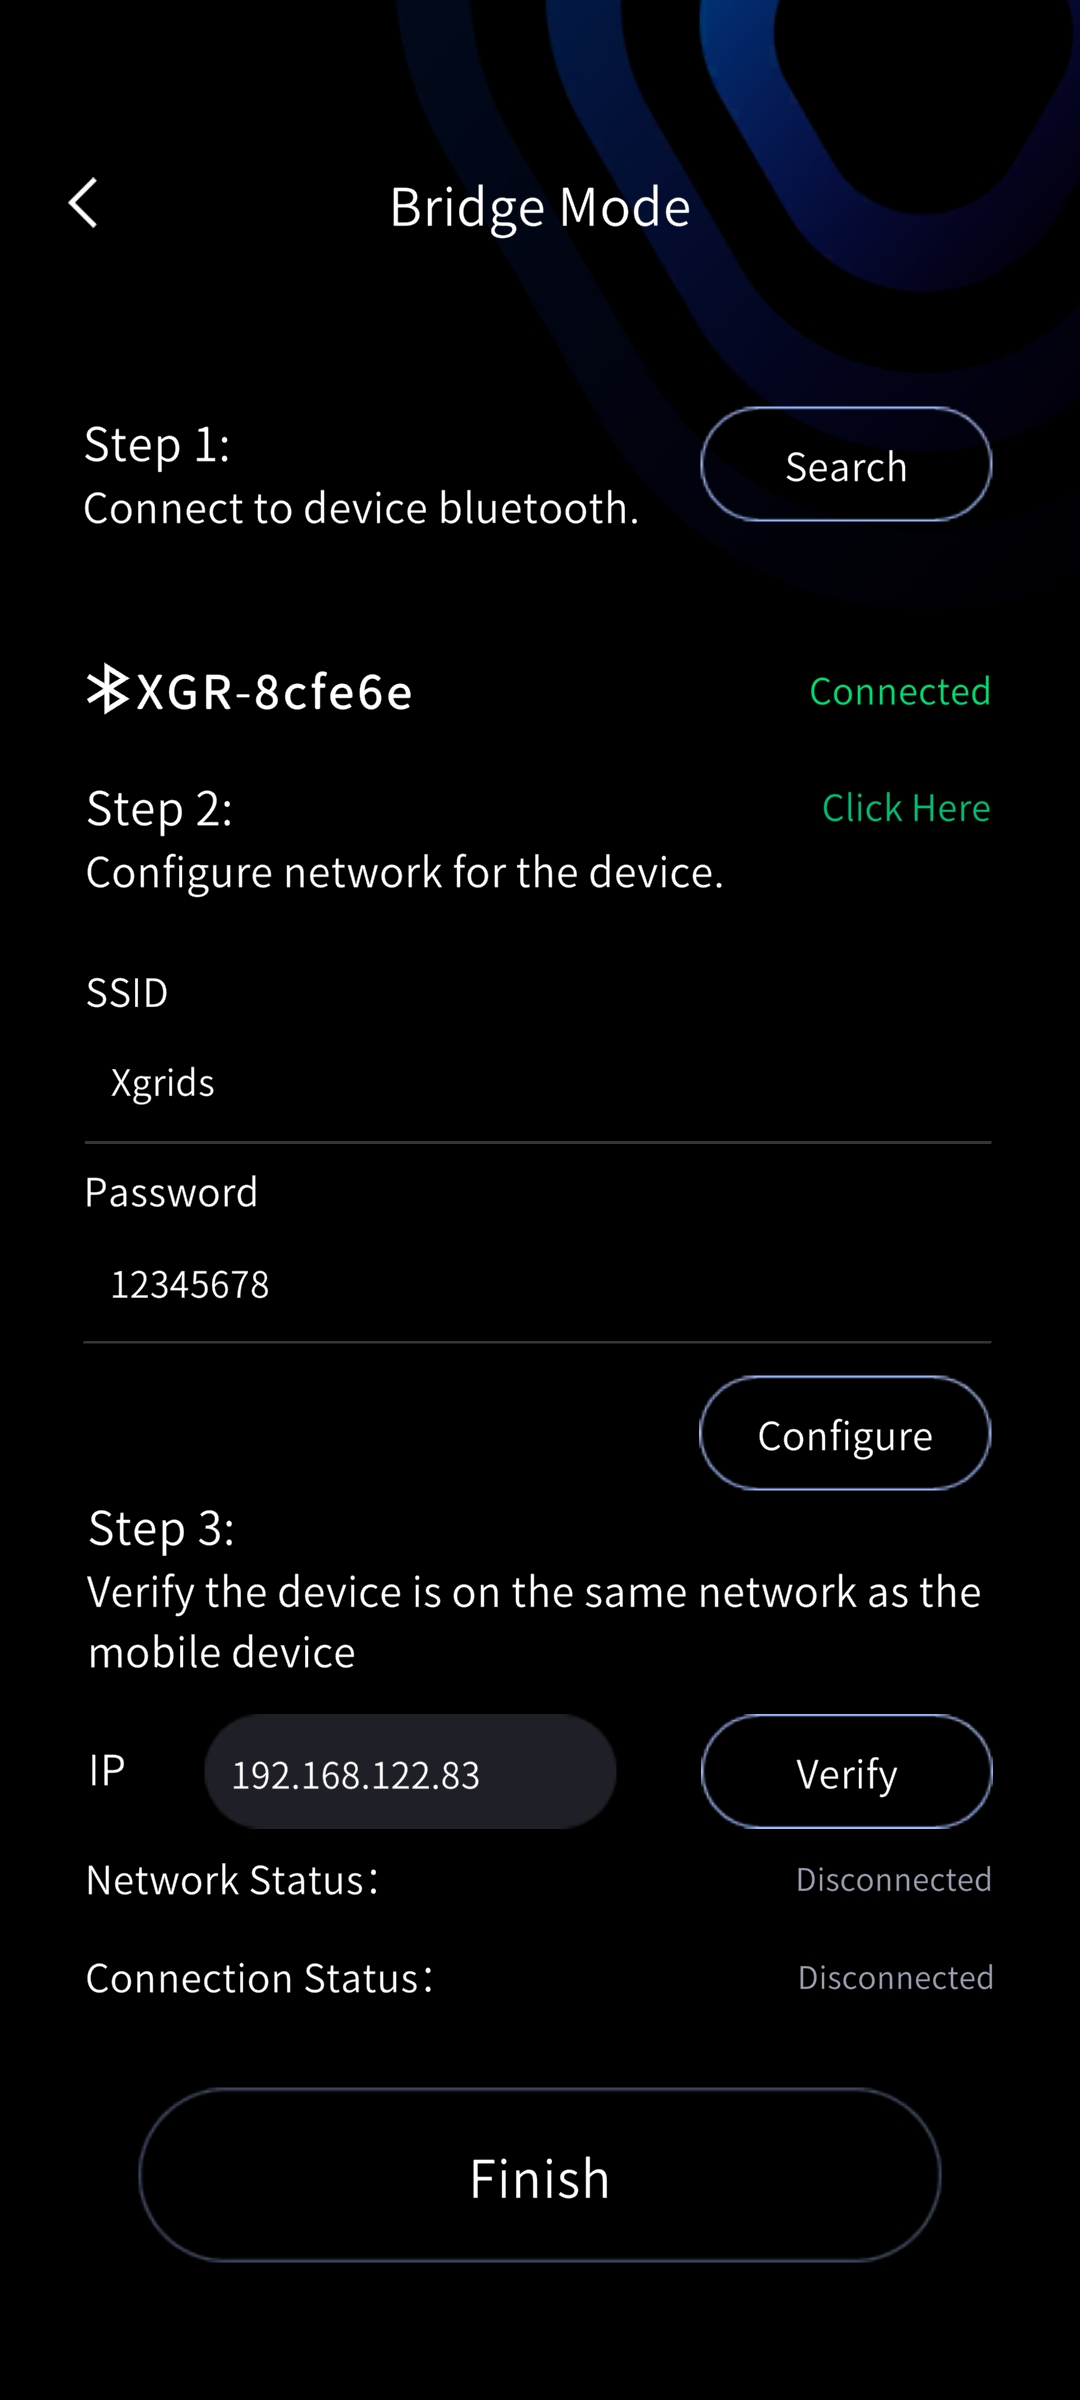
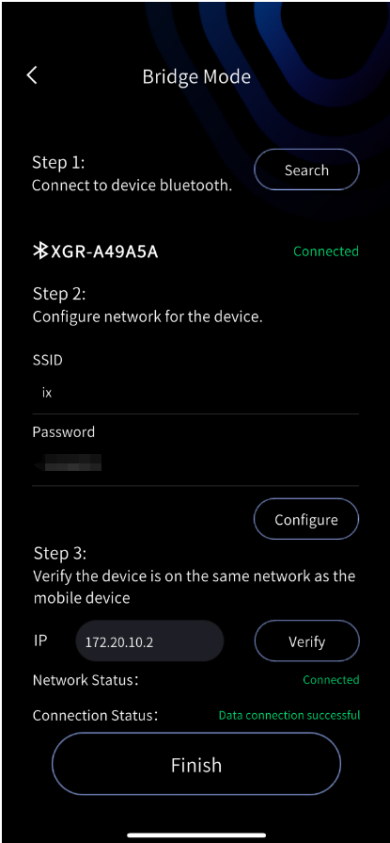
Step 1: search for the device's Bluetooth. Step 2: configure and verify the Wi-Fi network (here the network name and password are the Wi-Fi credentials, not the phone hotspot). After the Wi-Fi is configured, the IP address is written automatically. After connecting correctly, tap Done to view the basic device information.
iOS version
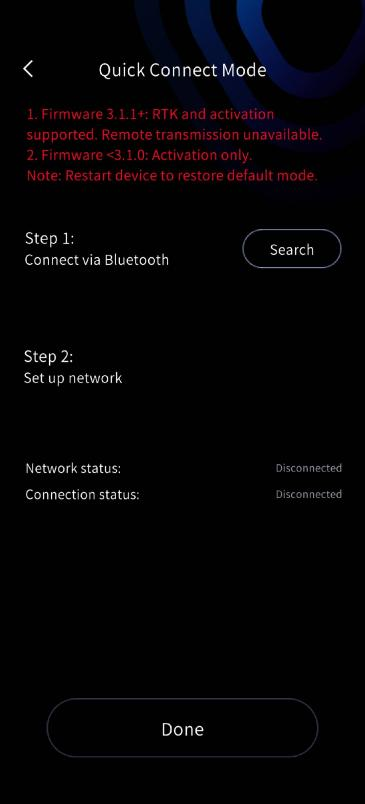
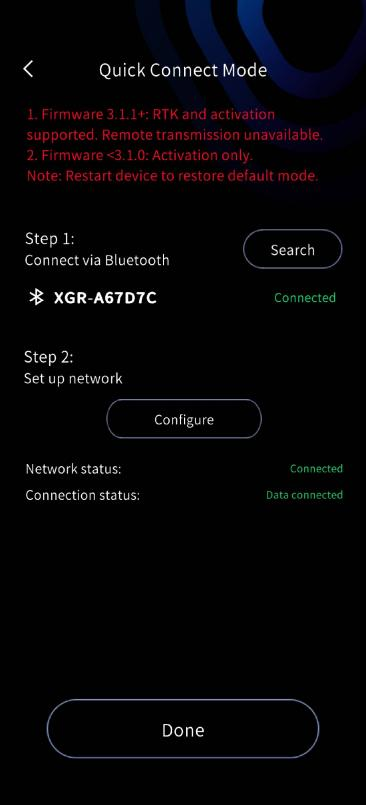
- Quick Connect Mode: With device firmware V3.2.1 and LixelGO V1.3.0, Quick Connect Mode is used by default.
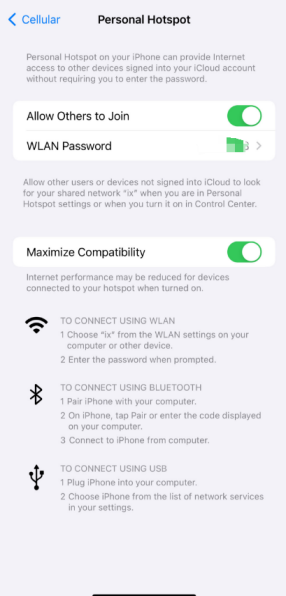
Before using the app, set up your iPhone first. Go to Settings, open General, then About, and change the Name field so it contains only English characters, with no spaces or special characters. This name is used as the phone's hotspot SSID.
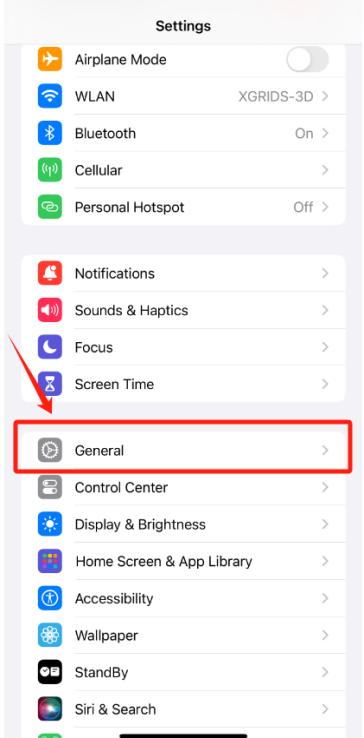
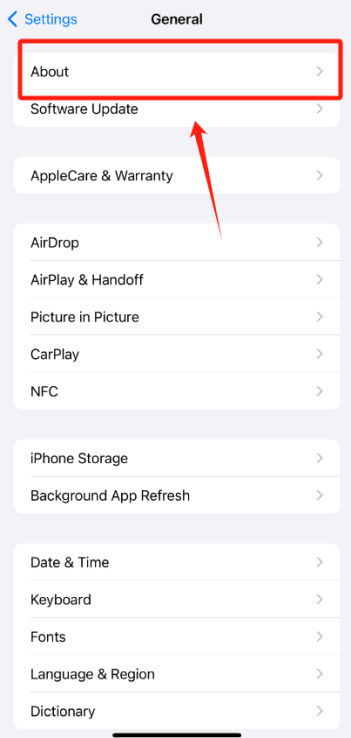
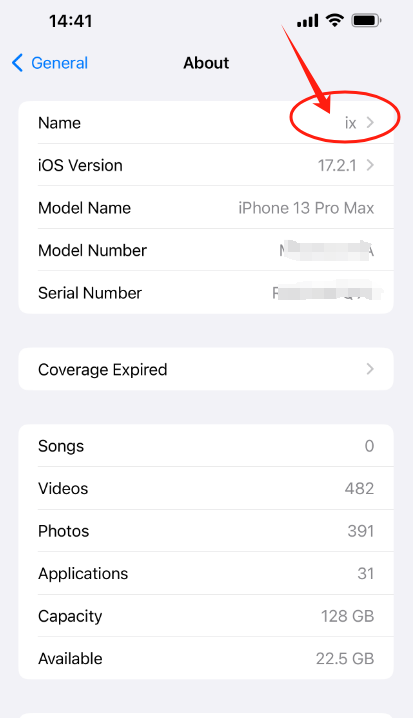
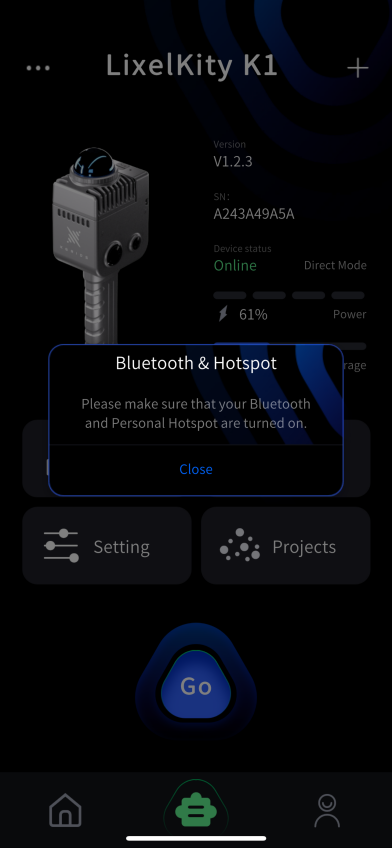
- Direct Connect Mode: Press and hold the power button to turn on the device; the device has started successfully when the indicator changes from blue to green. Tap Add Device, make sure Bluetooth and your hotspot are turned on, and follow the steps.
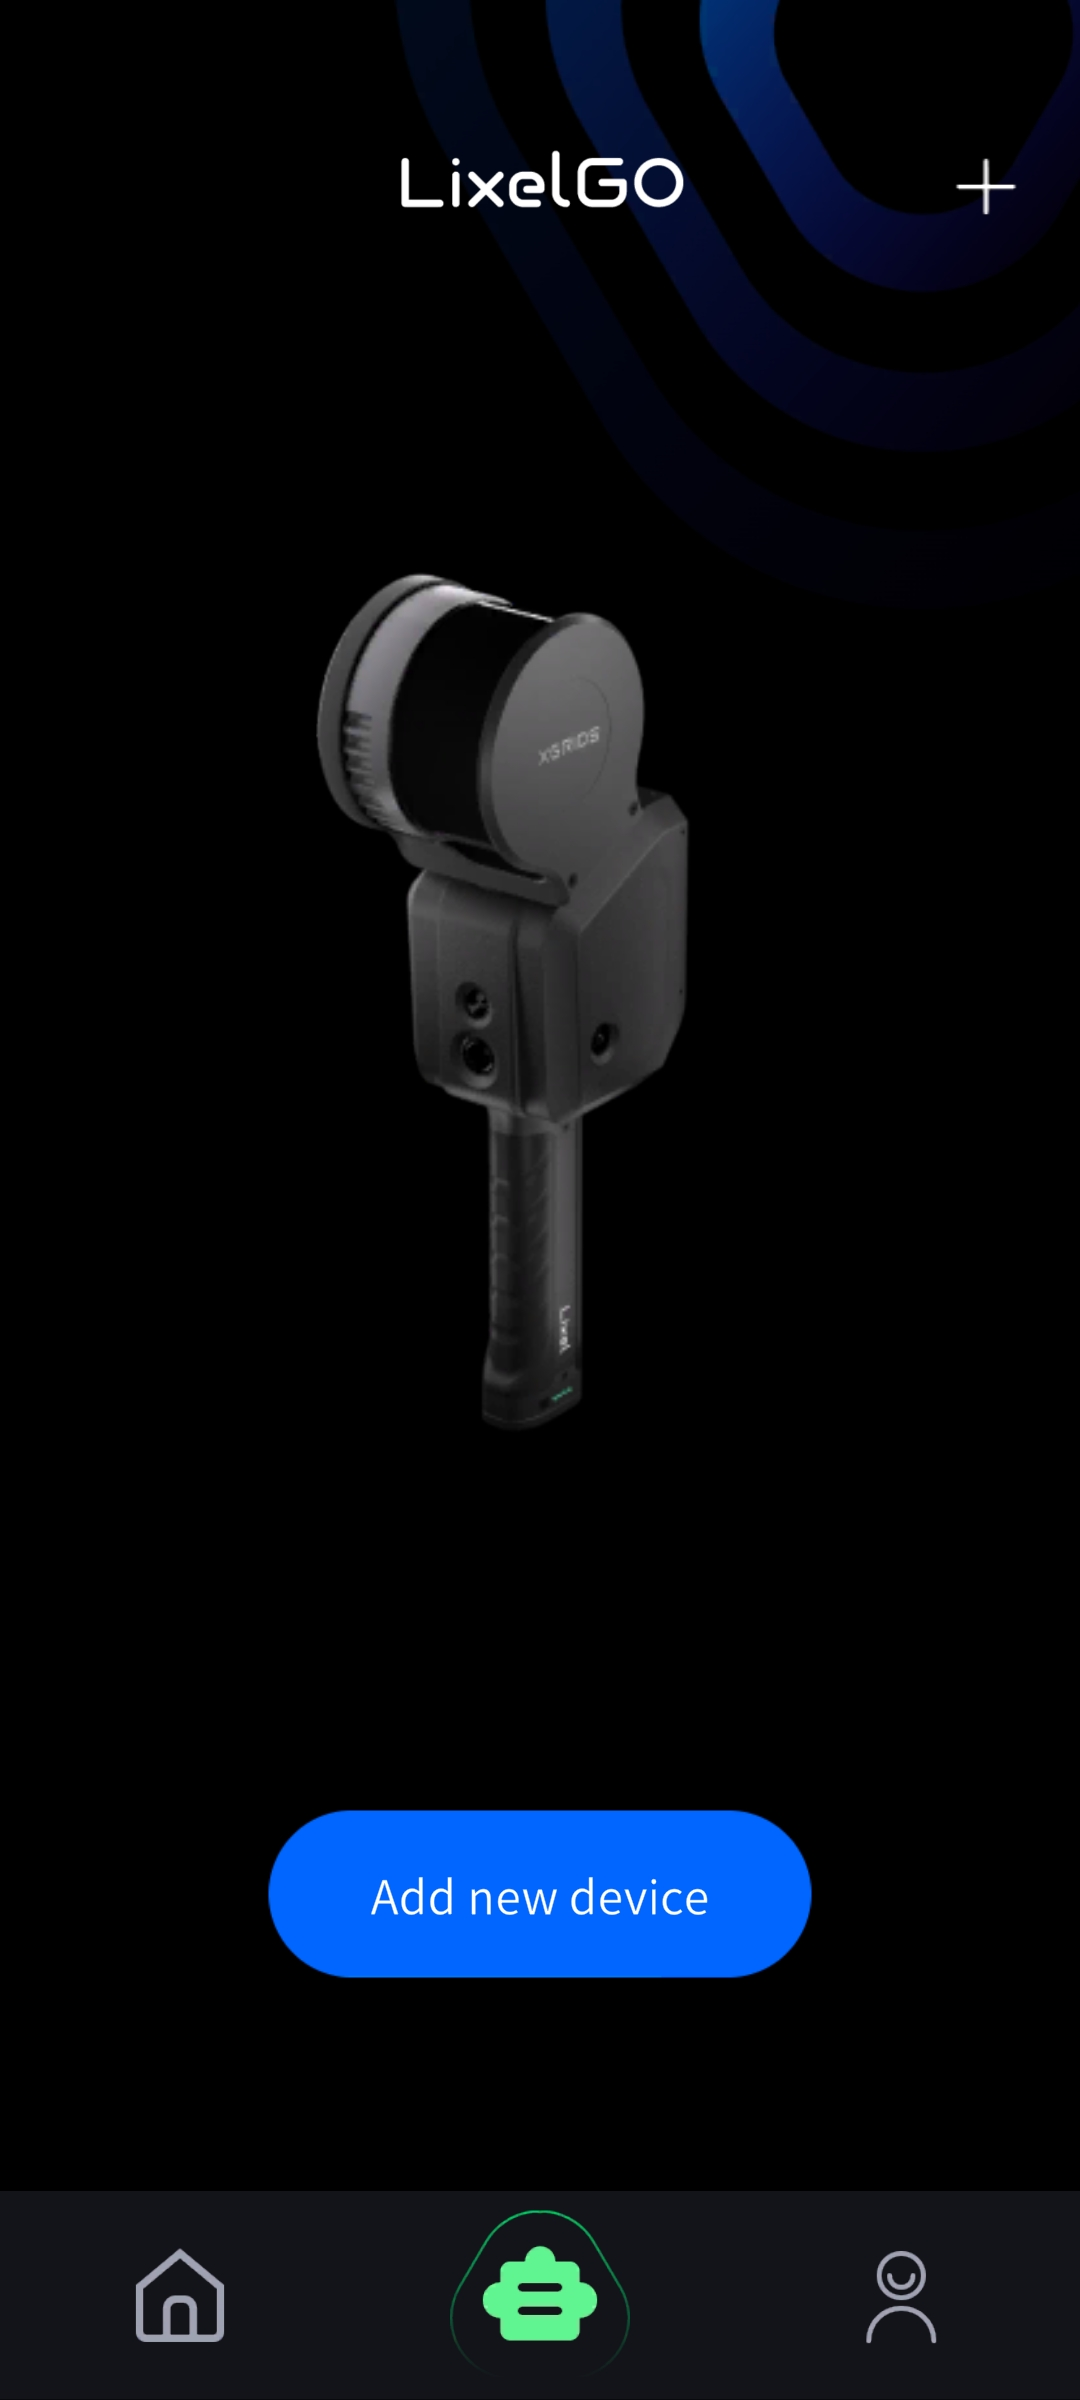
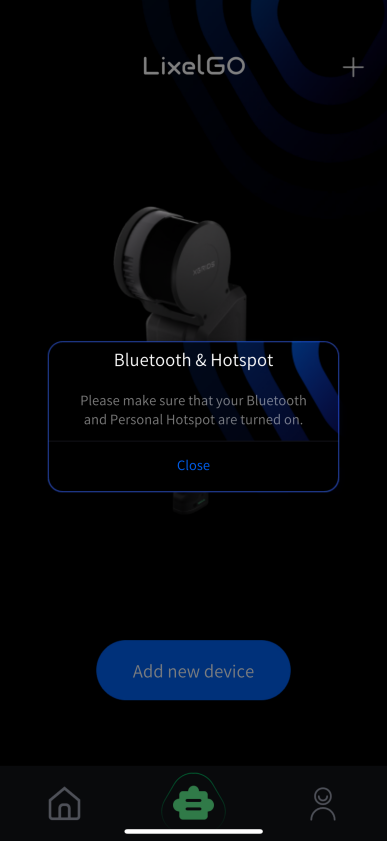
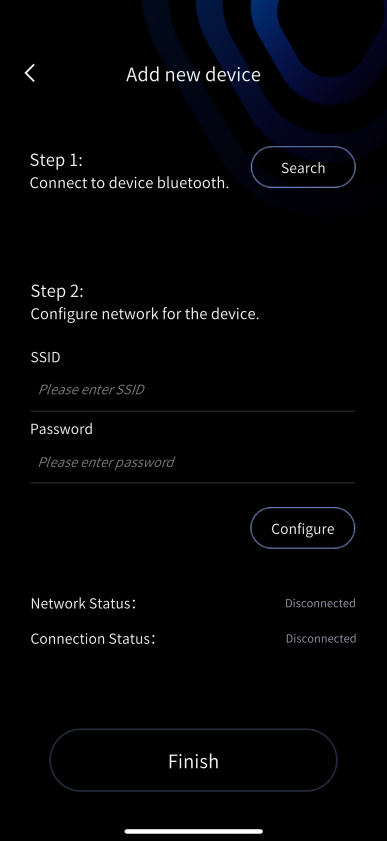
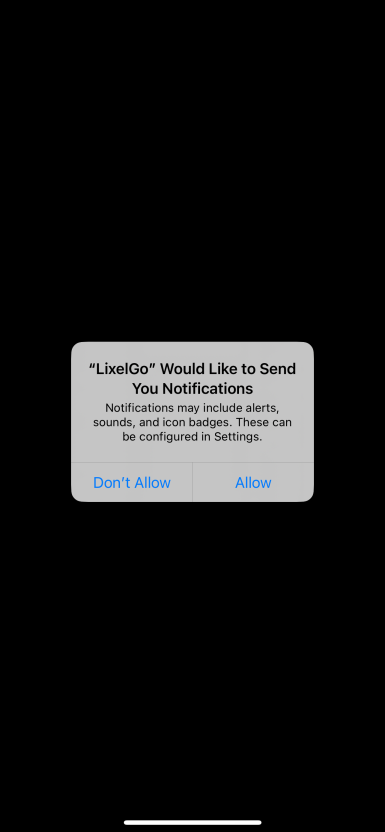
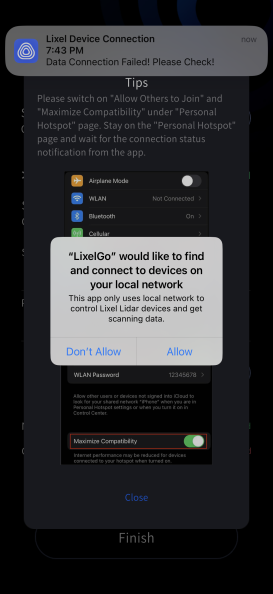
First-time connection: tap Allow for notifications, select "WLAN & Cellular" when choosing wireless data usage, and tap Allow for Bluetooth.
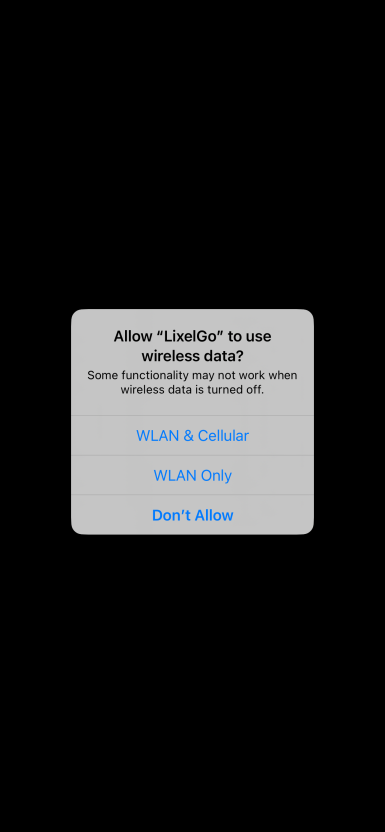
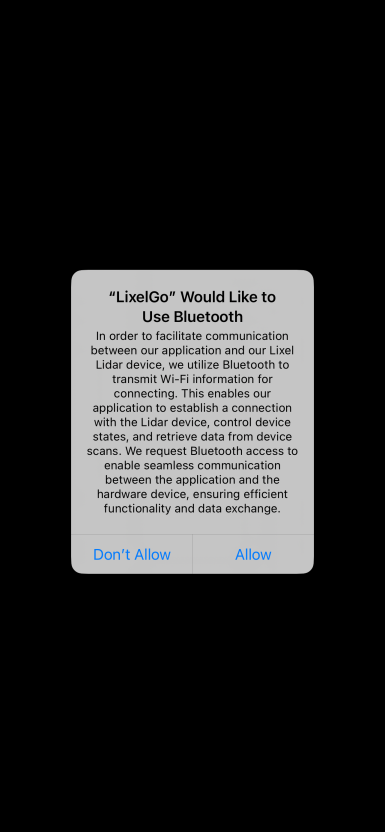
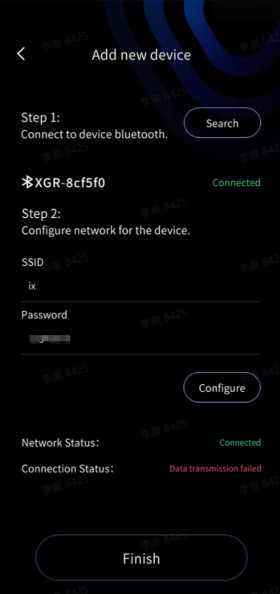
Turn on your phone's Bluetooth, then search for and connect to the device's Bluetooth. Next, configure the network for the device: enter your iPhone's device name and hotspot password (keep them as simple as possible), tap Configure, and read the tips carefully.
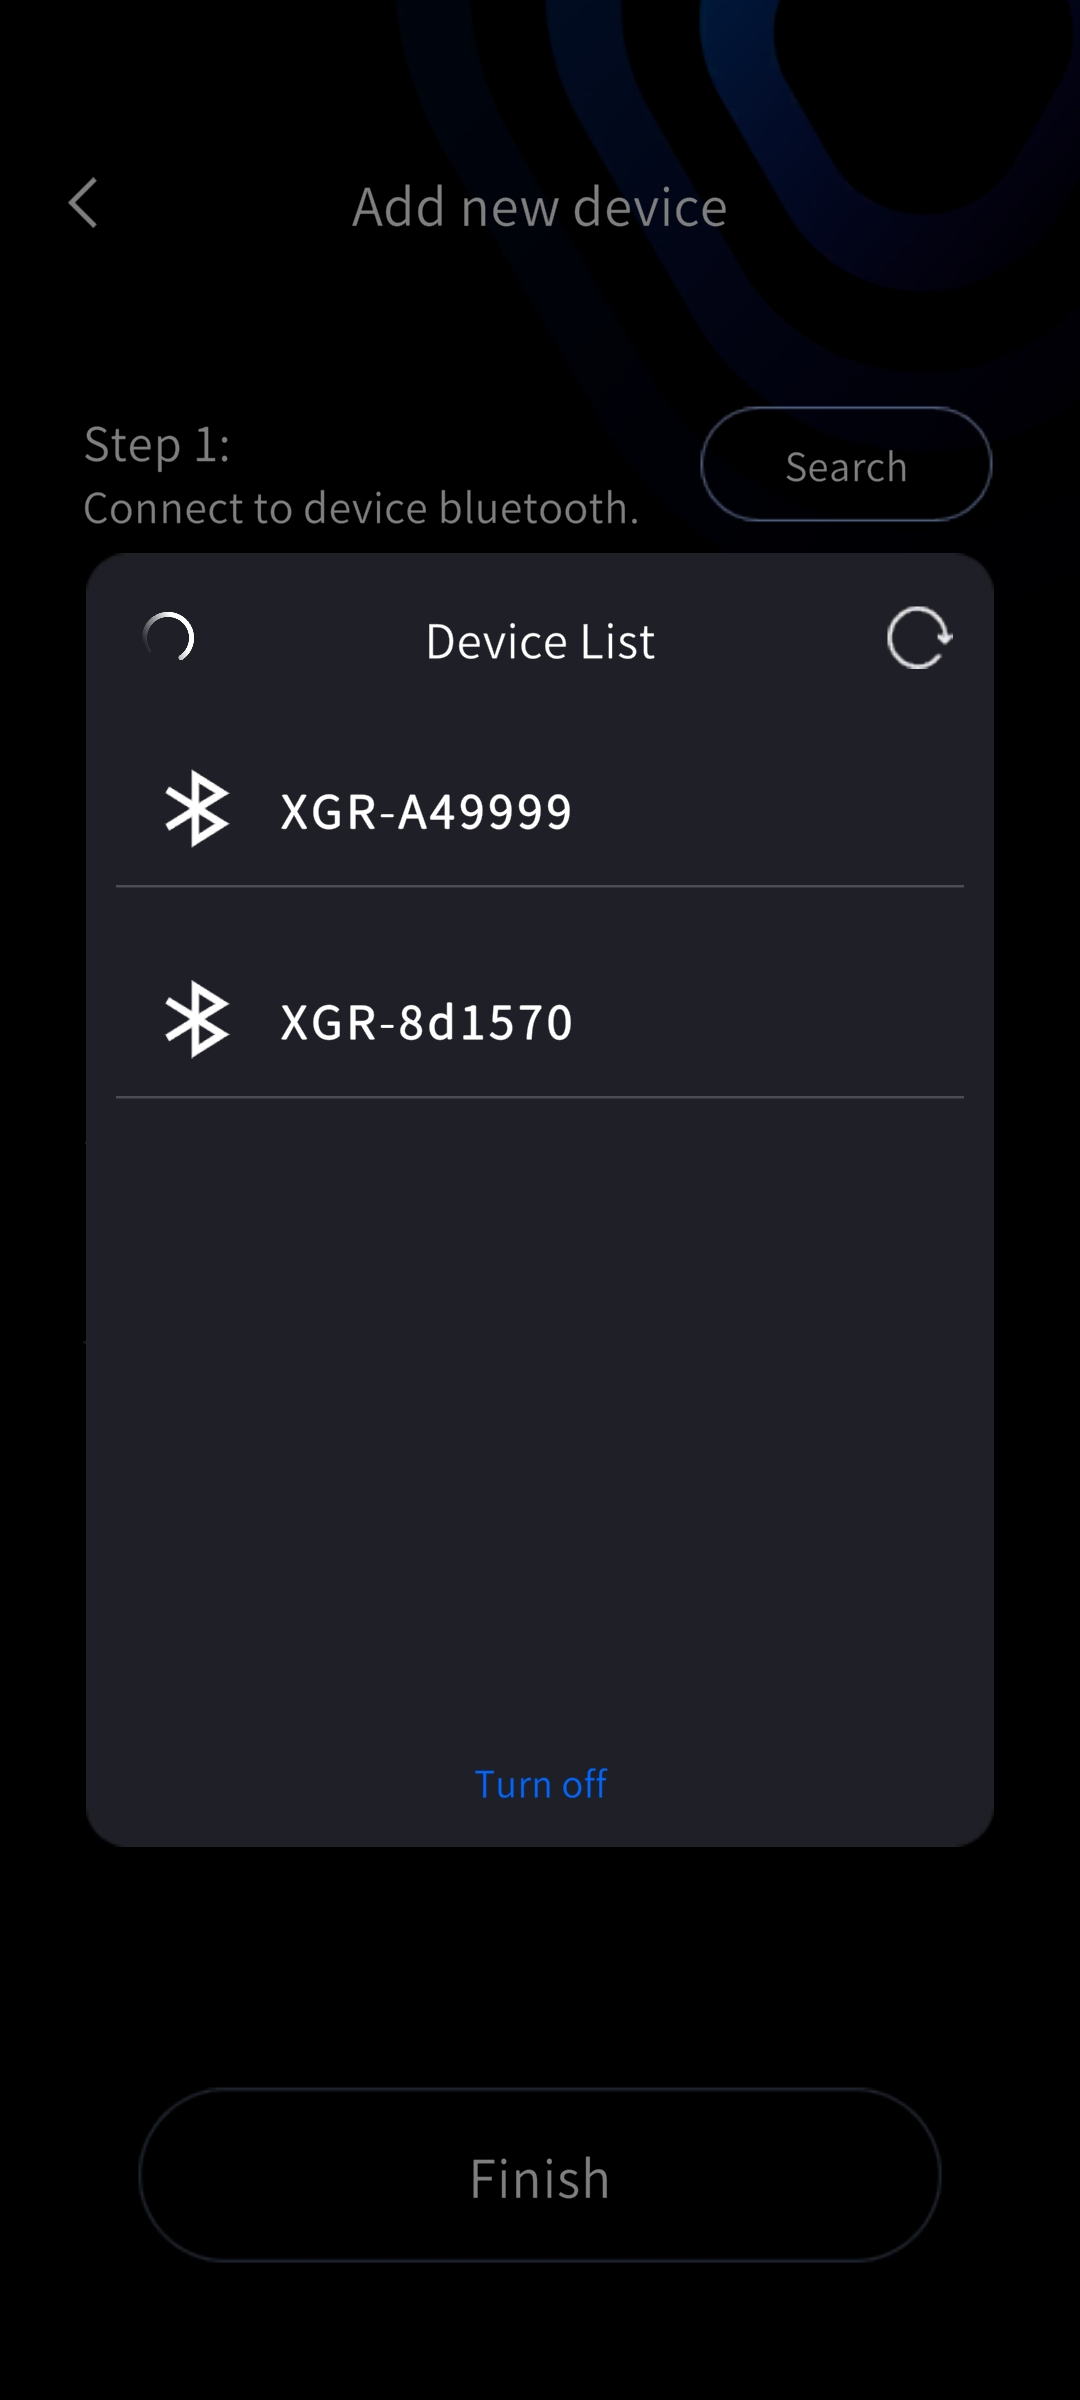
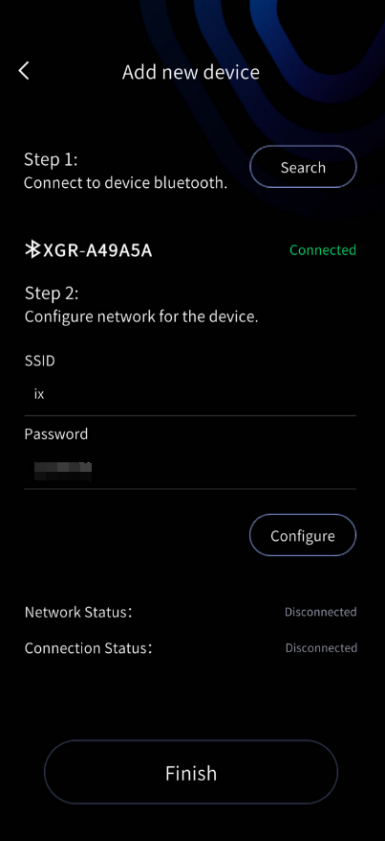
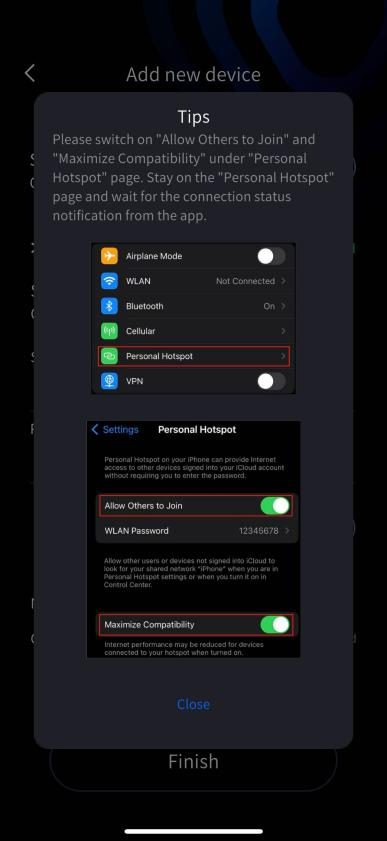
Note: When enabling the hotspot, cellular data (mobile network) must be turned on. Do not switch Wi-Fi on or off while setting up the hotspot, because changing the Wi-Fi connection status affects the hotspot. Make sure "Allow Others to Join" is turned on so devices can connect, and set the hotspot to maximum compatibility for a successful connection. Most importantly, stay on the "Personal Hotspot" page and watch the notification messages; only after you see "Data Connection Successful!" should you return to the LixelGO app.
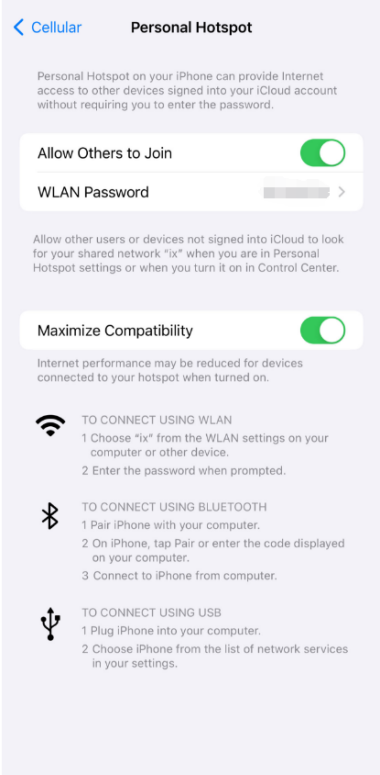
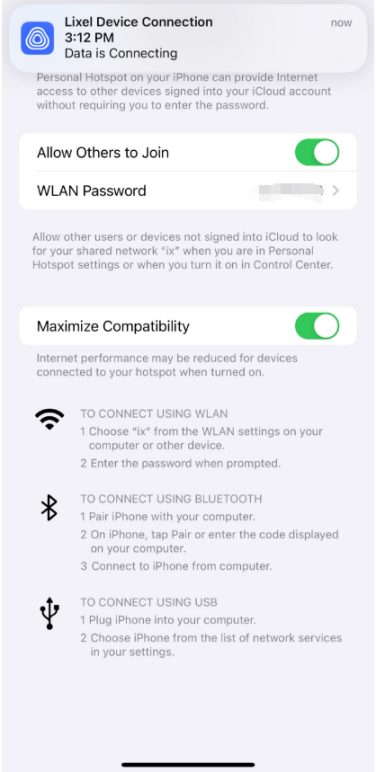
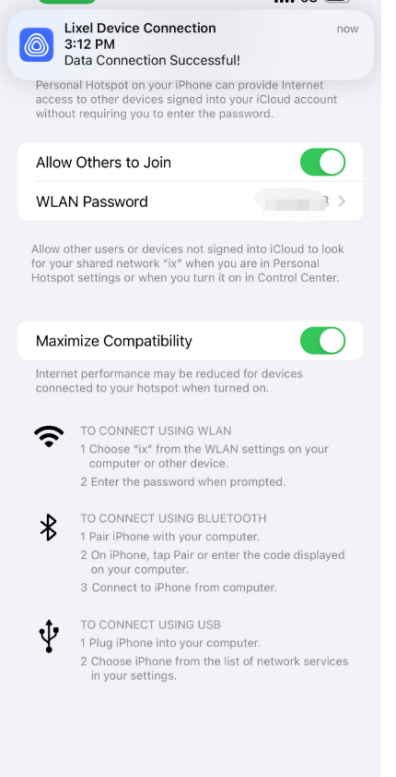
During the first connection, the data connection may fail because of permissions. After returning to LixelGO, tap Configure to trigger the permission dialog again; tap Allow to establish the connection immediately.
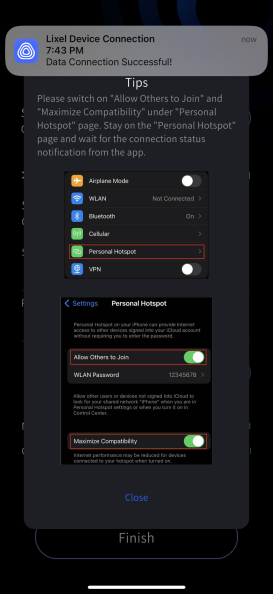
When both the network connection status and the data connection status show success, tap Done to view the basic information of the connected device.
- Bridge Mode (connect the device and phone to the same LAN): Note: in this mode, if the scanner and phone leave the Wi-Fi network, data transmission is interrupted, but the device continues recording normally. Tap the plus sign in the top-right corner, select Bridge Mode, enter the screen, and follow the steps.
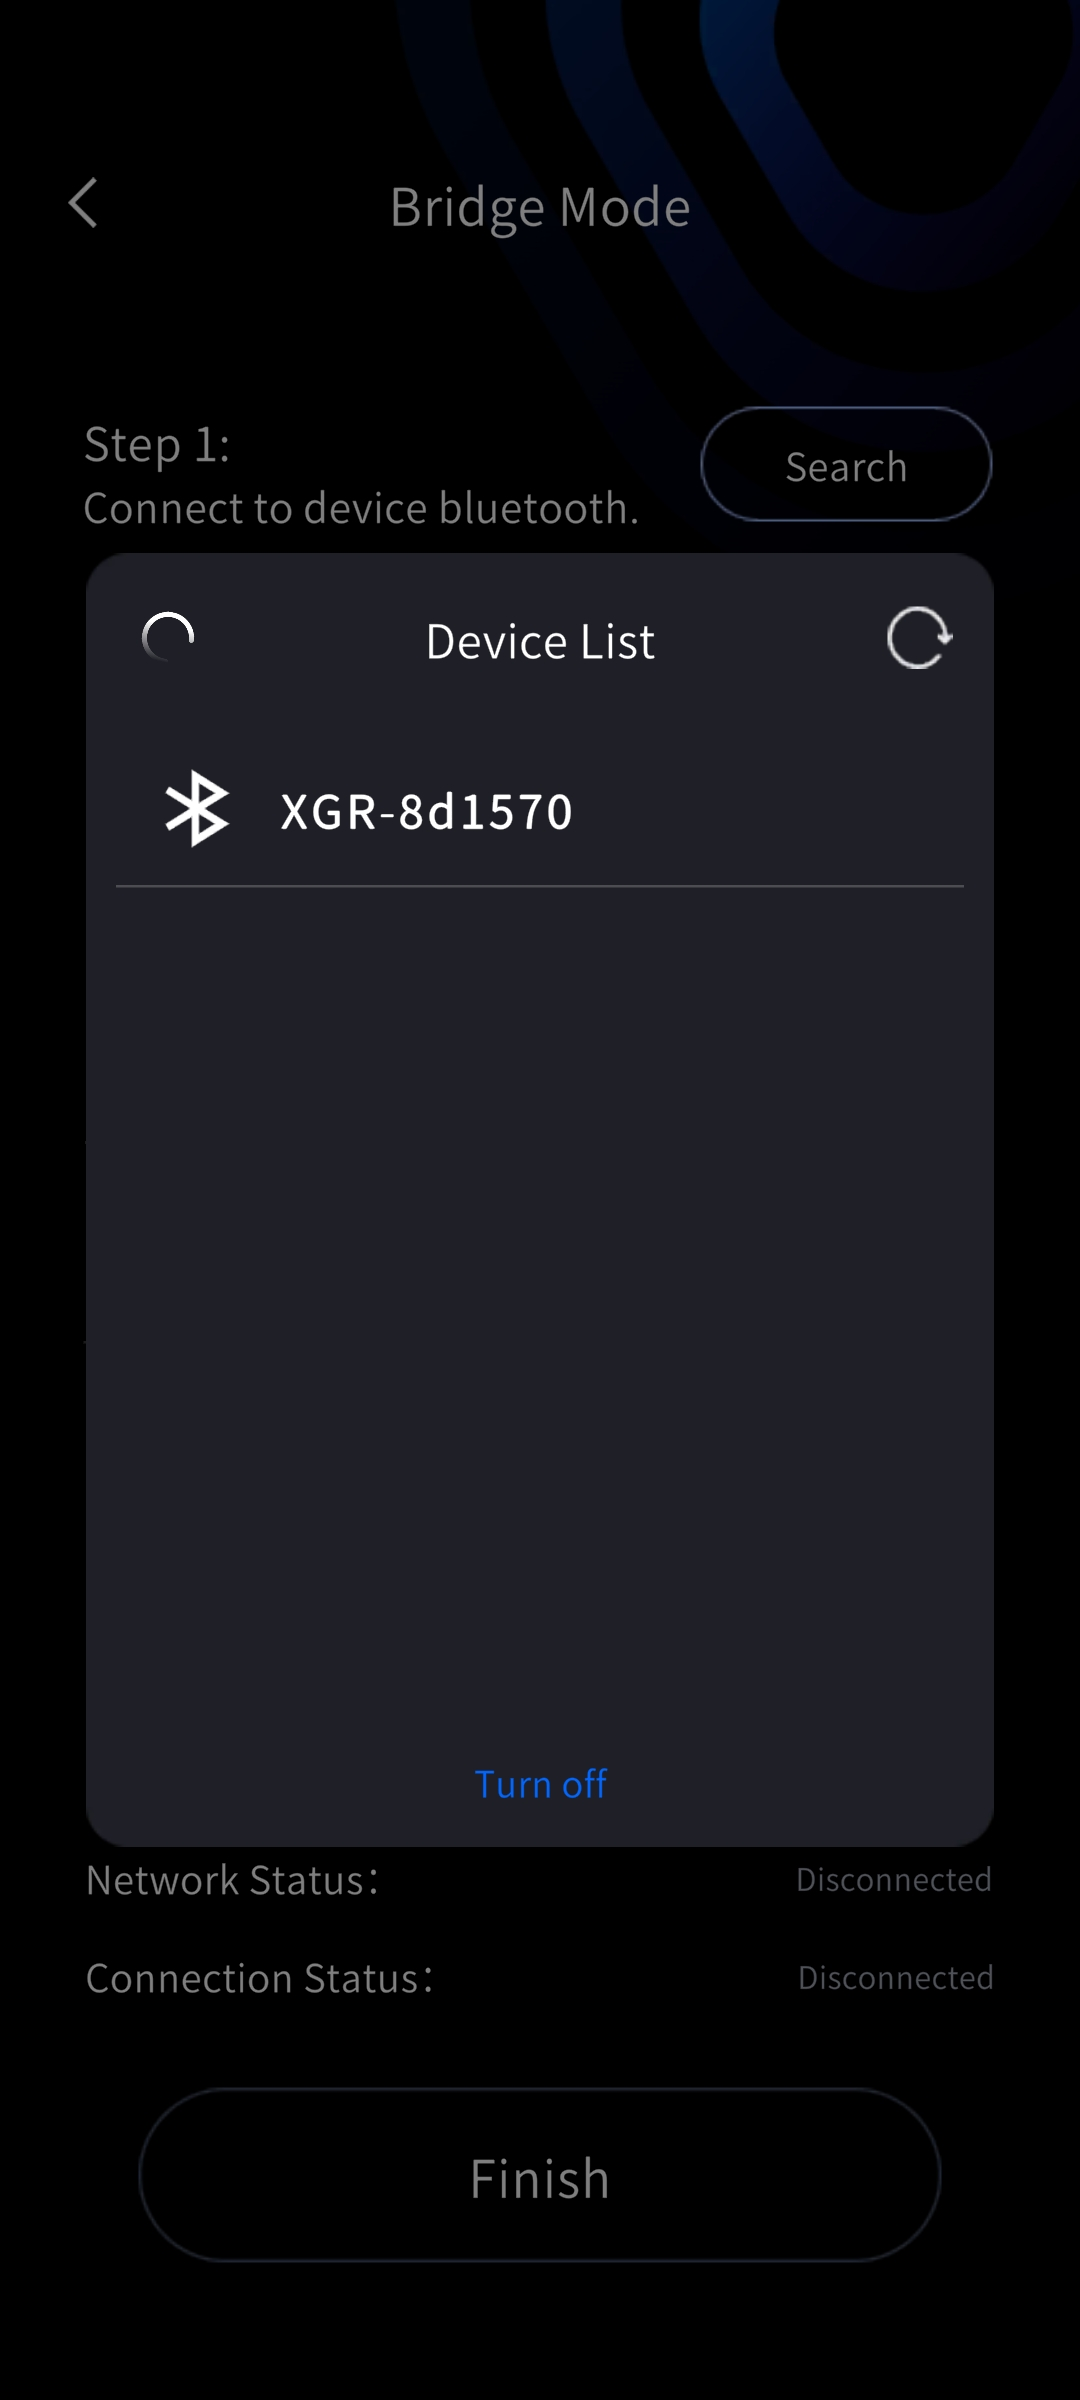
Step 1: search for the device's Bluetooth. Step 2: configure and verify the Wi-Fi network (here the network name and password are the Wi-Fi credentials, not the phone hotspot). After the Wi-Fi is configured, the IP address is written automatically. After connecting correctly, tap Done to view the basic device information.
New Quick Connect Mode:
Device firmware above 3.1.0 supports RTK and activation, but not remote transmission.
Device firmware below 3.1.0 supports activation, but not RTK or remote transmission.
You must power the device off and on again to restore the default mode.
5. Device management
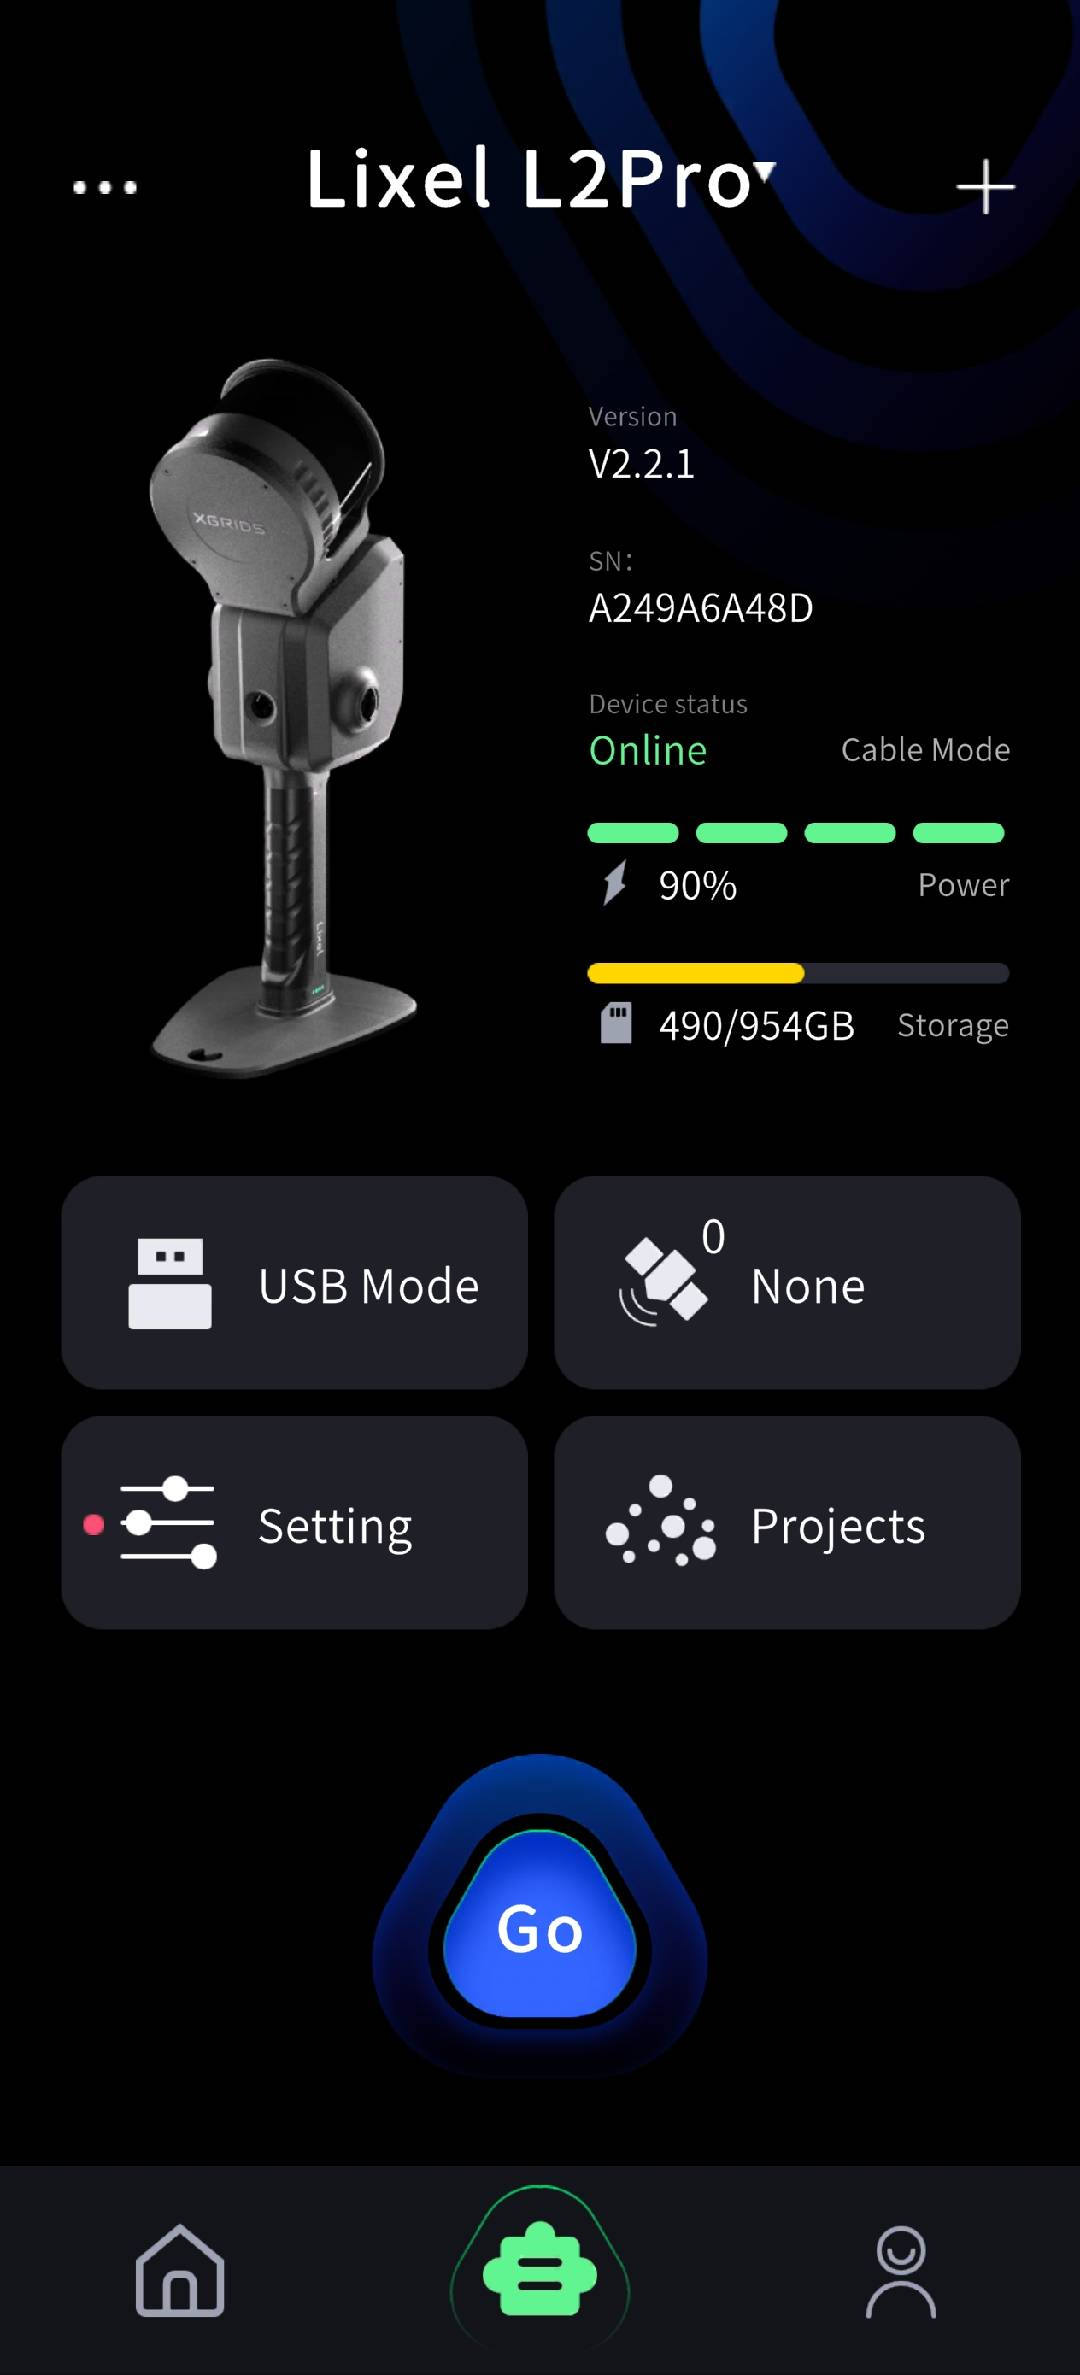
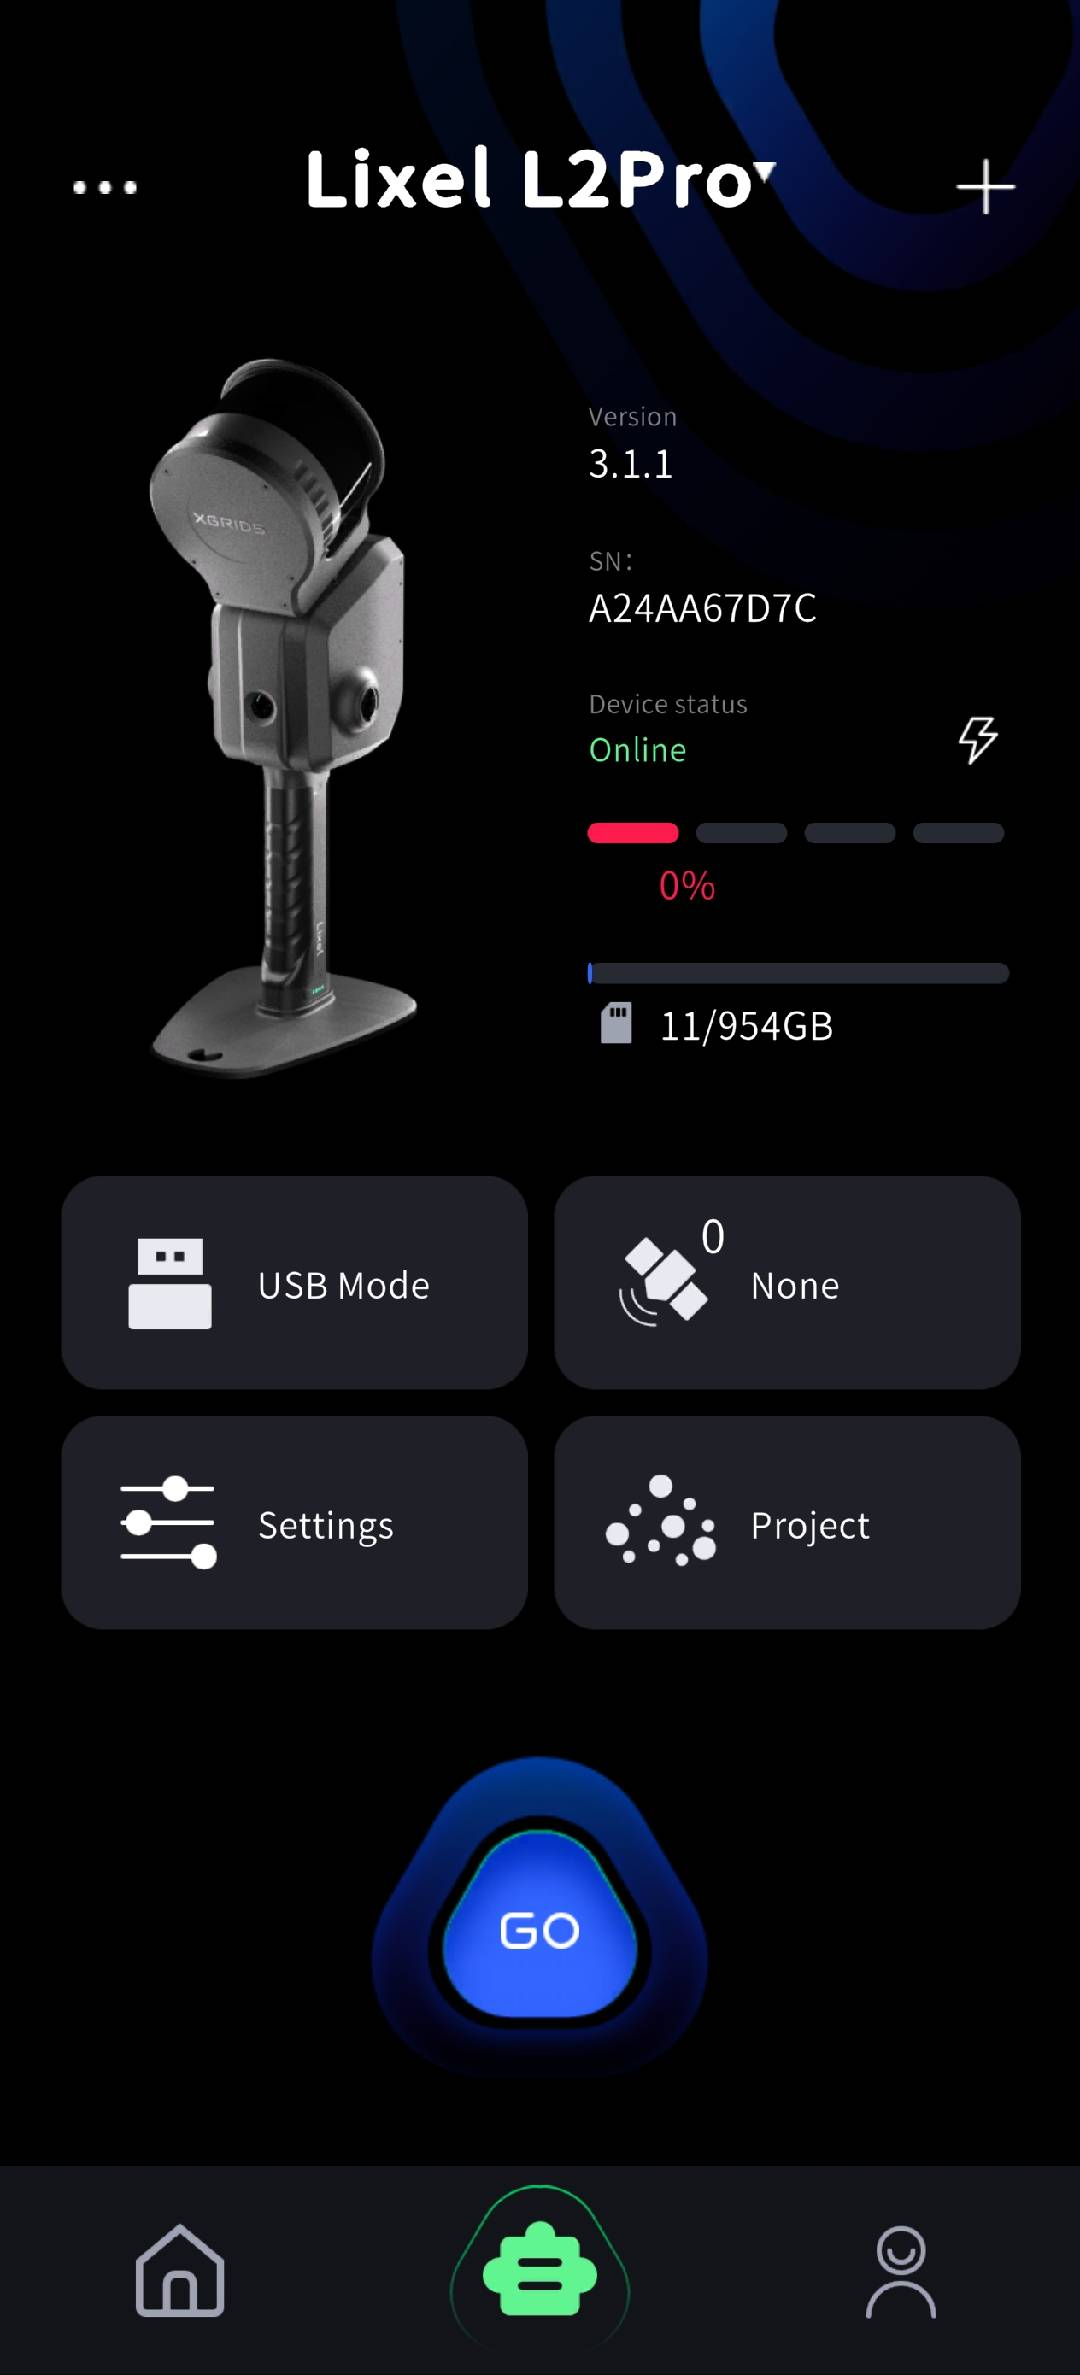
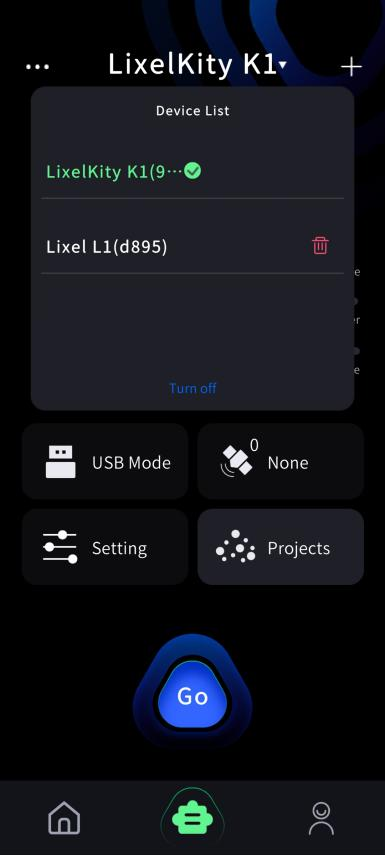
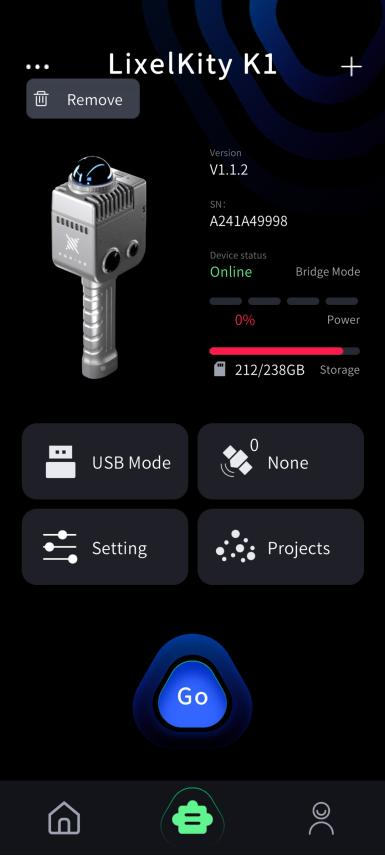
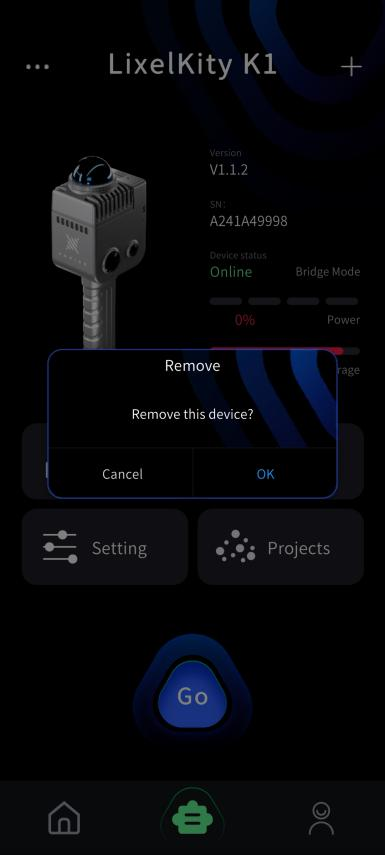
On the device screen, pull down the device name at the top of the screen to manage the connected device. Tap Remove Device to remove the connection to that device.
6. Device activation
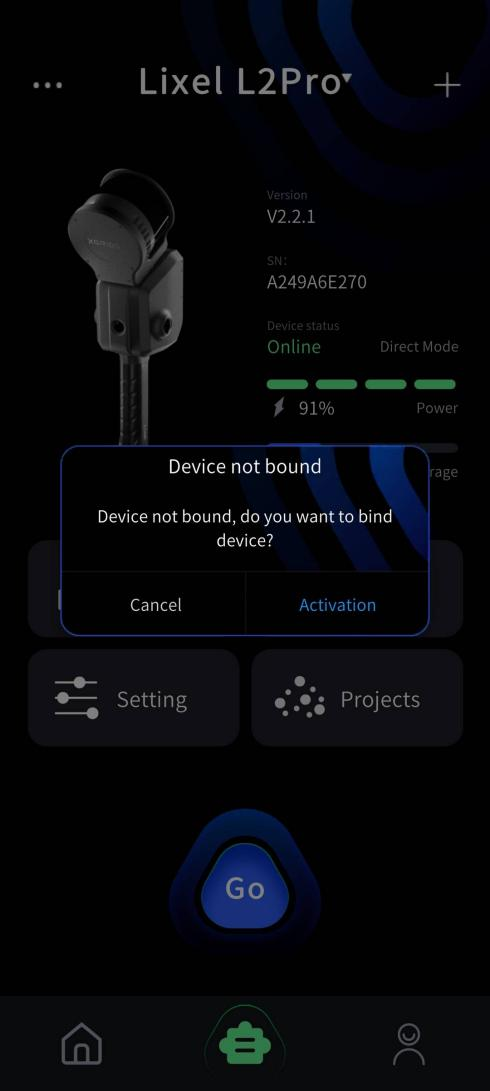
Tap "GO", confirm device activation, and bind and activate the device.