
Relighting 3DGS with a LixelStudio Mesh
The plugin supports hybrid relighting: pair 3DGS with a mesh of matching scale so the 3DGS picks up a lighting response close to that of a mesh, and can cast self-shadows.
The result depends on the geometric accuracy of the mesh sitting under the 3DGS. The closer the mesh aligns with the 3DGS, the more convincing the lighting response and shadows.
For the underlying mechanism and parameters, see Proxy Mesh. For the tradeoffs between normal modes, see Normals and Lighting.
Which Mesh to Use
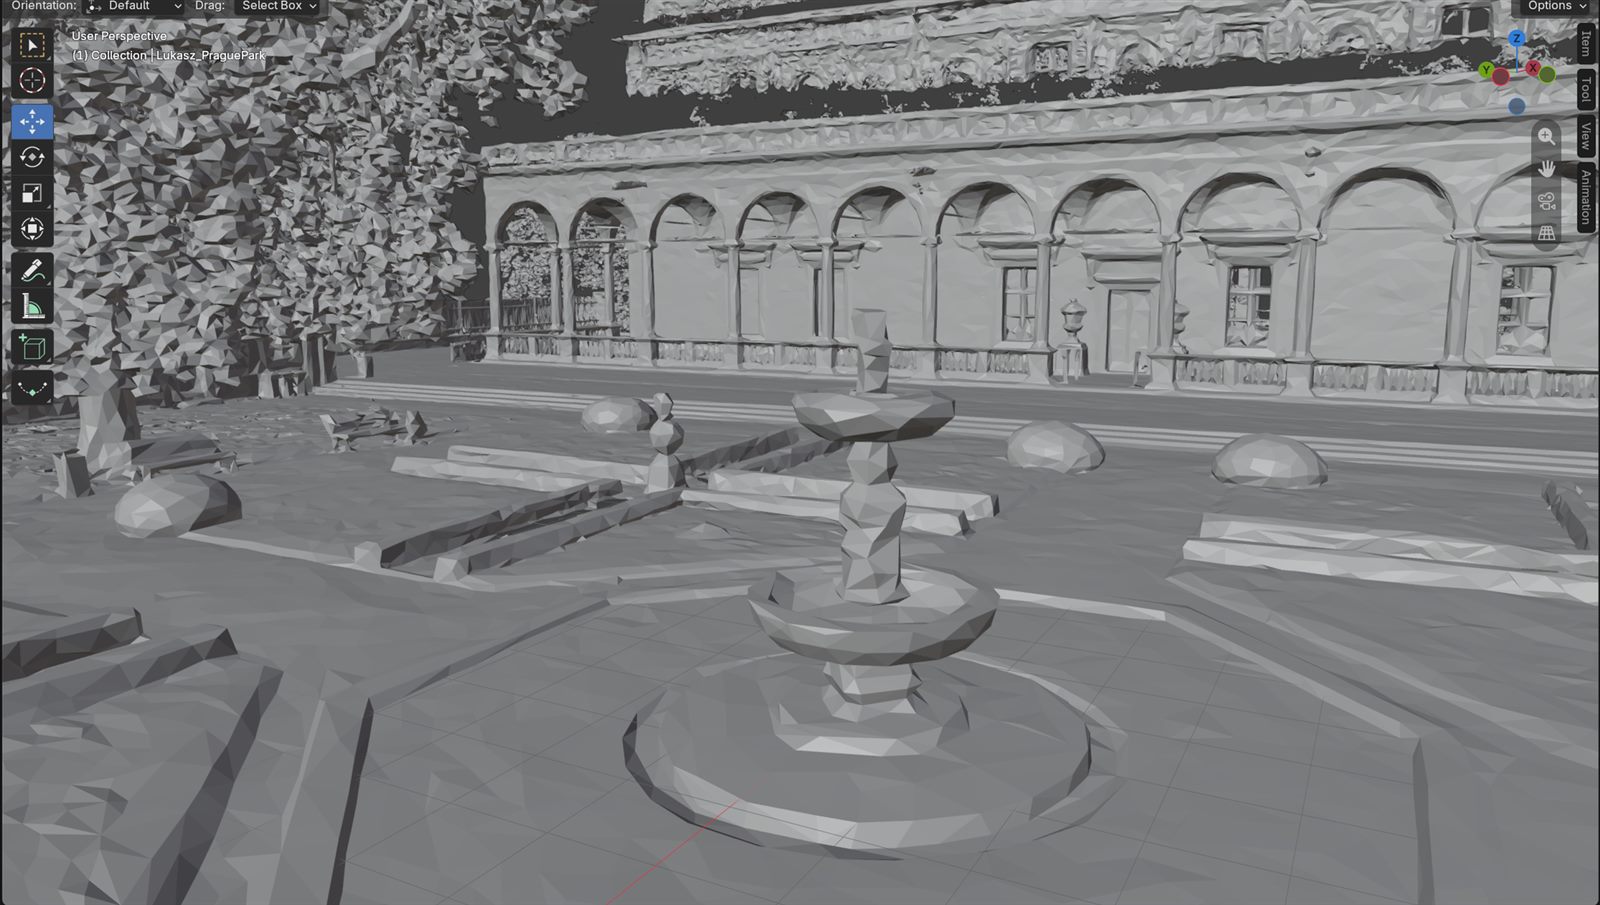
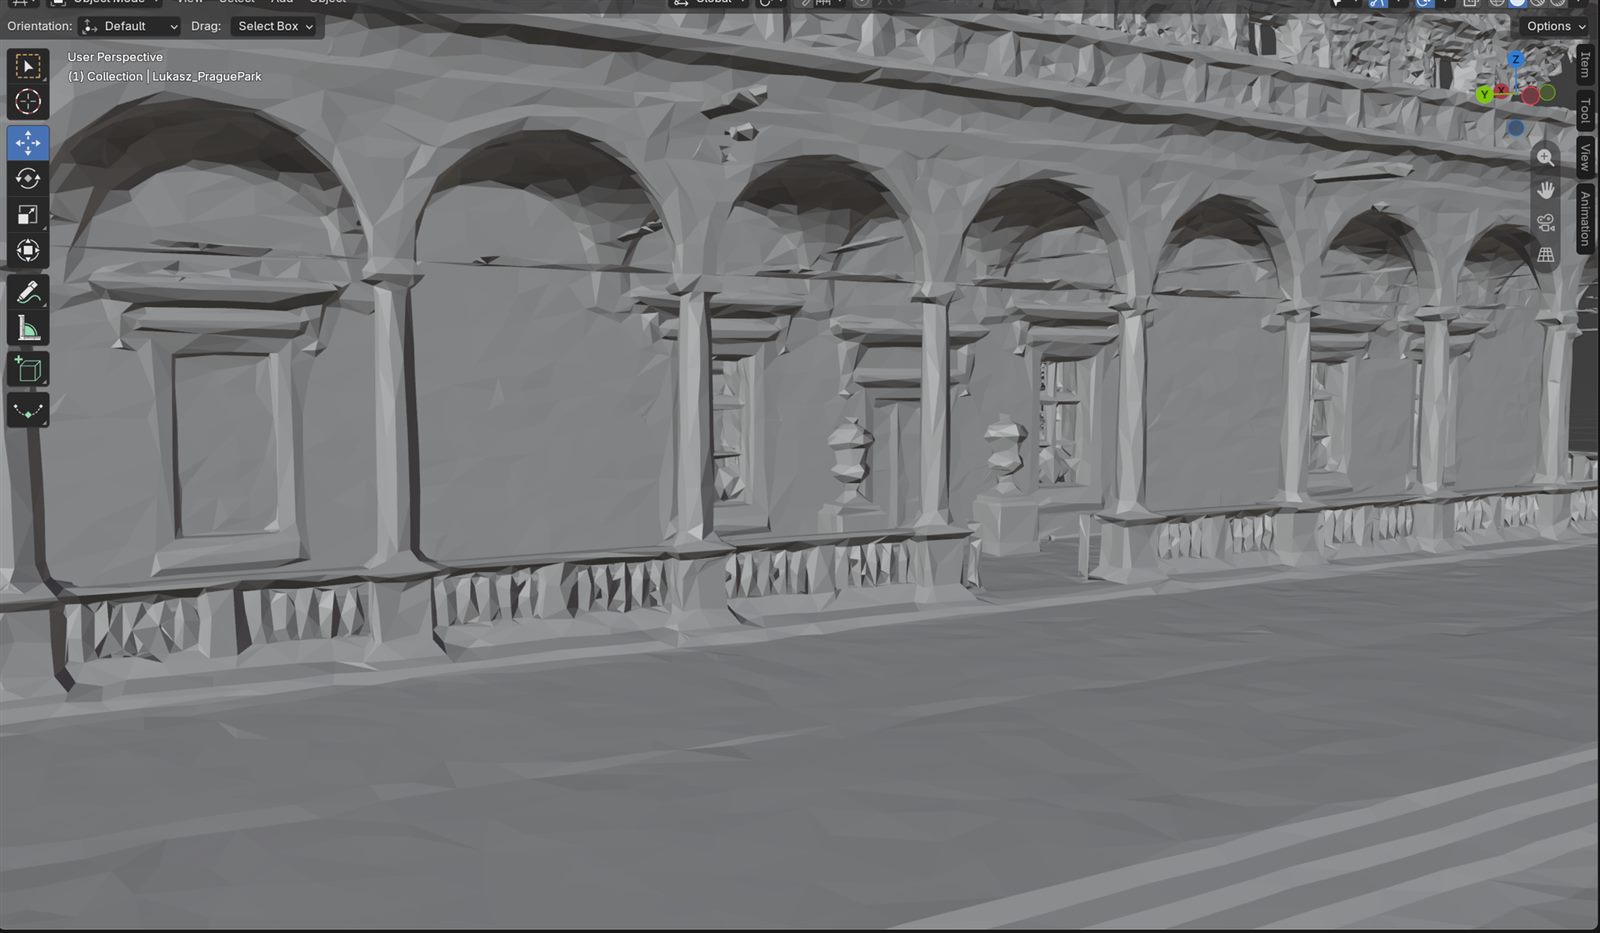
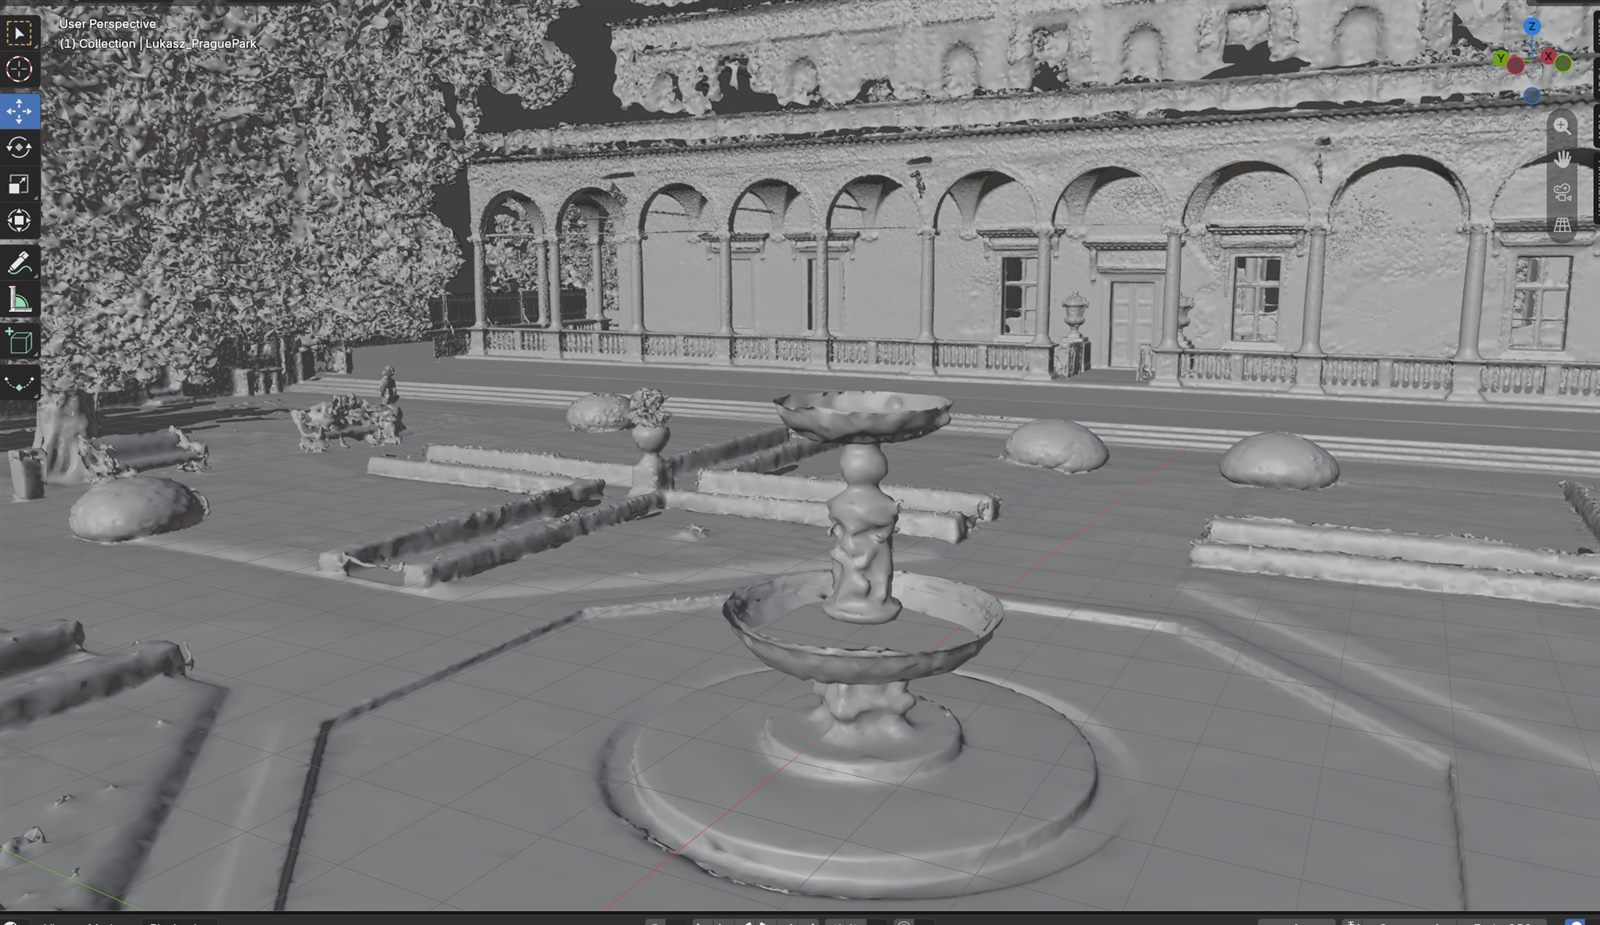
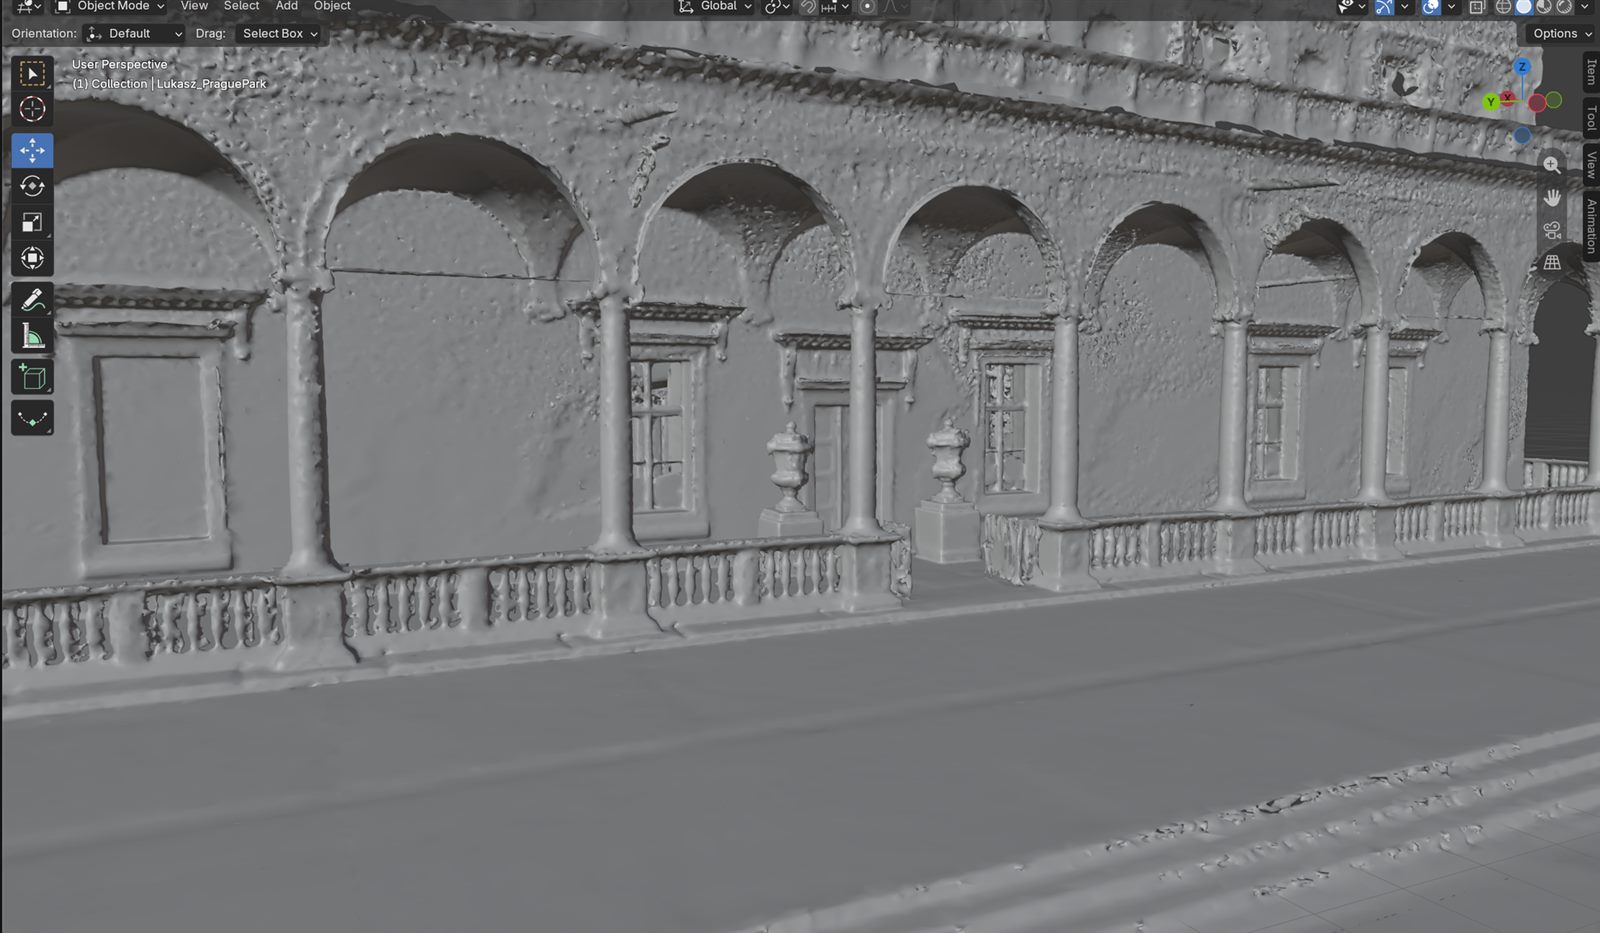
Both LCC Studio and LixelStudio can generate meshes, but they serve different purposes.
| LCC Studio mesh | LixelStudio mesh | |
|---|---|---|
| Surface accuracy | Rougher | Closer to the real shape |
| File size | Small | Large |
| Suited for | Collision detection | Relighting |
For collision, the LCC Studio mesh is enough, see Collision. For relighting, use the LixelStudio mesh.
LCC Studio mesh:
LixelStudio mesh:
Step 1: Gather the Tiled Models into One Folder
LixelStudio exports meshes in tiles. For a large scene you end up with many folders, each holding one .obj file and its textures. They have to be merged into a single mesh before import, otherwise you get many separate .obj files.
The steps below use Blender; any 3D modeling tool works the same way. Download Blender from the official site.
Blender cannot take a batch of folders dropped in at once, so the .obj files scattered across subfolders have to be pulled up to the same level first. Dragging dozens of folders by hand is not practical, so use a single PowerShell command.
Open the root folder that holds all the subfolders, type powershell in the address bar and press Enter. The terminal opens in the current directory.
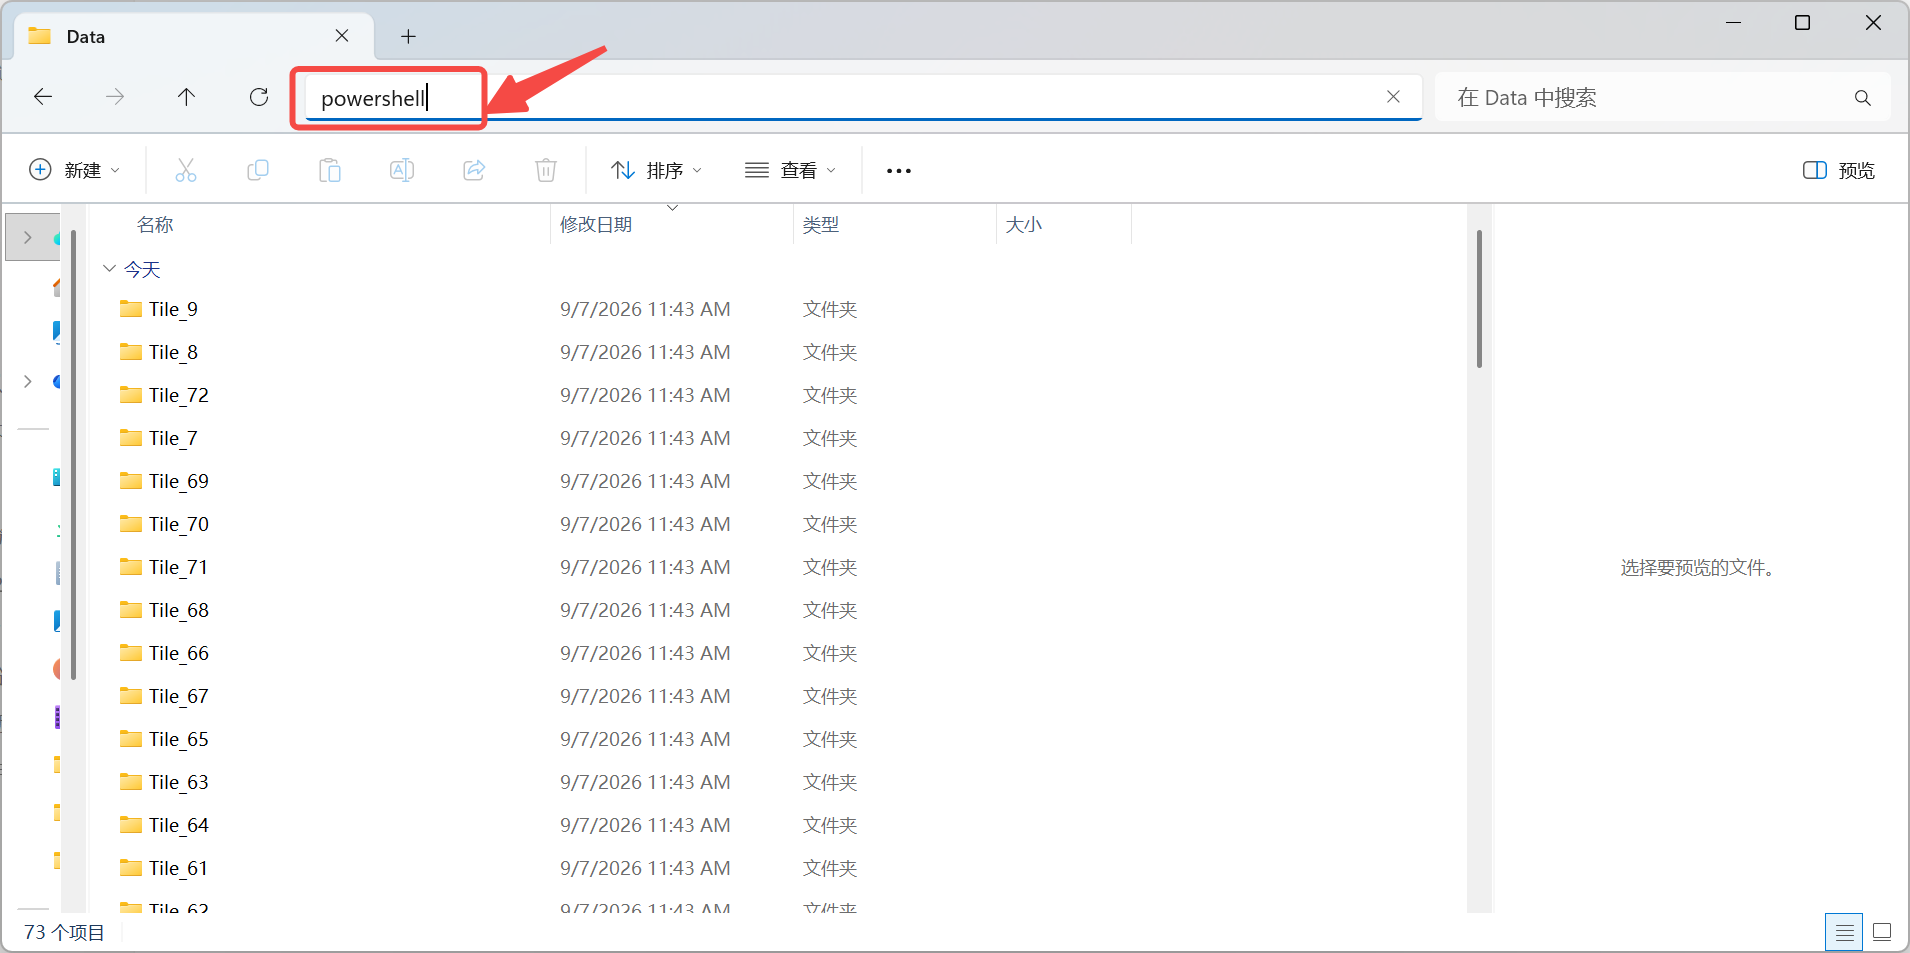
Type powershell in the File Explorer address bar
Copy and paste this command:
Get-ChildItem -Recurse -File | Move-Item -Destination .
Note: the command pulls every file from the subfolders into the current directory, so confirm you are in the right folder before running it. For example, if folder A contains B and C, open PowerShell from the address bar of A; after the run, all files from B and C are moved into A.
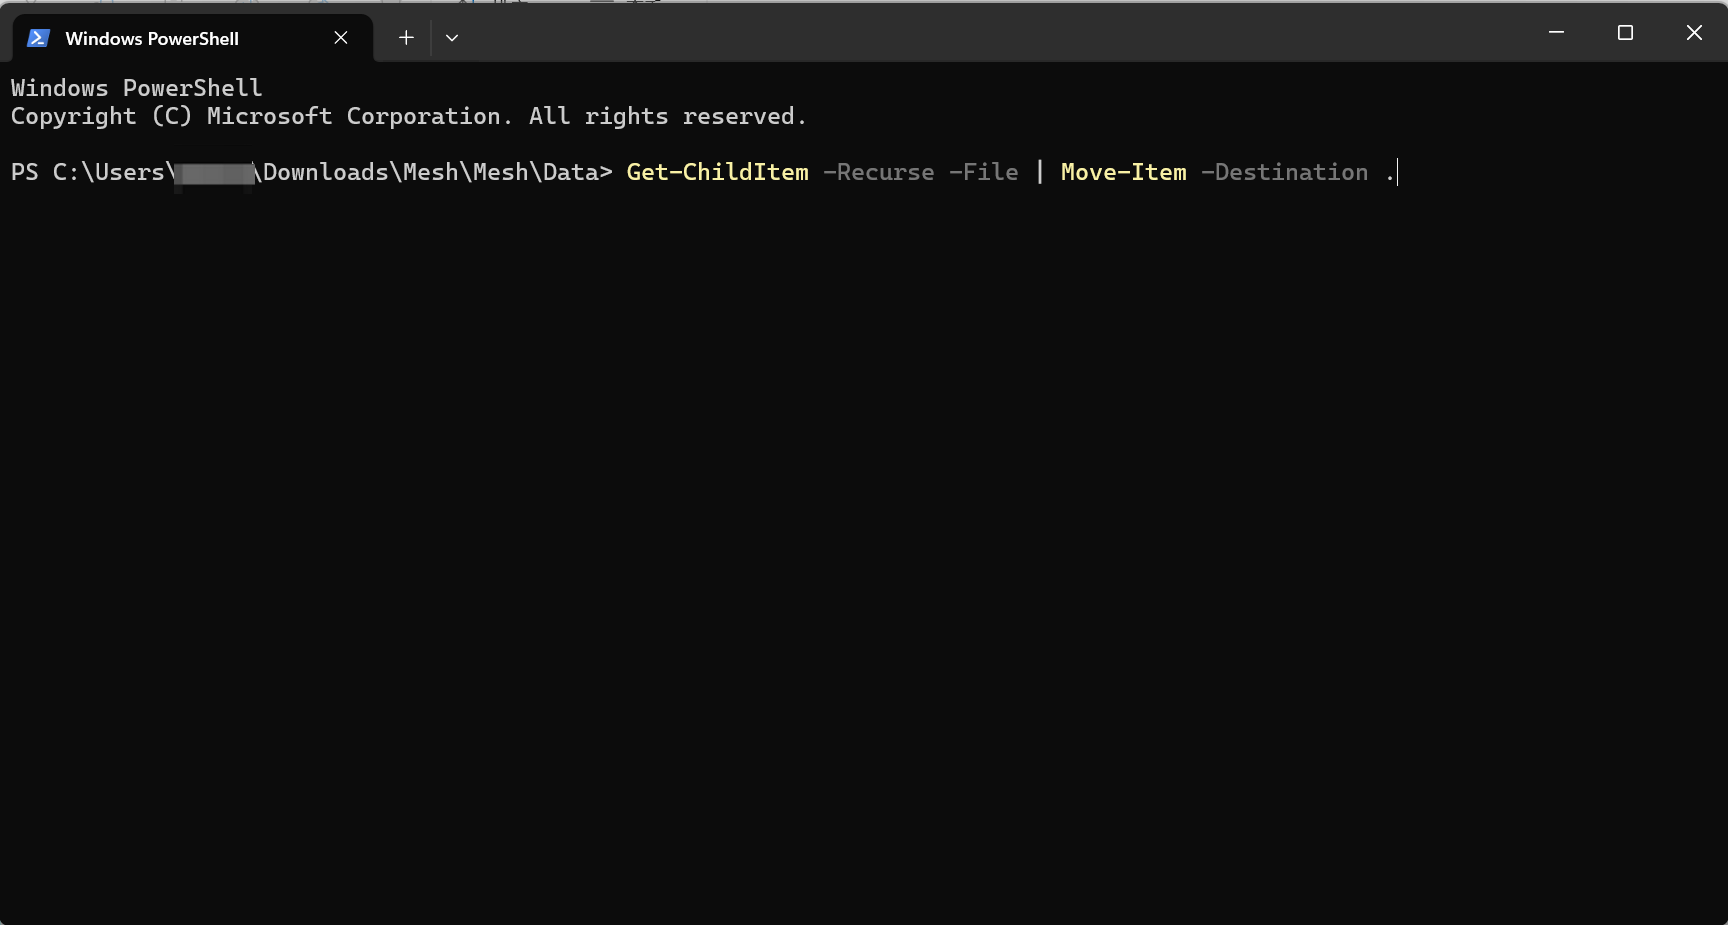
Folder structure before the run
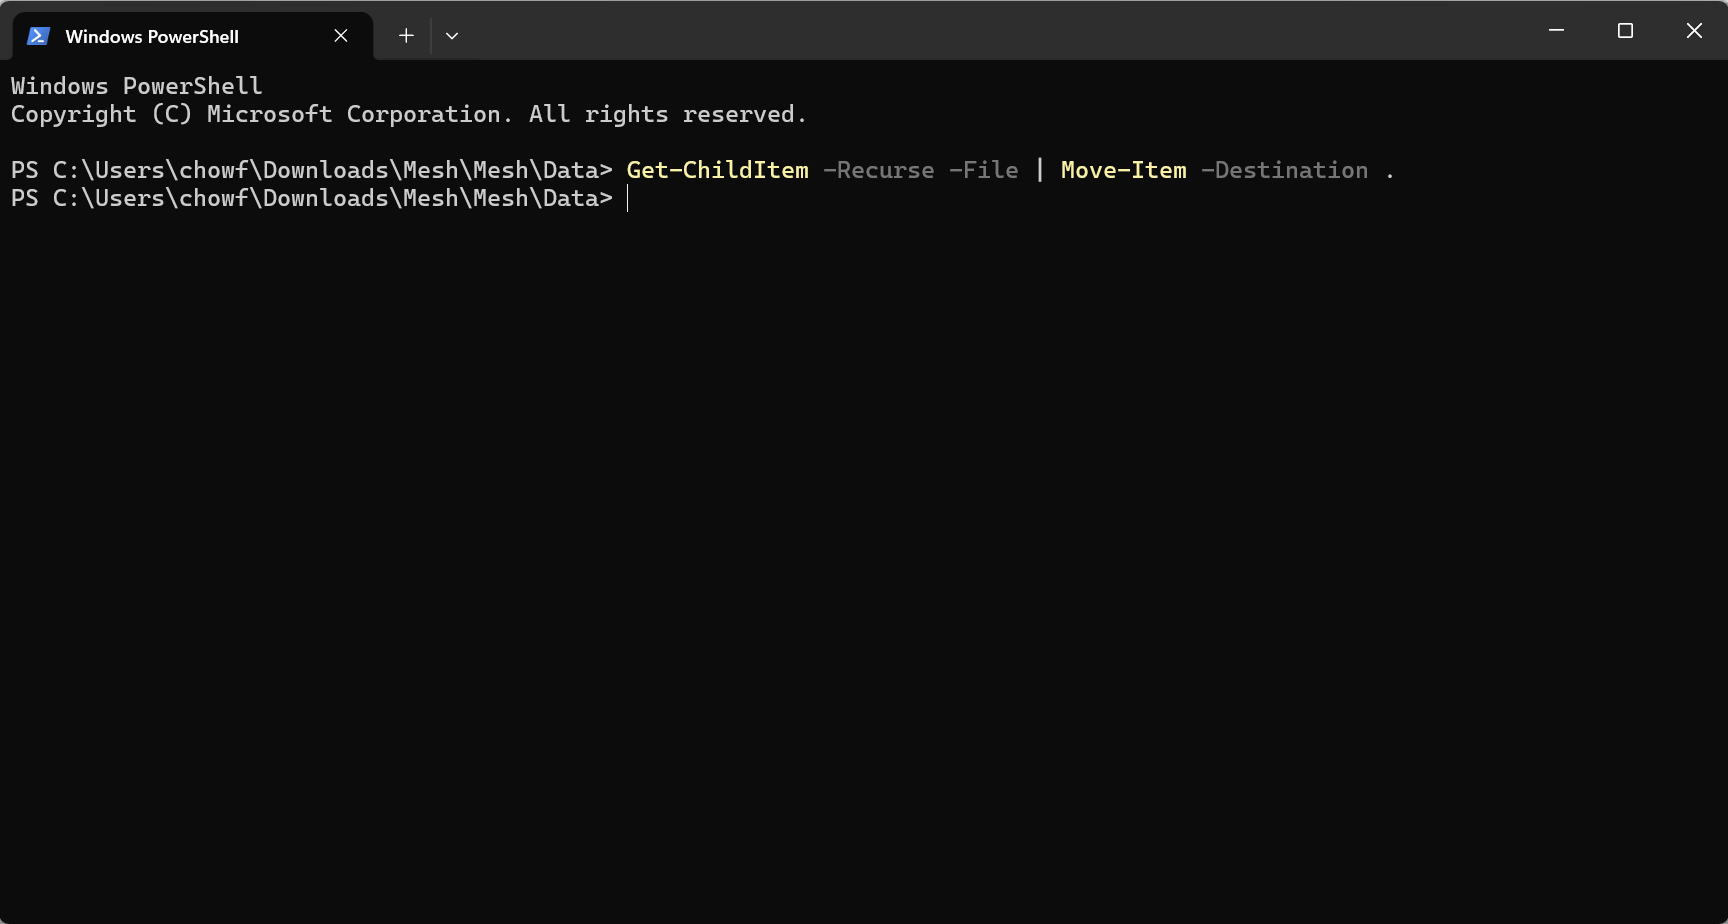
Paste the command and run it
Press Enter after pasting. It takes a few seconds. A new prompt means the command has finished.
Everything is now pulled out. Open a few subfolders to confirm they are empty.
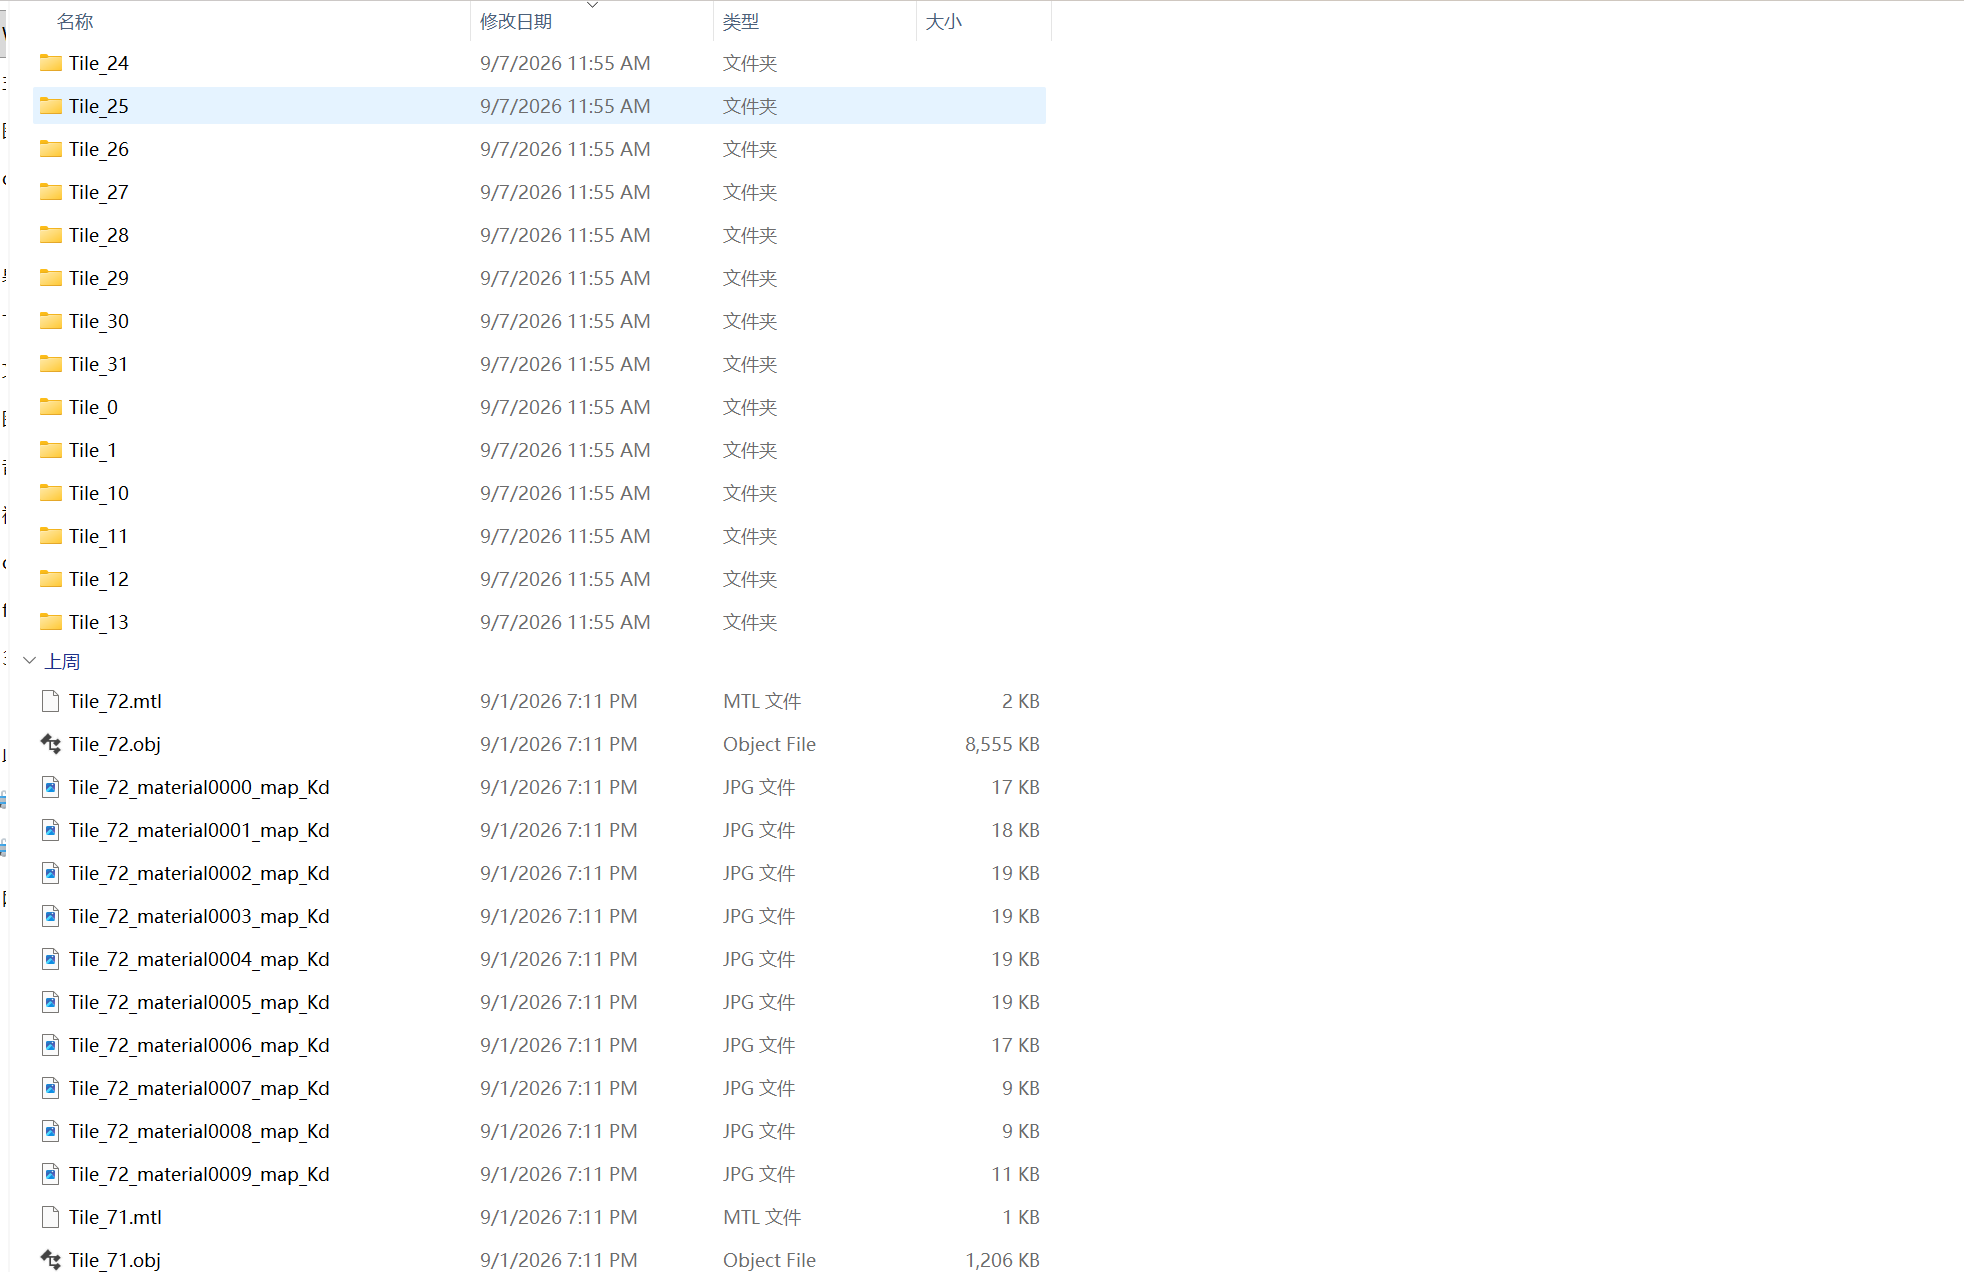
All .obj files and textures now sit at the same level
Step 2: Merge into One File in Blender
Press Ctrl + A to select all files and drag them into Blender.
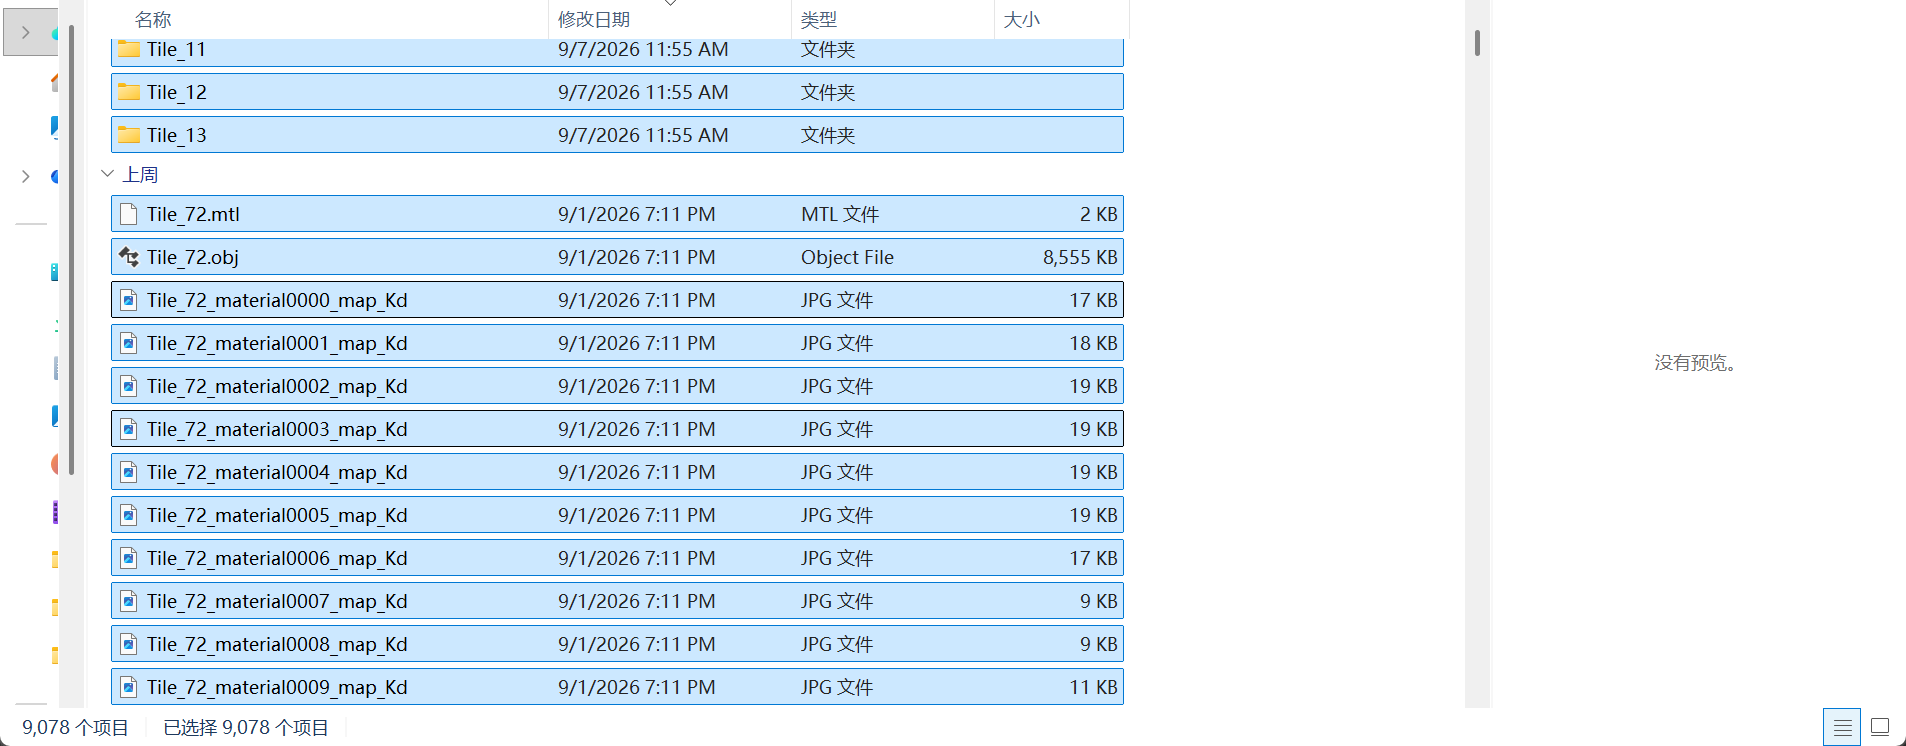
Select all files
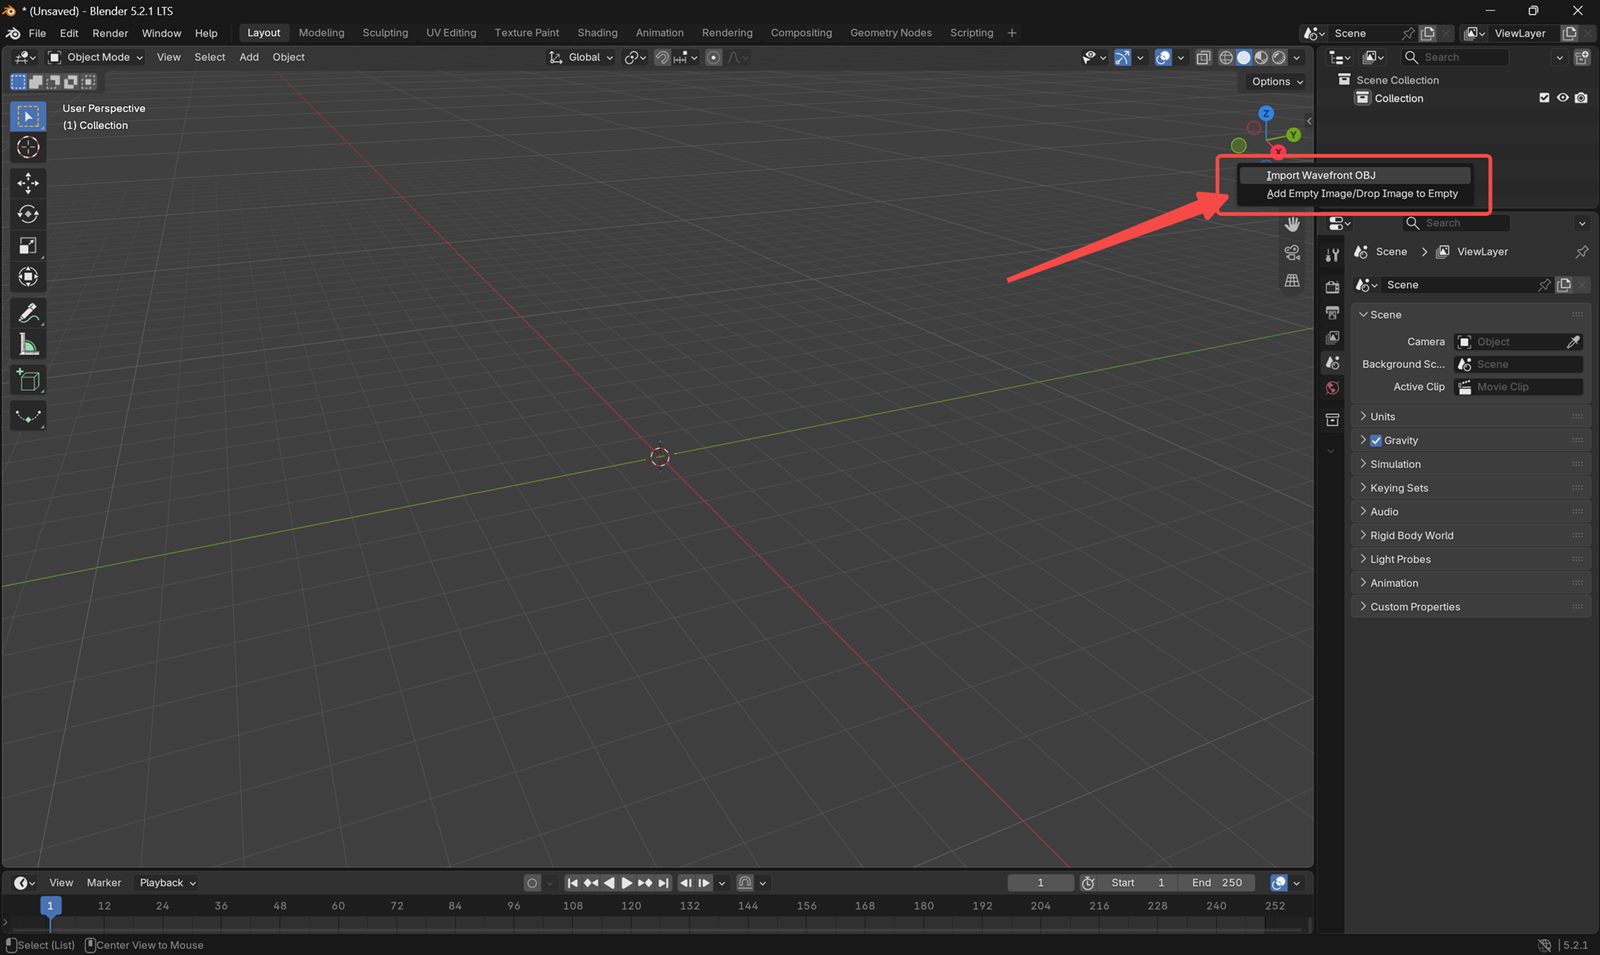
Drag into Blender
Click Import Wavefront OBJ. To get the orientation right, set Up Axis to Z and Forward Axis to X.
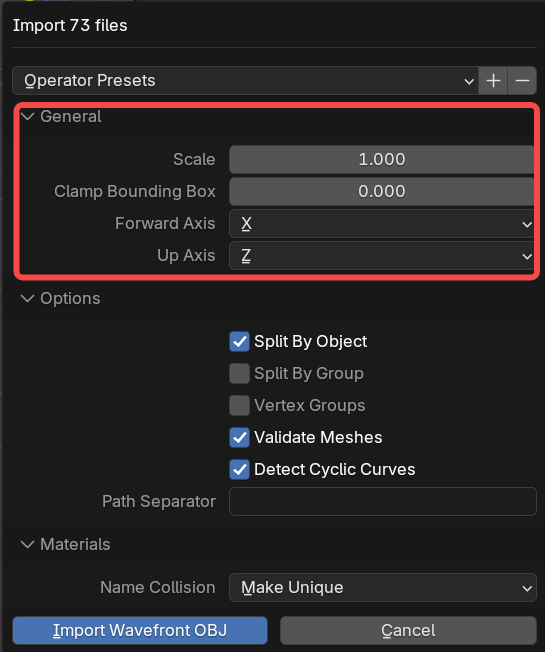
Set Up Axis to Z and Forward Axis to X
All tiles are now imported.
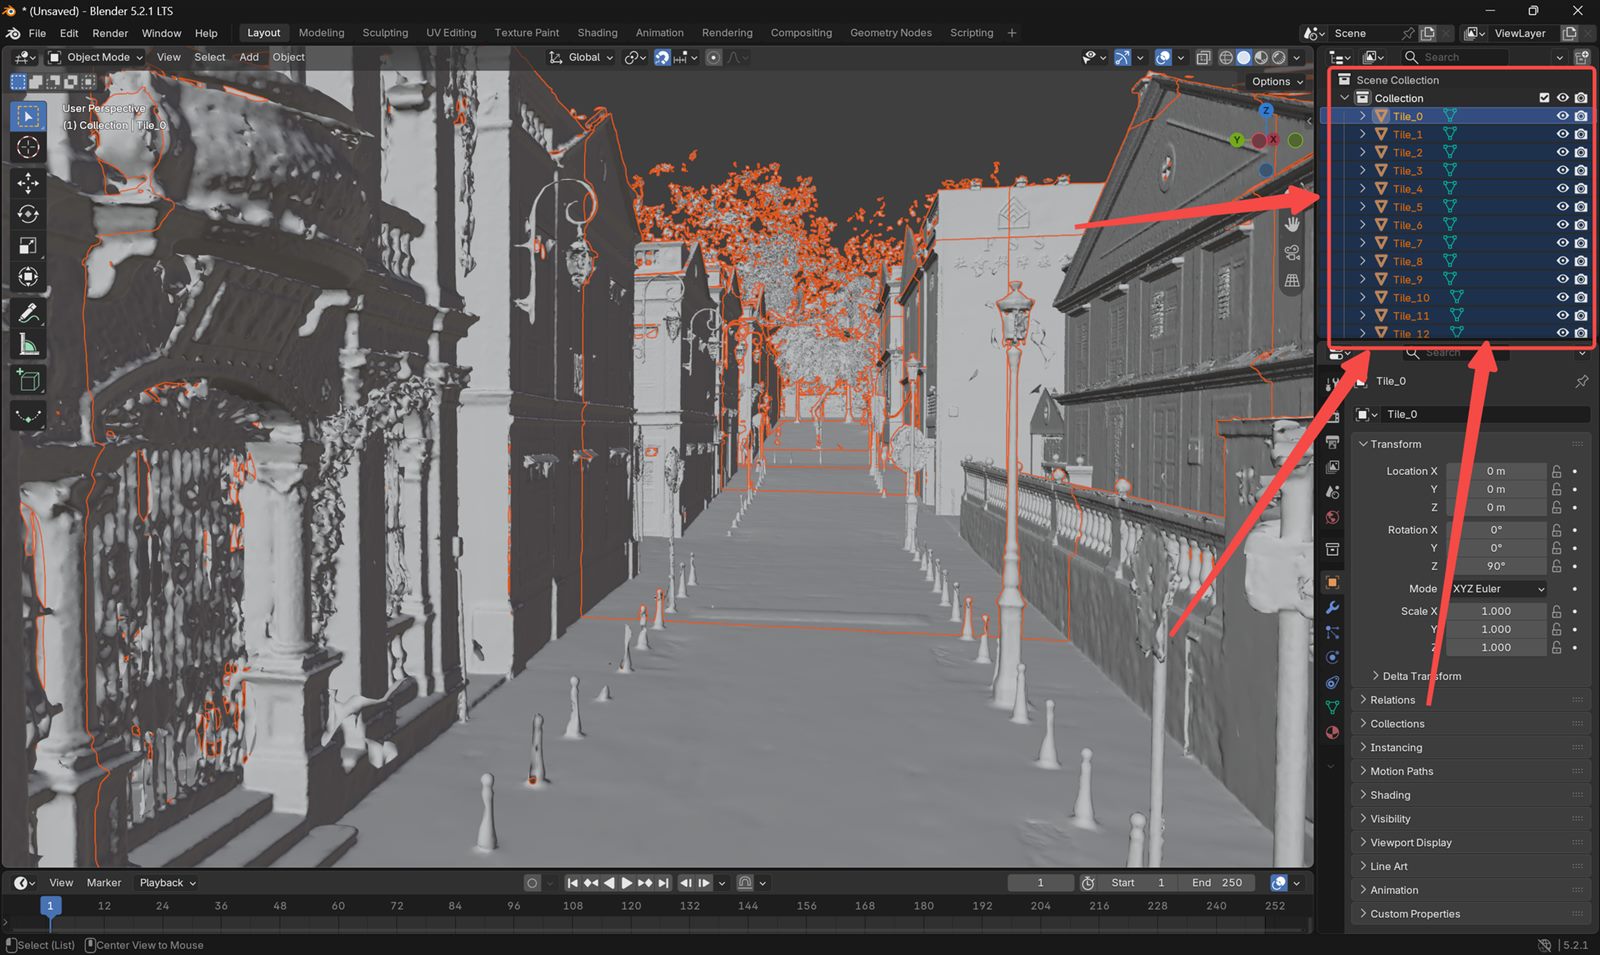
All tiles imported
Press A to select every tile, then Ctrl + J to merge them into a single mesh. On a large scene this can take about a minute, so let it finish.
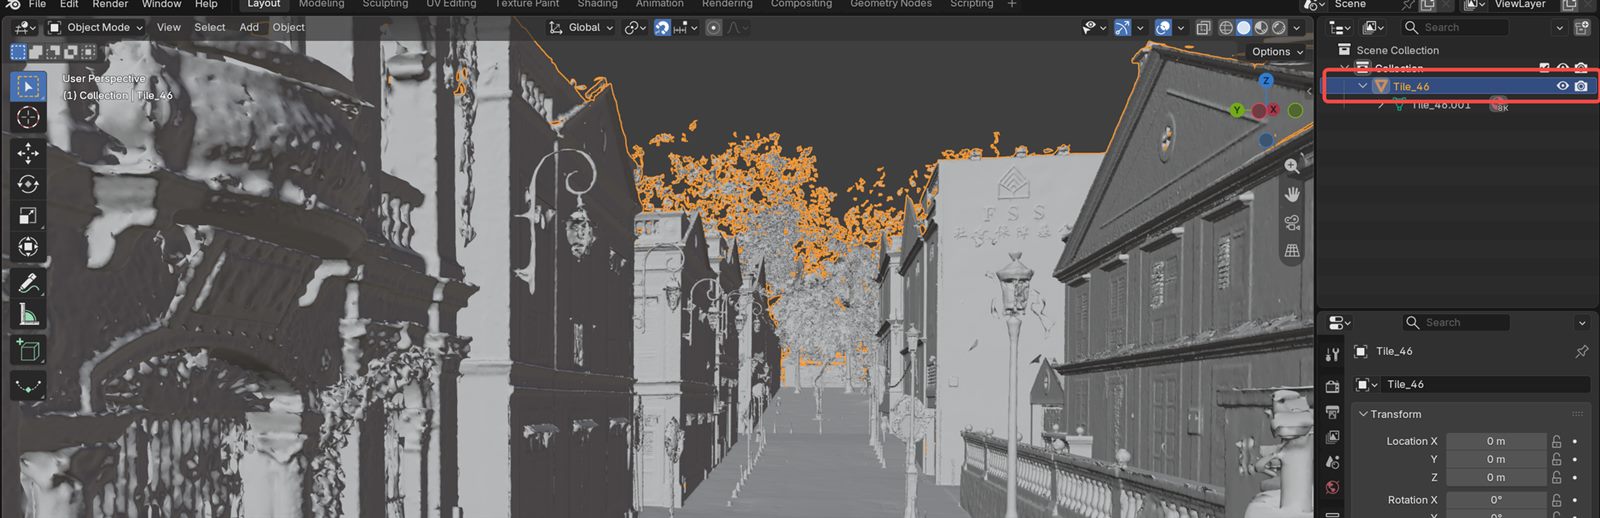
A single merged mesh
Note: if the whole scene does not need relighting, delete the parts you do not need to gain performance in Unreal Engine.
Step 3: Cut the Draw Calls
Once this mesh goes into Unreal Engine for relighting, none of its materials are needed. The 3DGS handles what you see, the proxy mesh only feeds the calculation, so the materials serve no purpose and cost resources.
Every texture in a LixelStudio mesh is one draw call in Unreal Engine. At scale that adds up to a large number of draw calls, and using the mesh as a proxy directly will stutter.
Select the mesh in the Collection and check the draw call count from Blender's Python console.
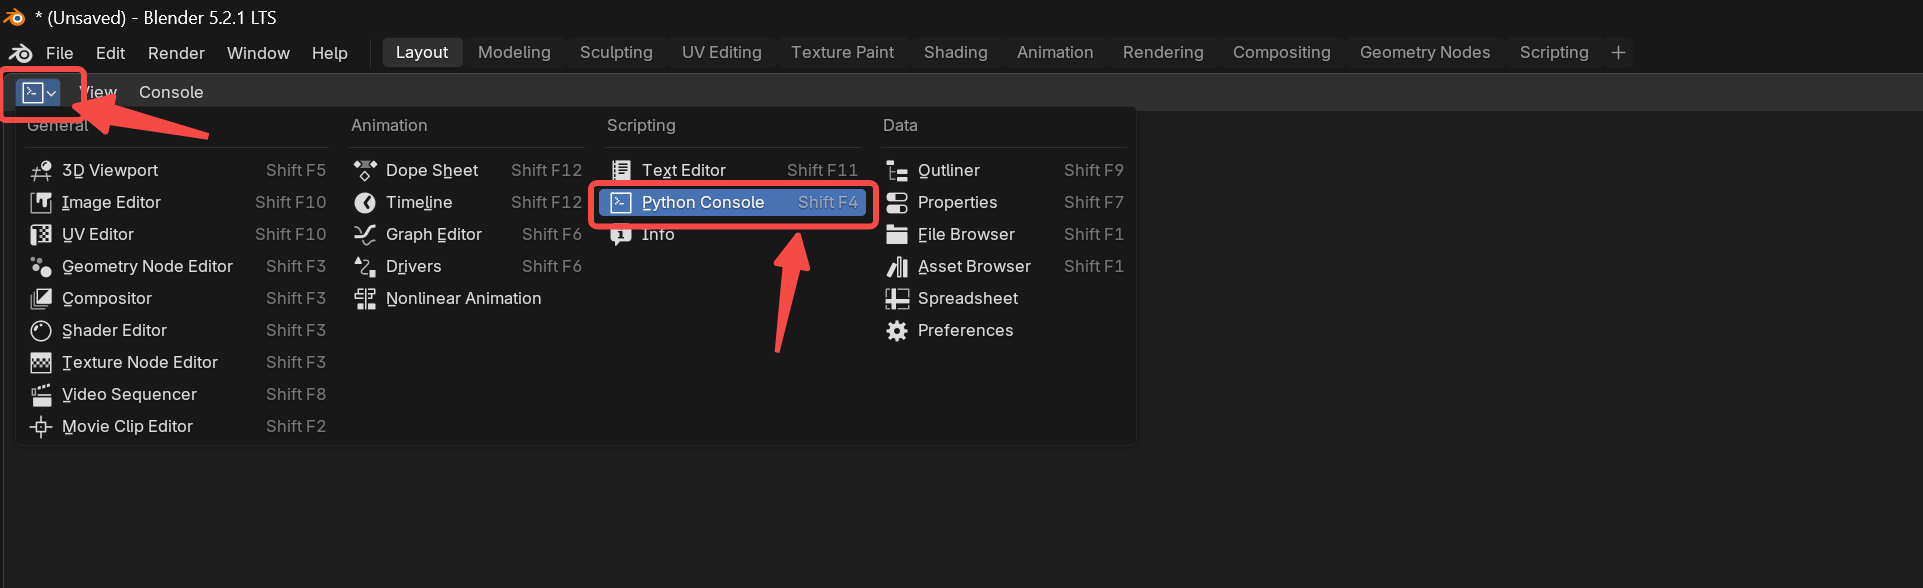
Switch to the Python console
Paste the command below and press Enter:
obj = bpy.context.object
print("Material slots:", len(obj.data.materials))
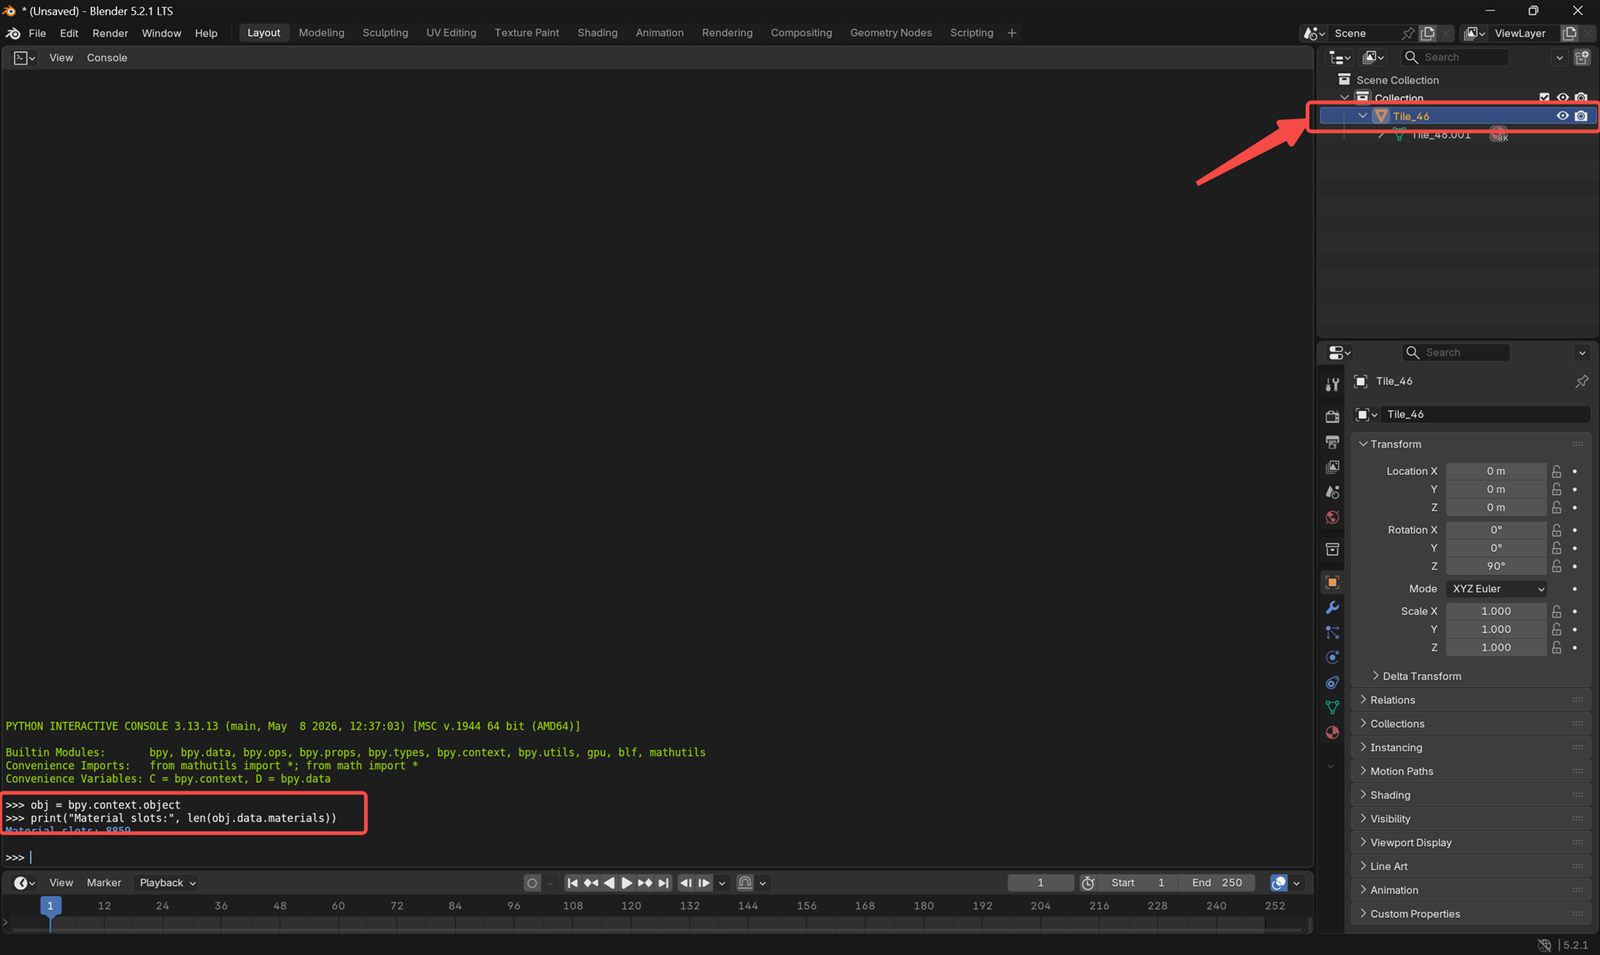
The printed number is the draw call count
The mesh in the screenshot has 8859 draw calls.
To bring that down, remove all existing materials and replace them with a single one:
import bpy

# Get the currently selected object in Blender
obj = bpy.context.object

# Make sure a valid Mesh object is selected
if obj is None or obj.type != "MESH":
    raise Exception("Please select a Mesh object first.")

# Create a new white clay material
mat = bpy.data.materials.new("M_White_Clay")
mat.use_nodes = True

# Configure the Principled BSDF shader settings
bsdf = mat.node_tree.nodes.get("Principled BSDF")
if bsdf:
    bsdf.inputs["Base Color"].default_value = (1, 1, 1, 1)  # White color
    bsdf.inputs["Roughness"].default_value = 1.0            # Fully rough / matte surface
    bsdf.inputs["Metallic"].default_value = 0.0             # Non-metallic material
    bsdf.inputs["Alpha"].default_value = 1.0                # Fully opaque

# Remove all existing material slots from the mesh
obj.data.materials.clear()

# Add the single new white material
obj.data.materials.append(mat)

# Assign every face to material slot 0
for poly in obj.data.polygons:
    poly.material_index = 0

# Print the result for verification
print("Done")
print("Material slots:", len(obj.data.materials))
print("Used material indices:", len(set(p.material_index for p in obj.data.polygons)))
print("Estimated draw calls:", len(set(p.material_index for p in obj.data.polygons)))
After running it, confirm the draw call count is down to one.

Draw calls reduced to one
Step 4: Import into Unreal Engine
Export the mesh as .obj or .fbx and import it into Unreal Engine.
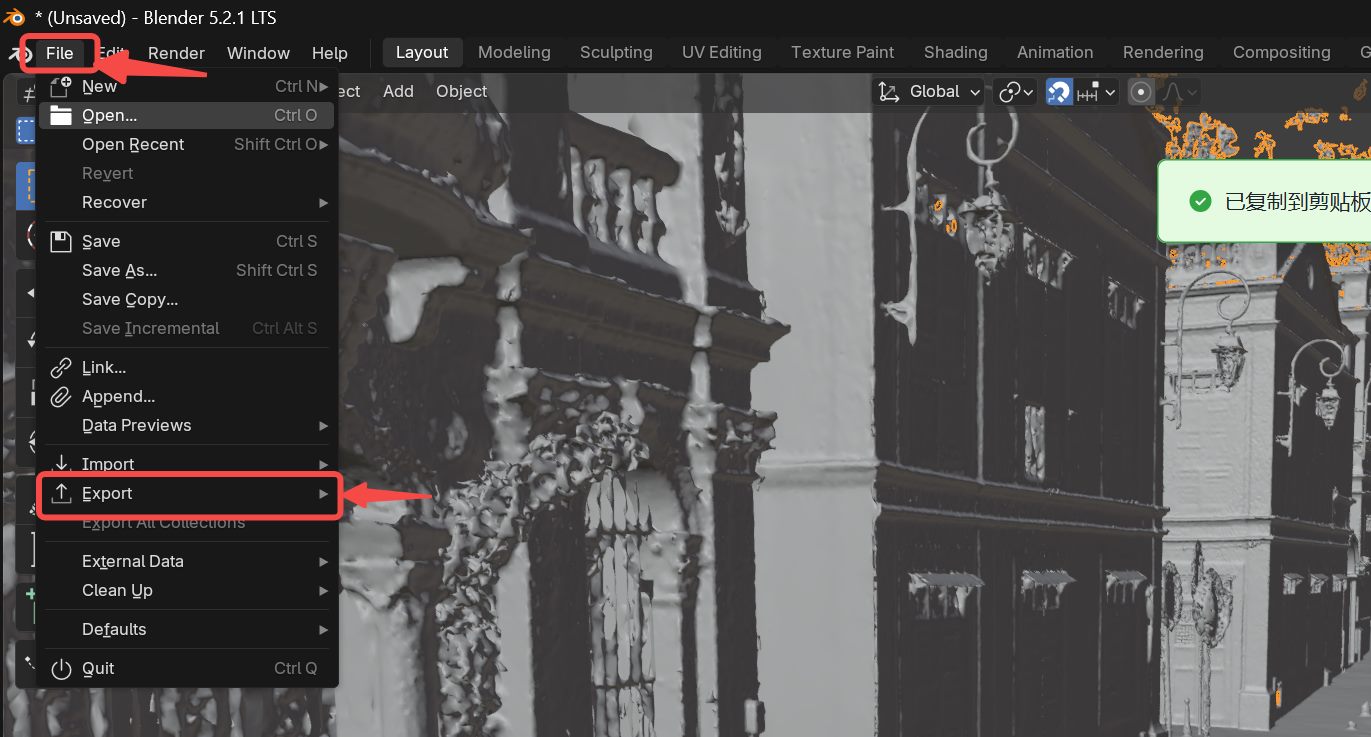
The mesh after import into Unreal Engine
Then follow Proxy Mesh to place the ProxyMesh Actor and set the normal mode to ProxyMesh.
If the result looks wrong, see Proxy Mesh troubleshooting.