
Installation and Activation
This chapter covers the system requirements, installation steps, and the online and offline activation methods for Lixel Studio.
System Requirements
Download the installer from the official XGRIDS website before installing.
| Item | Minimum | Recommended |
|---|---|---|
| OS | Windows 10/11 Professional or Home | Windows 10/11 Professional or Home |
| CPU | Intel i7 11th gen | Intel i9 12th gen |
| GPU | RTX 3060 or higher | RTX 3070 or higher |
| Memory | 64 GB | 64 GB |
| Storage | 1 TB | 1 TB (SSD) |
Installation Steps
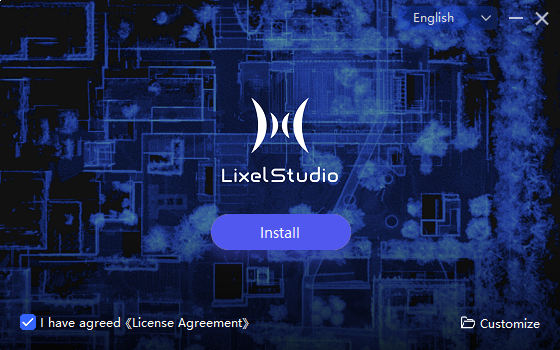
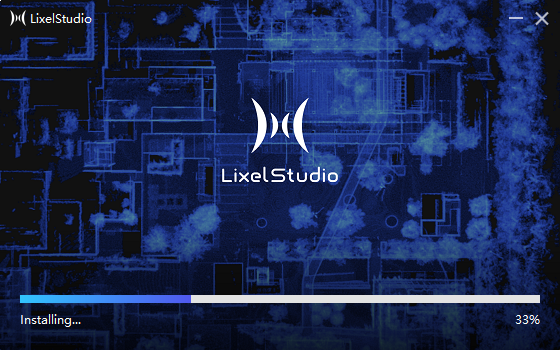
- Run the installer and click Quick Install. The program installs to the default C drive path.
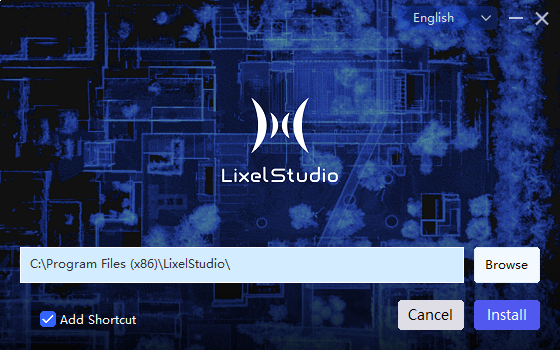
- To choose a different path, click Custom in the lower-right corner of the installation window, select a target path, and choose whether to create a desktop shortcut.
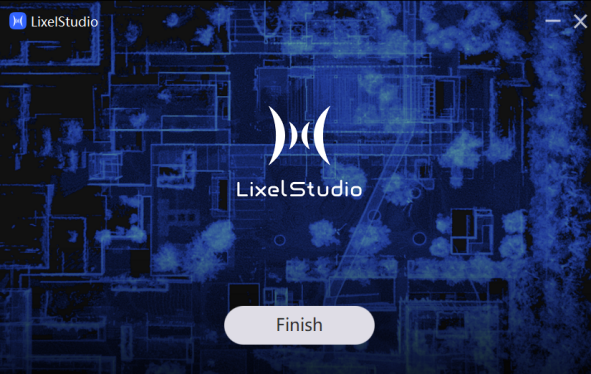
- Click Finish once installation completes.
- Double-click the desktop icon to launch the software.
Authorization and Activation
Lixel Studio supports two activation methods, online and offline. Once activated, all core features become available. By default, you can use the basic features for free without activation, and choose to activate later for additional feature access.
Online Activation
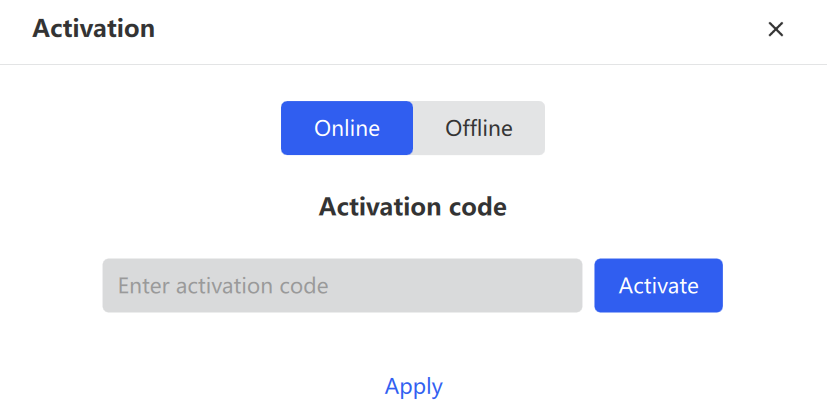
- Click Upgrade, then enter your activation code in the pop-up window.
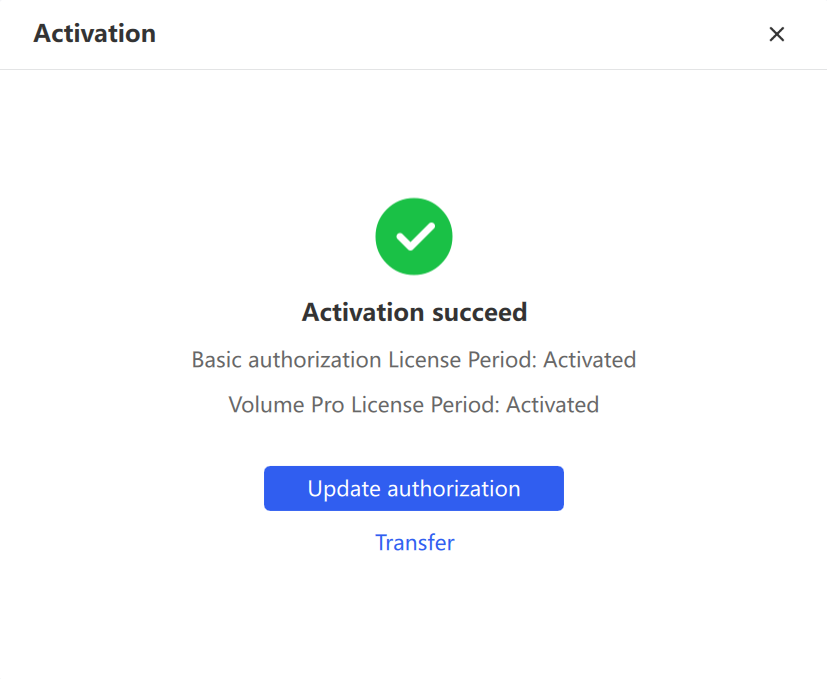
- Click Activate. Once successful, you can proceed into the software.
Trial users can activate with a trial code obtained from their sales manager or distributor.
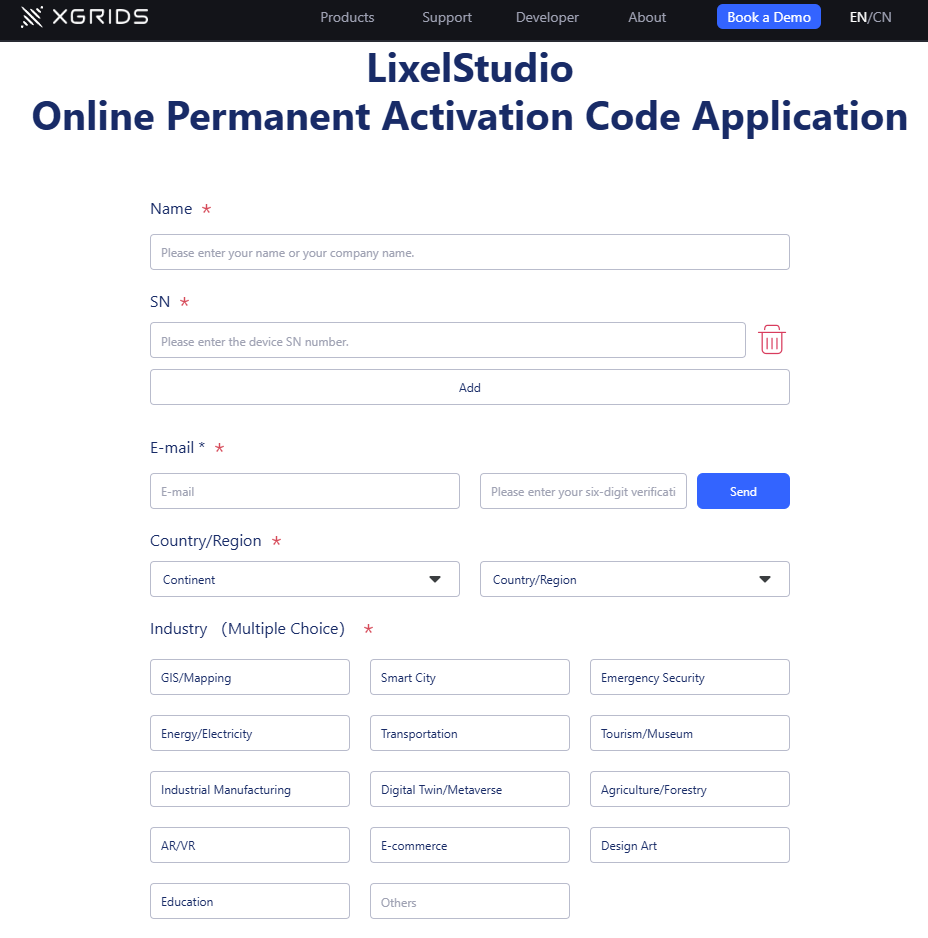
Note: Customers who have purchased an XGRIDS handheld scanner can click Apply to open the official request page. After submitting the required information, a permanent activation code is sent to the application email. Each device is issued 3 permanent codes, and up to 50 devices can be requested per batch. Keep your codes in a safe place. If lost, you can reapply at xgrids.com/activationrequest using the correct serial number and the original application email.
Offline Activation
- Click Offline. The software generates a request code for the current computer.
- Copy the request code in full and send it to your sales manager or distributor, who will generate a license file for your computer.
- Once you receive the license file, click Import License, select the correct file, and complete activation.
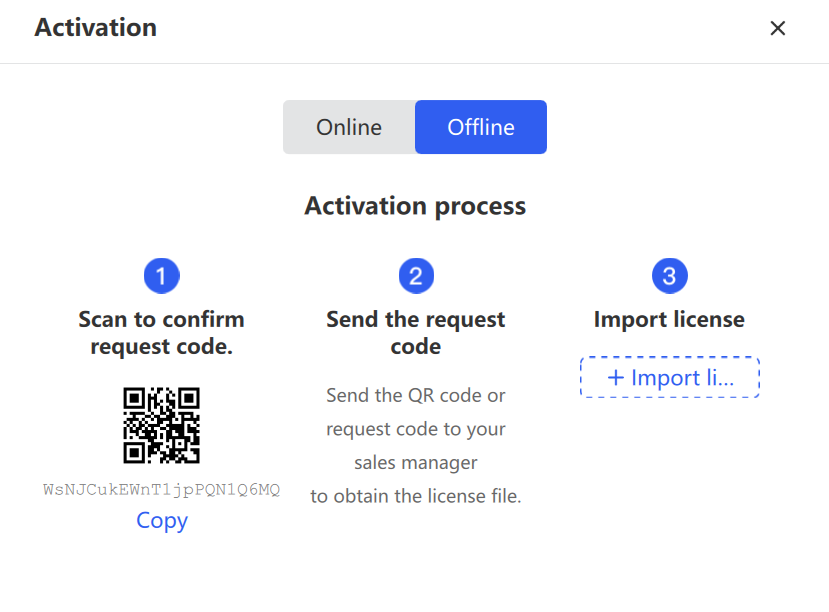
Note: Make sure the request code is copied completely and accurately, otherwise the generated license may not work.
License Migration
Use the migration feature when moving your license to a new computer.
- Click Migrate Out to open the license migration page.
- Once you confirm migration, the system unbinds the current activation code and generates a new code based on the remaining authorization period.
- Click Generate Activation Code to create and export the new code, which is used to bind the license on the new computer.
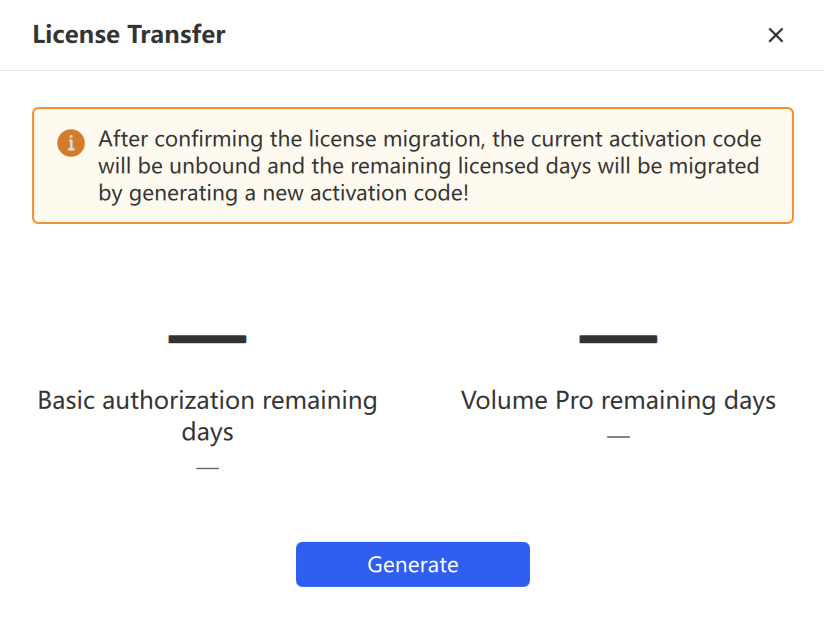
Note: Make sure you have copied or exported the new activation code before closing the dialog. The software closes automatically once the dialog is closed.