
Fixing 3DGS Occluded by the Single Layer Water Material
Single Layer Water Support
Overview
Single Layer Water of Unreal Engine implements refraction, caustics, and underwater fog through the depth buffer. Its core dependency is scene depth: only pixels that wrote valid depth can take part in the refraction and absorption calculation of the water surface.
Why Separate Compatibility Is Needed
The plugin renders 3DGS and writes depth through the View Extension mechanism, which happens after the BasePass. In the default flow, single layer water copies the depth buffer before the BasePass for later compositing, and at that moment the 3DGS has not been rendered yet, so the copy naturally does not contain its depth.
| Configuration | When the depth buffer is copied | Does the copy contain 3DGS |
|---|---|---|
| Default (disabled) | Before the BasePass | No |
SingleLayerWater Support enabled | After the BasePass | Yes |
Default flow                     With support enabled

Copy depth buffer ← no 3DGS       BasePass
     │                                │
     ▼                                ▼
  BasePass                     3DGS writes depth
     │                                │
     ▼                                ▼
3DGS writes depth              Copy depth buffer ← with 3DGS
     │                                │
     ▼                                ▼
Water composite ← 3DGS missing   Water composite ← 3DGS read correctly
When the copy has no 3DGS depth, the water surface reads the scene behind the 3DGS during its refraction and absorption calculation, so the underwater 3DGS does not take part in refraction and the occlusion relationship between the water surface and the 3DGS is judged incorrectly.
With SingleLayerWater Support enabled, the plugin uses r.Water.SingleLayer.DepthPrepass to delay the copy until after the BasePass, when the 3DGS depth is already written, so the water surface can process it correctly.
The result without SingleLayerWater Support enabled:
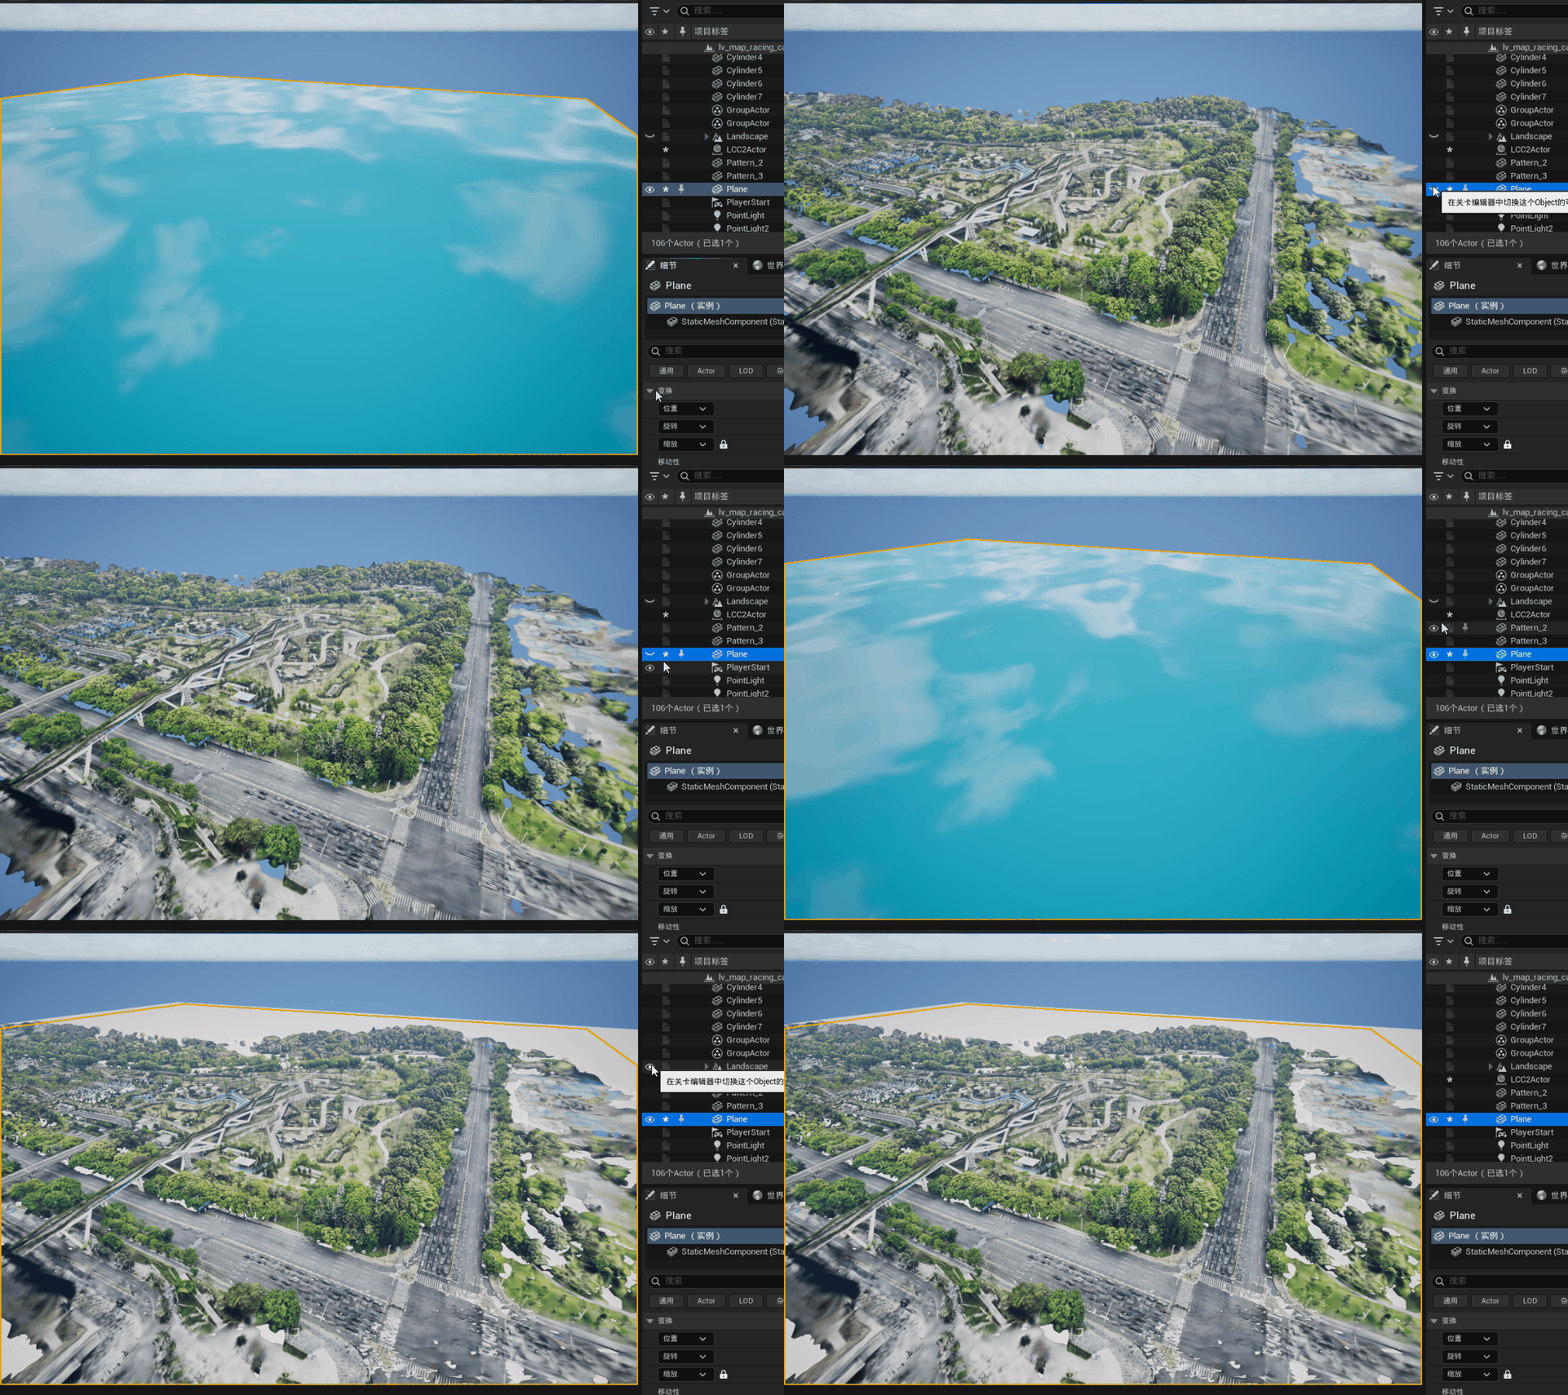
Rendering result without single layer water support enabled
Cost
- Once enabled, model shadows show some aliasing.
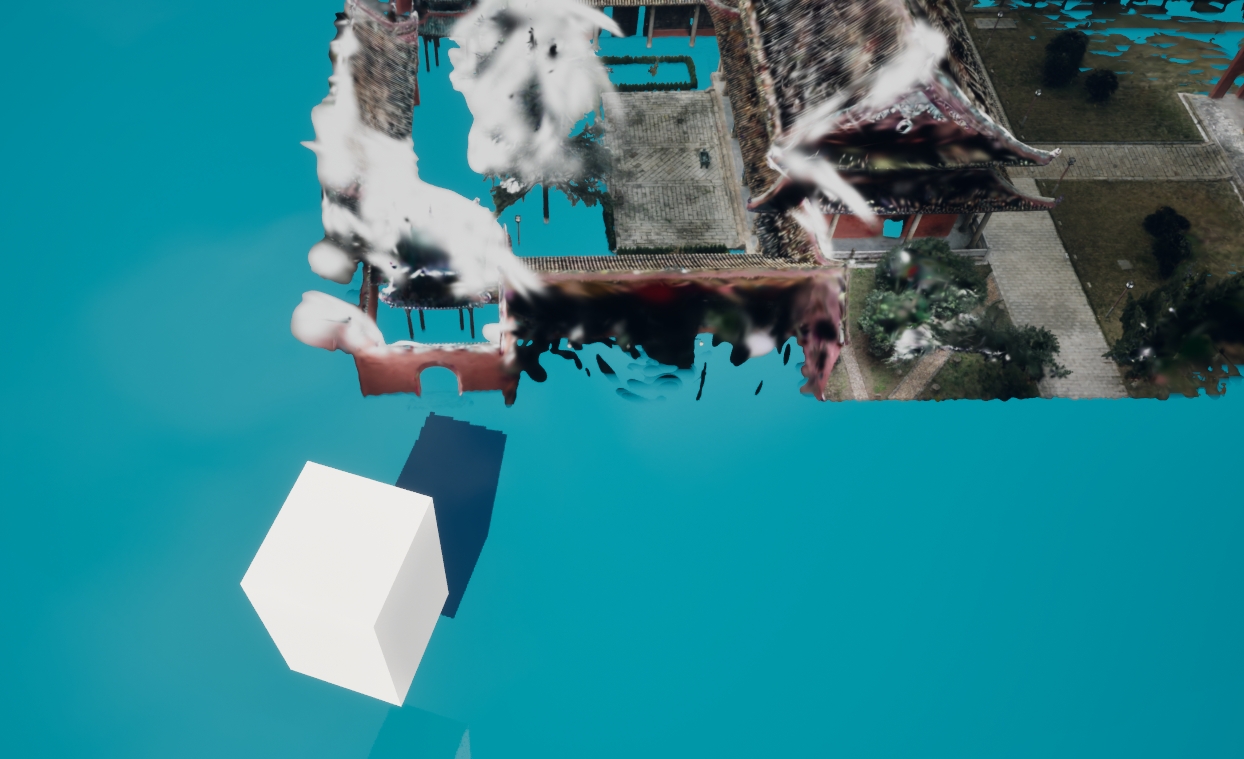
Shadow aliasing that can appear after enabling single layer water support
Steps
1. Enable the Setting
Click the settings button in the LCC4Unreal panel of the editor to open the plugin settings page in the project settings, tick SingleLayerWater Support, and restart the engine for it to take effect.
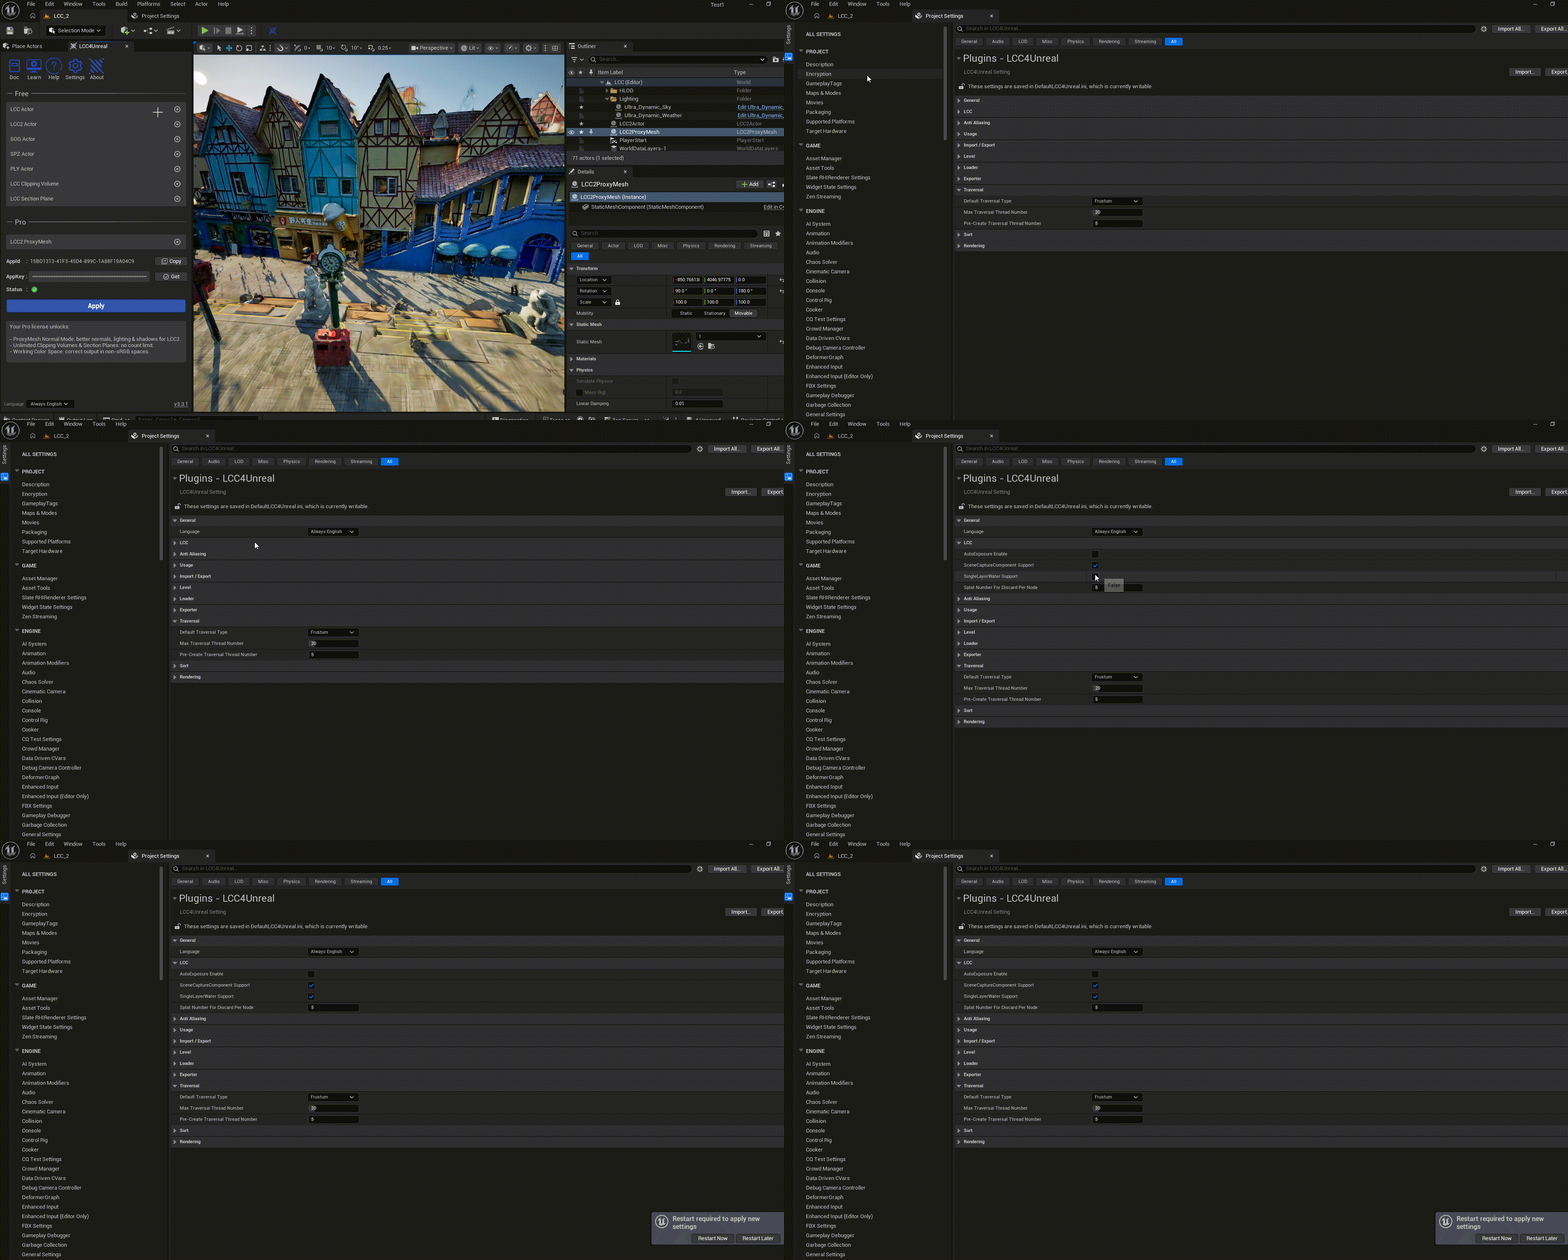
Enabling SingleLayerWater Support in the project settings
2. Create a Single Layer Water Material
- Create a new material and set
Shading ModeltoSingle Layer Water - Configure the water color, absorption coefficient, scattering, and other parameters
- Apply it to a water surface Mesh or
WaterBodyCustom
3. Place the Water Surface
Place the water Actor at a suitable position in the LCC2 scene. The water height determines which 3DGS pixels are underwater.
4. Confirm the Result
Once the LCC2 scene loads and renders normally:
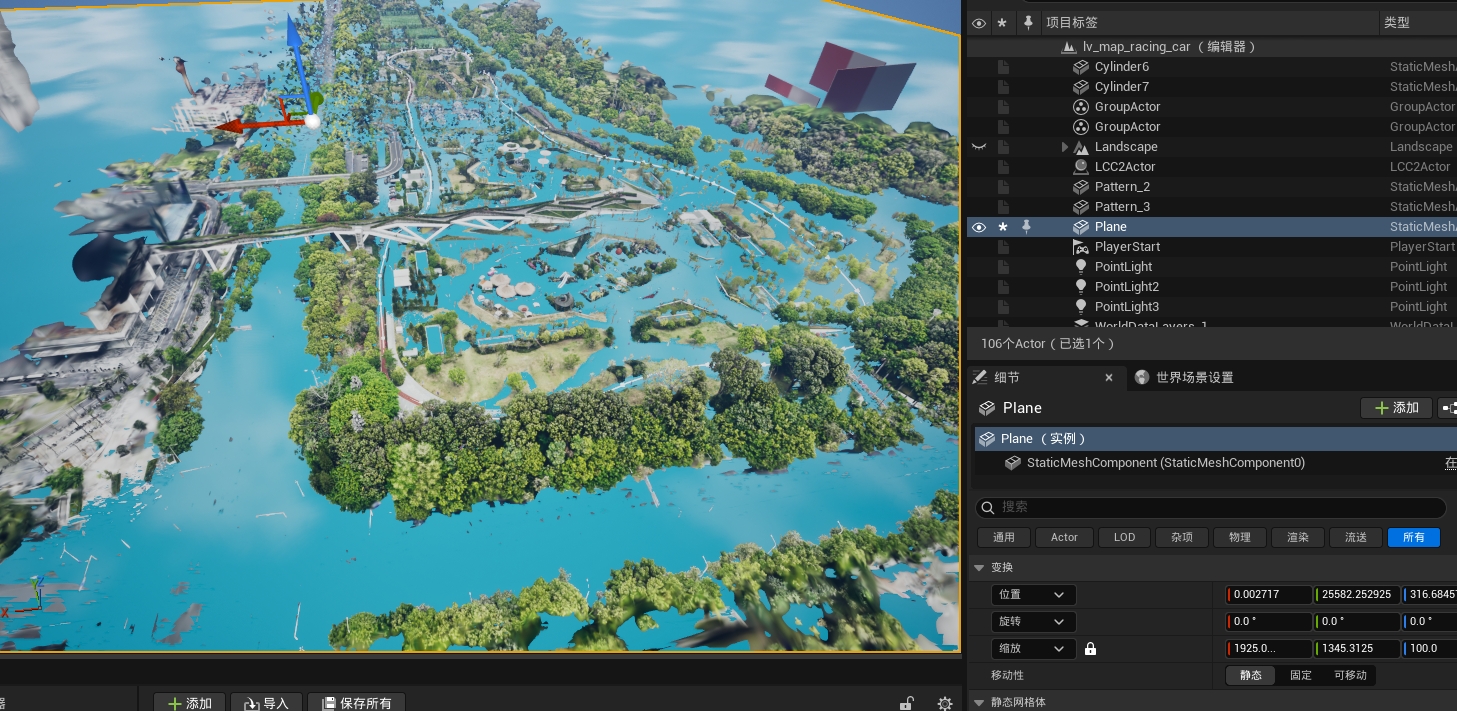
Correct rendering result after enabling single layer water support
Notes
- This setting is global and affects every single layer water material in the project
- The engine must be restarted after changing it (the CVar is ReadOnly and affects the shader key)
- The cost is that water pixels lose some Virtual Shadow Map shadow quality
- Leave it disabled by default in projects that do not use single layer water