
Third-party and Engine Plugin Integration
This document covers the prerequisites and notes for using LCC4Unreal together with other plugins. None of them are required for LCC rendering; enable them only when the project uses the matching workflow.
GIS (Cesium Integration)
LCC4Unreal supports GIS mode, used together with the CesiumForUnreal plugin, with GeoReferencing handling the latitude and longitude conversion. It is only required when the project needs the Cesium globe or a Cesium 3D Tiles workflow.
For installing Cesium itself, configuring the ion token, and loading terrain, see the official documentation: Cesium for Unreal Quickstart. This section only covers the steps on the LCC side.
Notes
- Only the
.lccand.lcc2formats are supported. GIS placement relies on the RTK / EPSG geographic information in the data. Single-file formats such as.sog,.spz, and.plydo not carry that information and their EPSG is always 0, so the feature cannot be used. - Confirm whether the data carries geographic information: open the
.lccor.lcc2file in a text editor and check theepsgfield. A value greater than 0 means valid geographic coordinate system information is present; a value of 0 means the data has no geographic information and enablingEnableGeoPlacehas no effect. - When CesiumForUnreal is enabled and the matching object exists in the level, LCC discovers and connects to Cesium through reflection.
- When CesiumForUnreal is not installed or not enabled, the reflection path is not established, which affects neither basic LCC rendering nor the built-in GIS.
Steps
- Install and enable CesiumForUnreal in Edit > Plugins and restart when prompted.
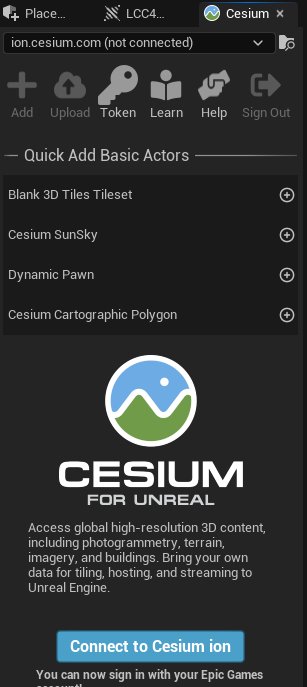
Enabling CesiumForUnreal in the plugin manager
- Place and configure
CesiumGeoreference.
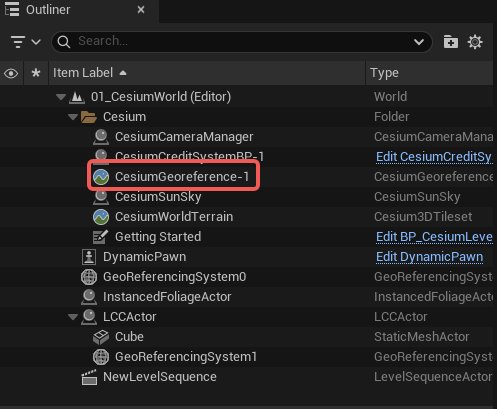
Placing and configuring CesiumGeoreference
- Place
ALCCActororALCC2Actorand load.lccor.lcc2data that contains RTK / EPSG information. - Enable
EnableGeoPlace.
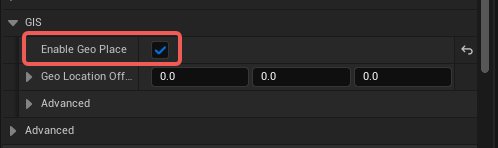
Enabling Geo Place on the Actor
- Check the initial position, the effect of changing the Cesium origin, and the LCC position after runtime relocation.
- When the position has a constant offset, first verify the EPSG of the data, the Cesium origin, and
GeoLocationOffset.
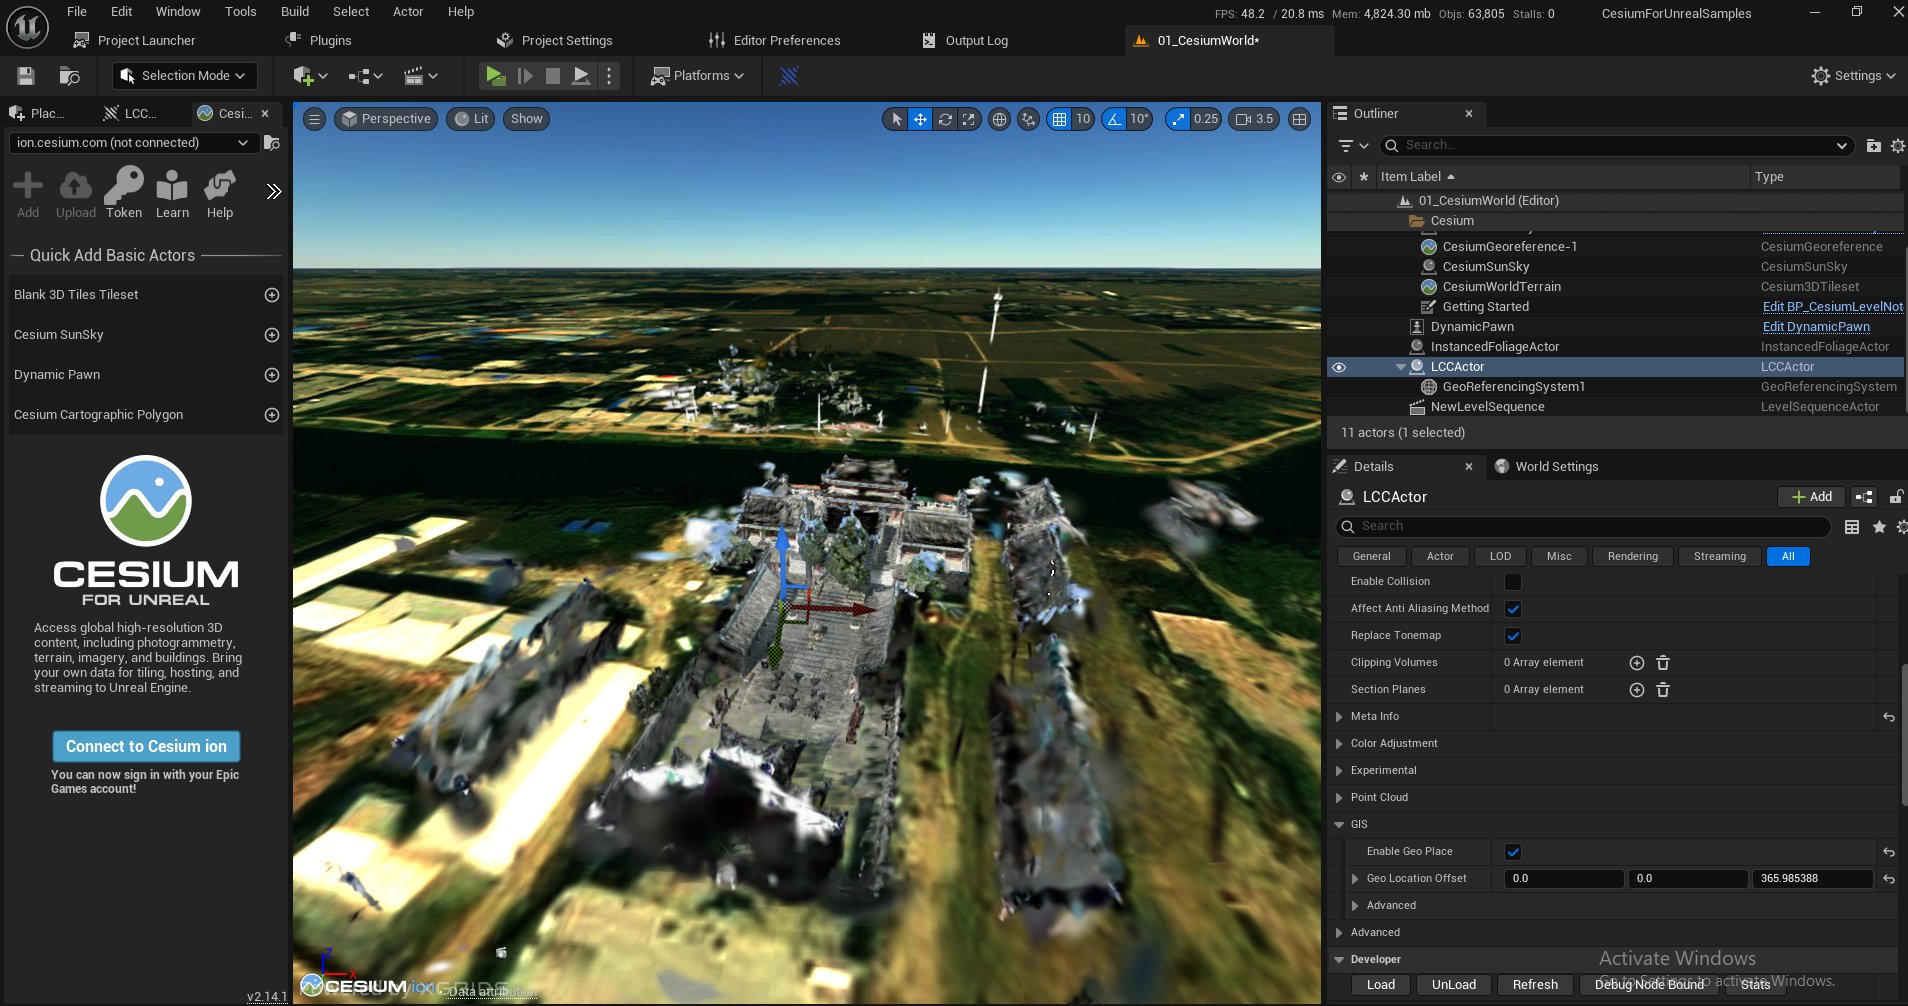
Geographic placement result of an LCC scene in Cesium
nDisplay Multi-Viewport
What to enable: enable nDisplay in Edit > Plugins. Restart when UE asks for it. Configure the cluster launcher or node management tools according to the UE nDisplay workflow; they are not a hard dependency of LCC4Unreal.
For nDisplay cluster configuration, Switchboard, and output mapping, see the official documentation: nDisplay Overview. This section only covers the notes on the LCC side.
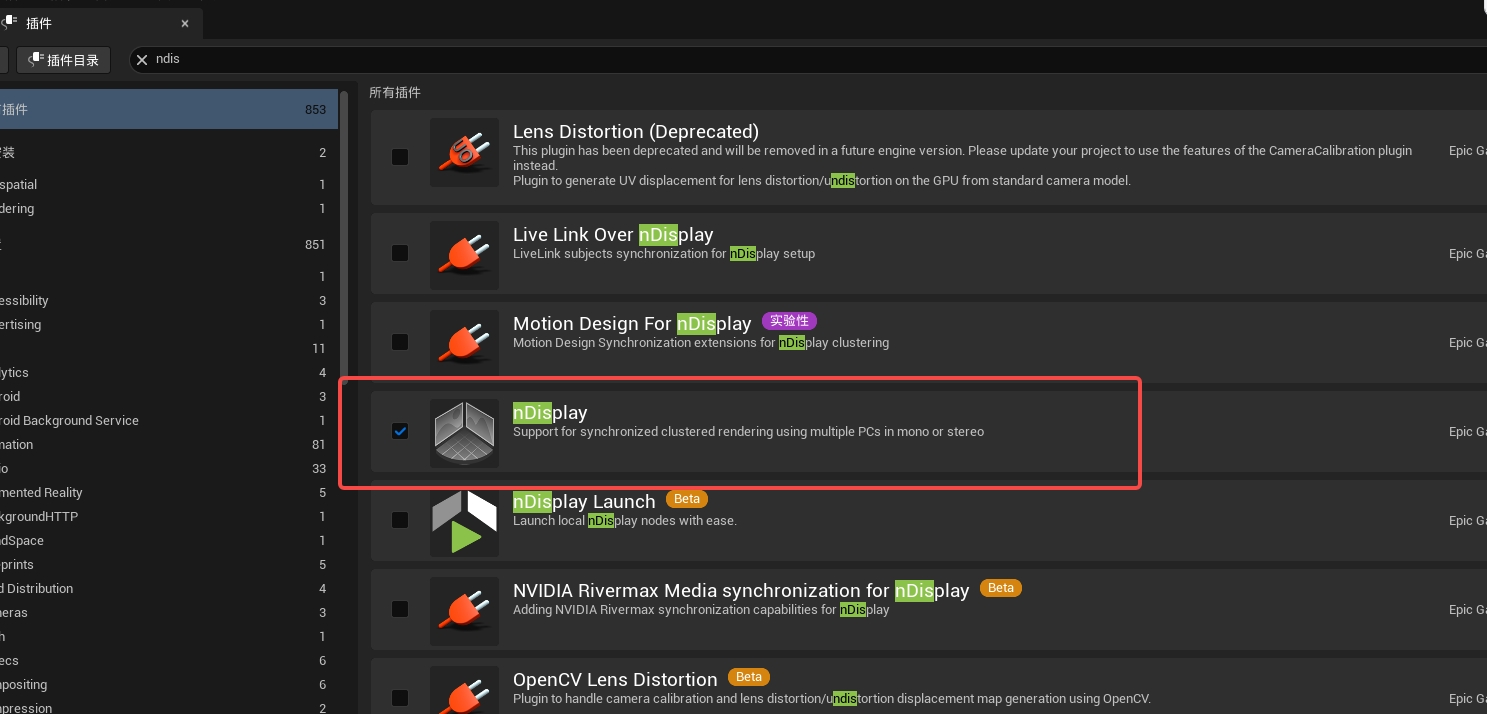
Enabling nDisplay in the plugin manager
Steps:
- Enable nDisplay and complete the standard UE configuration.
- Place the Actor matching the data format and first confirm the regular main viewport renders correctly.
- Place and configure the nDisplay Root Actor, then check each output viewport.
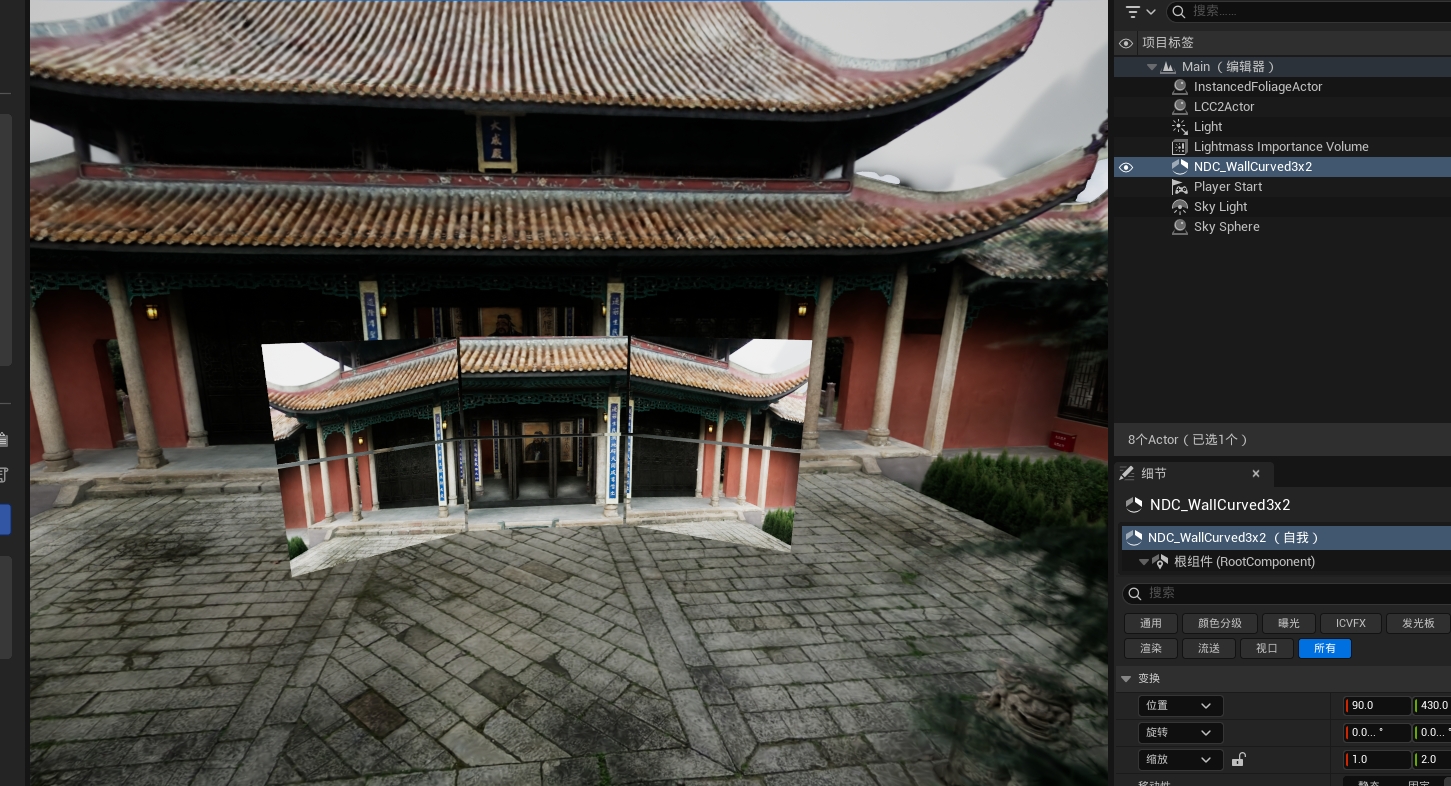
Configuring the nDisplay Root Actor and checking the output viewports
With ALCCActor (LCC pipeline), viewports facing multiple directions easily show missing node chunks, so set Default Traversal Type to Circle and restart the editor. The LCC2 pipeline does not need this step and can stay on the default Frustum.
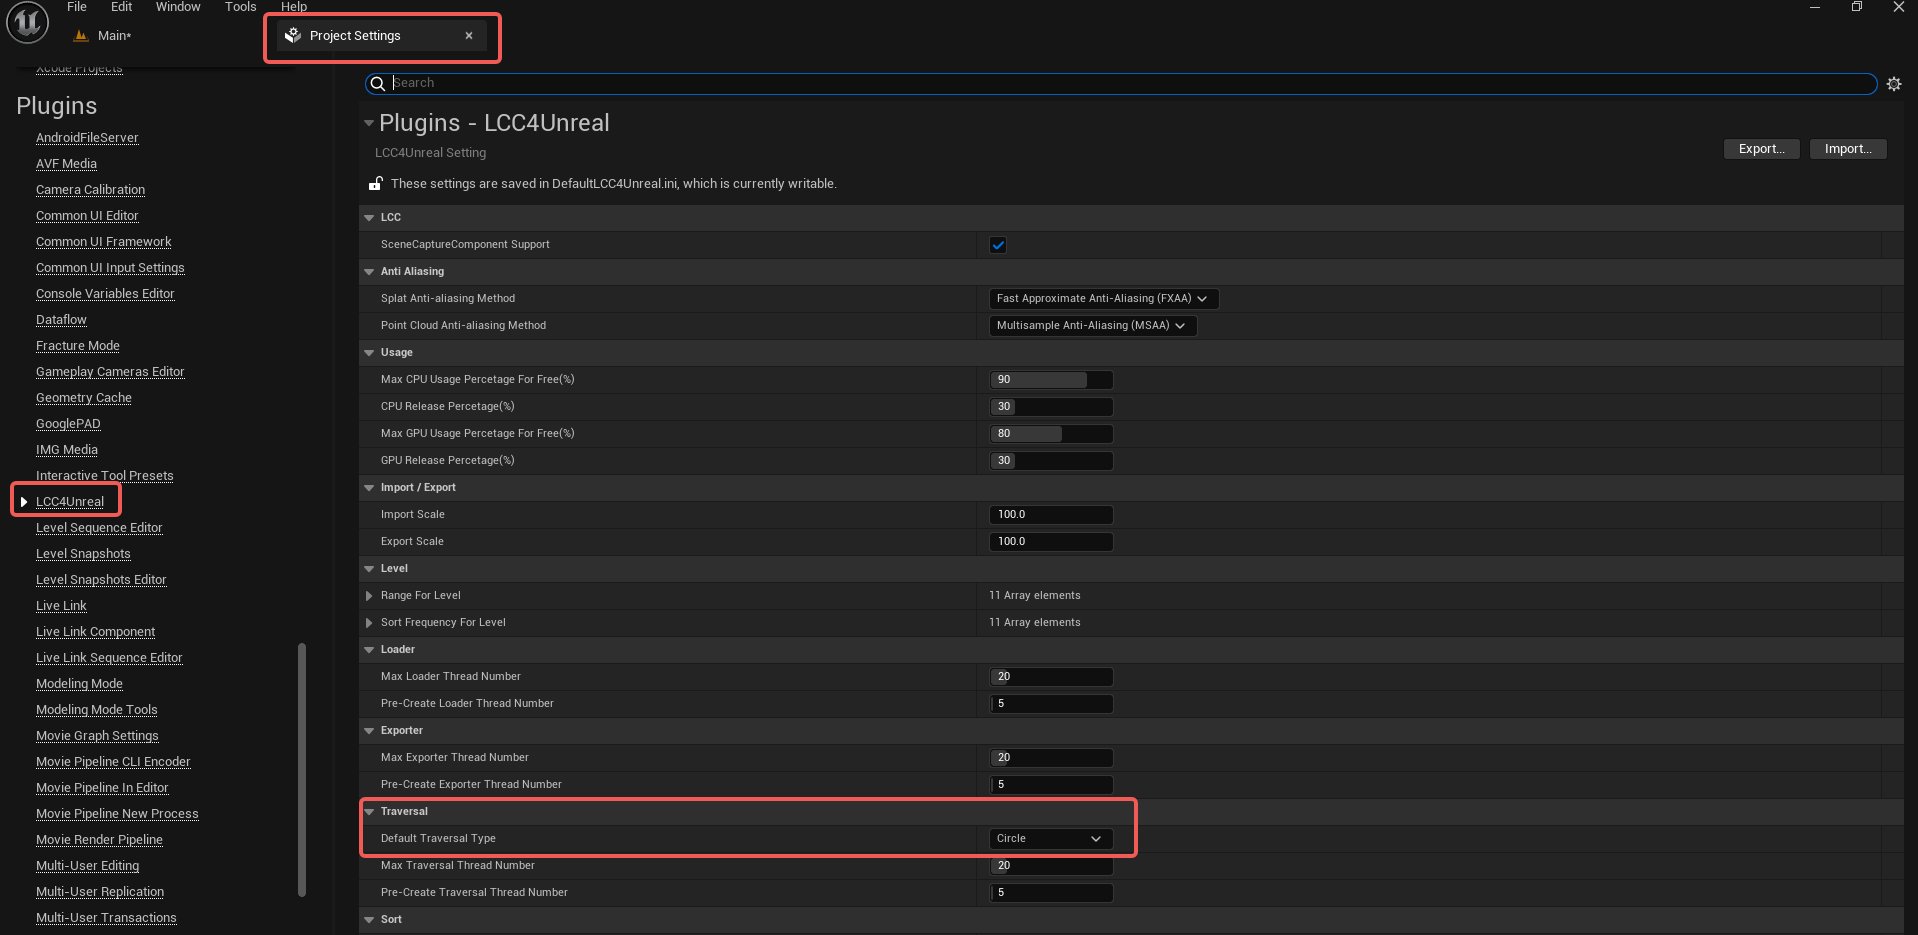
Only the LCC pipeline requires Circle traversal mode
Aximmetry
What to enable: install the Aximmetry UE integration and run the external software according to the Aximmetry documentation. LCC enters Aximmetry through a standard camera, SceneCapture, or an output texture.
For installing Aximmetry, building the scene, and configuring virtual cameras, see the official documentation: Aximmetry Unreal Engine Integration. This section only lists the items to check when connecting LCC.
No extra configuration is required on the plugin side.
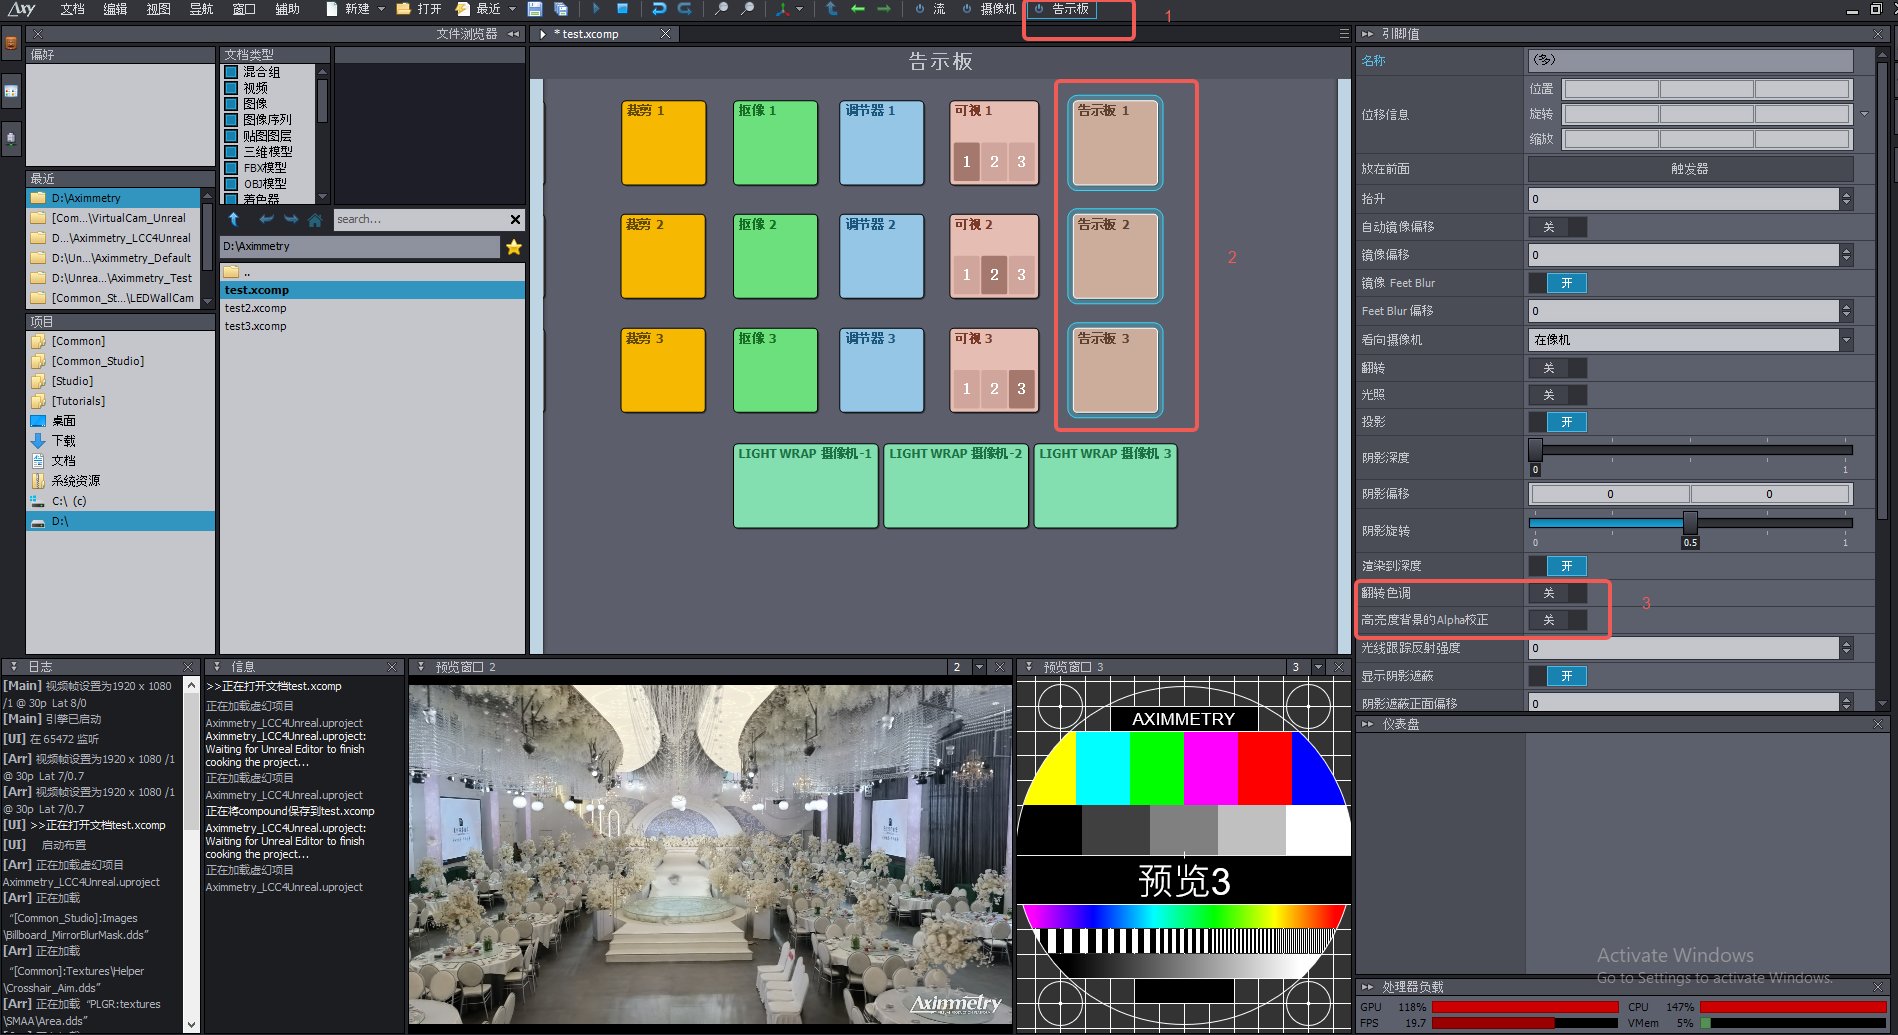
LCC image fed into Aximmetry
Pixotope
For installing Pixotope and its virtual production workflow, see the official documentation: Pixotope Help Center.
Pixotope Engine is derived from Unreal Engine and modifies the rendering pipeline, so standard UE plugins cannot be used directly and must be rebuilt and packaged for Pixotope.
To use LCC4Unreal in Pixotope, request the matching plugin package through the technical support email in Contact Us.
360-degree Video Output
Whether it is required: not required for real-time rendering; only required when the project uses a 360-degree panoramic output workflow.
What to enable: enable Movie Render Queue and Movie Render Queue Additional Render Passes in Edit > Plugins. Restart when UE asks for it.
For the complete use of Movie Render Queue, see the official documentation: How to Use the Movie Render Queue for High Quality Renders. This section only covers the notes on the LCC side.
Steps:
- Enable the plugins above.
- Place the Actor matching the data format and load the data.
- Create a Level Sequence and a Cine Camera Actor.
- Add the Panoramic Rendering renderer in Movie Render Queue.
- Output a low resolution, short frame range first.
- Check for missing chunks in each direction, seams, exposure, and video memory before the final render.

Enabling Movie Render Queue and the panoramic rendering plugin
The LCC2 pipeline only needs the Panoramic Rendering renderer added, with no other parameters to change. The image below shows the configuration for the LCC pipeline, which needs related parameters adjusted besides the renderer.
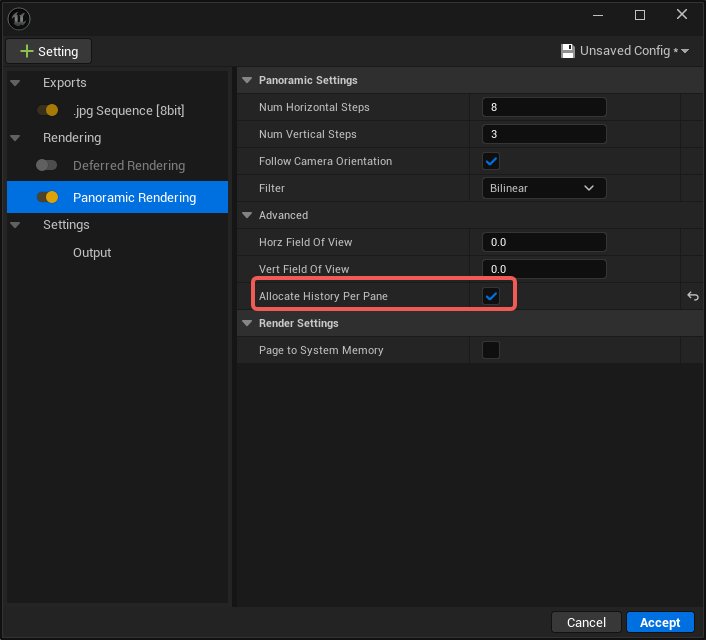
Panoramic renderer configuration for the LCC pipeline
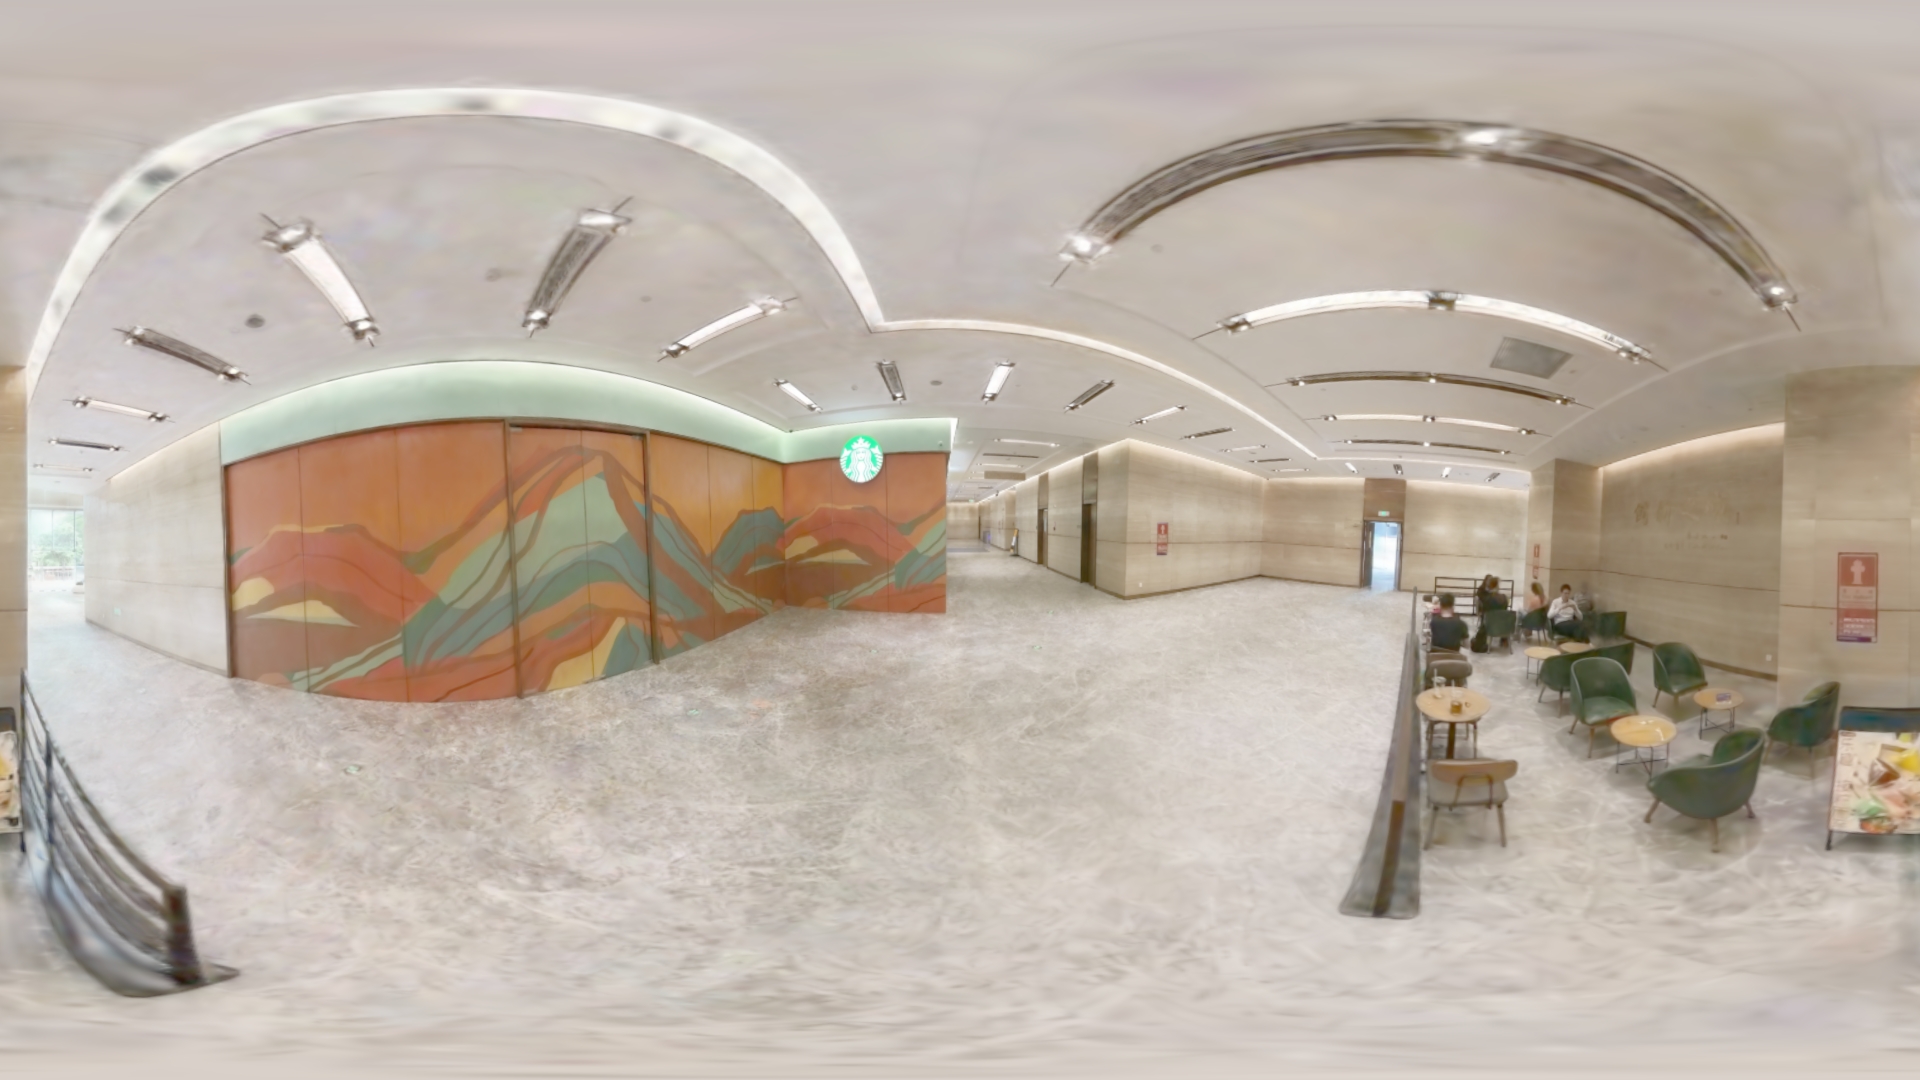
360-degree panoramic image output by Movie Render Queue
Panoramic output samples repeatedly from several directions, so reserve video memory according to the actual number of slices and views.
With ALCCActor (LCC pipeline), sampling multiple directions easily shows missing node chunks, so set Default Traversal Type to Circle, restart the editor, and limit the render distance and point count accordingly. The LCC2 pipeline does not need this step and can stay on the default Frustum.
OpenColorIO
Whether it is required:
- Not required for a regular sRGB project; only required when the project uses OCIO color management.
- LCC4Unreal does not depend on OpenColorIO at build time.
- Whether OpenColorIO is enabled does not affect basic LCC loading.
What to enable: enable OpenColorIO in Edit > Plugins, then create the OCIO Configuration Asset in the project.
For creating OCIO configuration assets and applying color space conversions, see the official documentation: Color Management with OpenColorIO. This section only covers the verification points on the LCC side.
Steps for the project:
- Enable OpenColorIO.
- Create and configure the OCIO Configuration Asset of the project.
- Apply the conversion at the Viewport, Composure, MRQ, or final display output stage.
- Verify LCC and regular UE scene objects separately.
Custom Engine Versions
Released plugin packages are built against the Unreal Engine published by Epic. When the project uses an engine that is not the official Epic build, the official plugin packages usually cannot be used directly. The common cases:
| Type | Examples |
|---|---|
| Vendor-customized branch | NVIDIA RTX branch (NvRTX), optimized branches released by GPU or hardware vendors |
| Commercial engine derived from UE | Virtual production software with its own engine, such as Pixotope and the AX Scene Editor of Aximmetry |
| Source build modified by the team | Changes to the rendering module, GBuffer layout, shaders, or engine core modules |
The reason is that the plugin reaches deep into the rendering flow, so the build output is tightly bound to the internal implementation of the engine:
- The plugin is compiled against the module API and ABI of a specific engine version, and the binaries are no longer compatible once the engine source changes.
- The plugin connects to the rendering pipeline through custom passes and view extensions, and those connection points can break when the engine changes the structure or execution order of the rendering pipeline.
- The plugin depends on the shader environment and GBuffer layout of the engine, and both need matching adjustments once they are modified.
To use LCC4Unreal on a custom engine, contact us through the technical support email in Contact Us and provide the baseline version of the engine and the scope of the modifications. We will evaluate them and provide an adapted plugin package.